Replace a chainsaw guide bar when it is cracked, bent beyond the maker’s service procedure, badly heat-damaged, unable to hold a correct chain upright, or worn past the bar maker’s rail or groove limit. A crooked cut or hot bar alone is not enough: clean the groove and oil path, then confirm the symptom at a second inspection point before buying a bar.
Require two pieces of evidence
A crooked cut, hot bar, unstable chain, or recurring derailment can point toward bar trouble, but none identifies the bar by itself. Cutter geometry, chain tension, lubrication, component mismatch, mounting, and sprocket wear can create the same first symptom.
Use the symptom to choose an inspection station, then make the decision from the physical evidence there:
| First symptom | Evidence that changes the decision | Likely action |
|---|---|---|
| Bar runs hot or the chain looks dry | Packed groove or blocked oil opening, while the body is straight and rails remain even | Clean, reinstall, and verify oil delivery by the saw manual before condemning the bar |
| A sharp edge can be felt on a rail | A light wire edge with no crack, spreading, pinching, uneven rail height, or deep wear | Use only the light dressing method allowed by the manufacturer |
| Saw cuts to one side | One rail is visibly lower, or a correct chain leans in the cleaned straight run | Keep it out of a powered test; measure by the bar maker’s method or obtain dealer assessment |
| Chain drags in a clean groove | Drive links contact the groove bottom, or the groove fails the maker’s depth or fit check | Replace the bar unless its manufacturer documents a service procedure |
| Chain hesitates around the nose | Nose sprocket is loose, visibly damaged, rough, or resistant during the manual’s stationary check | Follow the bar maker’s nose-service or replacement direction |
| Damage is visible before any fit test | Crack, significant bend or twist, severe heat damage, or a mounting area that cannot seat correctly | Replace the bar or obtain manufacturer-authorized assessment; do not prove it with another cut |
This two-evidence rule prevents a symptom from becoming an automatic purchase. It also prevents repeated chain sharpening when the support surface is the fault.
Make the metal visible
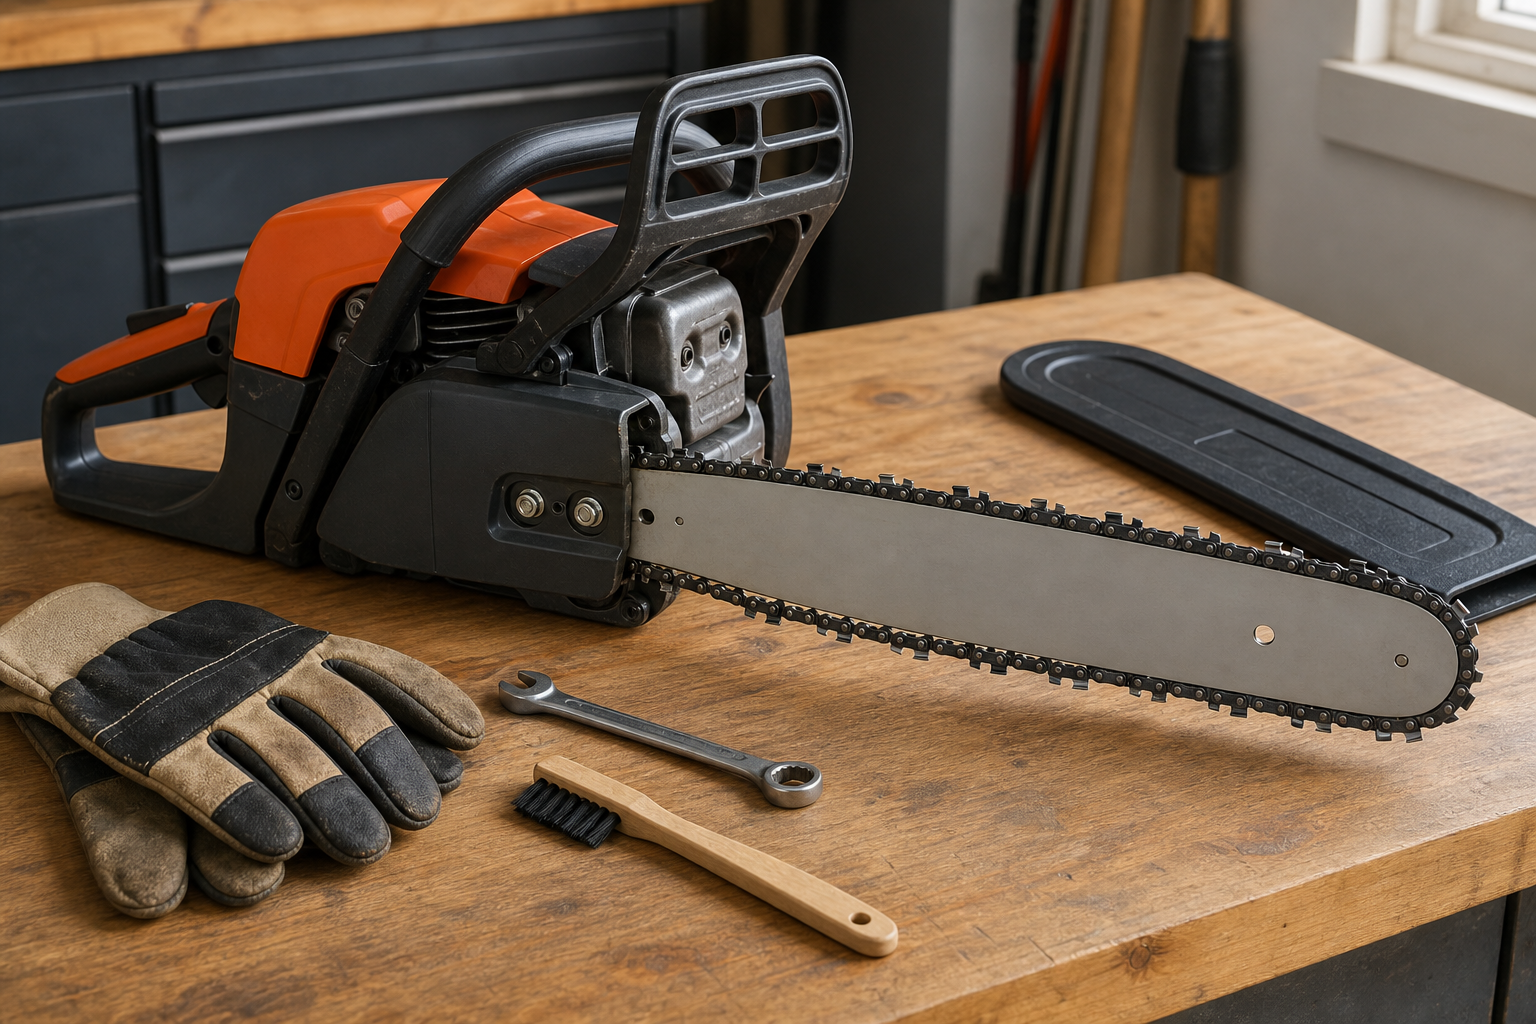
Disable the saw exactly as its manual directs. Let the cutting attachment cool, remove the battery or secure the ignition system as specified for the model, and wear gloves; a stationary chain still has sharp cutters.
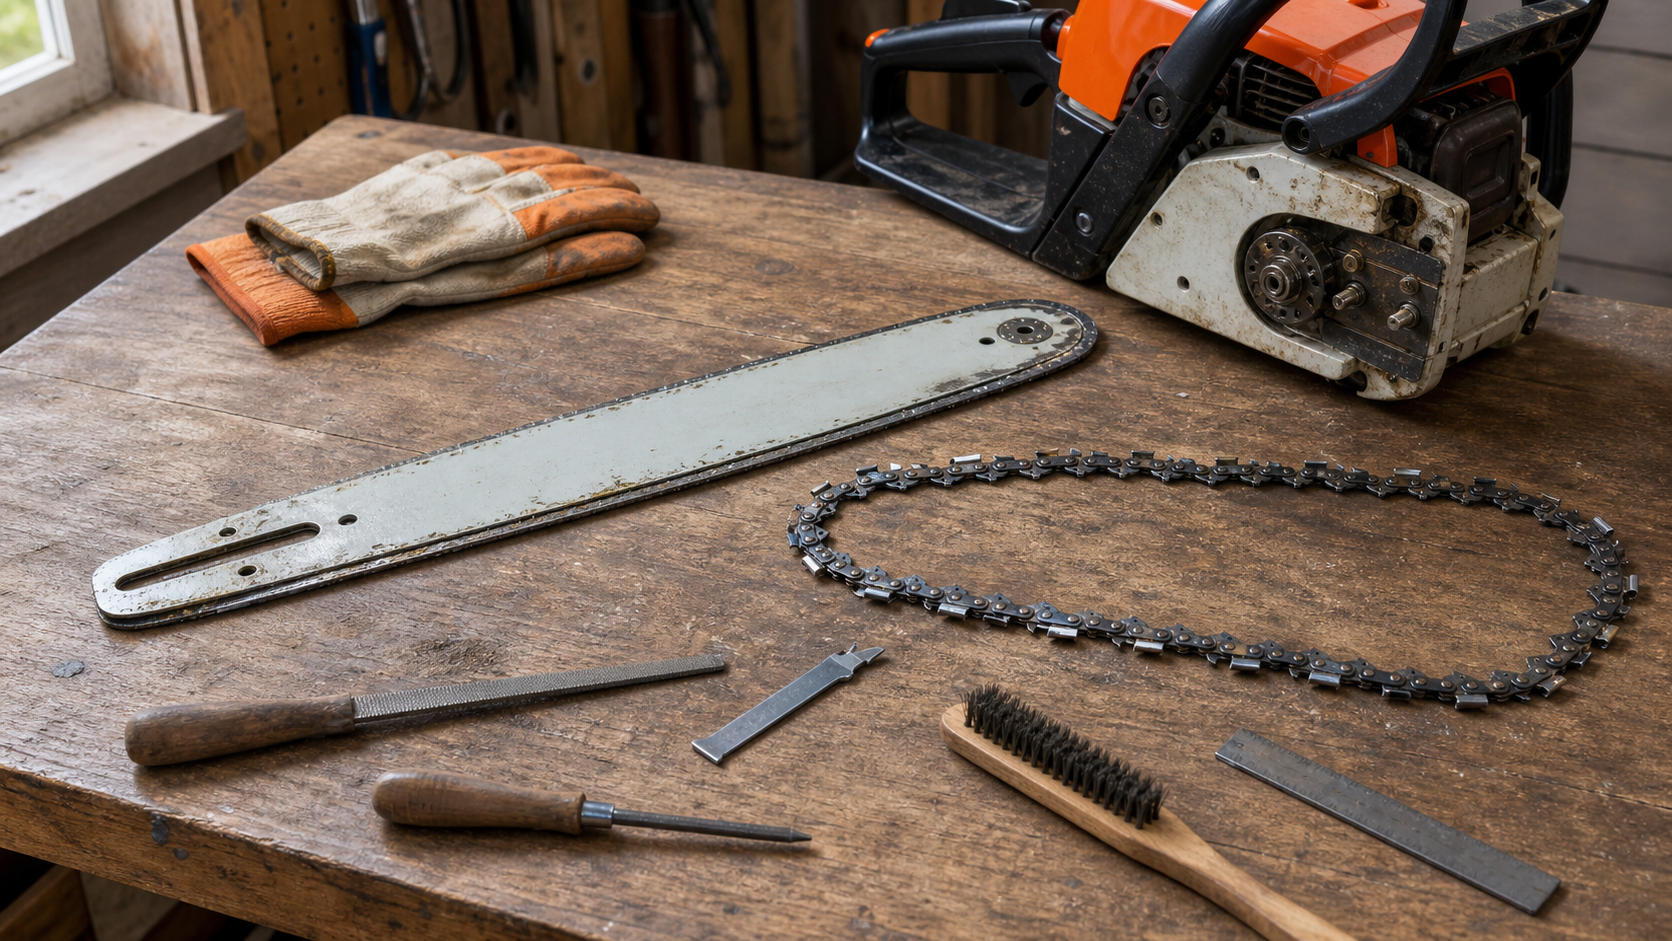
Remove the chain and bar only by the manual’s procedure. Then brush away loose chips and clean the bar groove from the nose toward the mounting end so debris is moved away from the nose sprocket. Clear accessible oil holes with the maker-approved tool. Do not pry the rails apart, force a tool into the nose, or dismantle a replaceable-tip assembly unless the manual provides that procedure.
Cleaning matters because oily filings can hide cracks, burrs, uneven rail height, and the actual bottom of the groove. It also exposes whether poor oil delivery—not ordinary service time—has accelerated the wear. If lubrication was already in doubt, use the bar-oil troubleshooting sequence before returning the saw to a cut.
Inspect from the mount to the nose
Work along the whole bar instead of judging only the most polished area.
- Body and mount. Sight along the bar for a bend or twist. Inspect the mounting slot and oil openings for deformation, cracks, or damage that prevents the bar from seating flat.
- Rail tops. Compare both rails under good light. Look for one rail worn lower, edges rolled outward, a pinched groove, cracks, and blue heat-damaged areas. A small burr and unequal rail height are not the same repair.
- Groove. Check that the correct chain’s drive links move through a clean groove without binding and that its tie straps remain supported by the rails. Use the bar maker’s gauge and service limits where measurement is required; do not substitute a universal number.
- Nose. On a sprocket-nose bar, inspect for looseness, visible damage, roughness, or resistance using the manual’s stationary check. Husqvarna specifically treats a loose nose wheel as a replacement condition in its guide-bar maintenance instructions.
- Chain evidence. Look for uneven witness marks, battered drive links, or damage concentrated on one side. Those marks can support the diagnosis, but the chain and drive sprocket also need inspection before a new bar is fitted.
STIHL’s guide-bar guidance distinguishes light burr removal from bars that are badly damaged, while the U.S. Forest Service guide notes that a shallow groove no longer supporting the tie straps is a replacement condition. Both make the decision depend on physical support and condition, not a fixed number of chains used.
Read witness marks in pairs
Fresh metal contact tells you where parts are touching; it does not tell you why. A polished drive-link tip paired with a groove that fails the maker’s depth check is stronger bar evidence than the polished tip alone. Blue rail discoloration paired with a blocked oil opening points to a heat-and-lubrication event that must be corrected before any replacement bar is used. Side wear on the drive links paired with a low rail strengthens the worn-rail diagnosis, while the same link wear in an even bar calls for chain, sprocket, tension, and compatibility checks.
Photograph the mount, both rail faces, the groove at the most worn area, and the nose before cleaning away all witness marks. Those four views give a servicing dealer more useful evidence than “it cuts crooked,” especially when the fault disappears after disassembly.
Use a known-good chain as an isolation tool
If the bar has no obvious replacement fault, a known-good compatible chain can help separate chain geometry from rail support. “Known-good” means the correct pitch, gauge, drive-link count, and approved configuration, with serviceable cutters and drive links—not simply a chain that looks newer.
With the saw still off, fit and tension it only as the manual specifies. Check that it travels freely and remains supported upright through the bar’s straight runs. If both the original and known-good chain lean excessively in the same cleaned groove, bind at the same location, or cannot meet the manual’s fit check, the bar becomes the stronger suspect.
Do not make another powered test when the bar is bent, cracked, heat-damaged, unable to retain the chain, or paired with damaged drive components. If a controlled cut is appropriate after all stationary checks pass, the chain-versus-bar crooked-cut test explains how to observe whether the fault follows the chain without steering the saw through the kerf.
Repair, rotate, or replace?
Routine care can slow uneven wear. Husqvarna and STIHL both advise turning the bar periodically, and both call for cleaning the groove and oil path. Rotation cannot reverse damage already present; it only changes which rail is loaded on the underside during later use.
Lightly filing a wire edge may be normal maintenance when the manufacturer permits it. Correcting a low rail, splayed groove, pinched groove, bend, or replaceable nose is different work. The Forest Service guide points to specialized bar grinding or trained service for some rail conditions. If the required tolerance, fixture, or procedure is missing, dealer assessment is the useful next step.
Replace rather than improvise when:
- a crack crosses the body, rail, mount, or nose area;
- the bar is badly bent or otherwise damaged and the manufacturer does not authorize correction;
- heat damage or extensive local wear has changed the rail surface;
- the cleaned groove no longer supports a correct chain to the stated limit;
- the nose sprocket or assembly is loose, damaged, or does not pass its manual check; or
- the bar cannot seat, lubricate, or guide the approved cutting attachment correctly.
When selecting the replacement, use the saw maker’s approved bar-and-chain combination. Bar length alone is not enough; the mount, pitch, gauge, drive-link count, nose design, and saw model all matter. The chain identification evidence ladder can help record the loop details, but the saw manual or manufacturer lookup remains the authority for the complete combination.
Questions that prevent replacement mistakes
Is a crooked cut proof that the guide bar is worn out?
No. Unequal cutter length or angles can steer the cut even when the bar is serviceable. Clean and inspect the bar, then compare the result with a correctly identified, serviceable chain. If the symptom follows one chain, inspect its cutters; if different correct chains lean or bind at the same place, the bar becomes the stronger suspect.
How many chains should a guide bar last?
There is no universal replacement count. Chain sharpness, tension, lubrication, contamination, cutting load, and bar design change the wear rate. Use the rail, groove, body, mount, and nose criteria for the exact bar instead of replacing it after an arbitrary number of chains.
Can a worn guide bar be repaired?
Sometimes. A manufacturer may permit light burr removal, and a servicing dealer may be able to correct certain rail or replaceable-nose conditions with the right equipment. Cracks, severe heat damage, unsupported chain fit, or damage outside a documented service procedure are replacement or qualified-assessment conditions, not improvised workshop repairs.