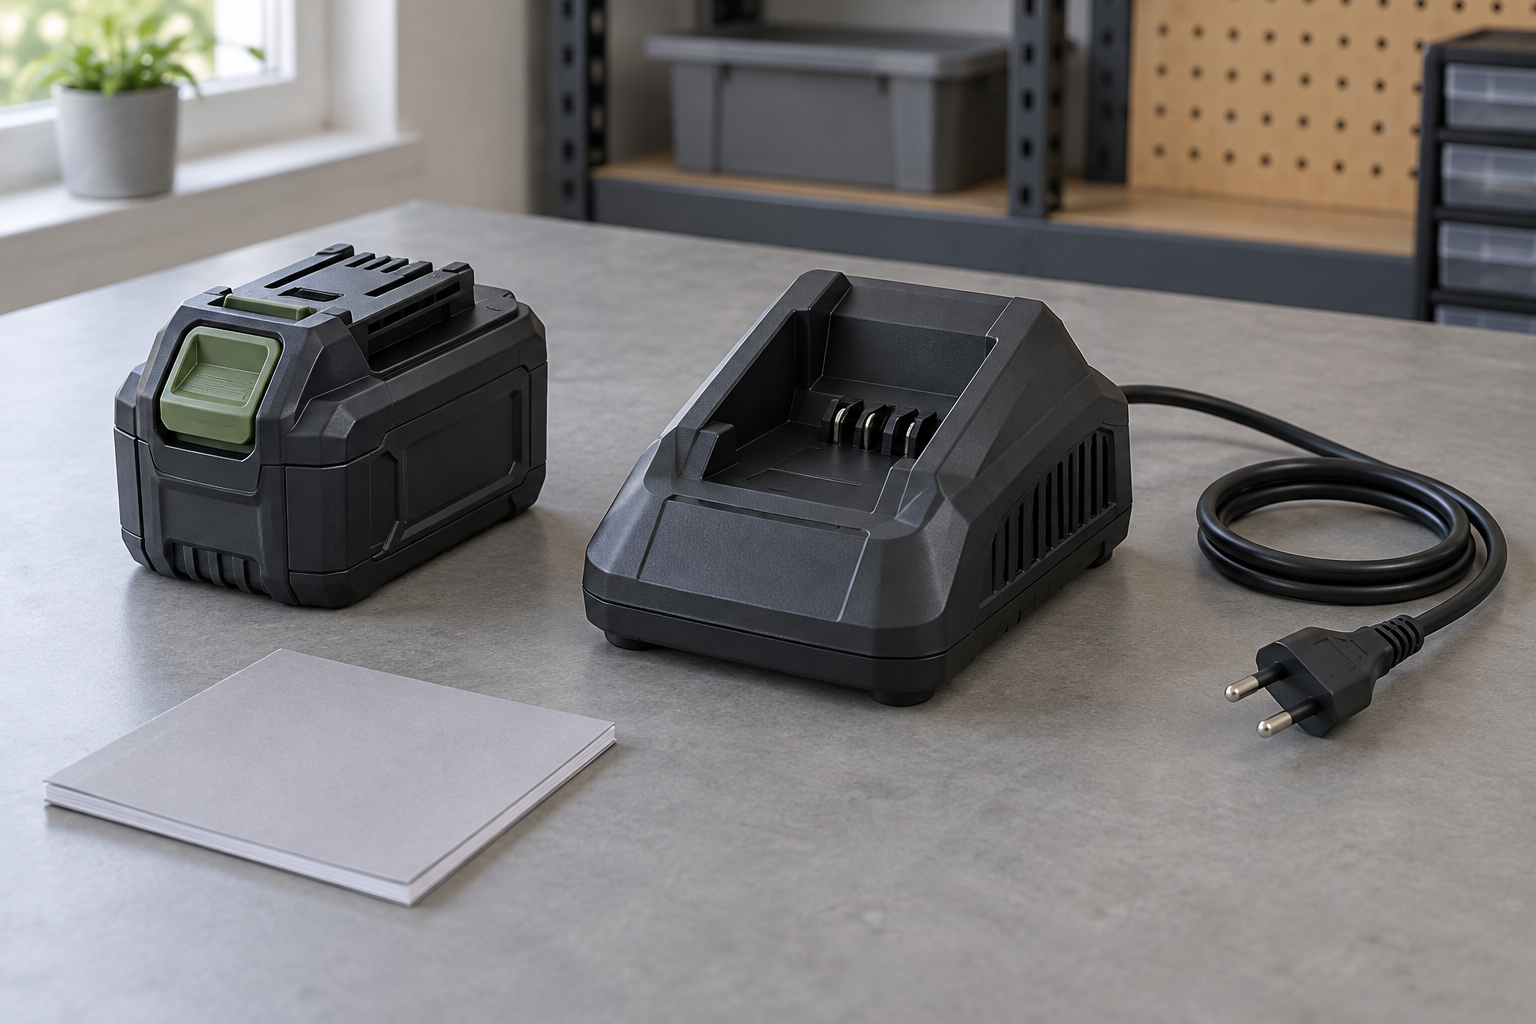
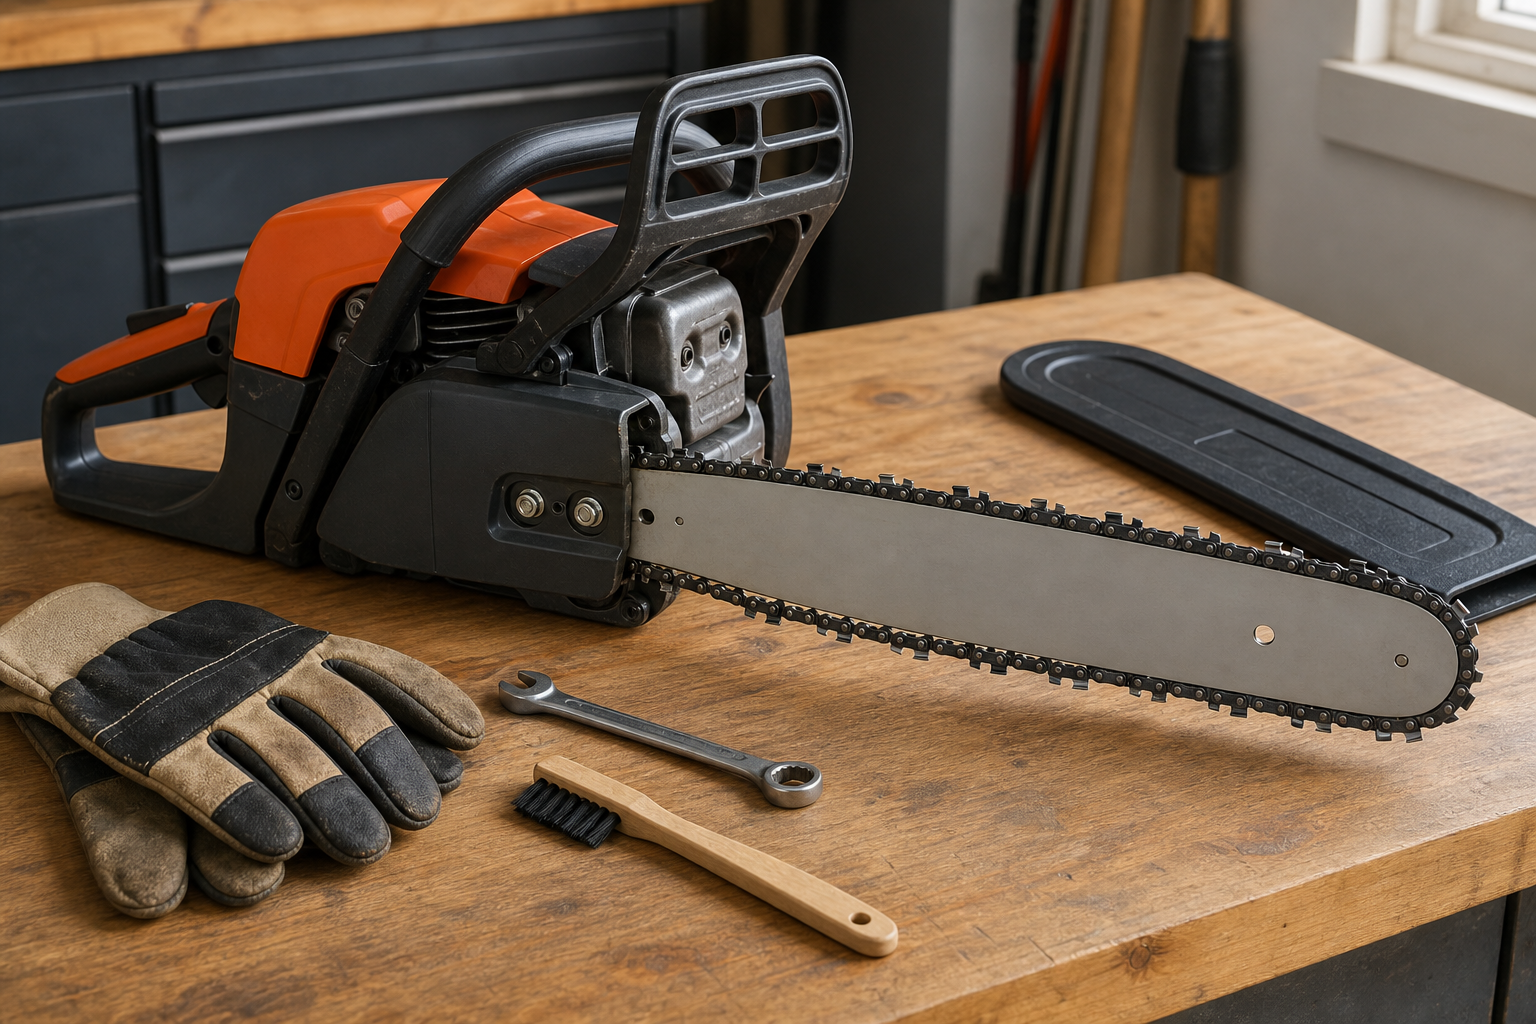
To identify a chainsaw chain for replacement, confirm three values: pitch, drive-link gauge, and the number of drive links. Read them from the guide bar, chain markings, packaging, manual, or manufacturer lookup before attempting to measure a worn chain.
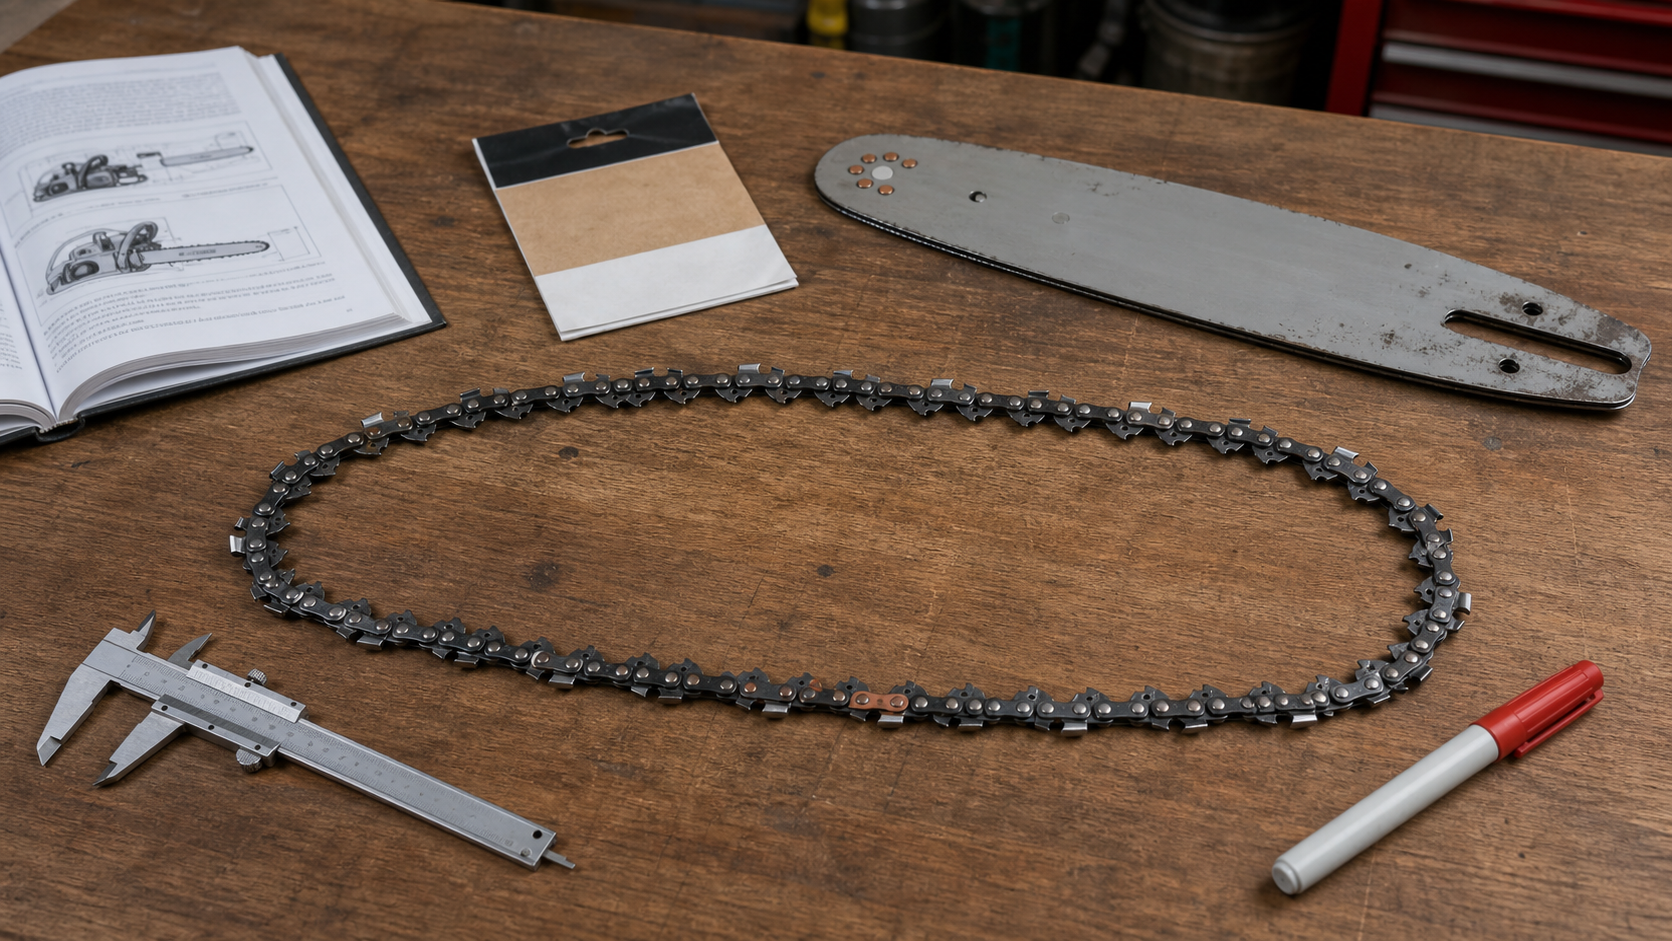
Bar length alone is not a chain size. Two saws described as having the same bar length can use different drive-link counts, and a pitch label does not tell you the gauge.
Build the identity from three fields
Record the result as one line before shopping:
Pitch: ___ · Gauge: ___ · Drive links: ___ · Saw/bar model: ___
- Pitch describes the spacing shared by the chain, drive sprocket, and bar-nose sprocket. It must match all three.
- Gauge is the thickness of the drive-link tang that travels inside the bar groove. Chain and bar gauge must match.
- Drive-link count determines the loop length for that cutting attachment. Count the pointed drive links that run in the groove—not cutters, rivets, or tie straps.
The cutter shape, sequence, and low-kickback features also matter when selecting the final chain family. Those details come after the three fit fields, not in place of them.
Use this evidence ladder
Work from the strongest evidence downward. A lower step should confirm missing information, not overrule a clear current manufacturer specification.
| Evidence available | What to record | Decision |
|---|---|---|
| Original chain package or exact manufacturer parts lookup for the current saw-and-bar combination | Chain part number plus pitch, gauge, and drive-link count | Strongest path. Match the current bar and sprocket rather than assuming the saw still has its factory cutting attachment. |
| Legible guide-bar tail stamp and chain drive-link code | Decode each marking with that maker’s current chart; count drive links if the count is absent | Proceed only when the bar, chain, and saw configuration agree. Similar-looking codes from different makers are not interchangeable. |
| Operator manual with an exact model and bar combination | Listed cutting-attachment specifications | Confirm that the installed bar length and part number match the manual entry. A saw model may support more than one bar. |
| Worn or unmarked parts only | Dealer measurement and inspection | Stop guessing. Wear can make gauge measurement unreliable, and a pitch-only match is incomplete. Bring the saw model, bar, and old loop to a servicing dealer. |
This order avoids a common error: measuring the easiest visible feature and treating it as the whole identity.
Read the bar without trusting it blindly
Disconnect the spark-plug lead on a gasoline saw or remove the battery on a cordless saw, following the operator manual. Wear gloves when handling the stationary chain; cutter edges can injure even when the saw is off.
Clean only enough residue from the guide-bar tail to expose its markings. Look for a part number and any pitch, gauge, or drive-link information. Photograph the stamp before removing the bar if the chain is still installed correctly.
Now check whether the bar belongs to the current setup. Replacement bars can differ from the factory bar, so a manual table for the powerhead does not automatically describe the bar in front of you. If the bar stamp and manual disagree, use the bar part number in the manufacturer’s current lookup or ask a dealer to resolve the combination.
Decode the chain stamp by manufacturer
Inspect the drive links for a repeated letter or number code. Oregon notes that wear can make direct gauge measurement difficult and recommends using its stamped drive-link number; Husqvarna likewise explains that its X-CUT drive-link codes can identify pitch and gauge.
Do not feed an unidentified code into a generic chart and assume the answer is universal. Record the chain brand, copy the code exactly, and use that brand’s chart. If the chain maker cannot be identified, the stamp is weak evidence rather than permission to improvise.
Once the chain family is known, use the maker’s recommendation to choose sharpening equipment. The chainsaw file-size guide explains why pitch by itself cannot select a round file.
Count drive links without losing your place
Remove the chain only as the saw manual directs. Clean it enough to see the lower drive links, then lay the loop on a stable bench away from the saw.
- Mark one drive link with a paint marker.
- Count that marked link as one.
- Move around the loop in one direction, counting only the drive links that run inside the bar groove.
- Stop when the next link is the marked starting link.
- Repeat the count in the opposite direction. If the totals differ, count again before ordering.
A quoted guide-bar length is not a substitute for this count. The exact saw-and-bar combination controls how many drive links the loop needs.
Separate replacement fit from sharpening fit
Identifying the loop answers what fits the saw. It does not yet answer whether the chain is serviceable, which file belongs to its cutter family, or which grinding wheel and settings the chain maker specifies.
If the old loop has cracked or bent components, loose rivets, damaged drive links, or cutters at a maker’s discard mark, use the chain replacement decision guide rather than treating identification as approval to sharpen it.
For a serviceable loop used at a bench, the KonKell 230W electric chainsaw sharpener is a mountable option whose current product page lists 1/4-inch, .325-inch, 3/8-inch, and .404-inch pitch chains. That pitch range is only an initial fit check: verify the chain maker’s cutter specification, the correct wheel, and every model-specific setting before grinding.
Stop when the evidence conflicts
Do not install or run a replacement chain when any of these remain unresolved:
- the chain pitch does not match the bar nose and drive sprocket;
- the chain gauge does not match the bar groove;
- the drive-link count differs from the exact bar-and-saw specification;
- the bar stamp, manual, package, and old-chain code point to different combinations;
- the chain binds, has excessive side play, cannot be tensioned by the manual’s procedure, or contains damaged components.
Keep the saw out of service and have a dealer identify the cutting attachment. A plausible-looking loop is not a verified match.