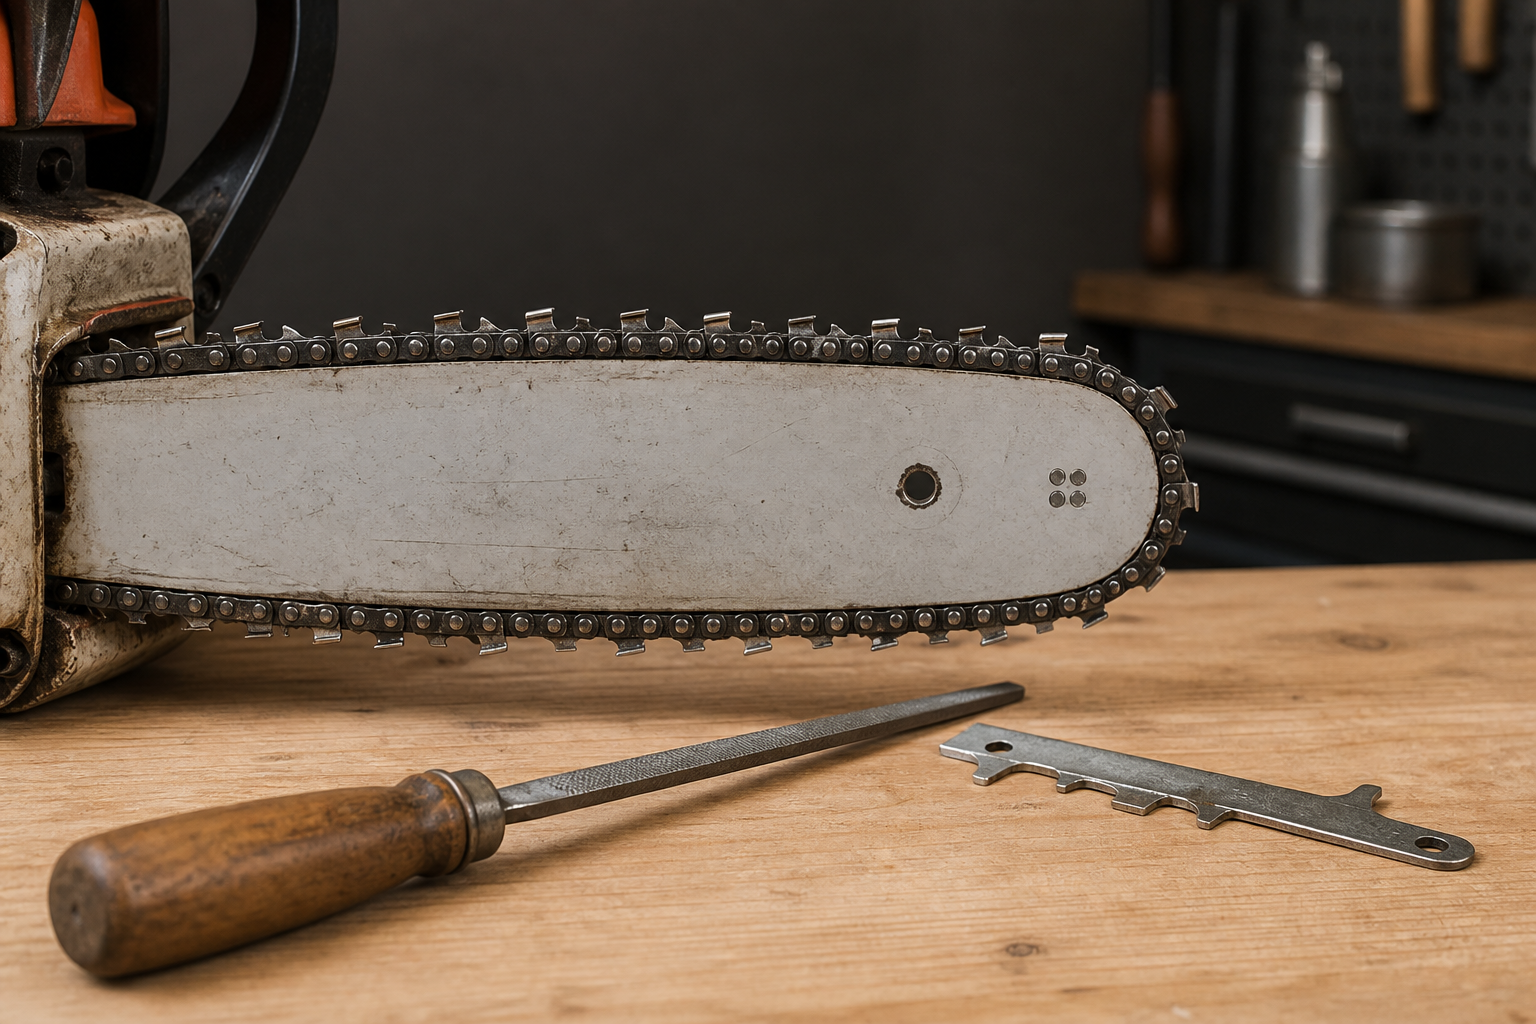
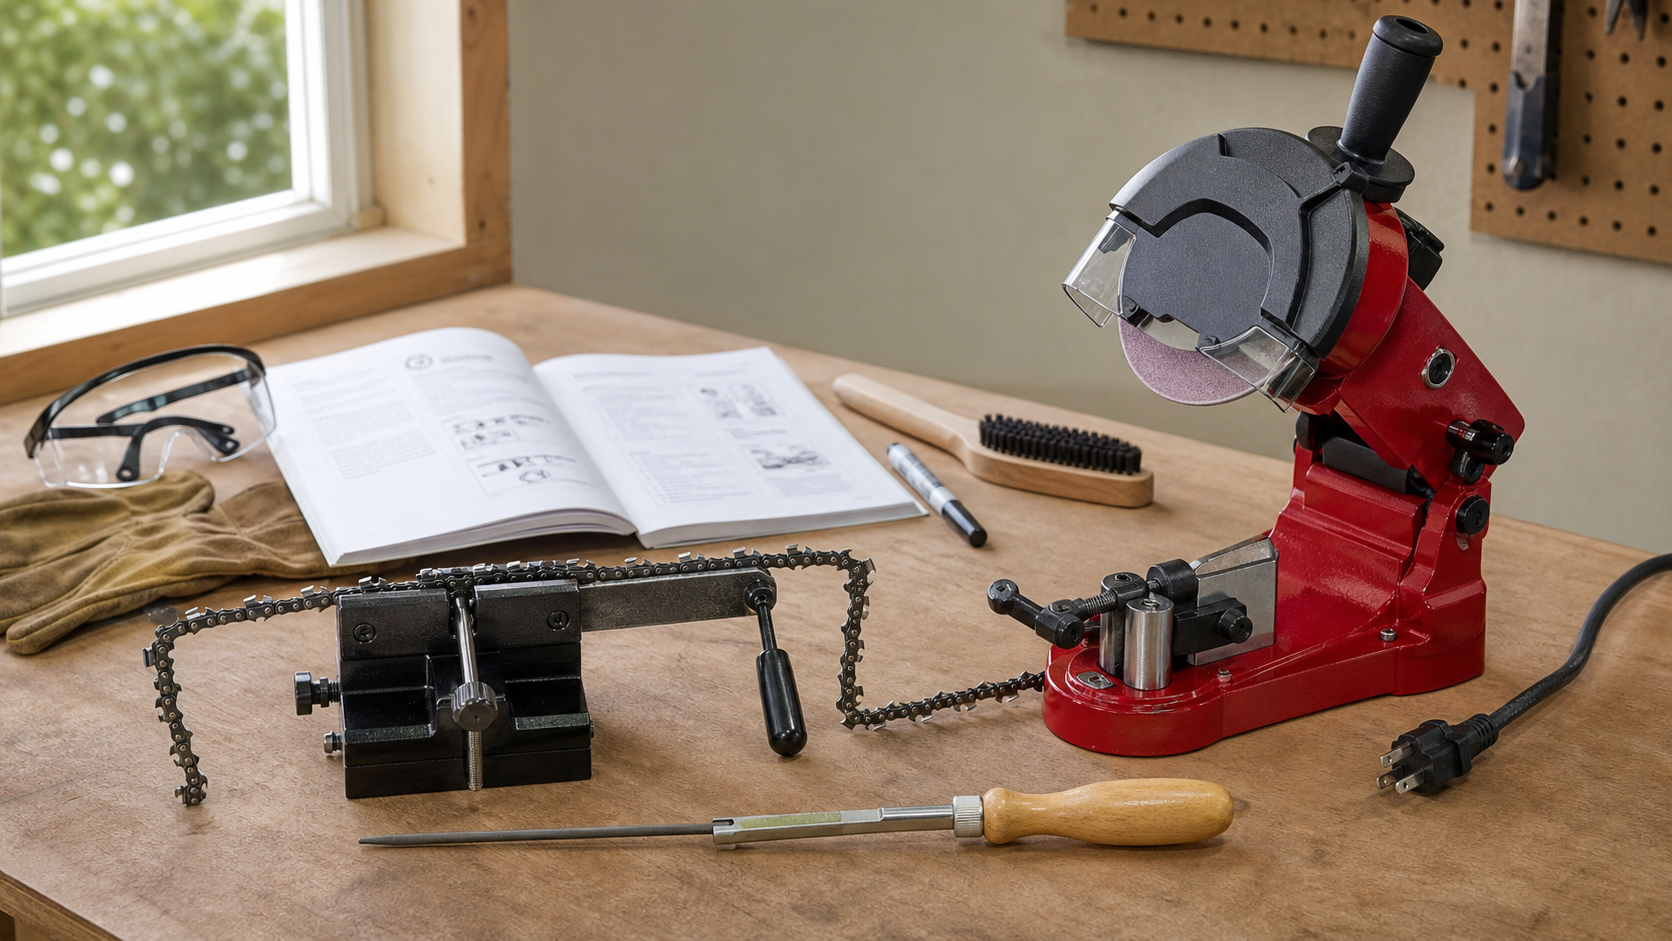
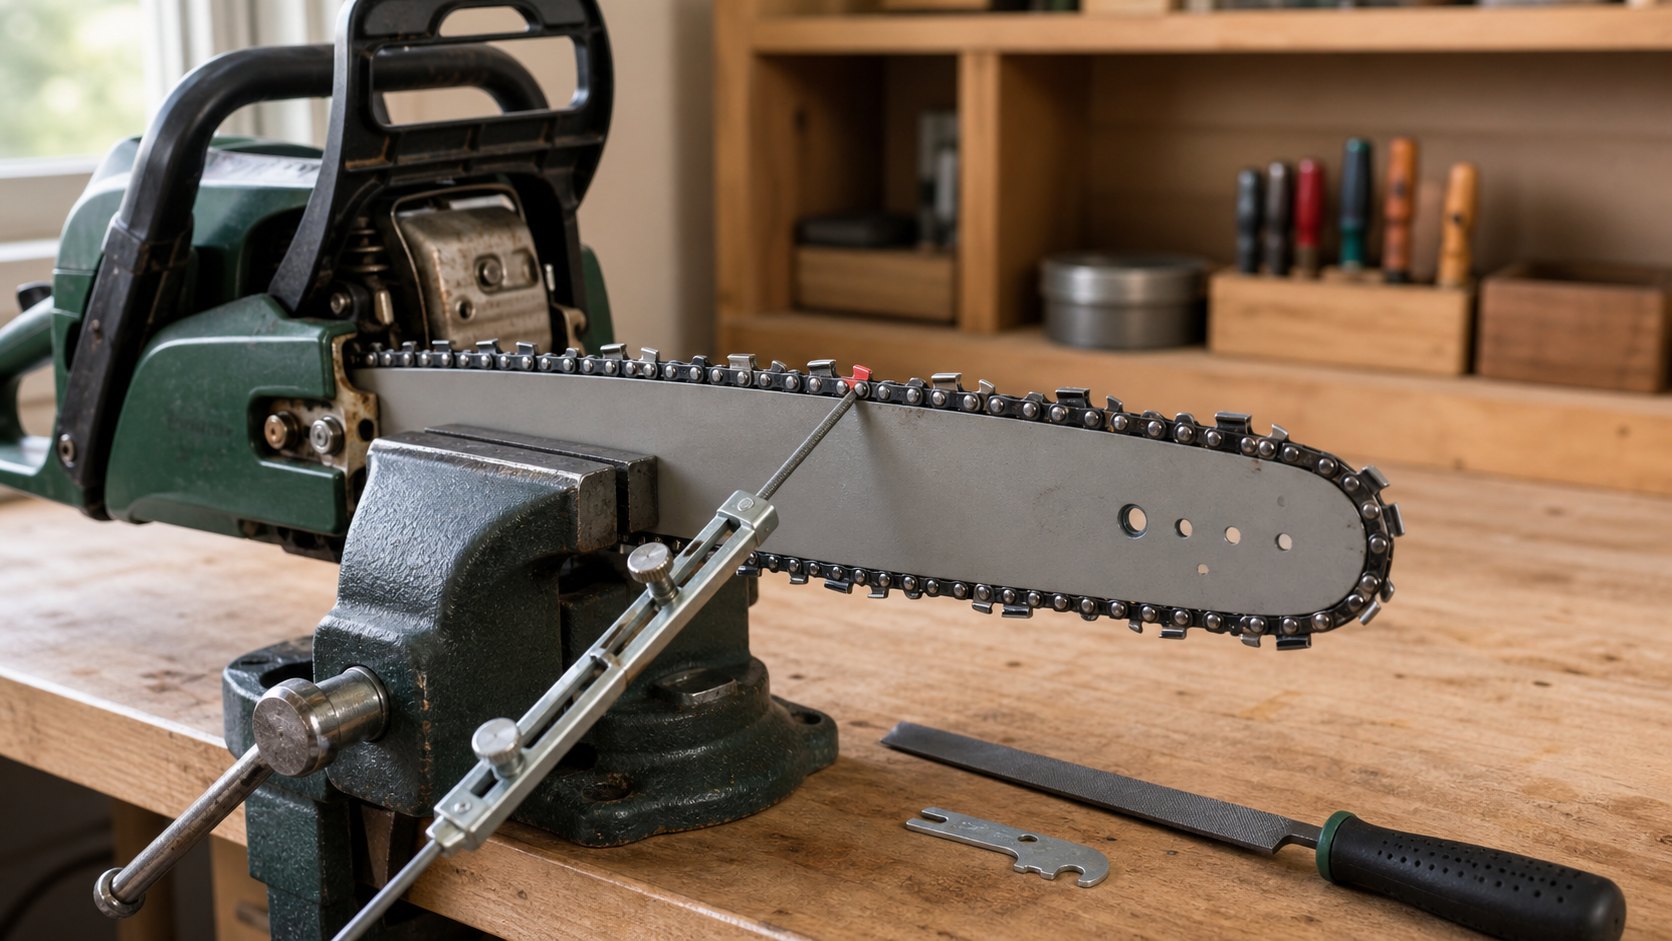
The correct chainsaw file size is the diameter specified for your exact chain model, not a size guessed from bar length or pitch alone. Find the chain code on the cutter or drive link, the package, or the saw manual; then confirm it in that chain maker’s current filing chart before touching the cutter.
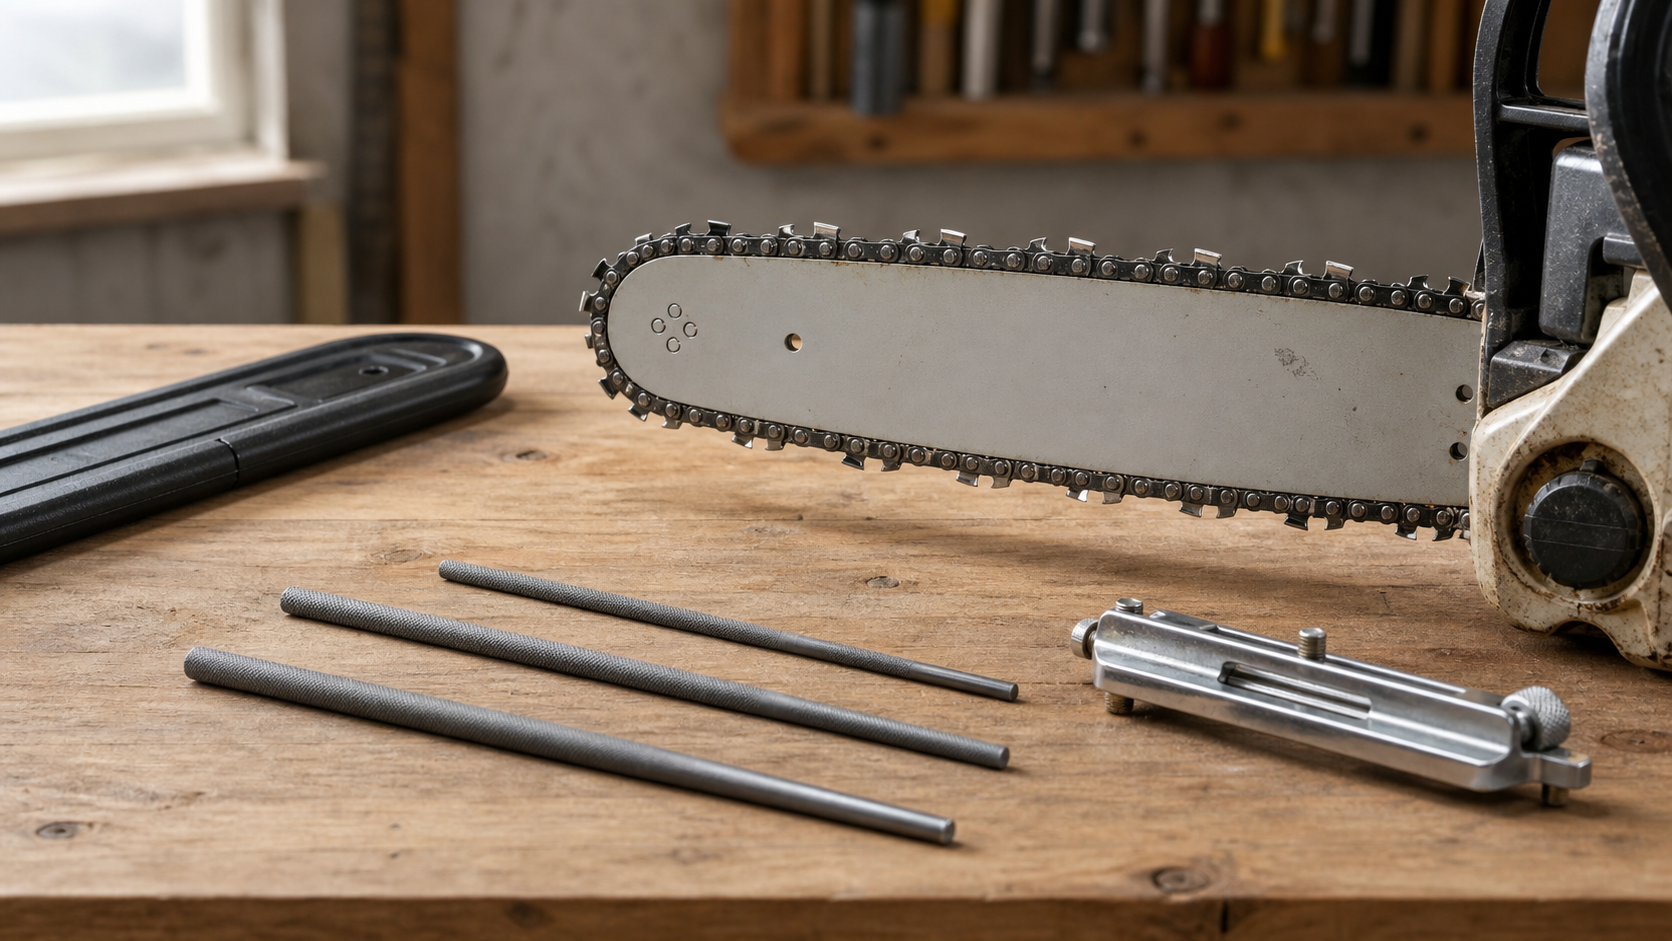
Use this identification order
A pitch label narrows the search, but it may not finish it. STIHL, for example, specifies different files for standard 3/8-inch chain and 3/8-inch PICCO chain. Husqvarna’s current chart likewise separates mini chain families from full-size chains.
Work down this list until you have a manufacturer-confirmed answer:
- Read the chain or package code. Look for the maker’s identification stamp on a cutter or drive link. Keep the original chain box or label if you have it.
- Check the guide-bar marking. It can identify the required pitch, gauge, and drive-link count for the saw setup, but it does not prove that the fitted chain is the original chain.
- Use the saw or chain manual. Match the chain family or part number to the listed round-file diameter and filing guide.
- Use pitch only to narrow the options. Do not buy a file solely because a generic chart has one row labeled “3/8.”
- Stop if the chain identity is uncertain. Take the chain code, saw model, and bar marking to the chain maker or a servicing dealer rather than testing files on the cutter.
Pitch and gauge answer different questions. Pitch describes the spacing of the chain’s rivets; gauge describes the thickness of the drive link that runs in the bar groove. Neither number, by itself, describes every detail of the cutter profile.
Why a universal pitch chart can mislead
The examples below show why chain family matters. They are manufacturer examples, not a substitute for the chart for your fitted chain.
| Chain maker and family | Pitch label | File listed by that maker | What the example proves |
|---|---|---|---|
| STIHL PICCO | 3/8 in | 5/32 in | “3/8” does not always mean a full-size 3/8-chain file |
| STIHL standard chain | 3/8 in | 13/64 in | Maker-specific recommendations can differ from common generic charts |
| Husqvarna mini families listed in its chart | 3/8 in mini | 5/32 in (4.0 mm) | The family name must travel with the pitch |
| Husqvarna full-size families listed in its chart | 3/8 in | 7/32 in (5.5 mm) | A similar pitch label can lead to a different file diameter |
Don’t convert an inch size to a nearby millimeter file by eye. Use the size named by the chain manufacturer, because a “close” diameter can hold a different position against the cutter.
Check the file position before the first stroke
Once the chart and chain identity agree, use this stationary check:
- Switch the saw off, let it cool, and follow its manual for disabling the power source. Wear gloves when handling the chain.
- Tension the chain as the manual directs for filing and secure the guide bar without clamping the chain itself.
- Mark the most worn cutter and place the correct file in a guide intended for that file diameter.
- Set the guide at the filing angle specified for the chain. Look from the end and side without pushing the file.
- Confirm that the file sits consistently against the cutter rather than riding noticeably high, dropping deep into the gullet, or changing position from tooth to tooth.
- If the fit contradicts the manual or package, stop. Recheck the chain code, file label, and guide before removing metal.
This is a verification step, not a way to reverse-engineer file size from appearance. A worn or previously reshaped cutter may make the wrong tool look plausible.
Read an odd cutter shape as a warning
STIHL’s wear guidance links an overly hooked side plate or feathered top edge with a file held too low or a diameter that is too small. It links a blunt top edge or side plate sloping backward with a file that is too large or held too high.
That evidence does not identify the correct replacement file on its own. It tells you to pause and check two variables separately:
- Is the file diameter the one specified for this exact chain?
- Is the correct file being held in the position and at the angle specified by the manufacturer?
Changing file size to compensate for poor hand position trades one geometry error for another. A file guide can help control position, but its size must also match the file and chain system.
Choose a hand kit for the job it can actually do
A manual kit suits field touch-ups, yard work, and backup maintenance when power or a bench grinder is not practical. The current KonKell File Set Kit is described as a portable, file-based manual setup for those uses.
Its live page does not list the individual file diameters or named chain families. That is the limitation: verify the kit contents against your chain manufacturer’s specification before buying or using it. For repeated correction of unequal cutters or heavily damaged teeth, compare the control and setup burden in our electric sharpener versus file guide.
Keep file size separate from the rest of sharpening
The correct diameter does not set the filing angle, equalize cutter lengths, or lower depth gauges. Follow the chain maker’s instructions for each operation. If you are preparing to file a full loop, use the ordered checks in how to sharpen a chainsaw chain. If the edge looks clean but the chain still will not take a chip, use the still-dull diagnostic before filing again.
Replace or professionally assess a chain with cracked components, damaged rivets, bent drive links, or damage that cannot be removed within the manufacturer’s wear limits. File selection cannot repair structural damage.