Replace a chainsaw chain when it has a crack, a broken or bent cutter or drive link, missing parts, or wear beyond the chain maker’s service marks. If the loop is intact and the cutters remain serviceable, sharpen it once with the correct equipment, then judge the result before buying a replacement.
Sort the evidence into three bins
A chain that cuts slowly is not automatically worn out. Dirt contact, a rounded cutting edge, poor lubrication, incorrect tension, an uneven sharpening job, or a worn guide bar can produce similar symptoms. Disable the saw exactly as its manual directs, let the cutting attachment cool, and wear gloves while handling the stationary chain.
Clean enough residue away to see every cutter, tie strap, rivet, and drive link. Then use this decision table before removing metal:
| What you find | Decision | Why |
|---|---|---|
| Crack; broken, bent, or missing component; damaged rivet; badly battered drive-link tang; or a cutter at the maker’s discard mark | Replace now | Sharpening cannot restore the chain’s structure or remaining service material |
| Intact components, visible service marks, and rounded or lightly damaged cutting edges | Sharpen once, then verify | A correct sharpening may restore the edge without discarding a serviceable loop |
| Frequent loosening, drive links that bind or rock in the groove, uneven witness marks, or poor cutting after a careful sharpening | Inspect the system first | Bar rails, groove, sprocket, tensioner, lubrication, or chain mismatch may be the underlying fault |
The third bin matters. Replacing a chain without checking the parts that carry and drive it can damage the new loop or leave the original symptom unchanged.
Inspect one full loop without losing your place
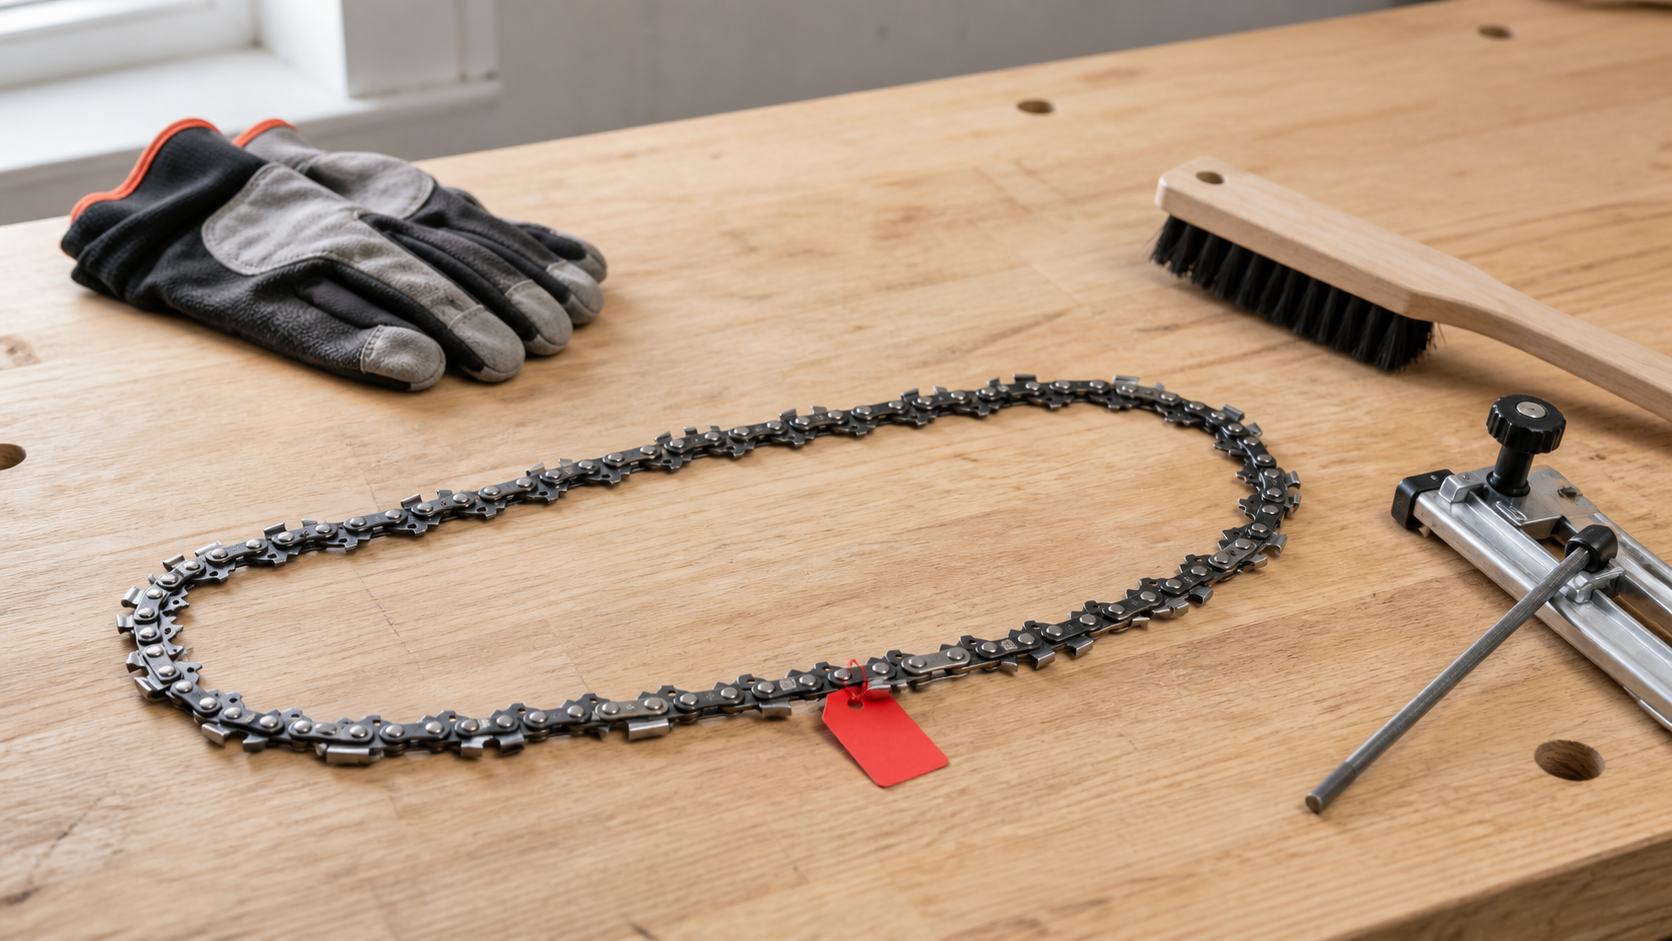
Mark one tie strap with a removable tag, then inspect the stationary chain until the tag returns. This prevents a clean-looking section from ending the inspection early.
| Inspection station | Evidence to find | Decision boundary |
|---|---|---|
| Cutters and depth gauges | Cracks, bending, missing material, impact damage, and maker-specific wear marks | Replace when structure or the chain maker’s service limit fails; dullness alone belongs in the sharpen-once bin |
| Tie straps and rivet areas | Cracks, distortion, missing parts, abnormal looseness, or damage around a rivet | Keep the loop out of use and follow the chain maker’s replacement or qualified-service direction |
| Drive links and joints | Broken, bent, severely burred, or peened tangs; a clean joint that remains stiff | Replace or obtain qualified assessment; filing the cutters does not correct a tracking or joint fault |
| Bar, sprocket, and tension evidence | Uneven witness marks, groove binding, repeated cold slack, poor oil delivery, or visible drive wear | Diagnose the carrying and drive system before installing a replacement chain |
This card deliberately avoids a universal cutter length. Use the marks and discard criteria for the identified chain family; if those cannot be confirmed, stop at dealer or manufacturer guidance rather than measuring by guesswork.
Read the shortest cutter without treating it as the whole answer
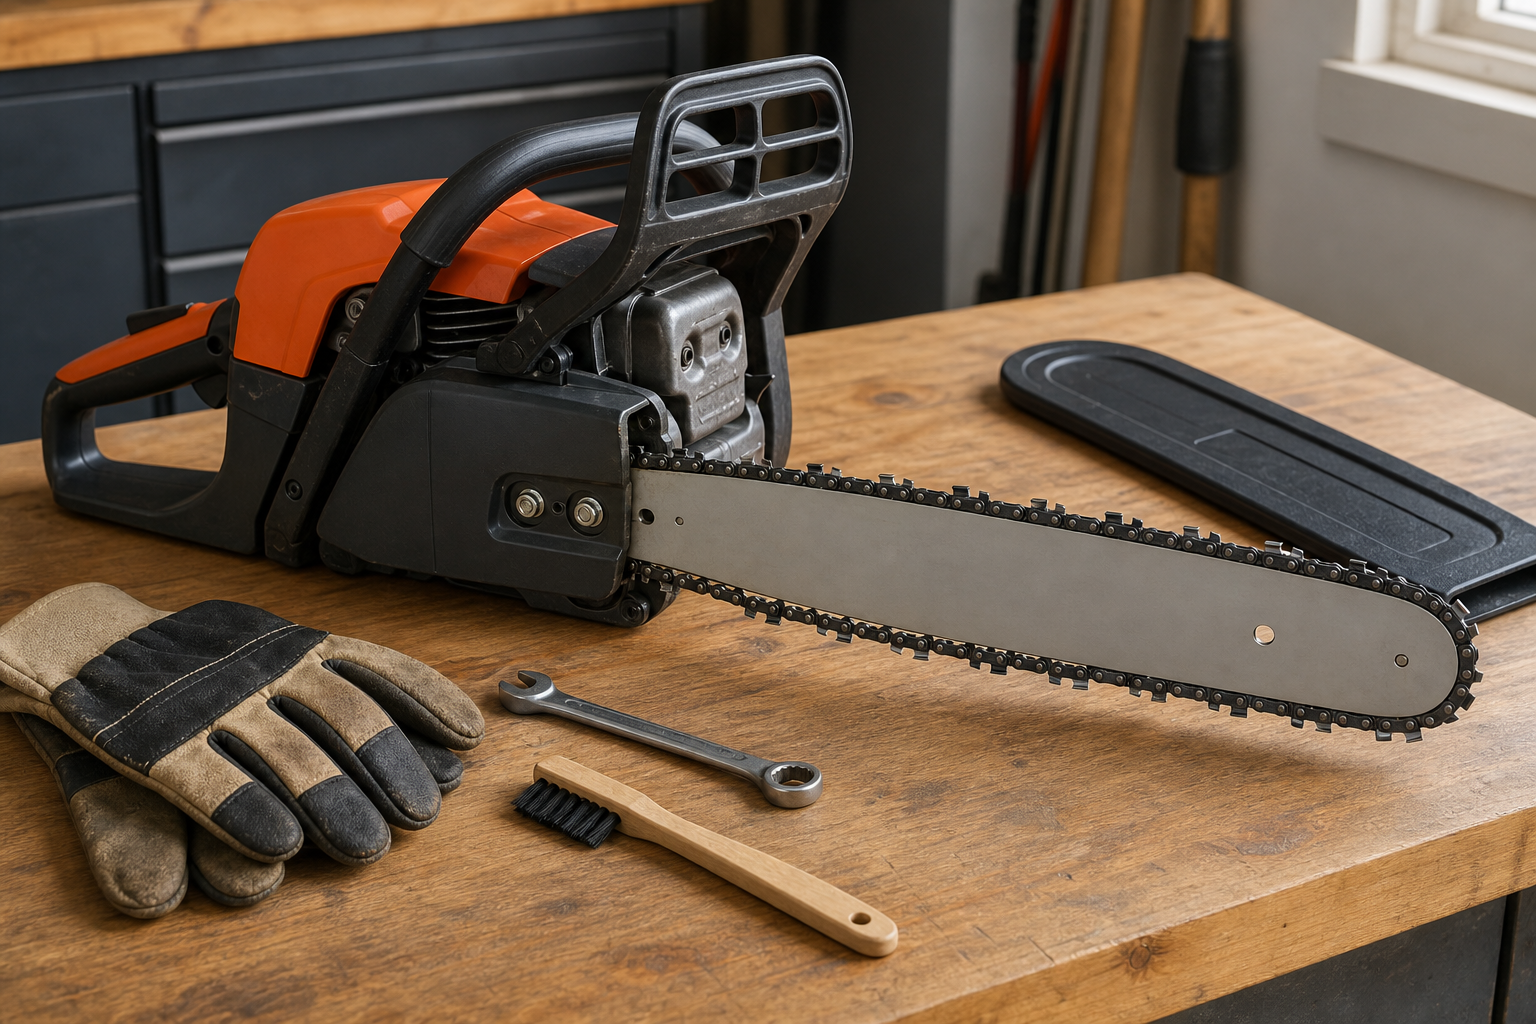
Remove the bar and chain only by the saw manual’s procedure. Lay the cleaned chain on a bright surface and mark the starting tie strap so the inspection covers the full loop once.
First inspect the cutters. Look for cracks, bending, missing carbide or cutter material, and impact damage that extends beyond an edge a maker-approved sharpening can restore. Find the shortest serviceable cutter and compare its remaining length with the chain maker’s wear marks or discard criteria. Do not apply a universal minimum to an unidentified chain: manufacturers use different chain families and markings.
Next inspect both sides of every tie strap and each rivet area. A visible crack, missing part, distorted strap, or damaged rivet is a stop condition, not a filing problem. Then turn to the drive links. Their lower tangs should not be broken, bent, severely burred, or peened so that they no longer travel correctly in the specified bar groove.
Finally, flex the clean loop by hand as the chain manual permits. A stiff joint that remains stiff after cleaning and correct lubrication needs assessment under the maker’s instructions. Do not hammer, bend, grind, or improvise a repair. Chain repair rules differ, and some work belongs with a servicing dealer using the correct parts and riveting equipment.
Give a serviceable chain one controlled sharpening
Fine dust, extra feed pressure, a rounded edge, and slower cutting usually justify sharpening before replacement when the chain is otherwise intact. They describe edge condition, not structural life.
Positively identify the chain before choosing a file, guide, wheel, or grinder setting. Pitch alone is not a complete match; use the chain code, packaging, bar information, and manufacturer documentation. The chain-identification evidence ladder explains how to stop when those sources conflict.
Mark the shortest serviceable cutter. Restore that cutter with the tool and angles specified for the exact chain, then inspect the edge before repeating the setup. Match the remaining cutters consistently without grinding past their service marks. Check depth gauges only with the chain maker’s matched gauge and procedure; lowering them by eye can create a different handling problem.
For removable chains that are positively identified and still serviceable, the live KonKell 250W mountable chainsaw sharpener lists an adjustable grinding-angle setup and a 1/4-inch through 3/8-inch pitch range. That makes it relevant to repeat bench sharpening within the listed range. It does not establish the correct wheel profile or settings for a particular chain, and it cannot rescue cracked, bent, broken, badly worn, or incompatible components.
Judge the result without forcing a cut
Clean away filings, refit the chain in the correct direction, set tension, and verify lubrication by the saw manual. If a controlled cut in clean wood still demands heavy pressure, pulls sideways, chatters, overheats, or produces fine dust, stop rather than grinding the loop again immediately.
Recheck the first sharpened cutter under good light. A bright flat on the cutting edge suggests the tool did not reach the whole edge. Large left-to-right differences point to inconsistent sharpening. Rapid repeat dulling may instead come from ground contact, dirty wood, poor lubrication, or a drive-system problem; use the fast-dulling cause check before treating another chain as disposable.
If the chain becomes loose again after correct cold setup and the manual’s warm-up recheck, do not call that proof of “stretch.” Use the stationary-mark loose-chain test to separate mounting or tensioner movement from wear elsewhere in the cutting attachment.
Check what the replacement chain will run on
Before fitting a new loop, clean and inspect the guide bar groove, rails, oil passages, drive sprocket, mounting faces, and tensioner according to the saw manual. The guide-bar replacement test separates cleanable residue and light burrs from rail, groove, body, and nose evidence that needs measurement, dealer correction, or replacement. Battered drive links can be evidence of a loose chain, mismatched pitch, a worn sprocket, or a derailment. A new chain does not correct those conditions.
Match the replacement by the saw and bar manufacturer’s approved combination. Confirm pitch, gauge, drive-link count, and chain family from reliable markings or documentation rather than choosing by bar length alone. If the bar markings, old chain, package, and saw manual disagree, take the saw and cutting attachment to an authorized dealer.
Keep the removed chain only if it remains structurally sound and you have a defined reason to retain it, such as dealer assessment or a later maker-approved sharpening. Mark it clearly so it cannot be mistaken for a ready-to-use spare. Discard or recycle an unserviceable chain through an appropriate local metal-waste route; do not return it to the saw for “one last cut.”
Two questions that settle common edge cases
Should I replace a chain just because it keeps getting loose?
No. Repeated slack calls for inspection, but it does not identify the chain by itself. Confirm correct installation and tension, then inspect the bar groove and rails, drive links, sprocket, tensioner, and mounting hardware. Replace the chain when its own components or wear limits fail inspection; correct the carrying or drive fault before fitting the replacement.
Is a chain finished when sharpening no longer improves the cut?
Possibly, but first verify that the chain was identified correctly, the matched tool reached the full cutting edge, cutters and depth gauges are consistent, and the bar, sprocket, tension, and lubrication are serviceable. Replace the loop if it is beyond its wear marks or structurally damaged. If the cause remains unclear, a dealer can inspect the cutting attachment as a system.