If your chainsaw bar and chain are not getting oil, stop cutting and do not keep running the chain to test it. Confirm the symptom only with the oil-output check in the exact operator manual, then trace the oil path from the reservoir to the bar before assuming the pump has failed.
A dry-looking outer chain is not a complete diagnosis because much of the lubricant travels inside the bar rails. Better evidence is a missing oil trace during the maker’s approved check, a reservoir level that does not fall during normal use, or heat and wear appearing while the oil path remains dry.
Confirm the symptom without improvising a test
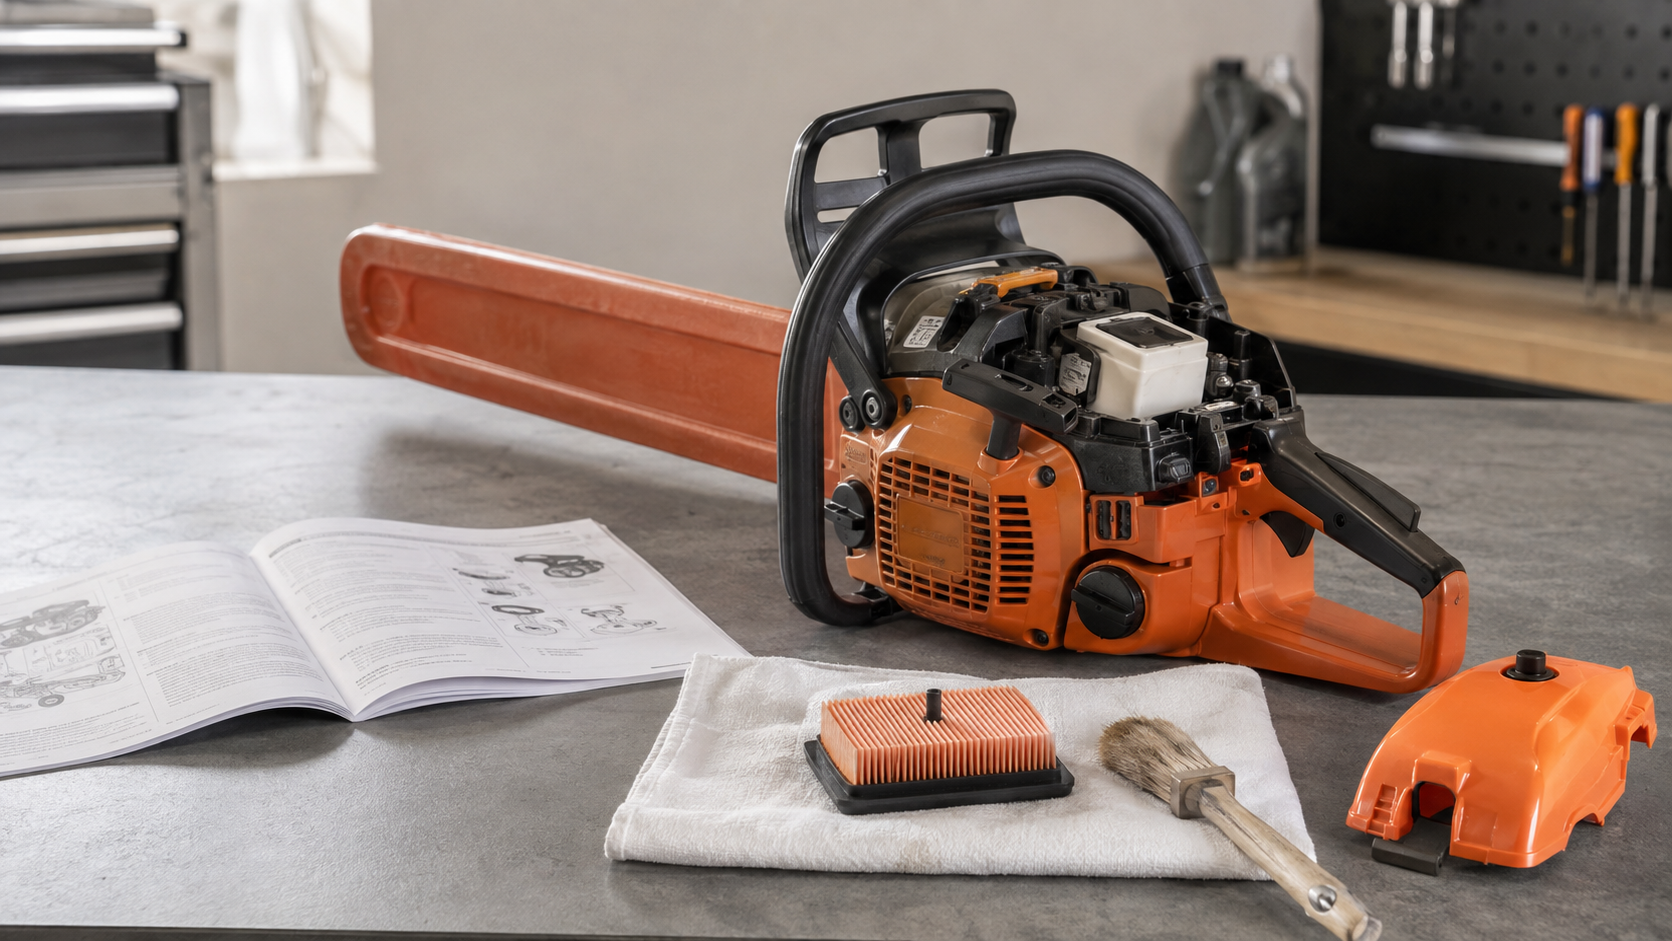
Find the model number and operator manual first. The manual defines the lubricant, oil-output check, adjustable-flow setting if one exists, and which covers or parts an owner may remove.
Before the check, confirm that the tank contains the specified bar-and-chain lubricant. STIHL and Oregon both call for purpose-formulated, clean chain lubricant rather than used engine oil. Oil choice and cold-weather instructions vary, so do not substitute a universal viscosity recommendation.
Perform the maker’s check outdoors in a clear work area with the required personal protective equipment. Some manuals direct the operator to point the bar tip toward a light surface while keeping the tip clear, then look for an increasing trace of oil. Follow the exact speed, distance, and duration in your manual; do not let the nose touch the test surface.
Stop immediately if there is no trace, the chain smokes, the bar discolors, the drive binds, or the chain behaves abnormally. Shut the saw down, let it cool, and make it incapable of starting before touching the cutting attachment.
Use the three-station oil-path split
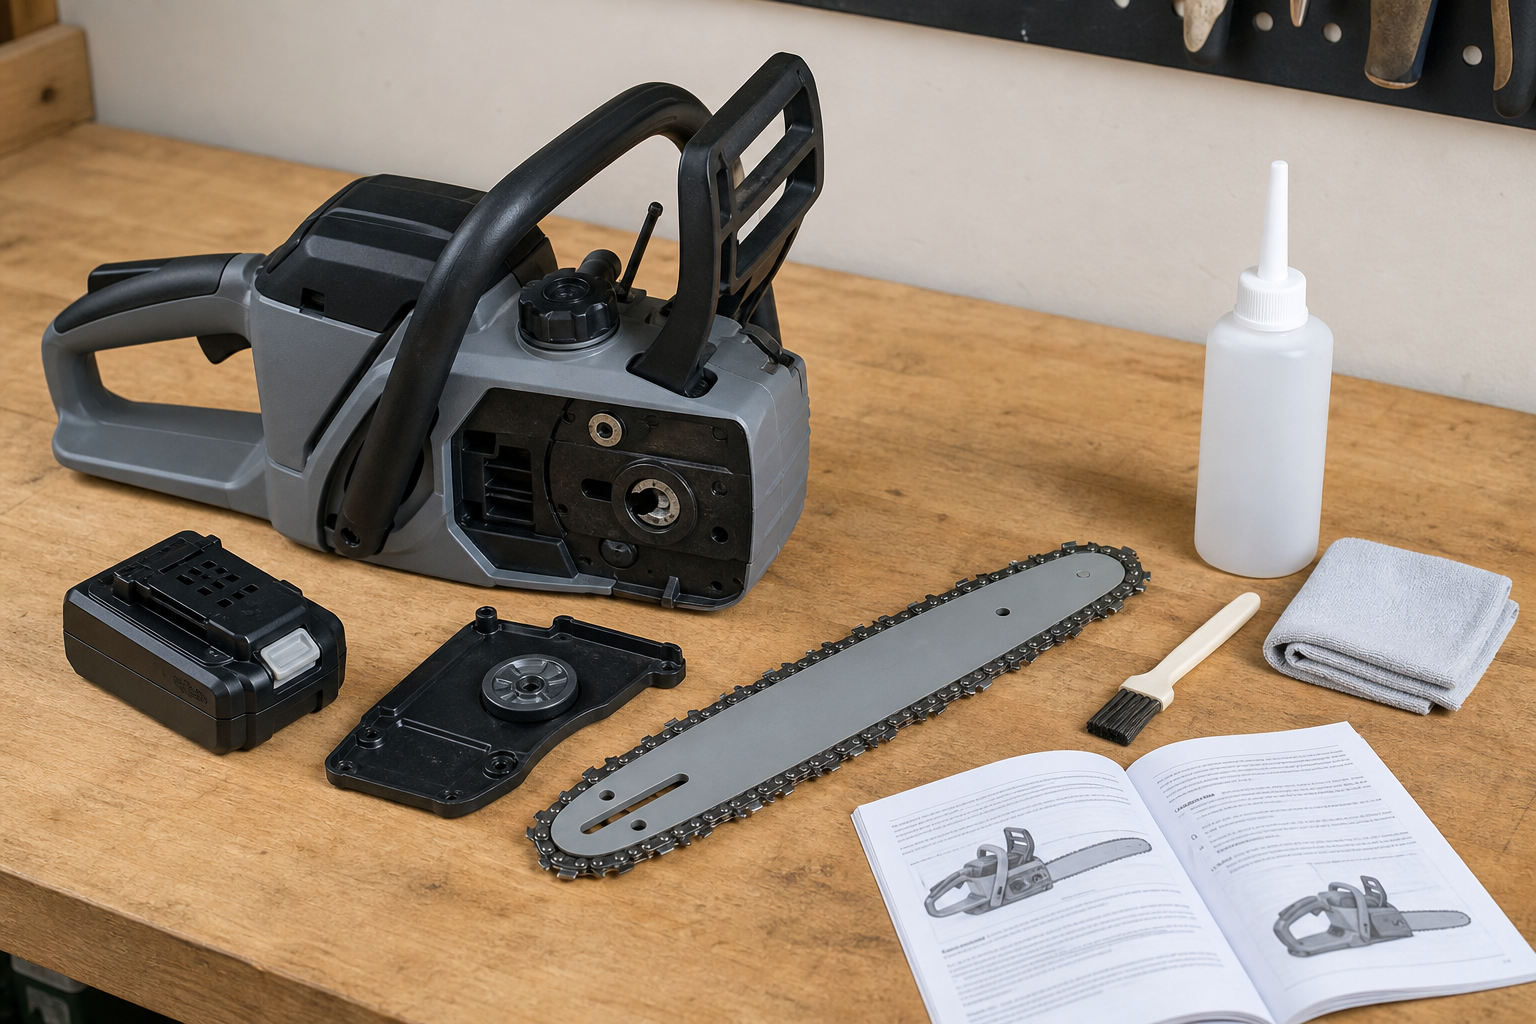
Remove the battery, unplug the cord, or follow the gasoline model’s disabling procedure. Wear suitable gloves around the stationary chain. Remove the bar and chain only if the manual assigns that work to the owner.
| Observation station | Evidence to record | Next decision |
|---|---|---|
| 1. Reservoir | Correct lubricant is present; the cap and tank exterior are intact; the level changed or stayed fixed during prior normal use | Correct an empty tank or wrong lubricant only by the manual. A damaged tank, cap, or inaccessible filter is a service issue. |
| 2. Transfer face | Accessible oil outlet, bar mounting face, and matching bar inlet are clean and align when assembled | Brush or wipe only the exposed areas and use only the cleaning method the manual permits. Do not run the powerhead with the bar removed unless the manufacturer explicitly instructs it. |
| 3. Bar path | Bar inlet, groove, and drive-link path are open; the chain moves smoothly by gloved hand on the disabled, correctly assembled saw | Clean permitted passages, inspect for rail or drive-link damage, then reassemble and tension by the manual. Binding or visible damage must be resolved before an oil-output recheck. |
This split identifies the last place where the oil path can be verified safely. It does not prove that an internal pump, hose, worm drive, or control is sound.
Station 1: check the oil supply
Clean around the filler cap before opening it so loose debris does not fall into the tank. Confirm the tank contains the oil specified for the saw and conditions. Do not add solvent, fuel, compressed air, wire, or homemade cleaner to the tank.
Use the level as a before-and-after clue. A tank that remains full across documented normal operation while the bar receives no oil points toward interrupted delivery. A tank that empties outside the cutting attachment points to a leak instead; use the stored-saw oil-source map rather than treating leakage as proof of chain lubrication.
If the oil is contaminated, the cap will not seat, the tank is cracked, or the manual does not authorize access to a filter or pickup, stop and use the manufacturer’s service route.
Station 2: inspect the transfer faces
Oil leaves the powerhead through an outlet and enters the guide bar through a matching inlet. Packed oily sawdust on the mounting faces can interrupt that handoff even when oil is in the tank.
With the saw disabled and disassembled only as directed, compare the outlet area with the bar’s inlet location. Brush or wipe away loose residue using the tool and direction specified in the manual. Avoid pushing debris into the outlet. Do not enlarge a hole, drill the bar, probe an internal line, or apply sealant.
Check how the bar sits on its studs, adjuster, or locating features. A bar or chain that does not match the powerhead can place passages and drive parts incorrectly; verify the bar mount, chain pitch, gauge, and drive-link count from manufacturer markings and lookup data. The bar-and-chain maintenance guide covers the paired inspection without turning a lubrication fault into a sharpening job.
Station 3: clear the bar path and inspect the chain
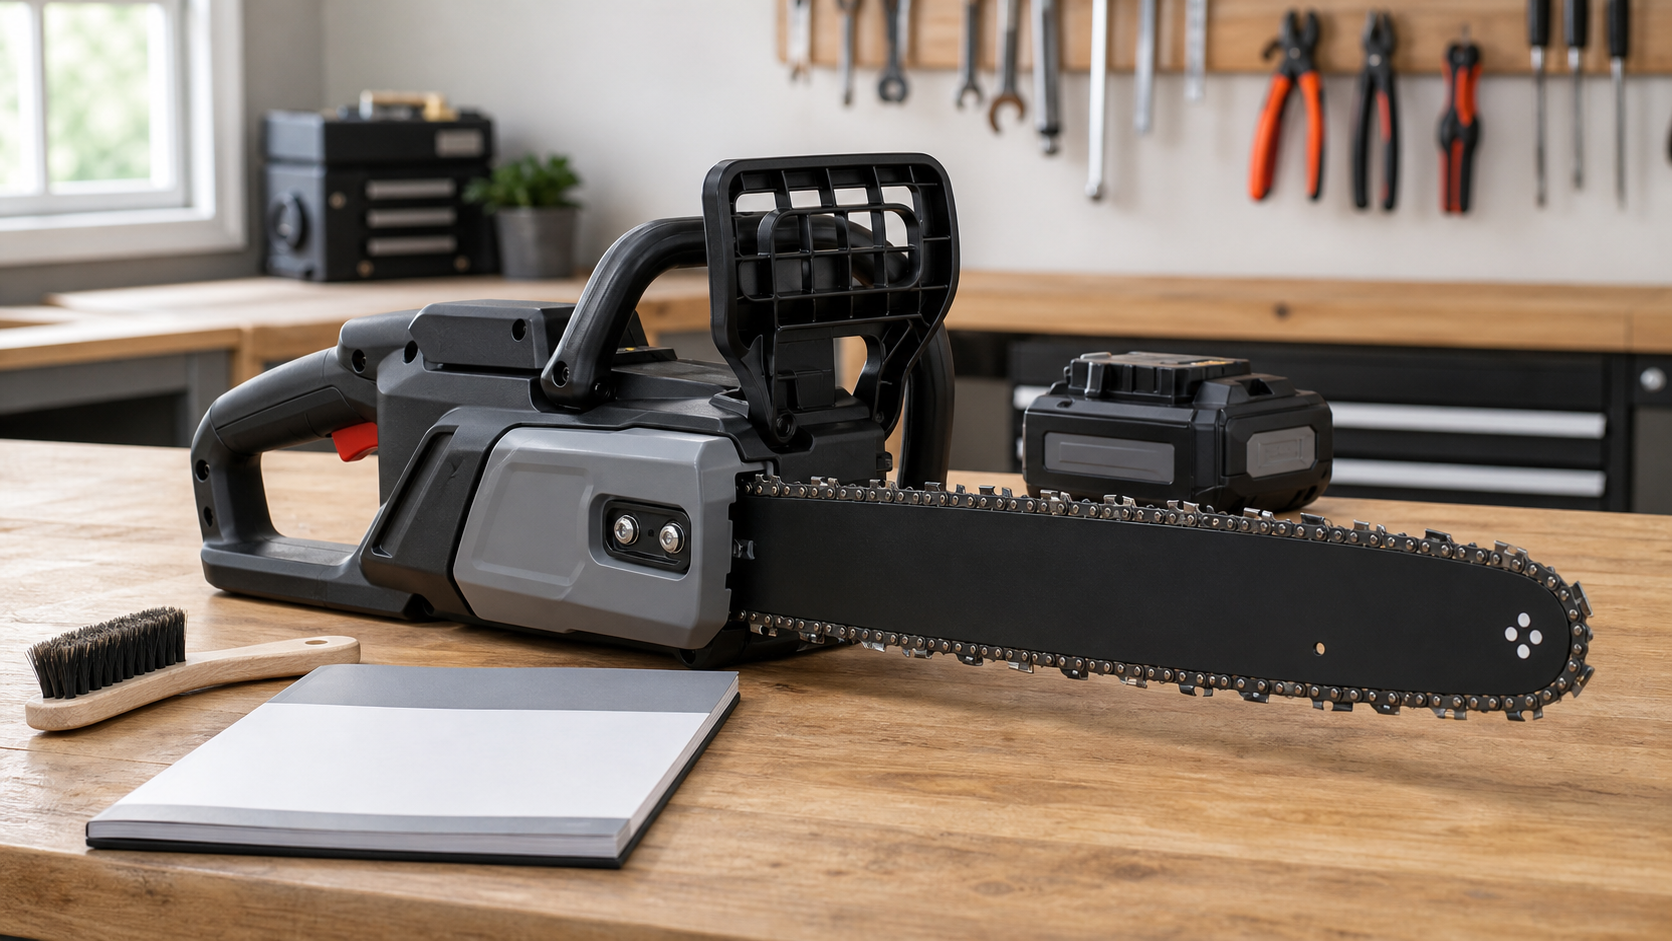
STIHL specifically identifies the oil inlet holes and guide-bar groove as regular cleaning points. Clean the full accessible groove and the inlet with the maker-approved tools. Look for a pinched groove, burred or spread rails, damaged drive links, a tight joint, or a blocked nose area.
After correct reassembly and tensioning, the disabled chain should move as the manual describes. If it catches at one repeated location or remains uniformly difficult to pull, solve that mechanical restriction before another powered lubrication check. The powered-down chain movement diagnostic separates a local catch from uniform binding and drive-system faults.
Do not assume oil delivery alone will correct a damaged, overheated, mismatched, or binding cutting attachment. Those are separate stop conditions.
Know when the problem has moved inside the saw
Some saws have an owner-adjustable oil-flow control; others do not. Locate and change it only by the model manual. An adjustment screw is not a generic fix, and turning an unidentified screw can create another fault.
Arrange qualified service when all of these are true:
- the correct oil is present;
- exposed transfer faces, the bar inlet, and groove are clean;
- the bar and chain match, are correctly installed, and move normally while disabled; and
- the manufacturer-prescribed output check still shows no delivery.
The remaining cause may involve an internal pump, drive, line, filter, seal, or electronic control. Do not run the saw with guards or the cutting attachment removed to watch for oil, and do not open clutch or pump components unless the manufacturer explicitly includes that work in owner maintenance.
Recheck before cutting wood
Reassemble the saw, set tension, and restore power exactly as the manual directs. Repeat its oil-output check in a clear area. Confirm that the chain travels normally, the tank and cap do not leak, and the expected oil trace appears.
If oil delivery is still absent, stop. If delivery returns but the bar, chain, or sprocket shows heat damage or abnormal wear, inspect or replace the affected parts before cutting. Record the model, lubricant, tank-level change, where the oil path was clear, and the final output-check result for the service provider.
Frequently asked questions
Why is my chainsaw oil tank full but the chain dry?
Oil may not be moving from the tank through the powerhead outlet, across the bar mounting face, and into the bar groove. Confirm the symptom with the exact manual’s output check, then inspect those three stations with the saw disabled. If all exposed passages are clean and correctly aligned, the unresolved fault may be internal and needs model-qualified service.
Can I run a chainsaw briefly without bar oil?
No diagnostic in this article requires cutting without confirmed lubrication. Manufacturer guidance warns against operating with a dry cutting attachment because the rubbing parts deteriorate quickly. Stop when the prescribed oil-output check fails, then inspect the disabled saw rather than making repeated cuts to see whether the symptom changes.
Can I use motor oil in a chainsaw oiler?
Use the lubricant specified by the saw manufacturer. STIHL and Oregon call for purpose-formulated bar-and-chain oil and warn against used engine oil. Cold-weather and emergency substitutions are model-specific, so consult the exact manual instead of applying a general viscosity or substitute-oil rule.