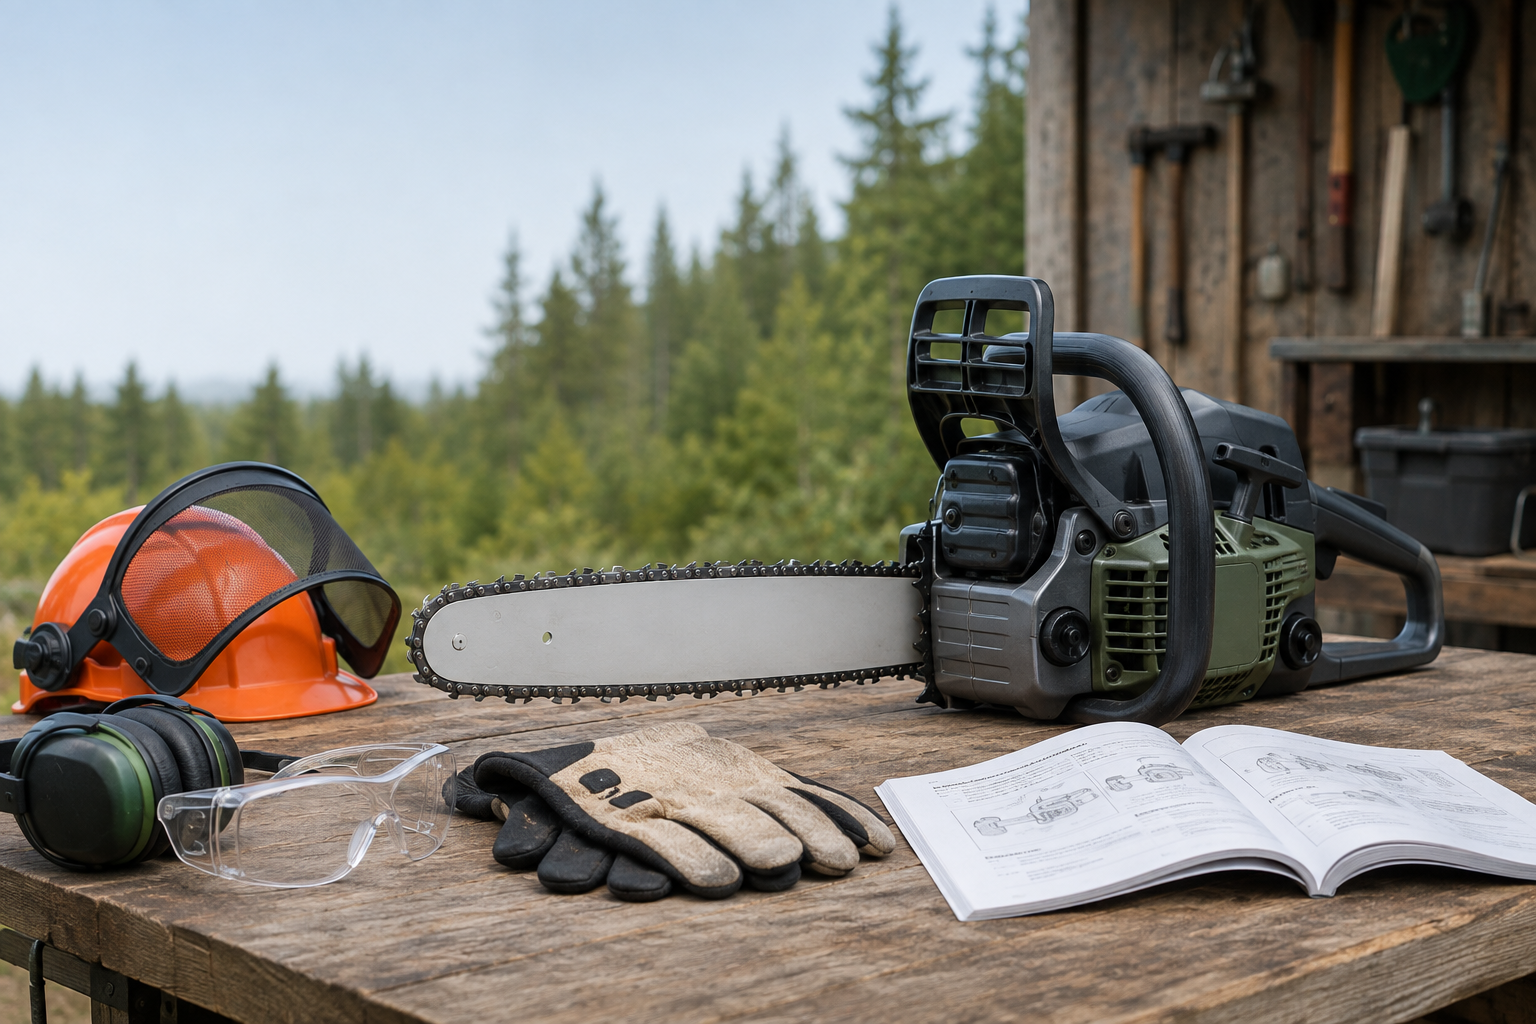
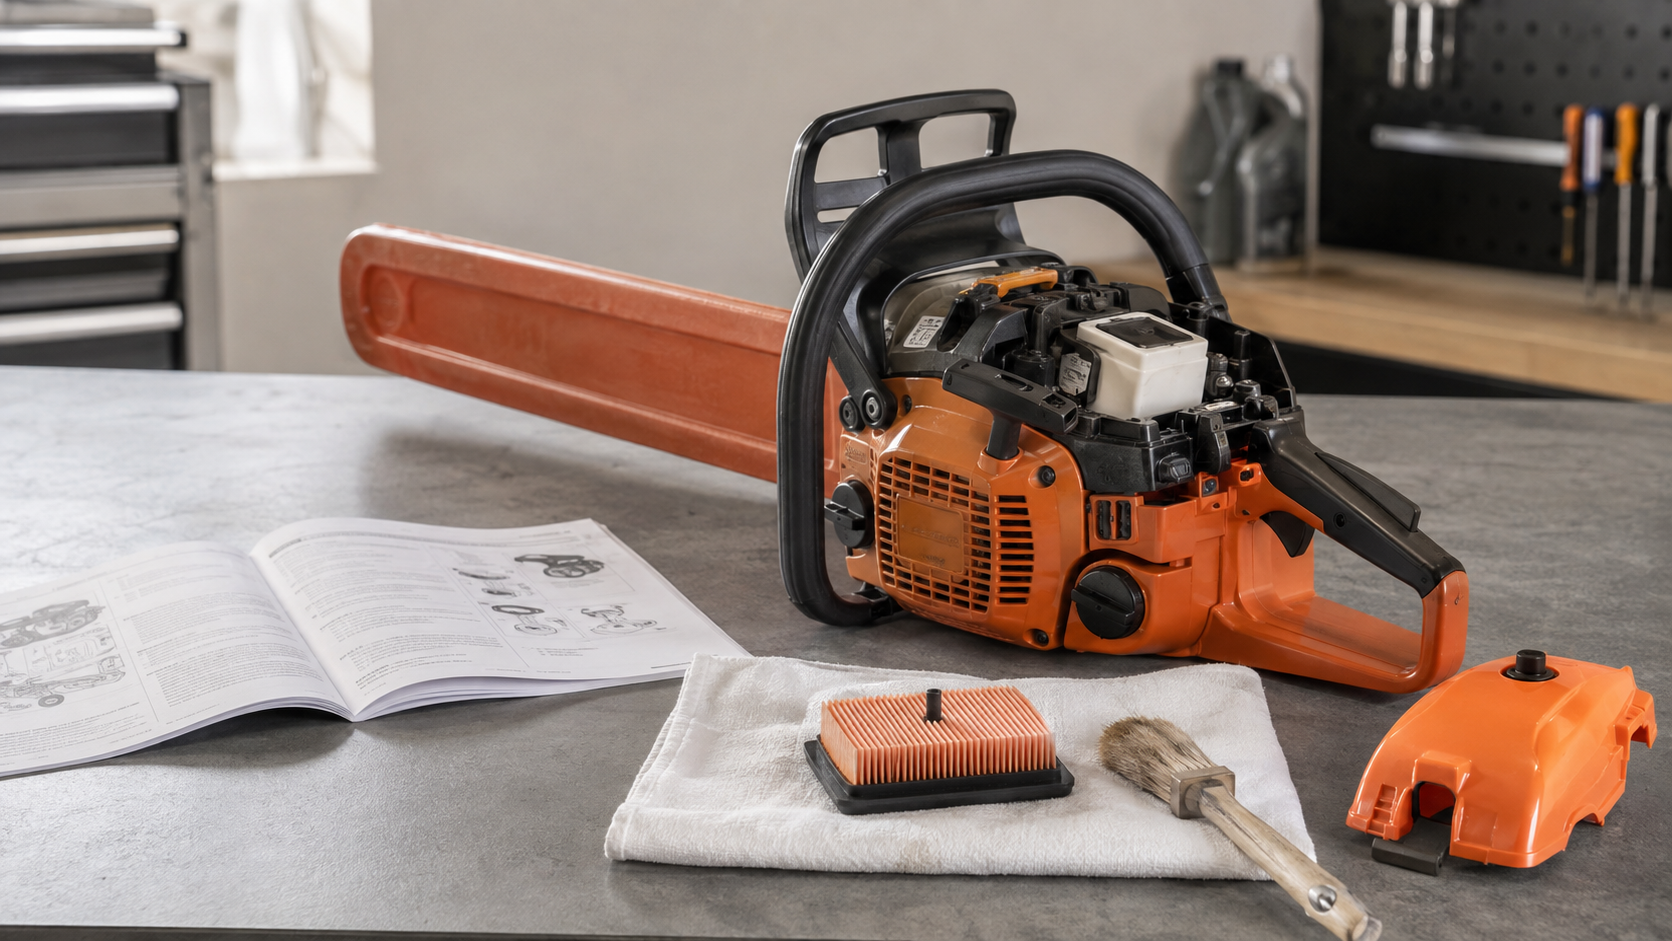
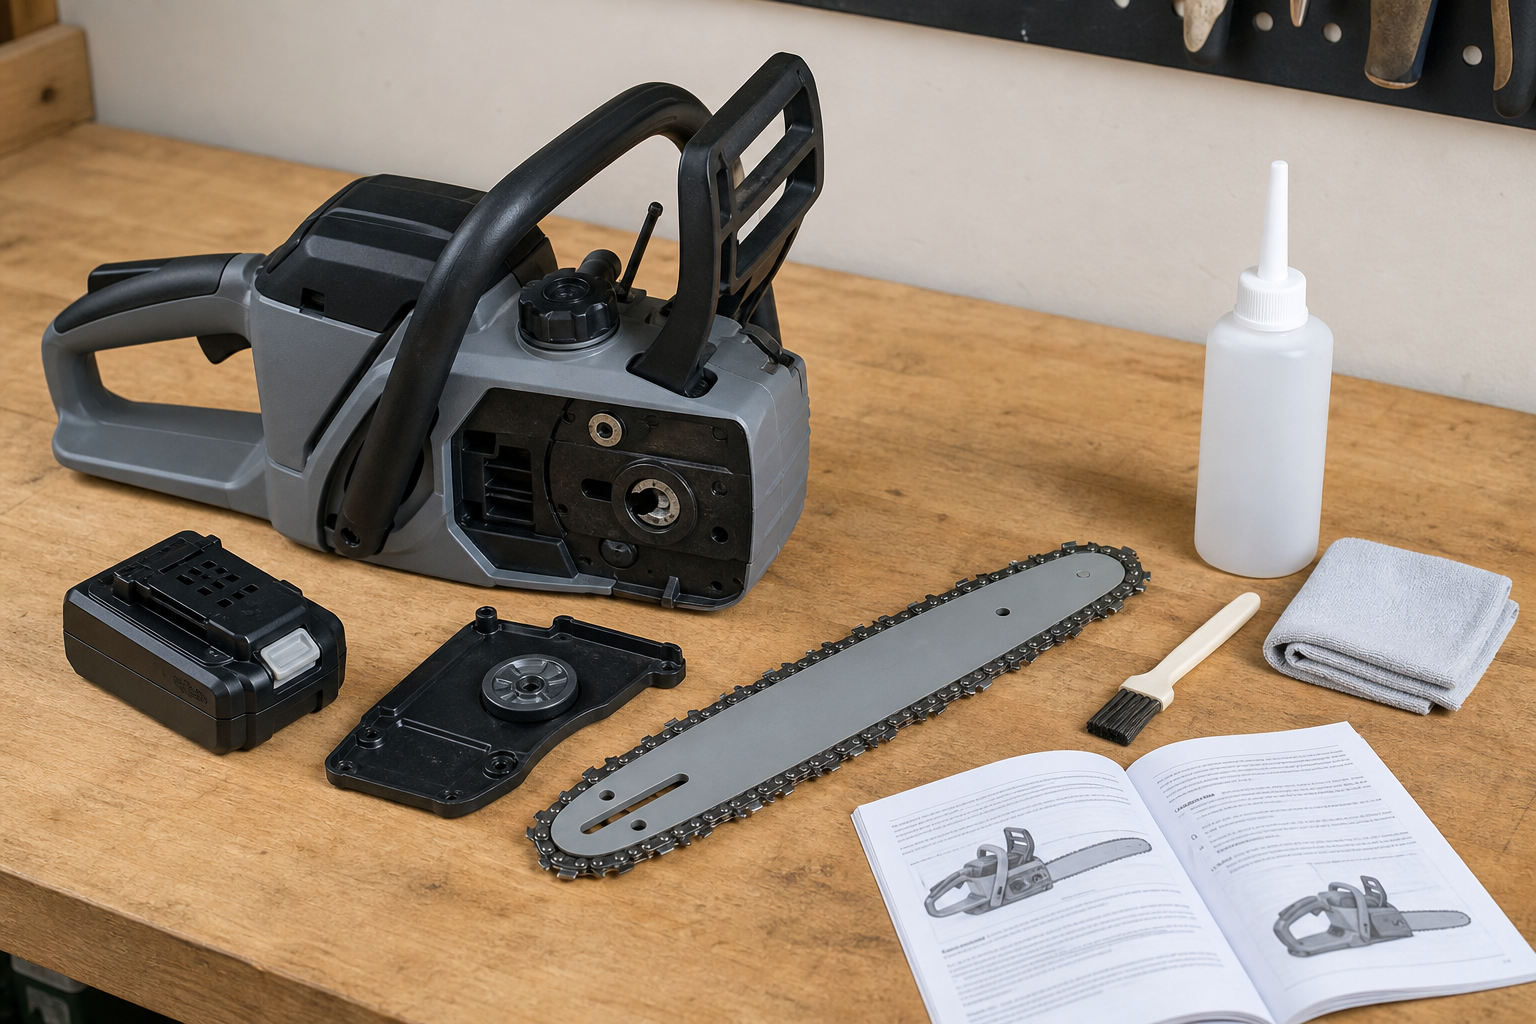
A chainsaw usually cuts crooked because the left- and right-facing cutters are not removing wood evenly, or because the guide bar no longer supports the chain squarely. Stop forcing the cut: inspect the chain first, then use a known-good chain to separate a sharpening fault from bar wear.
Read the curve before changing anything
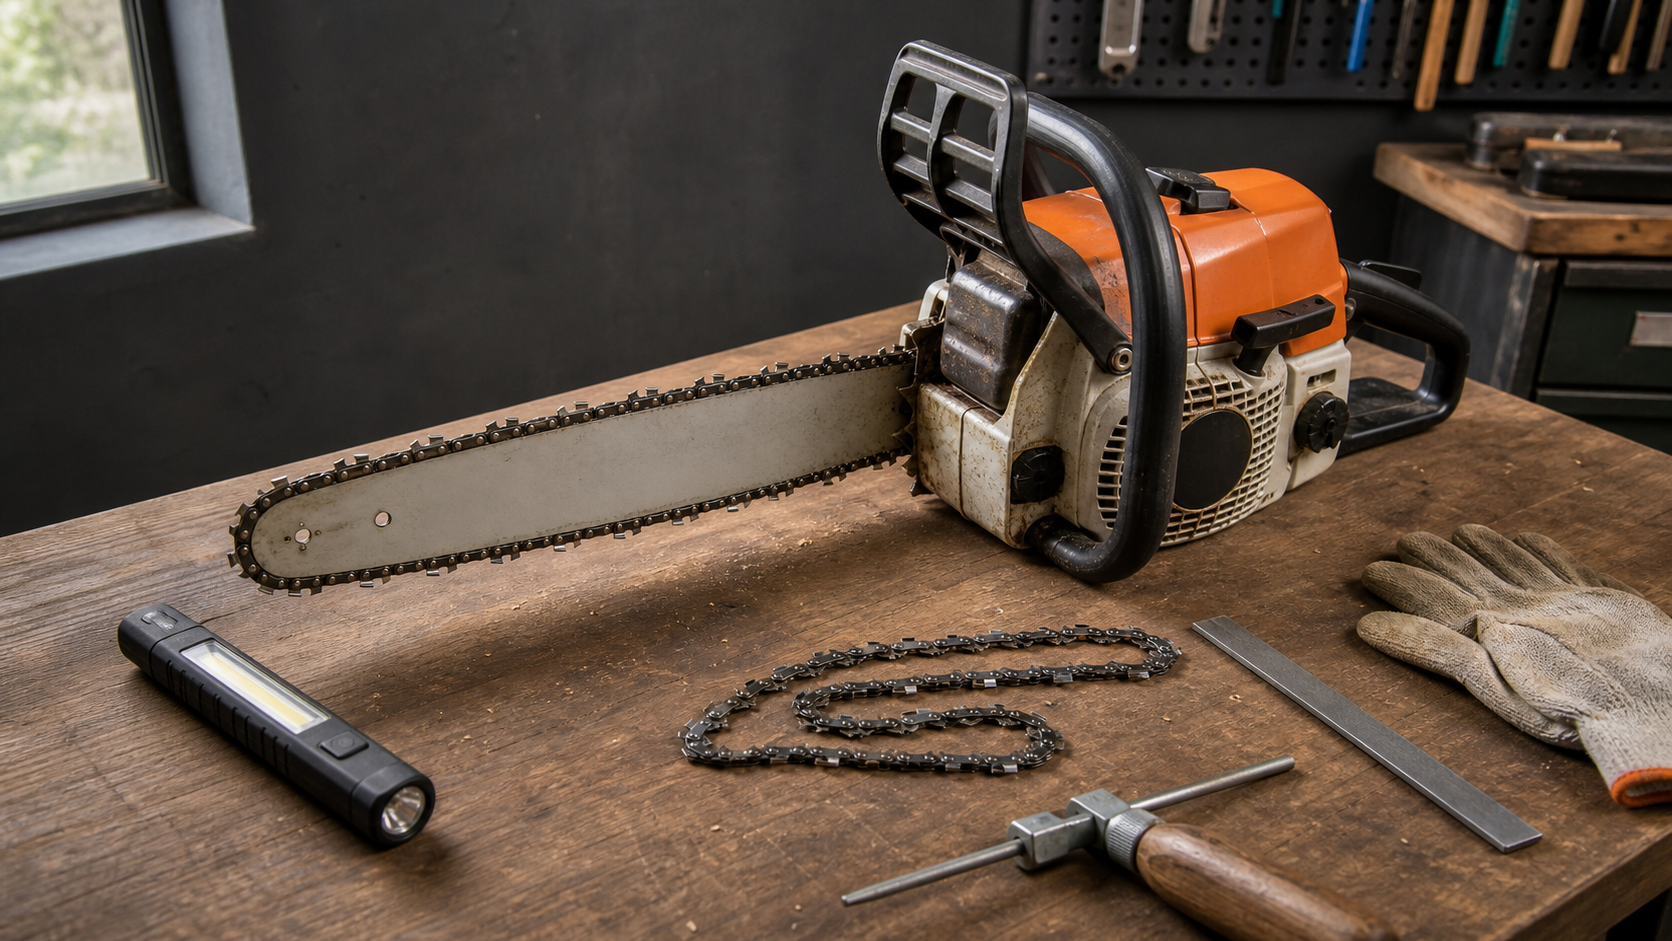
Make one observation in sound, clean wood only if the saw is otherwise safe to operate. Let the chain feed without twisting the rear handle or leaning on the bar. If the kerf begins straight and then curves, or the saw consistently steers to one side, stop and note the direction—but do not use that direction alone to decide which cutters to file.
A damaged cutter, unequal cutter length, mismatched filing angle, or uneven depth-gauge setting can make one side of the chain remove more wood. Husqvarna also lists a bent or unevenly worn guide bar among the common causes of side pull. The useful question is therefore not “Which side should I sharpen harder?” but “Does the fault follow the chain?”
Before handling the cutting attachment, prevent the saw from starting as its manual directs. Remove the battery or unplug an electric saw; for a gasoline saw, follow the shutdown procedure in its manual. Wear gloves when handling the chain.
Use this swap test to isolate the fault
This decision flow avoids grinding away good cutters while a worn bar remains the real problem:
- Clean and inspect the installed chain. Look for one-sided impact damage, a bright flat on cutting edges, cutters that differ visibly from their opposite-facing group, cracked components, damaged drive links, or a service mark that has been reached. Replace or refer the chain for service if damage is outside normal sharpening.
- Check the setup around it. Confirm chain identity, tension, lubrication, and the specified cutter and depth-gauge tools in the saw-chain manual. Clear packed residue from the bar groove and oil holes.
- Fit a known-good compatible chain. It must match the bar and sprocket specifications; “known-good” means serviceable and correctly sharpened, not merely unused-looking.
- Make a controlled crosscut without steering pressure.
- If the replacement chain cuts straight, the original chain is the leading suspect.
- If both chains curve in the same setup, inspect the guide bar, mounting, lubrication path, and sprocket rather than repeatedly sharpening the first chain.
- If the result changes from cut to cut, stop. Loose mounting, incorrect tension, damaged components, technique, or the workpiece may be confounding the test.
This is an isolation test, not proof that every other component is sound. A compatible chain can still behave poorly on a damaged bar, and a worn drive system needs inspection under the saw maker’s instructions.
If the fault follows the chain
Mark the shortest or most damaged serviceable cutter as the reference. Compare the cutting edges, top-plate shape, filing angle, and cutter length on both sides under good light. A reflective spot at an edge indicates that part of the edge is not cleanly sharpened; a chain that struck soil, stone, or metal may have concentrated damage on only part of the loop.
Do not correct a crooked cut by blindly adding strokes to one side. First confirm the proper file or wheel, guide position, and angle for the exact chain. Then restore the damaged reference cutter only as far as its service limits allow and match the remaining serviceable cutters consistently. The detailed unequal-cutter correction method explains why geometry matters more than stroke count.
Check depth gauges after the cutters with the chain maker’s matched gauge. Cutter filing makes cutters shorter, changing their relationship with the depth gauges. Lowering depth gauges by eye—or filing one side differently—introduces another variable and can produce rough, aggressive behavior. If the chain family or file is uncertain, use the chain-first file-size identification order before removing more metal.
If the fault stays with the saw
Remove the bar and chain according to the saw manual. Clean the bar groove and oil passages so residue does not hide the running surfaces, then inspect:
- both rails for unequal height, spreading, pinching, burrs, cracks, or localized wear;
- the bar body for a bend or other visible damage;
- drive links for uneven witness marks that suggest poor rail support;
- the bar mounting faces and fasteners for contamination or damage;
- the sprocket and lubrication path using the manufacturer’s service limits.
STIHL’s guide-bar guidance calls for frequent checks for bent or worn rails and cracked or burred edges, with badly damaged bars replaced. Light burr removal and bar dressing are different from correcting a bent, splayed, or deeply worn bar. If you cannot verify the rail condition or service limits, take the cutting attachment to a qualified dealer.
Our bar-and-chain maintenance guide covers cleaning, lubrication, tension, and storage as a separate ownership routine.
Where a bench sharpener fits—and where it does not
When the chain-swap test points to unequal cutter geometry across several chains, a fixed vise, chain stop, and repeatable head setting can reduce setup drift. The live page for the KonKell 230W bench chainsaw sharpener lists adjustable grinding angle and compatibility with several chain pitches, making it a relevant option for a bench-based correction workflow.
That machine cannot diagnose or repair a bent or worn guide bar. Pitch compatibility also does not establish the correct wheel, cutter angle, depth setting, or chain condition; verify every setting and consumable against the exact chain and sharpener instructions before grinding. Make one light verification contact on the marked reference cutter before committing the loop.
Stop instead of making another test cut
Do not run the saw when the chain, bar, sprocket, mounting, tension, or oil delivery is visibly damaged or cannot be set to the maker’s instructions. Stop as well if the chain binds in the groove, drive links are damaged, cutters or tie straps are cracked, the bar is bent, or a fresh compatible chain still cannot be supported squarely.
Forcing a curving bar through the kerf does not identify the cause. It adds side load while hiding whether the correction worked. A dealer can compare the chain, bar groove, rails, sprocket, and mounting as a system when the swap test remains inconclusive.