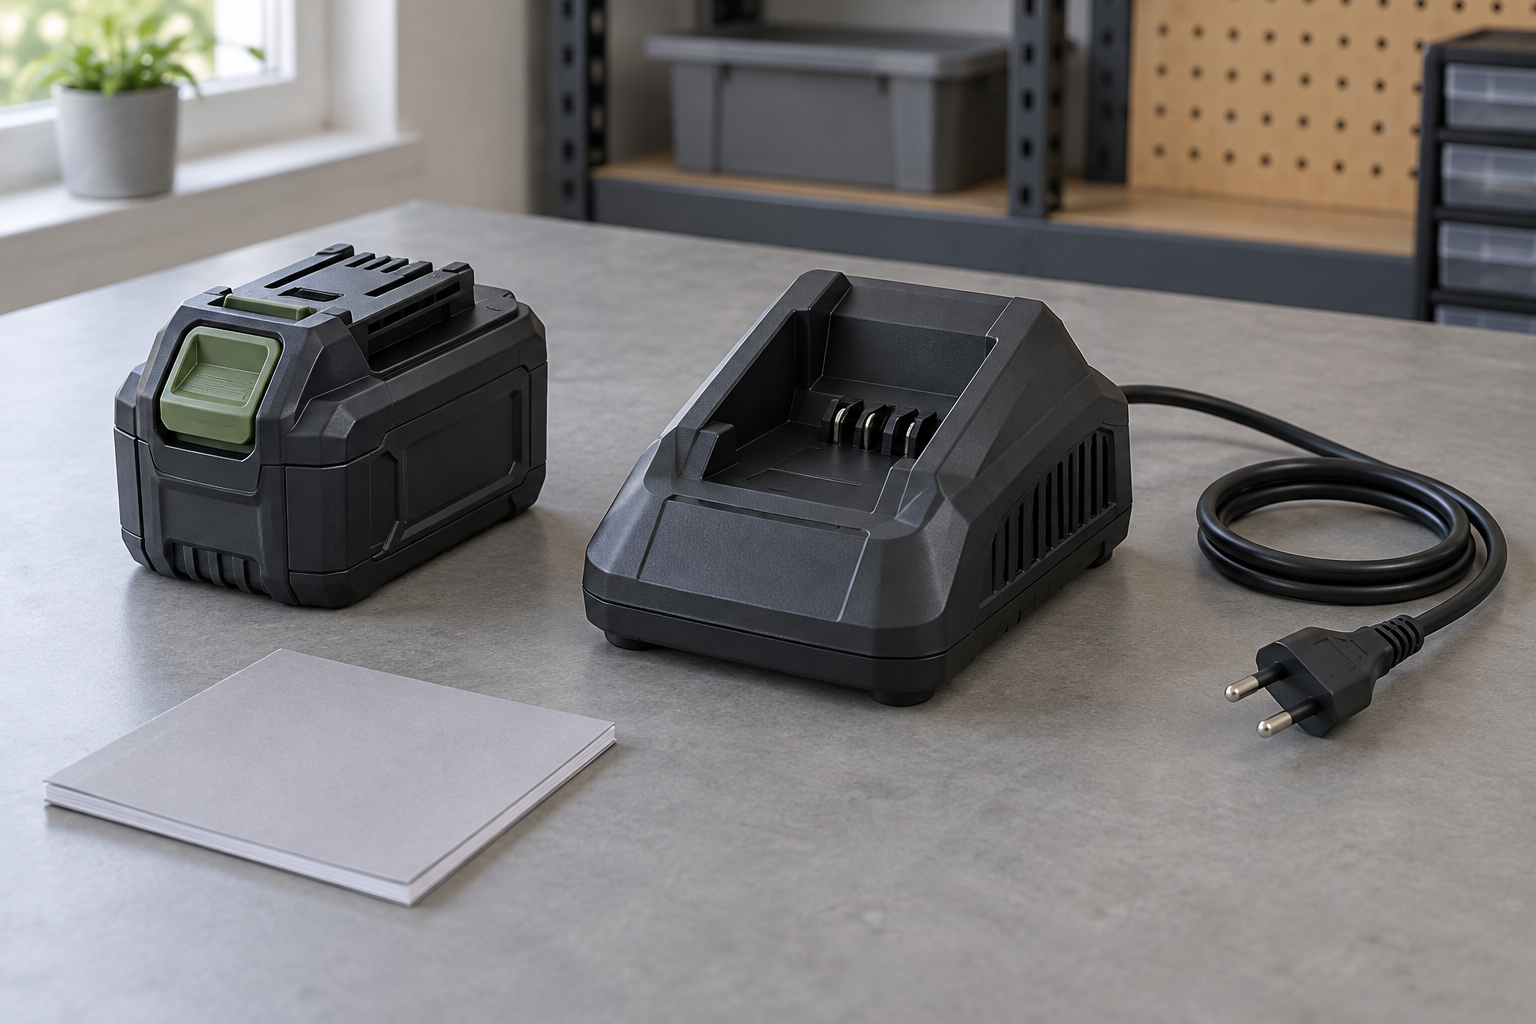
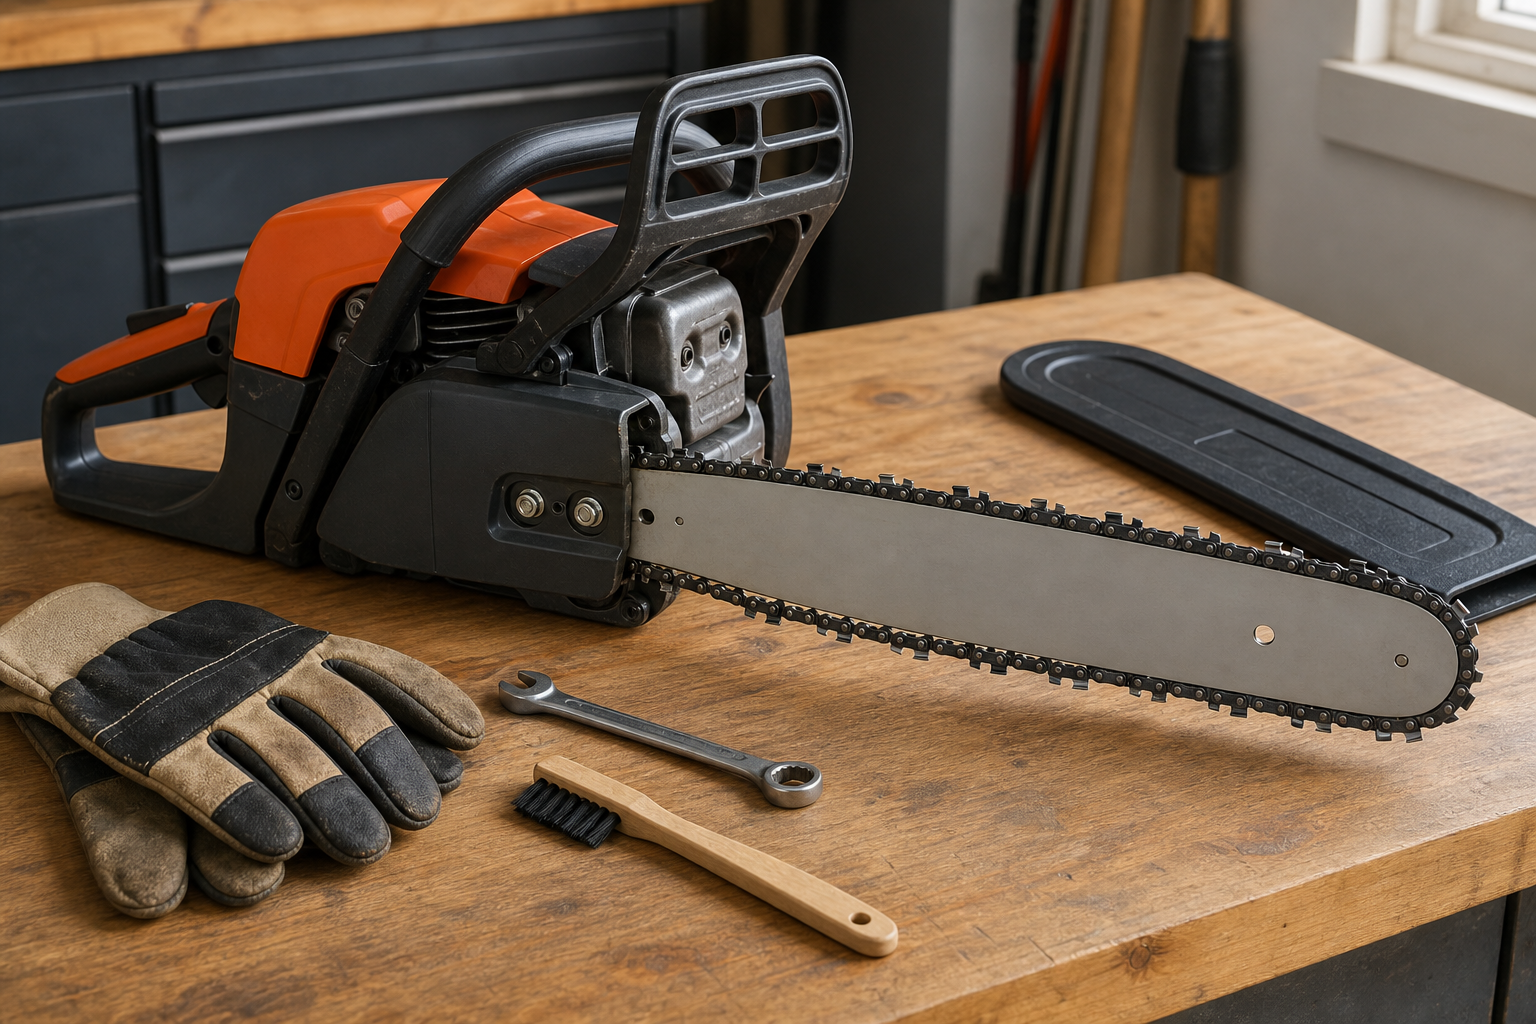
To store a chainsaw, disable and separate its power source, clean and inspect the cutting attachment, fit the guide-bar scabbard, and keep the saw dry and secured. For fuel treatment, battery charge, storage temperature, and bar-oil level, follow the exact saw and battery manuals—manufacturers give different instructions.
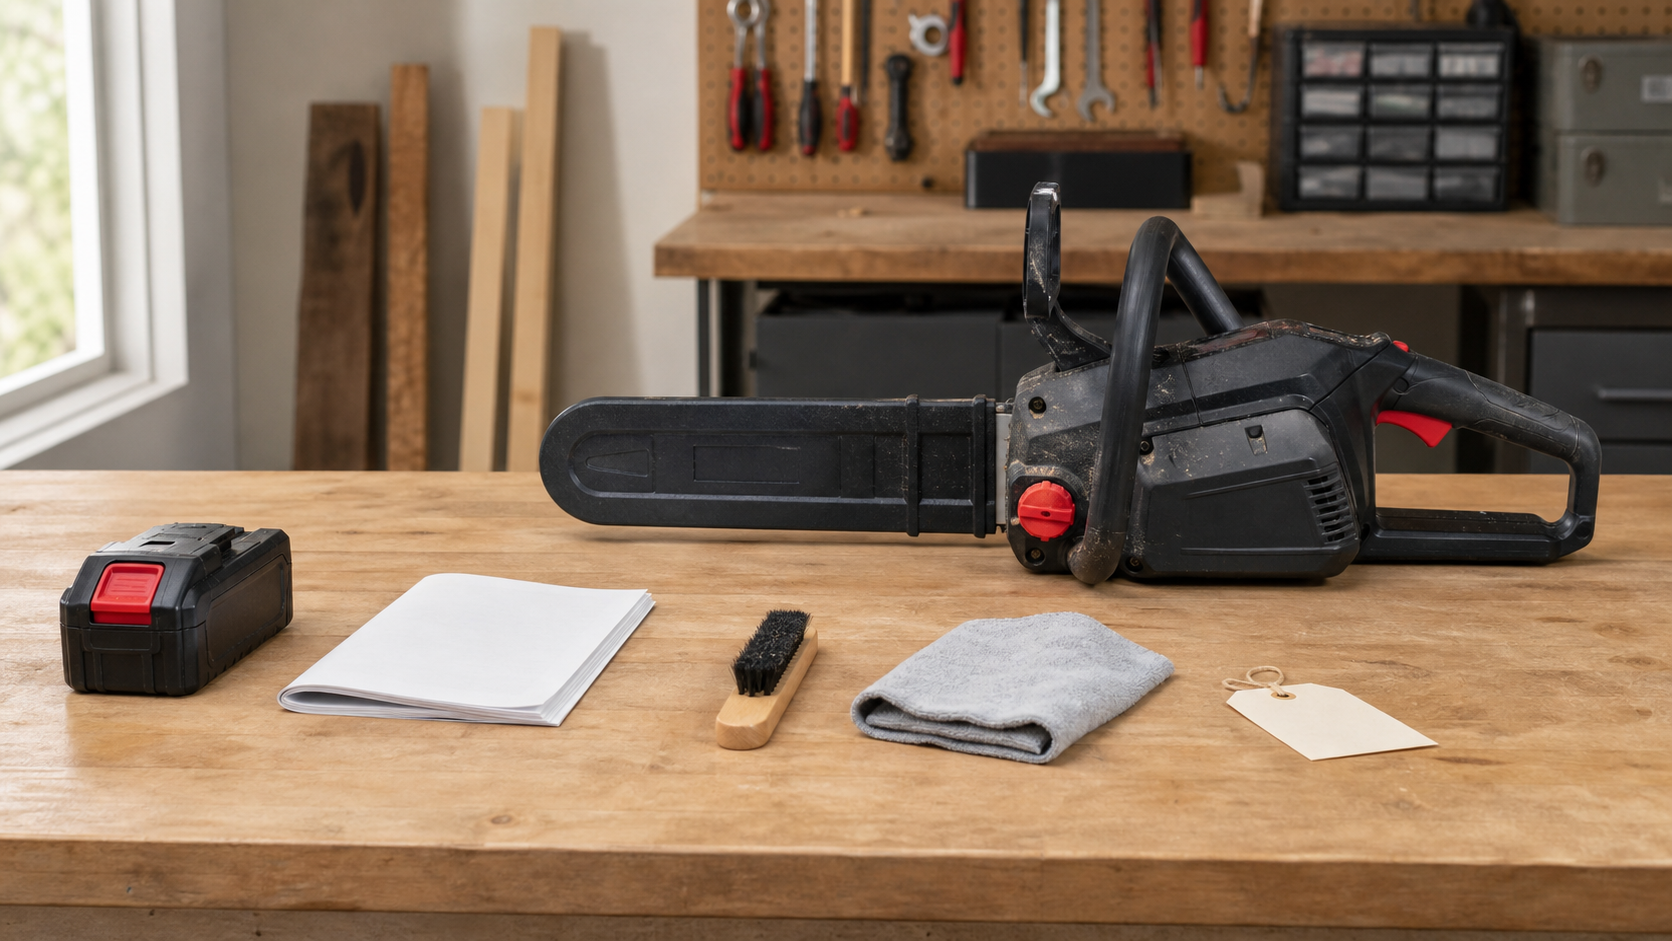
Write down four instructions before touching the saw
Find the storage section in the saw manual and, for a cordless model, the separate battery and charger manuals. Record four answers on a tag:
- What counts as long-term storage for this model?
- What should happen to fuel or battery charge?
- What storage-temperature range applies to the battery, saw, and charger?
- Should the chain-oil tank be drained, left alone, or filled?
This prevents advice for one product family from becoming a rule for another. STIHL’s current battery guide favors a partial charge and a moderate room-temperature range for battery life. ECHO’s chainsaw guidance specifies a different temperature range and charge instruction. A Toro battery-chainsaw manual gives its own ranges and tells owners not to store the pack outdoors or in a vehicle. The correct number is the one printed for your battery system.
If the model cannot be identified or the manual is unavailable, do not guess at fuel handling, charging, or temperature limits. Use the manufacturer’s manual lookup or ask its servicing dealer.
Make the saw unable to start
Wait for the saw to cool and place it on a stable surface.
- Gas saw: switch it off and follow the manual’s disabling method before maintenance. Work with fuel only where the manual permits, away from flames, sparks, and ignition sources.
- Battery saw: engage the chain brake, remove the battery, and keep it out of the charger. An integrated-battery tool may require an activation key or another manual-specific disabling step.
- Corded saw: unplug it and position the plug where it cannot fall into moisture.
Do not rely on a trigger lock alone. Keep the removed battery, plug, or other power control separate while hands are near the chain or sprocket area.
Clean until an inspection is possible
Wear suitable gloves for stationary chain handling. Remove loose chips from the exterior first, then open or remove only the parts covered by owner maintenance in the manual. Clear accessible residue from the sprocket-cover area, guide-bar groove, oil inlet, and oil outlet. Use the maker’s approved cleaning method; do not wash a battery compartment or force tools into hidden passages.
Now inspect rather than polish:
- Walk the entire chain loop. A cracked, bent, loose, or missing component is a replacement or service decision, not a sharpening job.
- Check the bar rails, groove, mounting slot, oil holes, and nose. Stop if the bar is cracked, visibly distorted, pinched, spread, or has a damaged nose assembly.
- Look for oil paths blocked by packed wood dust and oily filings.
- Examine the battery housing and contacts without opening the pack. Do not store or charge a pack that is wet, swollen, cracked, leaking, unusually hot, or otherwise damaged; isolate it as the manufacturer directs and contact the maker.
- Inspect a cord and plug for cuts, crushed areas, exposed conductors, or heat damage. Do not tape over a fault for next season.
Use the chain replacement inspection and guide-bar replacement checks when the condition is unclear.
If an intact chain only needs edge maintenance, the KonKell 250W mountable chainsaw sharpener is a bench option for chains within the pitch range stated on its current page, after wheel and chain compatibility are verified. It does not service the saw’s battery or fuel system, repair chain or bar damage, or provide the storage settings for a specific saw.
Follow the correct power branch
Gas: use the model’s fuel procedure
Storage advice changes with the engine, fuel formulation, and storage interval. Some manuals call for draining fuel into an approved container and running the engine until it stops; another product may specify a different routine. Perform only the procedure in the current manual, outdoors or in the ventilated setting it requires. Never pour fuel onto the ground or improvise a container.
Clean the air filter and cooling areas only within the owner-maintenance instructions. Persistent leakage, a damaged fuel component, or work beyond that section belongs with a qualified service provider.
Battery: separate storage, charging, and operating limits
These are three different specifications. A temperature allowed for storage may not be allowed for charging, and the ideal range for battery life may be narrower than the permitted range.
Manufacturer instructions are not interchangeable. STIHL’s current general guidance gives a preferred long-term temperature and charge band. Husqvarna publishes a different winter-storage target. EGO says some of its batteries automatically discharge after a period without use and permits a charger arrangement that differs from STIHL’s general advice. Do not average those numbers or export one brand’s charger instruction to another.
Write this model-specific battery card before choosing a shelf:
- Permitted storage range: the outer limits stated for storage.
- Preferred long-term range: record it separately when the maker gives one for battery life.
- Charge target: use the pack indicator or manual method; do not invent a percentage from an unfamiliar LED display.
- Charger state and recheck interval: note whether the battery comes out, whether the charger is unplugged, and whether the maker requires periodic checks or uses automatic discharge.
Include the battery model, date, and manual page or web address. This card prevents a future user from applying remembered instructions from another tool platform.
Remove a detachable battery from the saw. Store it clean and dry, away from direct sun, moisture, corrosive chemicals, conductive objects, children, and unauthorized users. Reject a metal shed, vehicle, window shelf, or damp basement unless its measured conditions remain inside the manual’s limits. A permitted storage temperature does not automatically permit charging there.
Before charging after cold or hot storage, move the pack to an allowed charging environment and wait as the manual directs. A pack that refuses to charge after reaching the permitted condition needs manufacturer troubleshooting, not improvised warming or cooling.
Corded: protect the cable without hiding damage
Coil an undamaged cord loosely, avoiding tight bends at the plug and tool entry. Store the plug off the floor and keep the cable where it cannot be crushed by the saw, shelving, or a vehicle tire.
Choose the storage place by elimination
Reject a location if it is wet, exposed to direct sun, accessible to children, close to ignition sources, or likely to exceed the manual’s temperature limits. The remaining place should be dry, ventilated as required, stable, and secure.
Fit the scabbard over the full guide bar. Set the saw where it cannot fall or be mistaken for ready-to-run equipment. Put clean cardboard beneath it for the first few days and mark the edge of any stain. Oil appearing along the bar or sprocket path may be retained lubricant draining from the cutting attachment; a growing stain, a tank-side trail, or oil from a body seam needs the stored-saw leak checks and the model manual.
Keep the storage tag with the saw. Record the date, power-source state, oil-tank instruction followed, chain and bar condition, and any unresolved service item.
Return it to service without using the trigger as a test
Before reconnecting power, inspect for corrosion, pest damage, leaked fluid, a blocked bar groove, loose hardware, or damage to the battery, cord, chain, or scabbard. Resolve every note on the storage tag.
Reassemble, tension, fill, charge, fuel, and test the saw only in the order given by its manuals. Verify lubrication and each safety control using the manufacturer’s stationary or no-load procedure before cutting. Stop if oil delivery is absent, the chain does not travel correctly by the approved check, a leak continues, the battery shows damage or a fault indication, or any safety control fails.