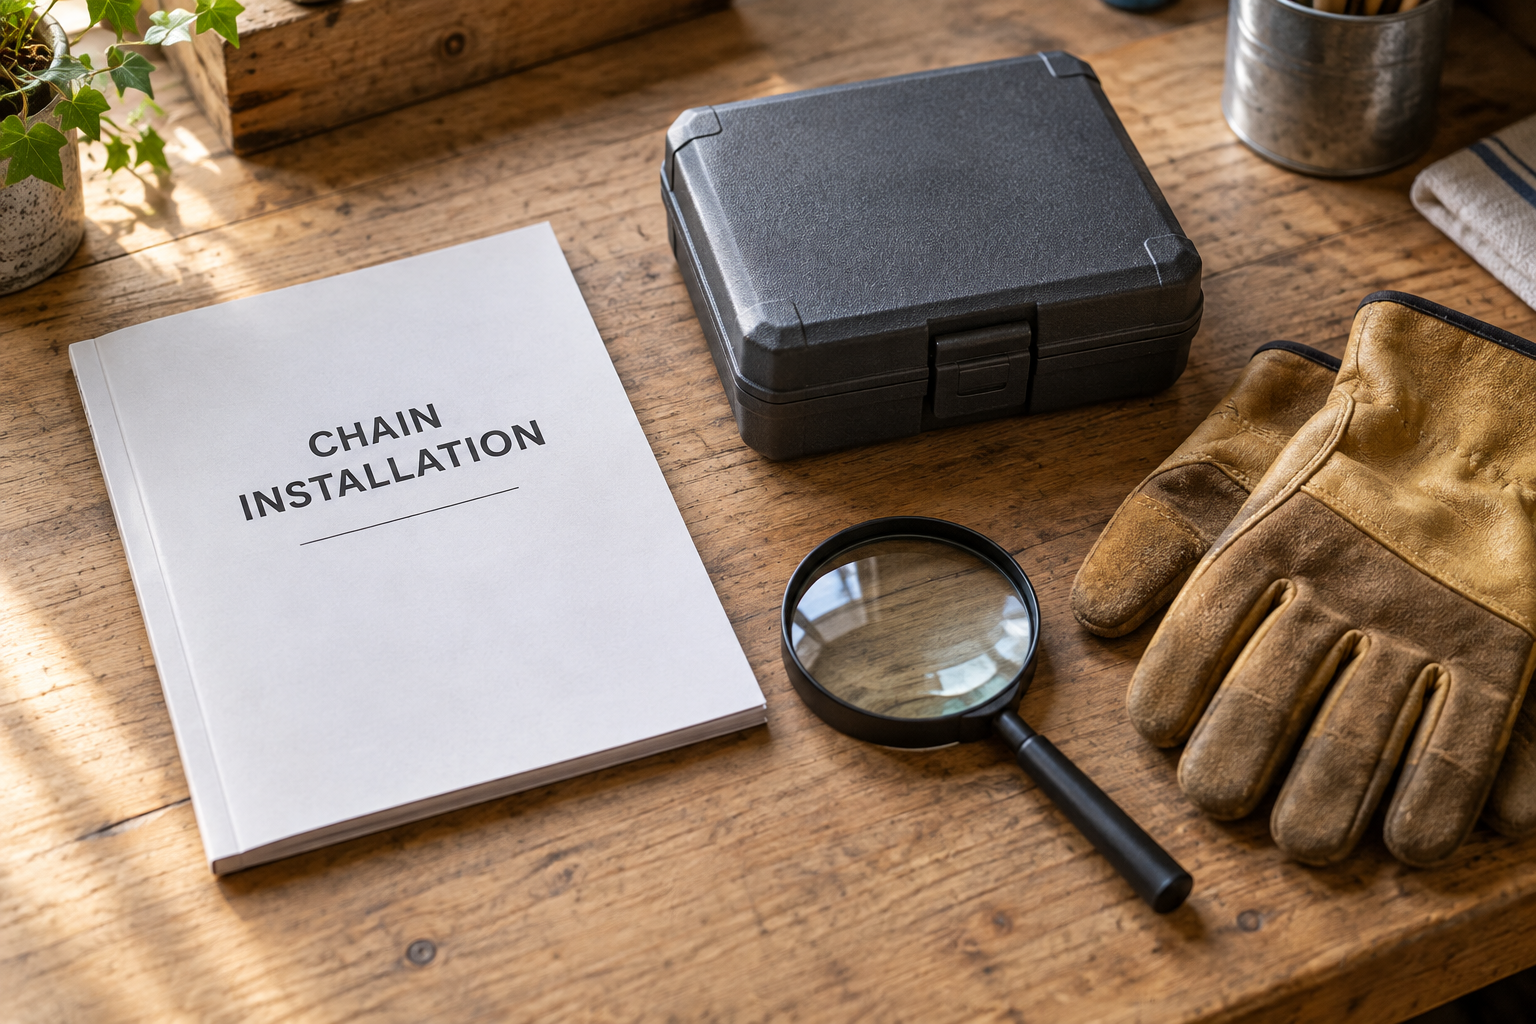
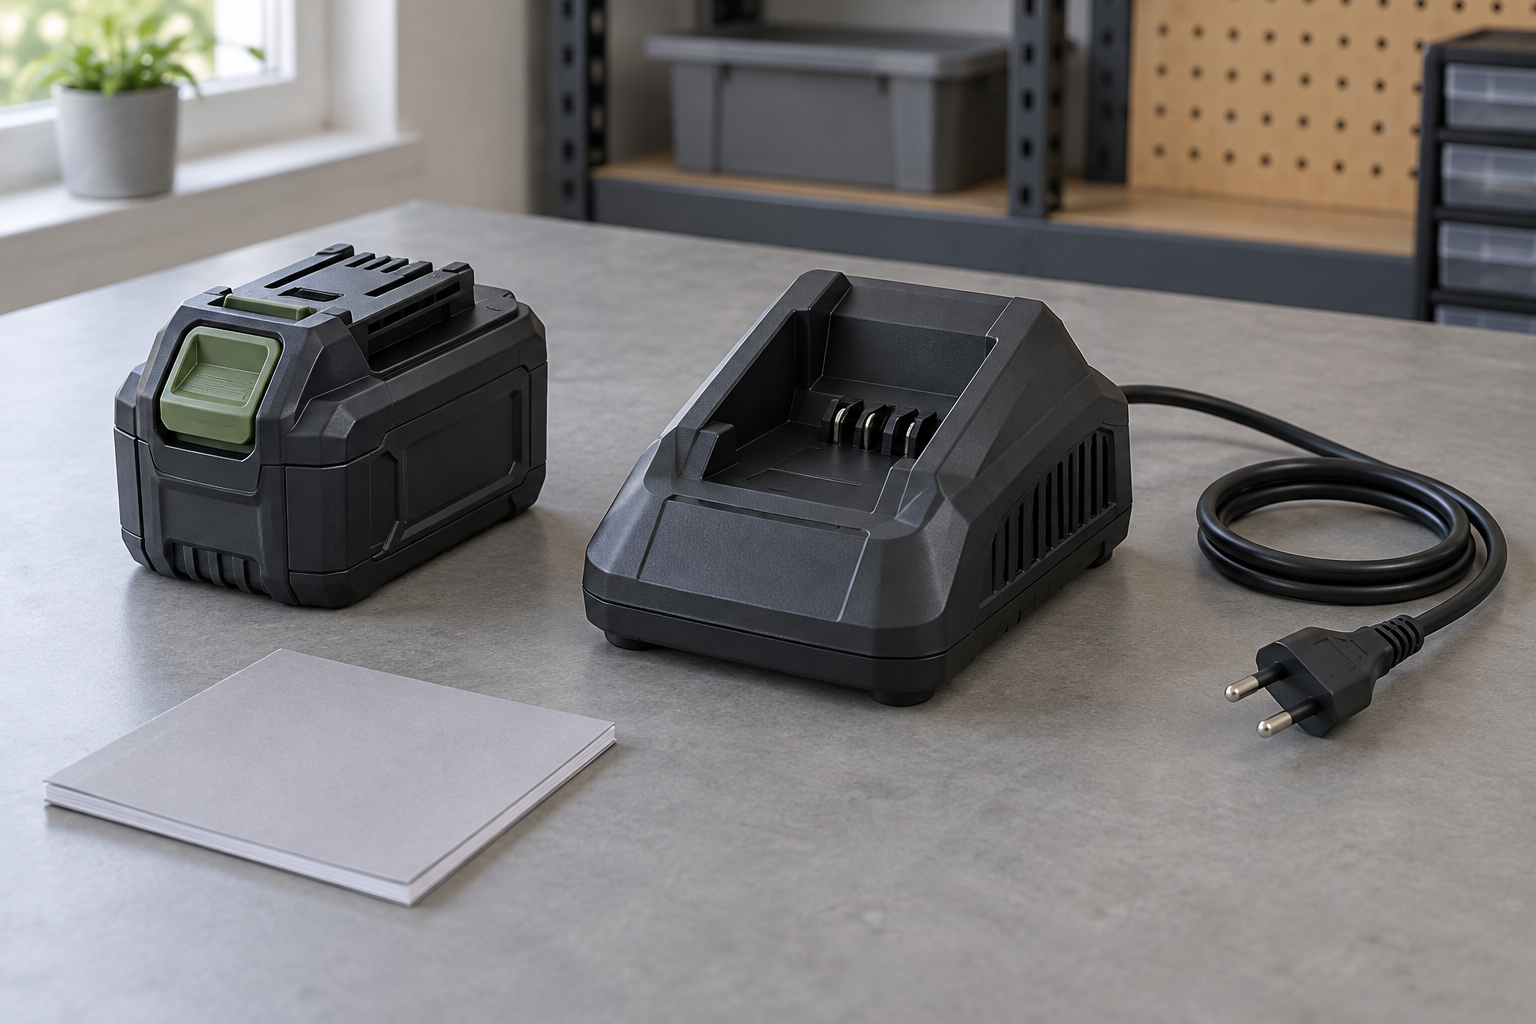
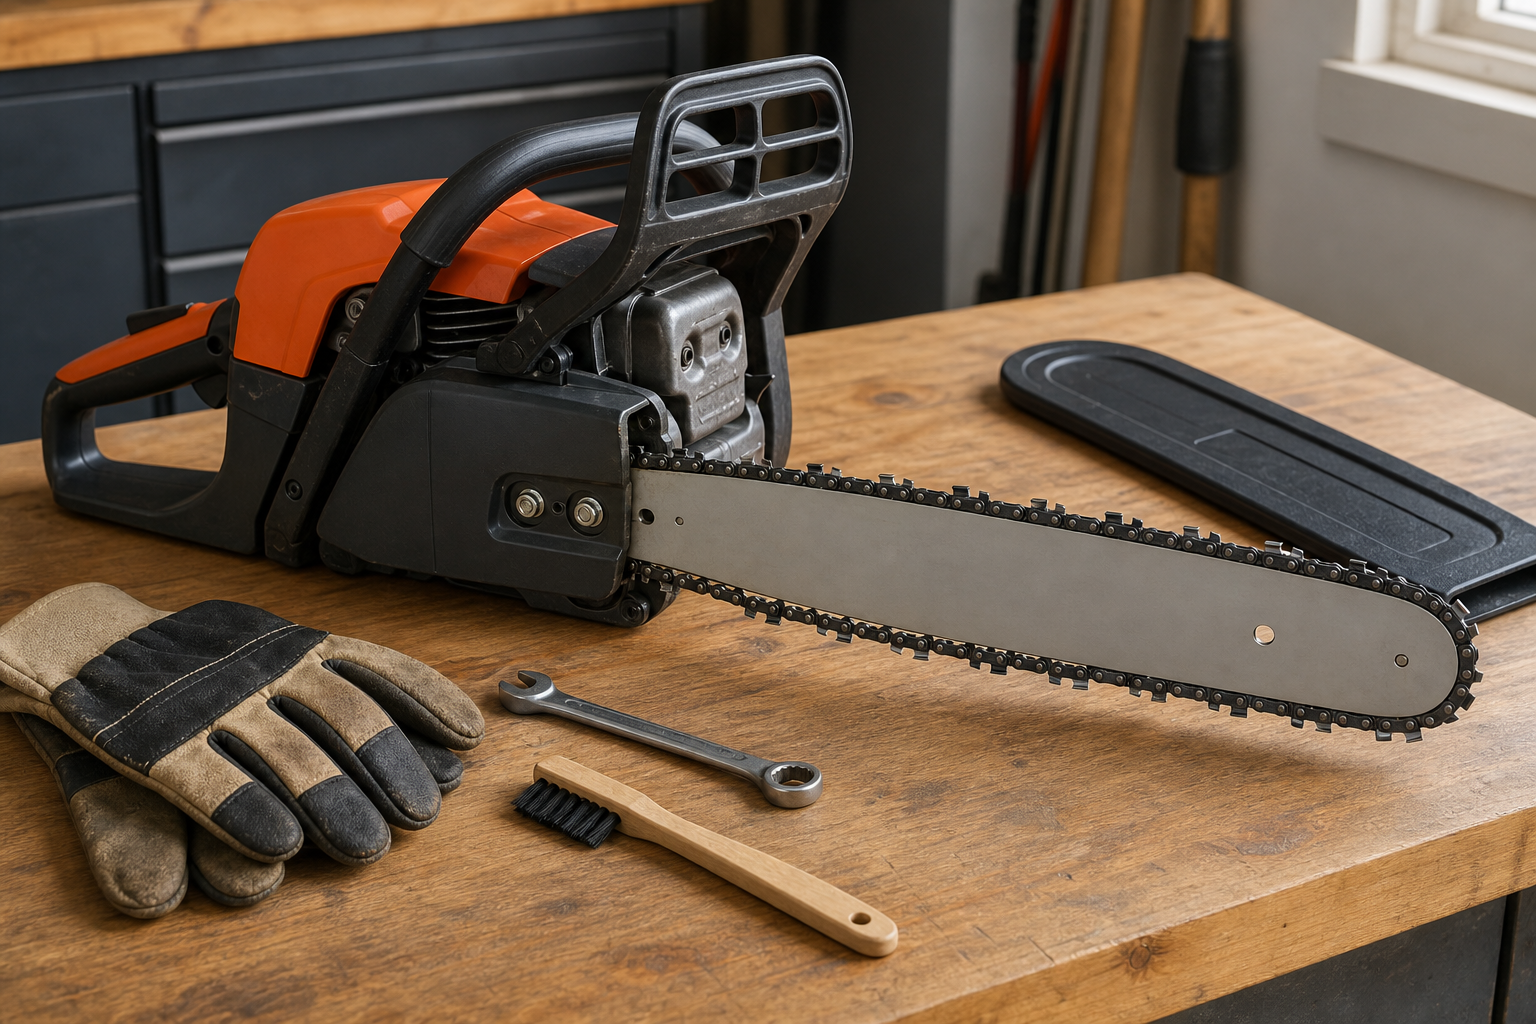
A few oil spots under a recently used chainsaw can be bar oil draining from the guide-bar groove, chain, clutch-cover area, or recesses in the saw body. A clean spot that keeps growing, begins away from the cutting attachment, or returns after the saw has been cleaned and left unused deserves a model-specific inspection rather than an assumed repair.
Read the stain before opening the saw
Oil location is more useful than puddle size alone. Bar oil carried around the chain during use can remain in the bar groove and under the clutch cover, then migrate to the lowest point for hours or days. Temperature changes can also alter pressure in the oil tank and encourage seepage. Those mechanisms can leave oil beneath a saw whose oiler is working normally.
Start with the saw cool and fully disabled. Switch off a gas saw, unplug a corded saw, or remove the battery from a cordless saw. Engage the chain brake and fit the scabbard when the bar isn’t being inspected. Do not start the saw indoors or run it merely to reproduce a leak.
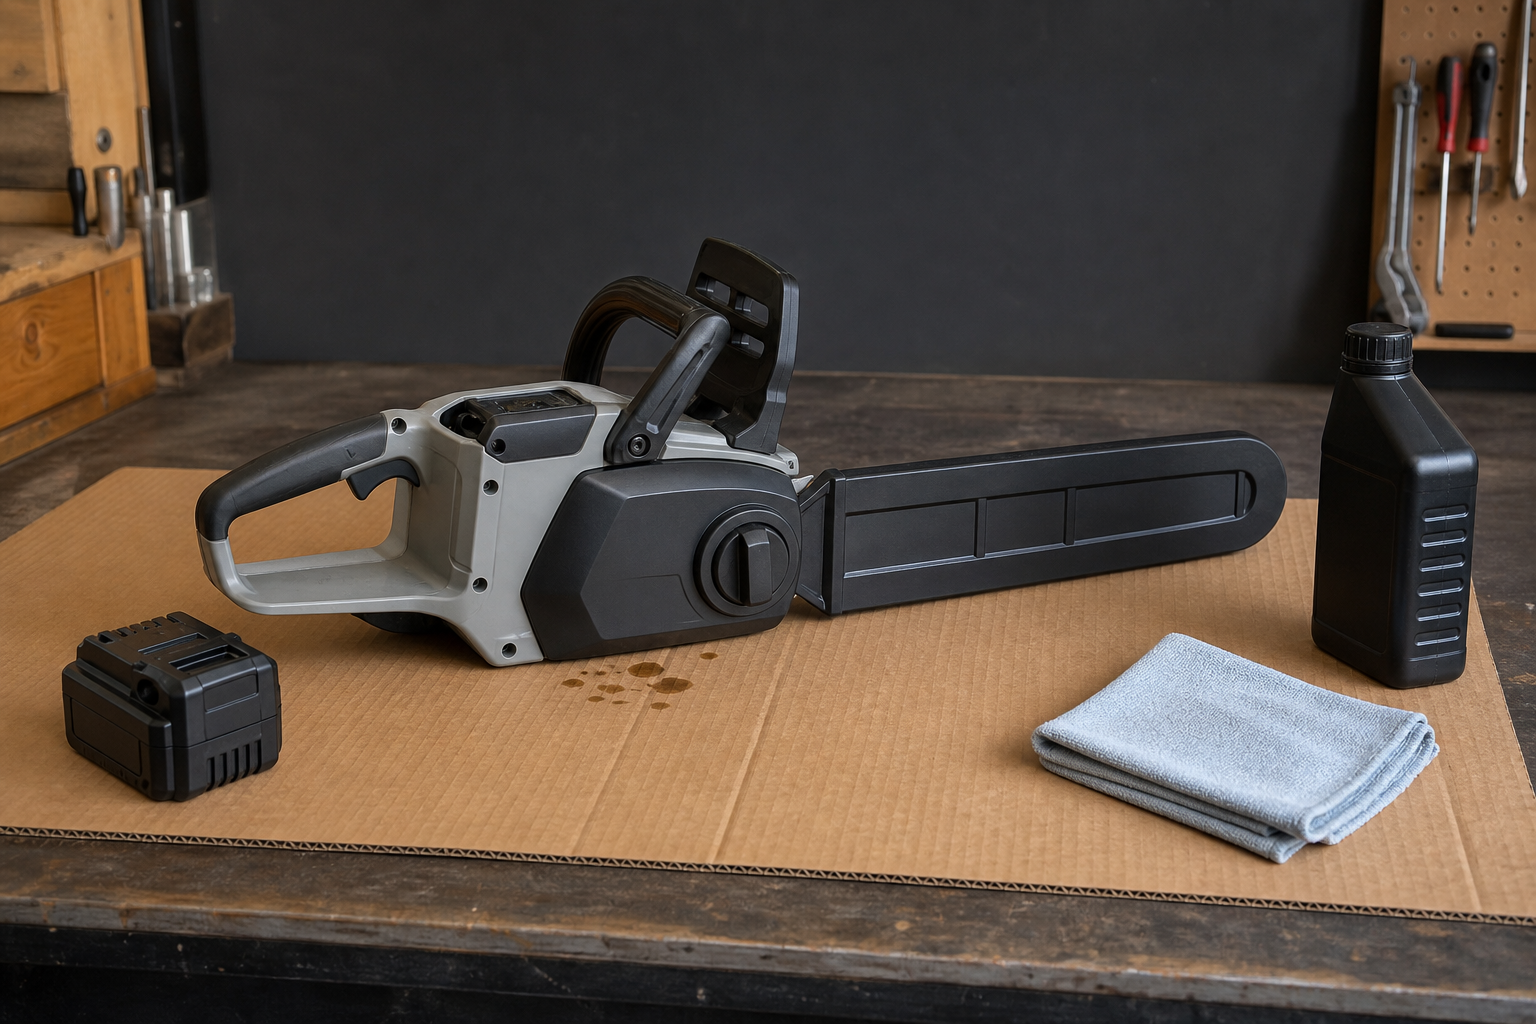
Place clean cardboard under the saw in the stable storage orientation specified by its manual. Mark the edge of each stain and note the time. The next observation should answer two questions: where did fresh oil first appear, and did the stain stop growing?
Use a clean-cardboard source map
| First fresh oil appears | What that pattern can mean | Next decision |
|---|---|---|
| At the bar groove, chain, or lower clutch-cover area after recent use | Retained oil may be draining from the cutting attachment and body recesses | Clean the accessible surfaces by the manual, renew the cardboard, and observe again before replacing parts |
| Around the oil cap or down the tank side | The cap may be loose, cross-threaded, dirty, damaged, or improperly seated | Do not force it tighter; clean and inspect it only as the manual permits, then replace a damaged seal or cap through the maker’s service route |
| Directly below the tank or a body seam, away from the bar path | The source is less consistent with ordinary cutting-attachment run-off | Keep the saw out of service and arrange manufacturer or dealer evaluation |
| At several old, dirty points immediately after the saw is moved | Residue has not yet been separated from an active leak | Clean first, keep the orientation unchanged, and repeat the marked-cardboard check |
| A renewed stain continues expanding with no recent use | There may be ongoing seepage rather than a finite amount of retained oil | Follow the model’s storage guidance; seek service if the source cannot be identified without opening owner-restricted components |
This is a localization test, not a leak-rate test. Cardboard texture, oil temperature, storage angle, and the amount retained after use all change how a stain spreads, so a homemade diameter or timed volume threshold would be misleading.
Clean only what the manual exposes
If the manual allows removal of the bar and chain, wear suitable gloves and follow its disassembly sequence. Wipe oil and oily sawdust from the guide-bar groove, oil holes, mounting faces, clutch-cover interior, and exterior recesses that can hold residue. Use the specified cleaning tools and method; pushing wire into an oil passage or blowing debris deeper into the saw can create a different problem.
Inspect the oil cap and its sealing surface for trapped debris, damage, or incorrect seating. Do not substitute a generic gasket or sealant. If the cap, tank, oil line, pump area, or body is cracked or inaccessible under owner-maintenance instructions, stop there.
Then return the cleaned, disabled saw to fresh cardboard in the same stable position. A new mark now has more diagnostic value because yesterday’s residue is no longer confusing the source.
Match the storage action to the manual
For long storage, manufacturer instructions differ by saw. Current Husqvarna guidance tells owners to drain the oil system because temperature and air-pressure changes can cause leakage; Ryobi support likewise recommends emptying the reservoir before long-term storage for the listed cordless models. Other saw manuals may specify a different preparation, so do not turn either instruction into a universal rule.
Use an appropriate container and local disposal route for oil the manual tells you to remove. Keep the saw dry, stable, out of reach, and away from ignition sources. For the rest of the lay-up sequence, including fuel or battery handling, use the gas and battery chainsaw storage checklist.
Do not solve a leak by storing the saw in an improvised orientation. A position that seems to reduce one drip may put fluid against another vent, cap, battery interface, or air-filter area. The manual’s storage position controls.
Verify lubrication before cutting again
A saw that stopped dripping is not automatically ready to cut. Refill only as the manual directs, reassemble and tension the cutting attachment correctly, and perform the maker’s lubrication check. If oil delivery cannot be confirmed, the cap or tank still leaks, oil reaches the battery or electrical area, or a crack is visible, keep the saw out of service.
The existing bar-oil troubleshooting guide covers the opposite symptom—a chain that runs dry—and can help separate storage seepage from failed oil delivery. If the chain is dull but otherwise serviceable after lubrication is confirmed, the KonKell 250W mountable sharpener lists support for common 1/4-inch through 3/8-inch pitch chains. It is a bench sharpening tool, not an oil-system diagnostic or repair, and its wheel and setup still have to match the chain maker’s instructions.
Stop and arrange service when
- fresh oil originates from a tank seam, crack, internal line, pump area, battery interface, or another place the owner manual does not authorize you to open;
- the cap or its sealing parts are damaged or will not seat normally;
- leakage continues after accessible residue is cleaned and the model’s storage steps are followed;
- the chain receives no oil during the manufacturer’s approved check;
- oil is mixed with another unidentified fluid, or the source cannot be localized without running or dismantling the saw unsafely.
Record the saw model, storage orientation, time since last use, oil type, photographs of the first fresh stain, and the cleaning steps already completed. That evidence gives the manufacturer or servicing dealer a clearer starting point than “it leaks on the shelf.”