To sharpen a chainsaw in the field, stop and cool the saw, secure the guide bar so both hands are free, and use the file and guide specified for the exact chain. Treat field filing as a light edge touch-up; swap the chain or stop work when you find cracks, damaged links, uncertain chain identity, or cutters that need major correction.
Make the repair decision before unpacking the file
The useful question isn’t only “Can this tooth be filed?” It is whether the fault can be corrected consistently at a stump without disguising damage or removing far more metal than the other cutters.
Use this field decision flow:
- Inspect the whole loop. Switch the saw off, let it cool, and follow its manual for disabling the power source. With suitable gloves on, look for cracked cutters, damaged rivets, bent or burred drive links, missing components, and a cutter at its wear mark.
- Identify what dulled it. A uniformly reflective cutting edge after ordinary clean-wood use can suit a light touch-up. A hard strike against stone, soil, wire, or metal can leave unequal damage that is difficult to correct beside the job.
- Compare the worst cutter with its neighbors. If a few controlled strokes can clean the edge without making that cutter conspicuously shorter, proceed. If substantial reshaping is required, install a sound spare chain and assess the damaged loop with better lighting and measuring tools later.
- Stop for structural or uncertain damage. Filing cannot repair a crack, loose rivet, distorted drive link, or a chain that no longer travels correctly in the bar. Do not guess at a file when you cannot confirm the chain model and filing specification.
This flow separates a maintenance pause from a repair job. It also avoids using the easiest-looking tooth as the reference when another cutter carries the real damage.
Pack a chain-specific field kit
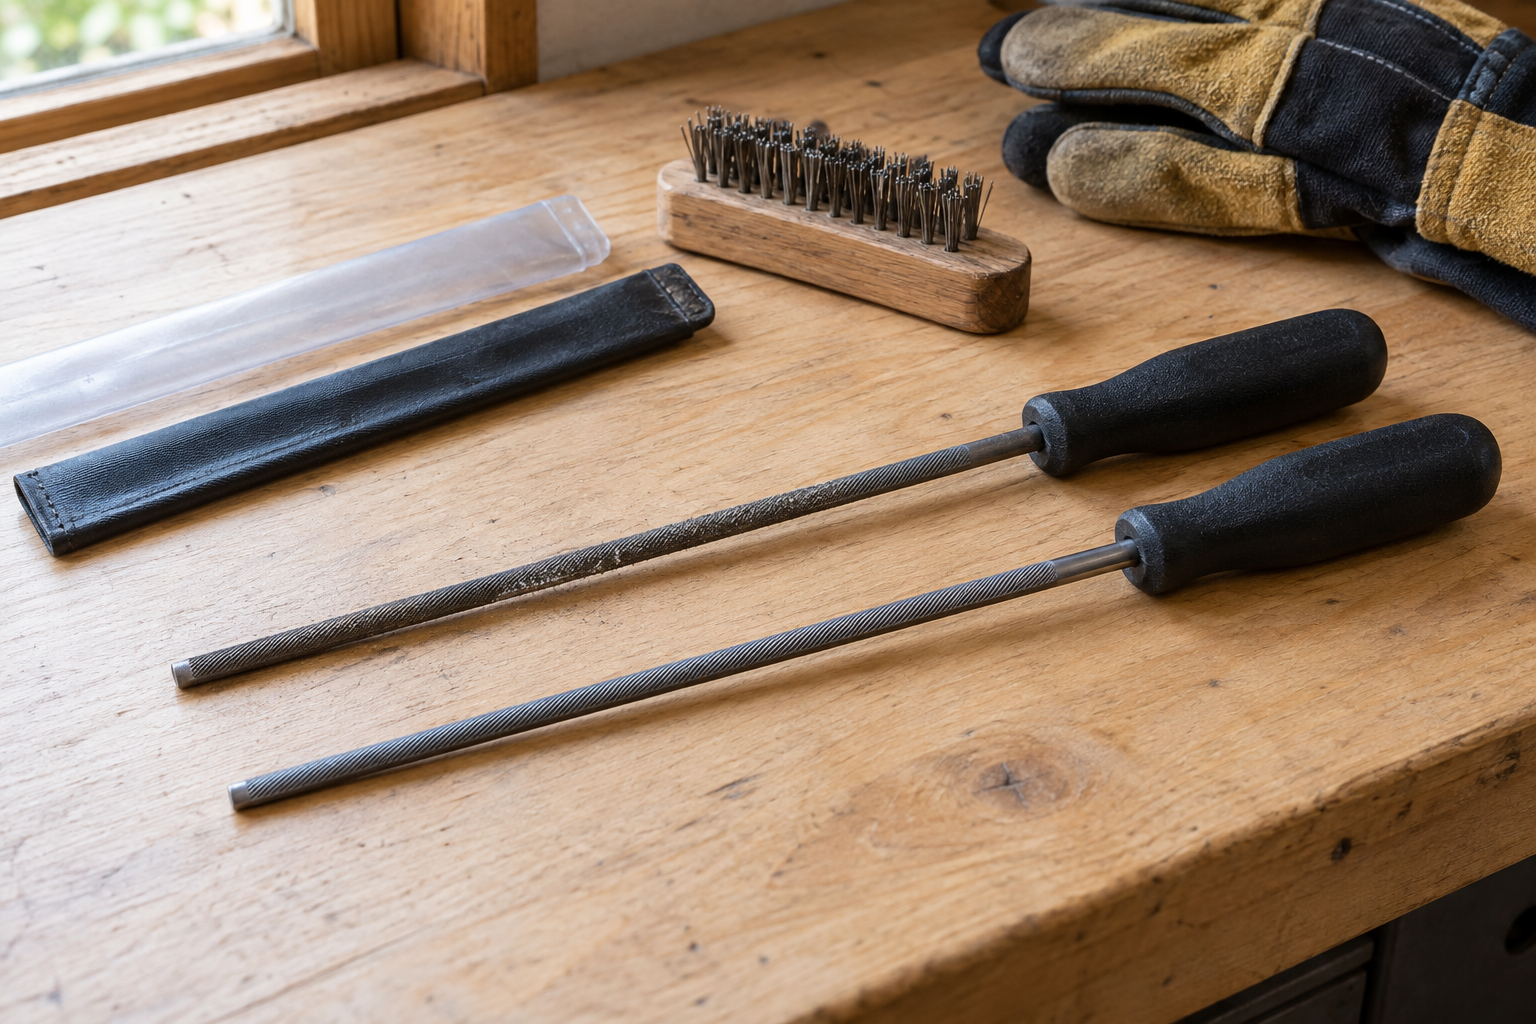
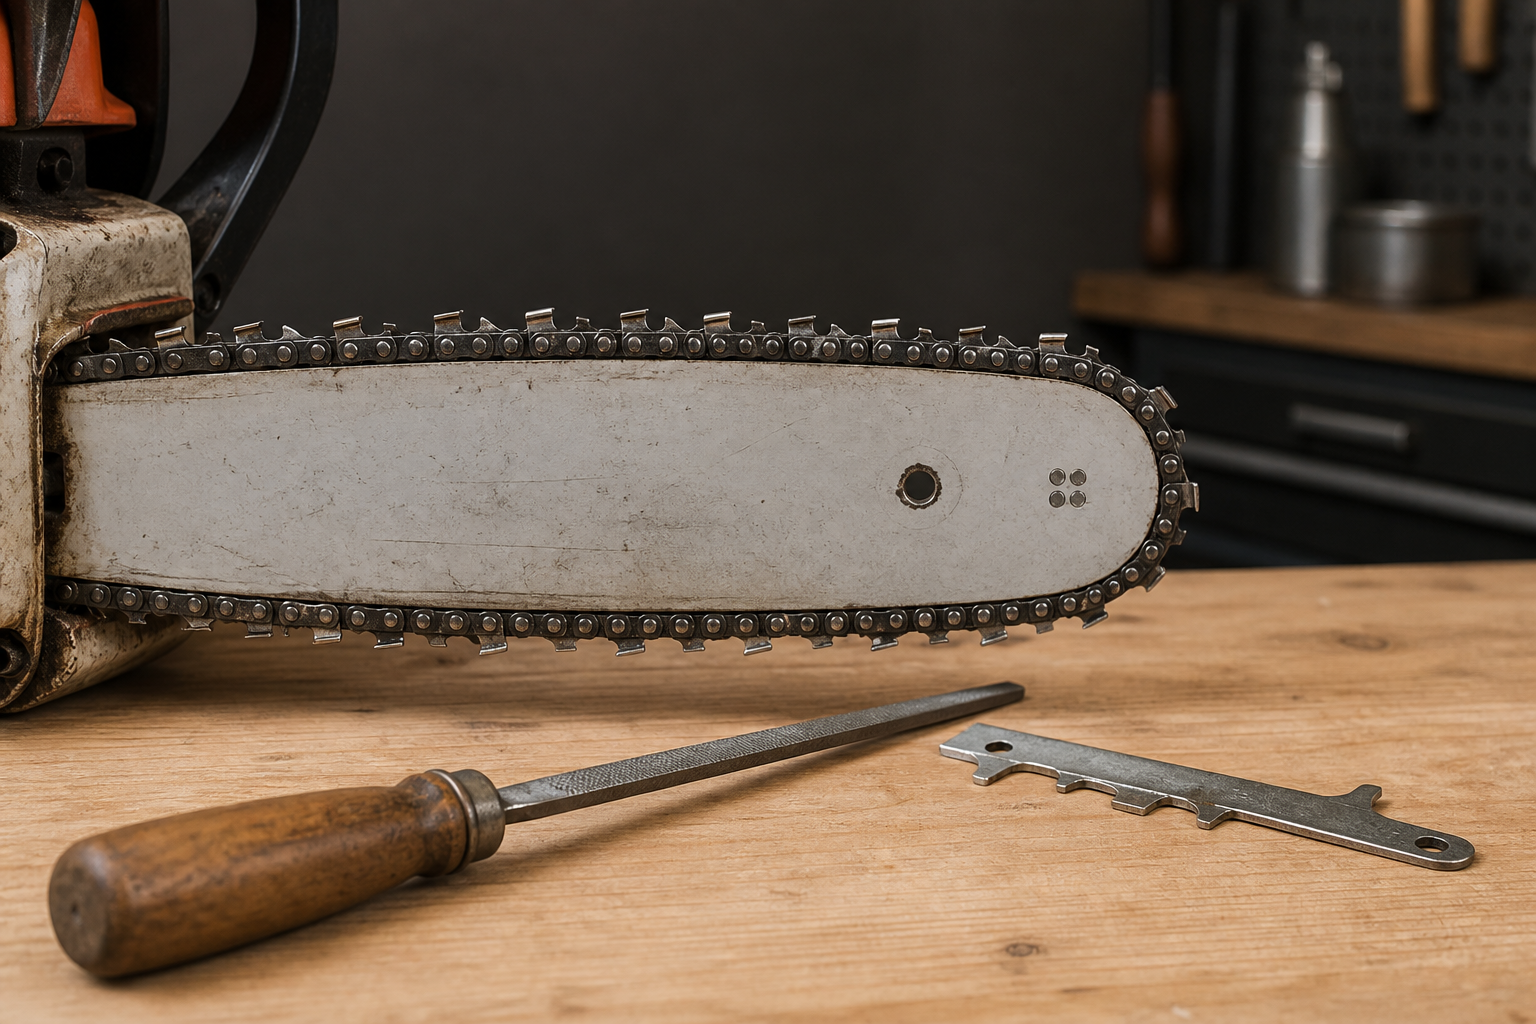
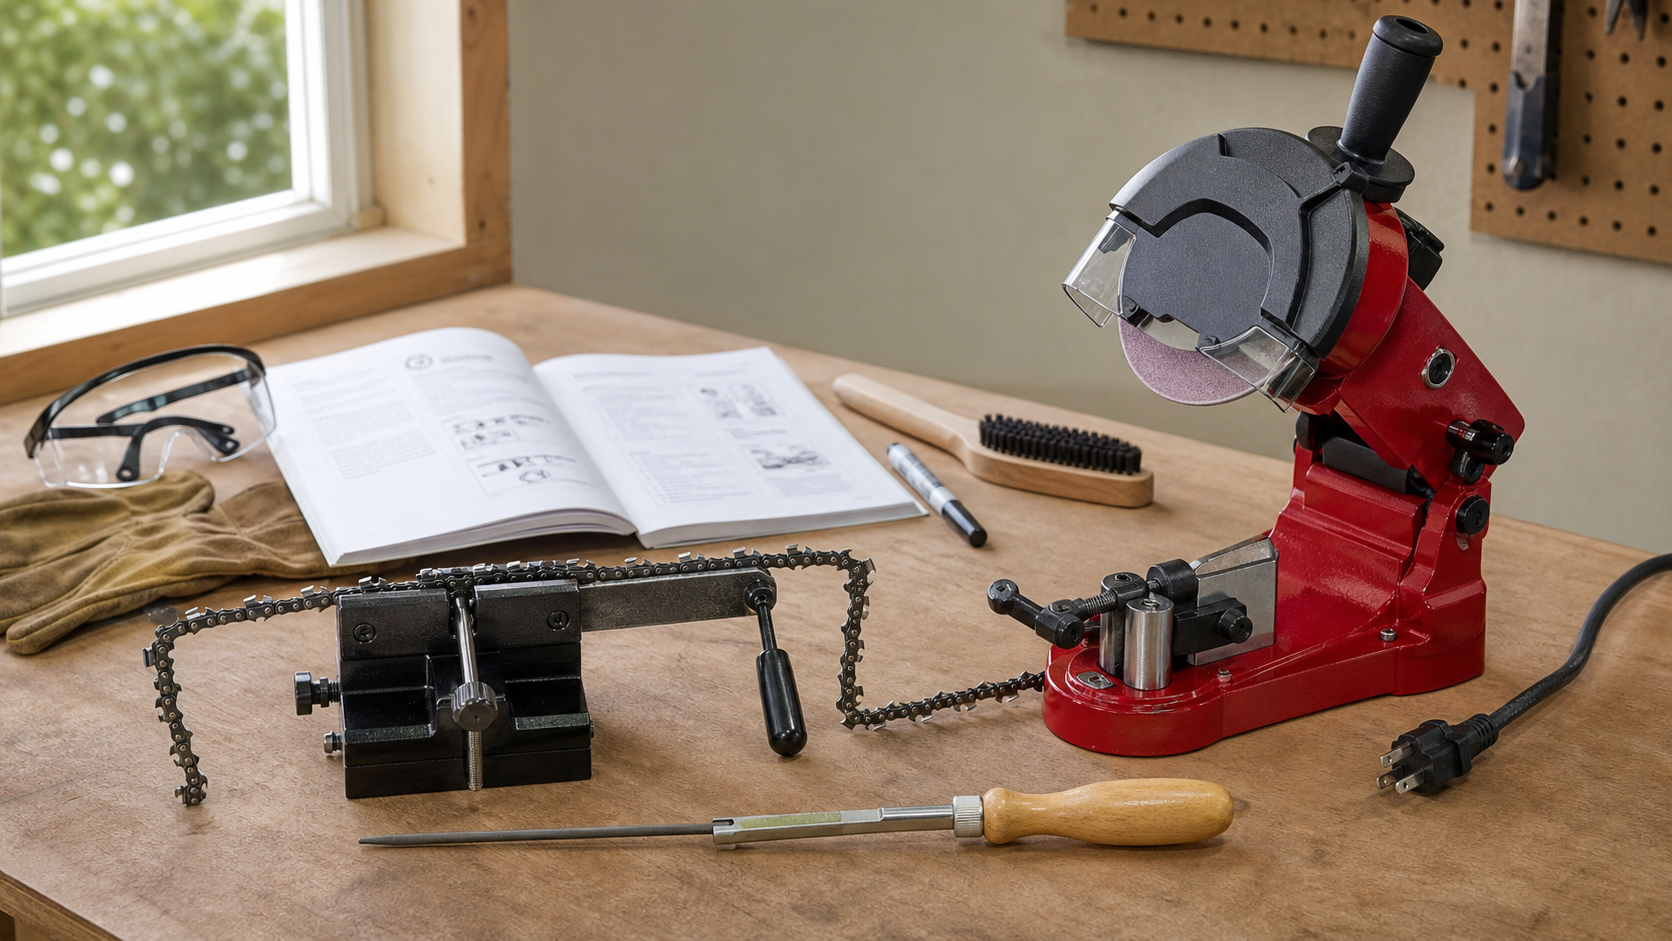
A compact kit should be built around the chain actually fitted to the saw, not around a generic pitch chart. Pack the round-file diameter and filing guide named by the chain maker, a compatible depth-gauge tool and flat file, a file handle, a visible marker, a cleaning brush, gloves, eye protection, and a way to secure the bar. A sound, correctly matched spare chain is often the fastest answer to serious damage.
Keep the chain package or a note of the exact chain family in the kit. Two chains with similar pitch labels can require different files. Our chainsaw file size guide explains the chain-ID-first check and why bar length or pitch alone does not finish the match.
The KonKell File Set Kit is the closest live KonKell product page for this manual field task. The current page identifies the product but does not list its file diameters, individual contents, or compatible chain families; do not rely on it until the contents have been checked against the chain manufacturer’s current filing chart.
Build a stable filing station
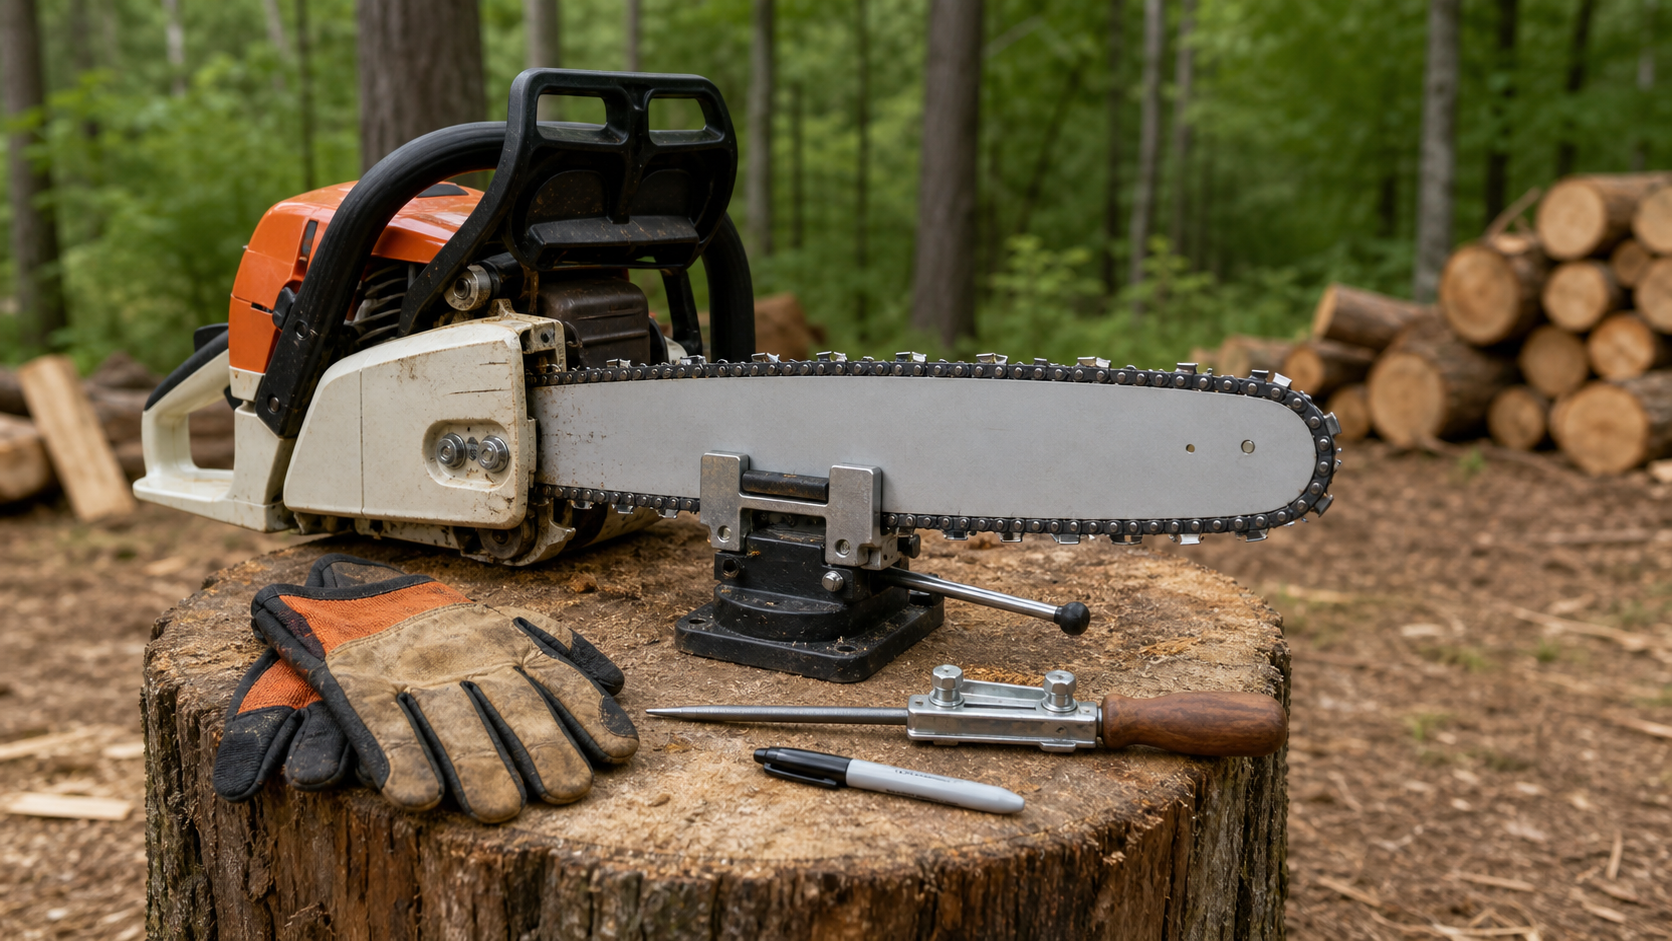
Choose firm, level footing away from the active cutting area. Clear loose rounds, branches, fuel containers, and anything that forces an awkward reach. Husqvarna’s field guidance describes securing a filing vise in a stump or log, then clamping the guide bar as it would be held in a bench vise. STIHL likewise advises securing the bar without clamping the chain itself.
Before filing:
- Confirm the engine or motor is stopped, the saw has cooled, and the power source is disabled as its manual directs.
- Brush loose chips and grit from the chain so abrasive dirt is not dragged across the cutter.
- Adjust chain tension for filing according to the saw or chain manual. The chain should remain supported against the bar while still being movable when the brake is released.
- Clamp only the guide bar. Check that the stump vise is seated firmly and that the saw cannot roll when moderate hand pressure is applied.
- Rotate the chain to find the most damaged serviceable cutter, mark it, place it near the middle of the exposed bar, and set the chain brake.
If the bar shifts, the vise rocks, or you cannot file with both hands while keeping a balanced stance, relocate the setup. A knee, boot, or one hand is not a substitute for a fixed bar.
Touch up one side without chasing a stroke count
Fit the verified round file in its matching guide and orient it according to the chain maker’s instructions. Manufacturer angles differ by chain type, so copy the specification for the fitted chain rather than borrowing a number from another saw.
Start at the marked reference cutter. Push the file from the inside of the cutter outward, using its full working length; lift it on the return rather than sawing it backward across the edge. Keep the guide level and let it control file height and angle. Remove only enough metal to leave a clean cutting edge without a bright reflective line.
Use the same controlled motion on the remaining cutters facing that direction. Equal stroke counts can be a useful starting discipline, but they do not prove equal cutter length when the teeth began with different damage. Watch the metal and compare the result with the reference cutter.
Release the brake only when you need to advance the chain. Move the next section into the supported working position, reset the brake, and continue until that side is complete. Reposition yourself or the saw for the opposite-facing cutters so the file still travels away from you with both hands controlling it. The complete shop-style sequence is covered in how to sharpen a chainsaw chain.
Check depth gauges; do not lower them by habit
Sharpening shortens cutters over time, which changes their relationship with the depth gauges. That does not mean every field touch-up requires an arbitrary number of flat-file strokes.
Place the chain maker’s correct depth-gauge tool on the chain exactly as its instructions show. File only a gauge that protrudes through the tool, and stop when it is flush. Husqvarna notes that the required clearance varies by chain type and directs users to the saw manual for exact information. A depth gauge filed too low can make the chain cut too aggressively and increase vibration and kickback risk.
If you do not have the matching gauge, leave this adjustment for a properly equipped bench. Guessing by sight can turn a slightly dull chain into a poorly controlled one.
Inspect the loop before returning to the cut
Brush away filings and inspect every cutter you touched in good light. Look for a continuous edge, consistent file position, and obvious left-to-right differences. Confirm that no damaged component was missed and reset chain tension from the temporary filing setting to the saw manufacturer’s operating specification.
Do not use the first cut as a high-load experiment. Follow the saw manual’s start and operating checks, then observe a controlled cut in clean wood. A chain that still pulls sideways, chatters, makes fine dust, or needs added body pressure needs diagnosis rather than another hurried filing pass. If the worst cutter cannot be corrected within its wear limits, use the criteria in when to replace a chainsaw chain.
Field sharpening earns its place when it restores a lightly rolled edge with a known tool setup. A spare chain earns its place when damage, fading light, poor footing, or uncertain geometry makes careful correction unlikely.