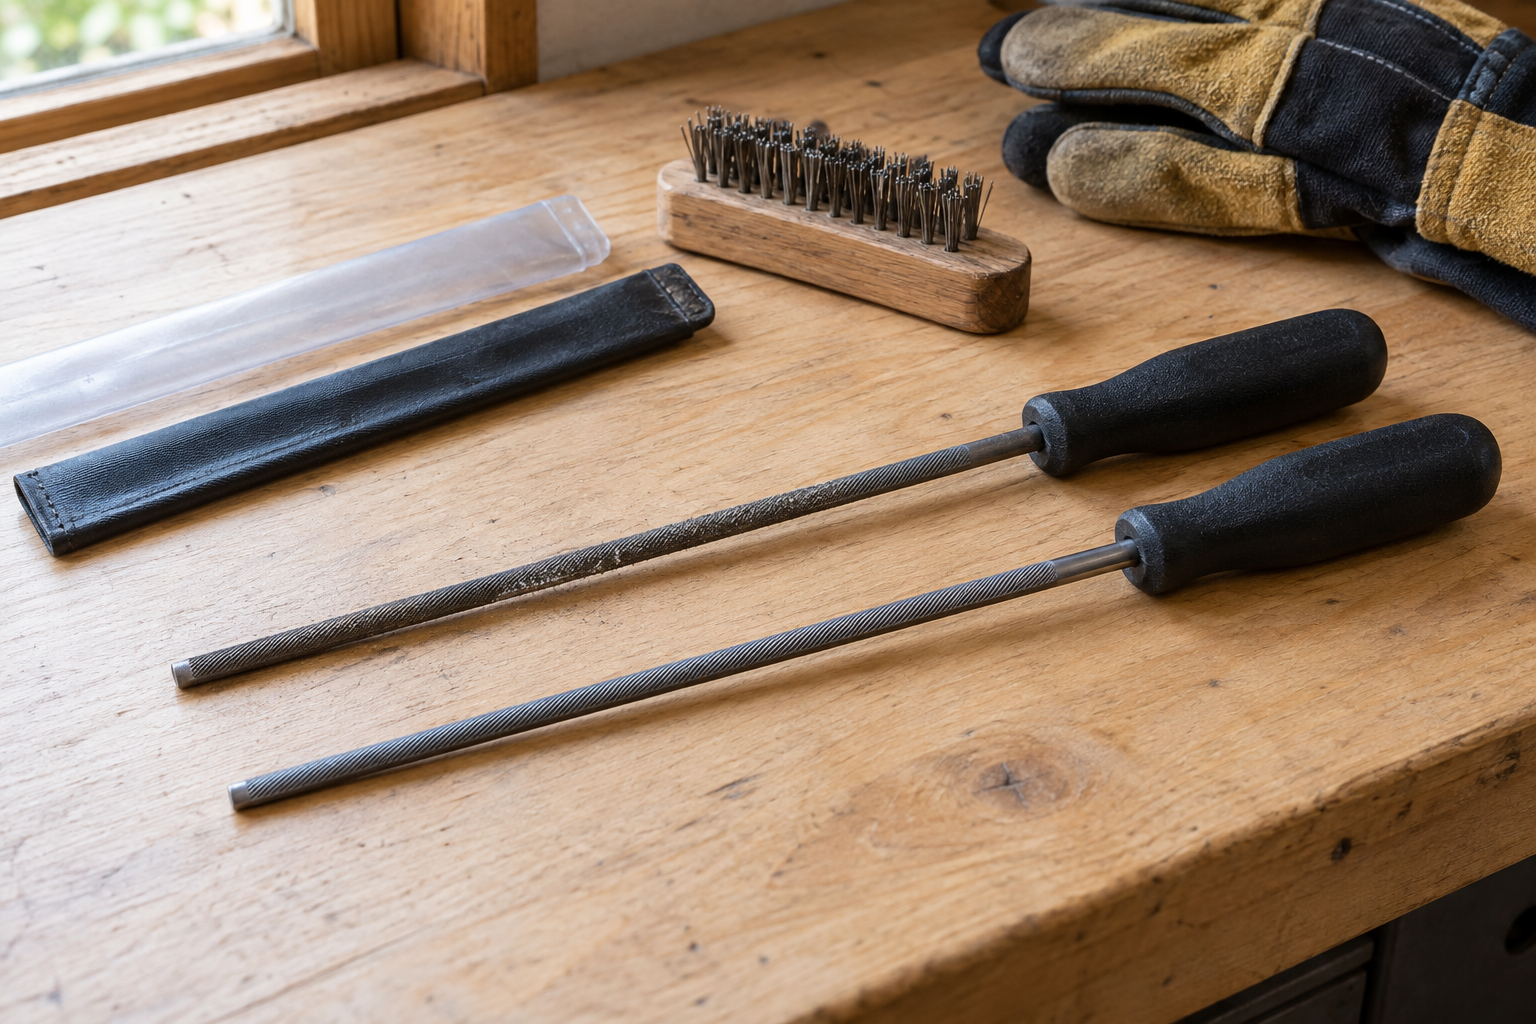
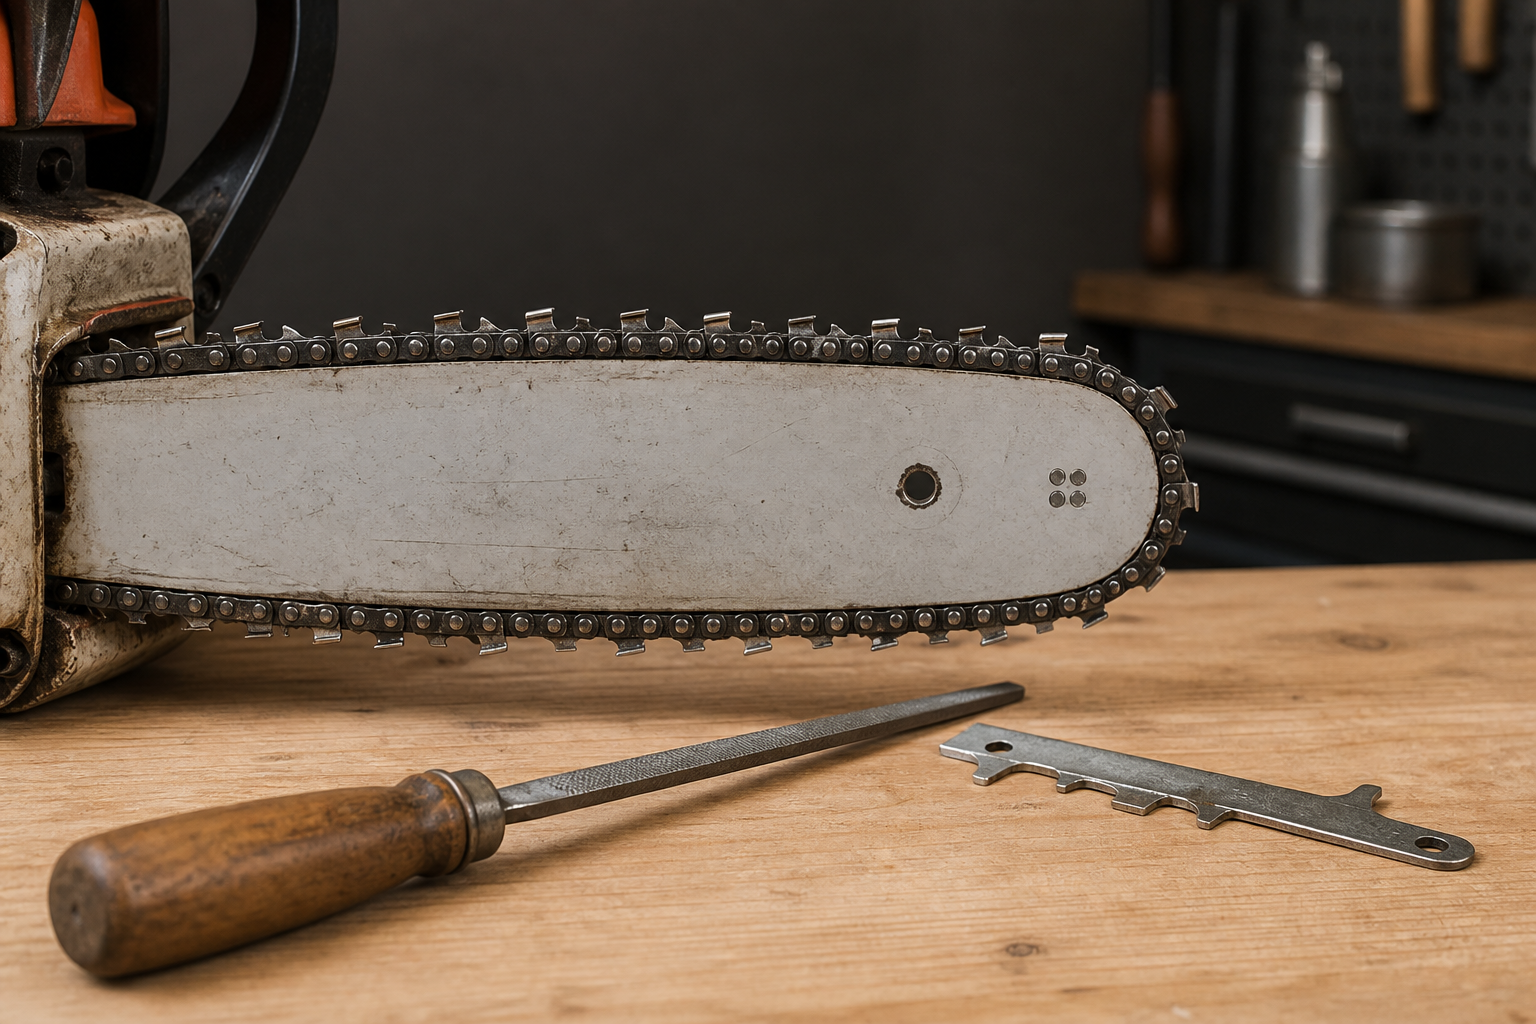
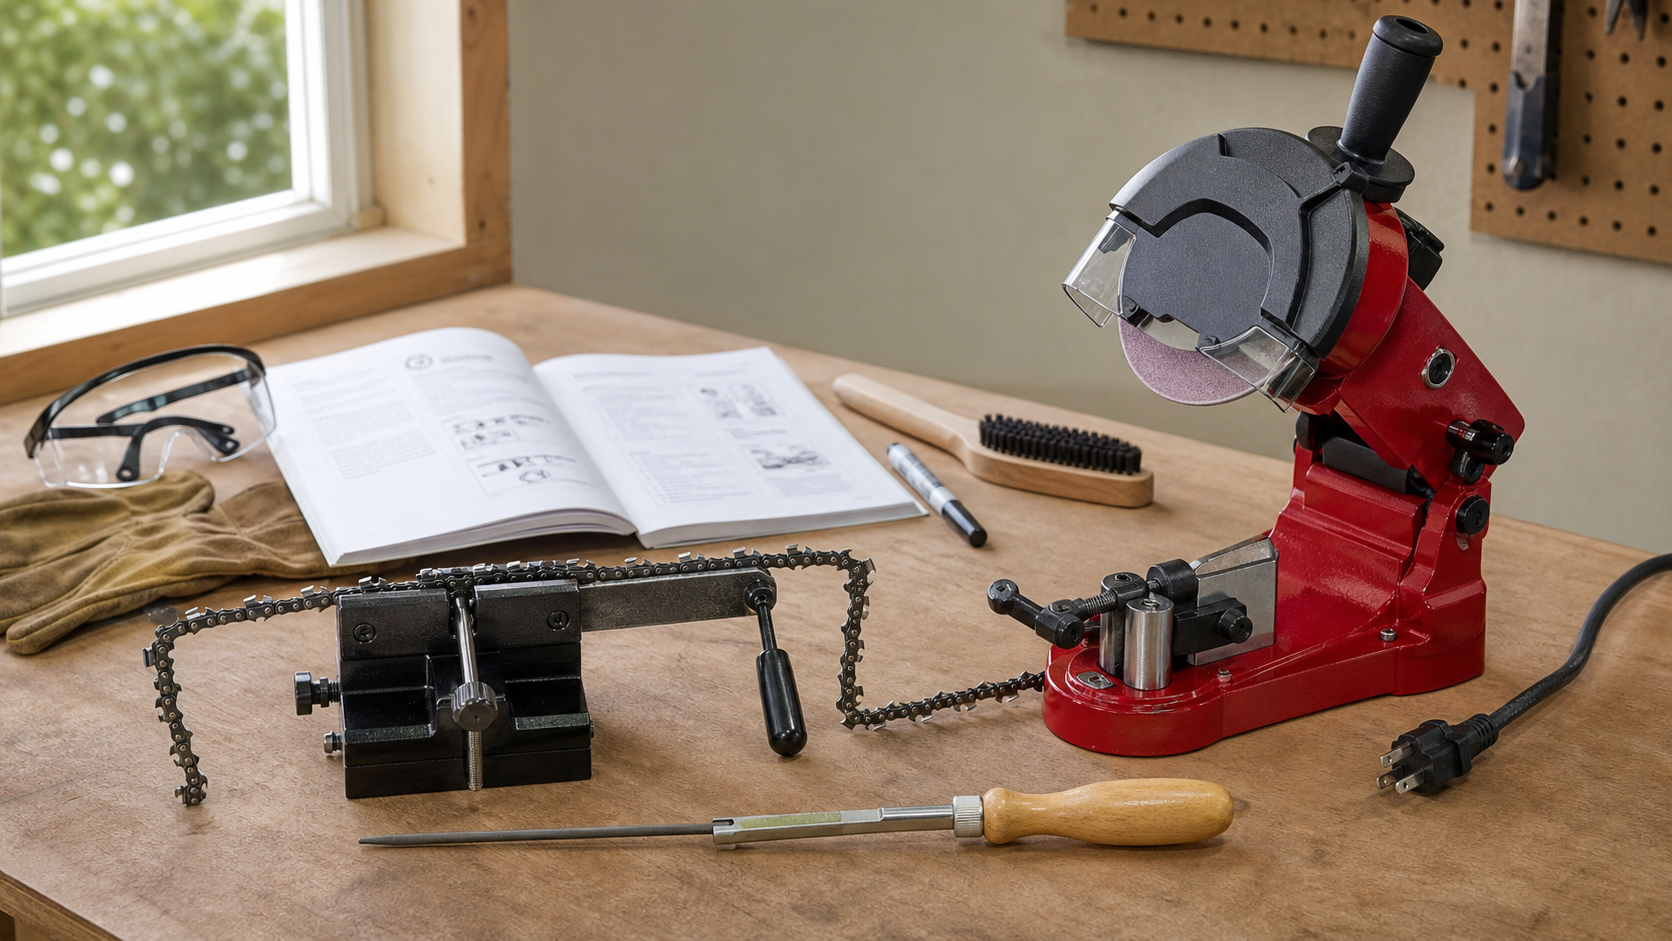
To sharpen a chainsaw chain by hand, identify the exact chain, use the round file and guide specified for it, secure the stopped saw, and sharpen a marked reference cutter before matching the others. Check the depth gauges with the matching gauge after the cutters; do not lower them by eye or use a universal angle for every chain.
This method is for a serviceable chain that has become uniformly dull. Replace the chain or take it to a qualified servicing dealer when cutters, tie straps, drive links, or rivets are cracked, bent, loose, or damaged beyond the chain maker’s service marks.
Start with the chain identity, not an angle
Find the chain’s manufacturer and model or family on its packaging, drive link, or saw documentation. Then use that maker’s current filing chart or manual to select the file diameter, file holder, filing angle, and depth-gauge tool. Pitch alone can be ambiguous: similarly labelled chains from different families may require different files, as the chain-specific file size guide explains.
Gather a chainsaw round file of the specified diameter, its matching guide or holder, a flat file, the correct depth-gauge tool, a marker, a brush, and the protective equipment required by the saw and chain manuals. A general workshop file is not a substitute for a chainsaw round file.
The live KonKell File Set Kit is a manual, file-based option for this kind of bench or yard touch-up. Its current page does not list individual file diameters, contents, or compatible chain families, so verify the physical kit against the chain maker’s specification before using it.
Make one cutter your control
The useful unit of progress is not a stroke count. It is a clean reference cutter that establishes how far the rest of the serviceable cutters need to be brought back.
- Stop the engine or motor, let the saw cool, and disable its power source exactly as the saw manual directs. Clean loose grit and resin from the chain, then inspect the entire loop for damage and service-mark limits.
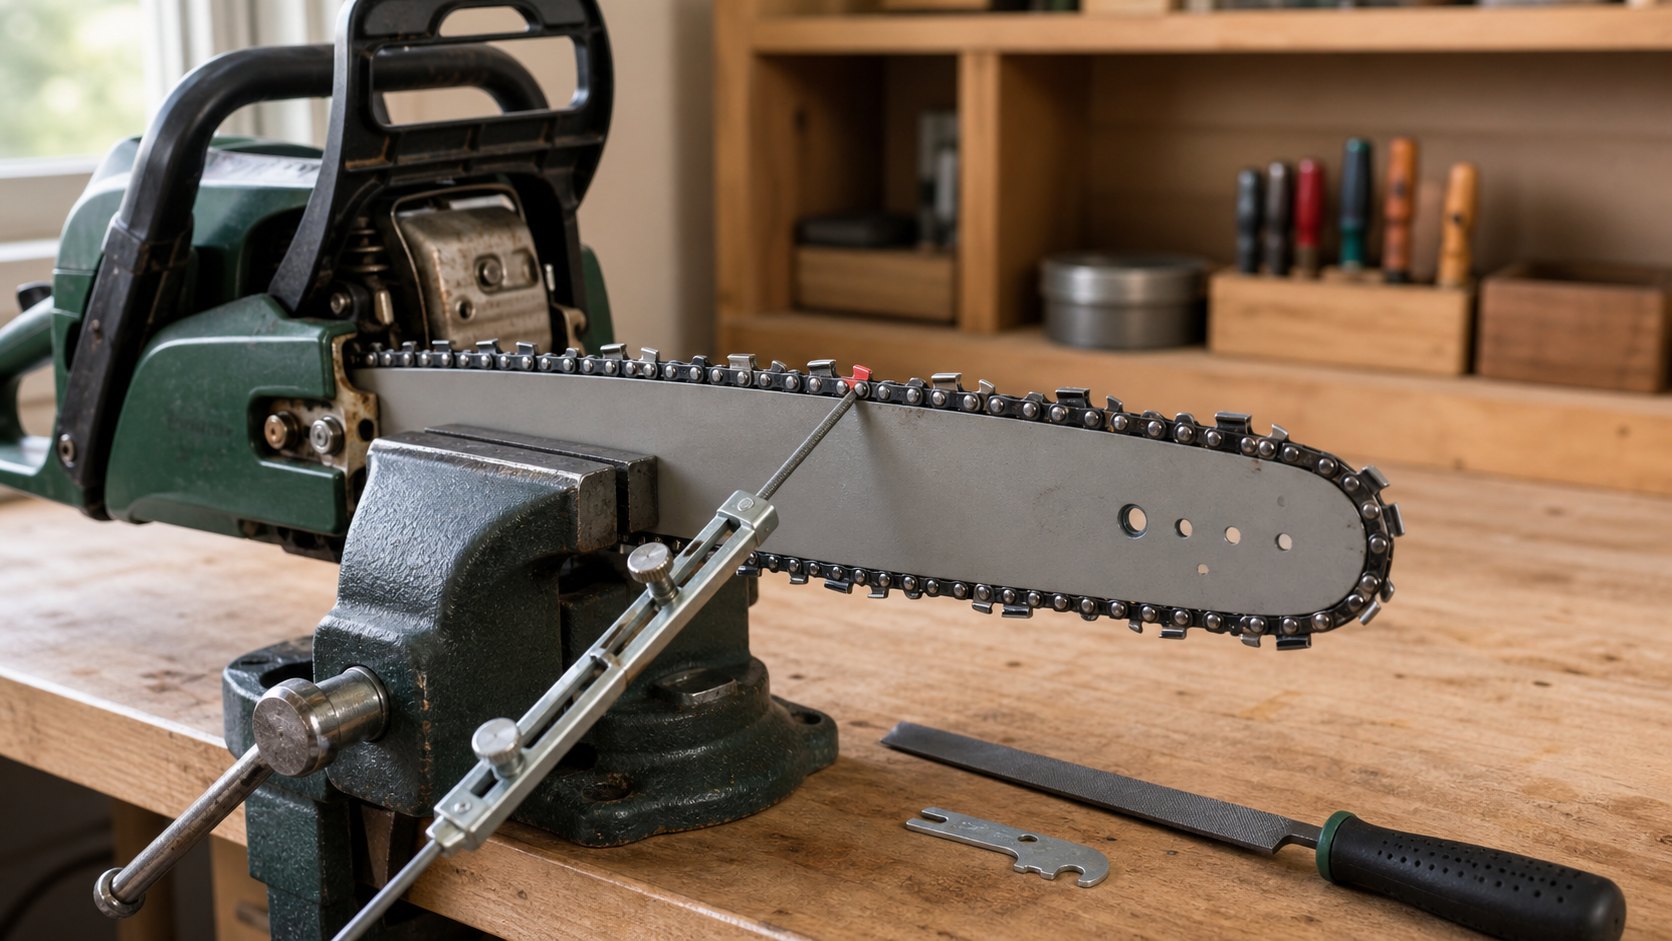
- Adjust the chain for filing according to the manual. Secure the guide bar in a bench or stump vise without clamping the chain, and confirm that the saw cannot roll.
- Rotate the chain to find the shortest or most damaged cutter that is still serviceable. Mark it, position it near the middle of the exposed bar, and set the chain brake.
- Seat the matching file guide against that cutter. Align the guide to the chain maker’s specified marks; do not copy an angle from another chain.
- Push the file from the inside of the cutter toward the outside, applying pressure only on the forward stroke. Lift it clear on the return.
- Stop as soon as the top-plate and side-plate edges are continuous and the damaged or reflective edge has been removed. If reaching a clean edge would cross a service mark, stop and replace the chain.
Do not continue grinding away metal merely to reach a preferred number of strokes. Impact damage may require more correction than ordinary dulling, and the reference cutter—not habit—sets the minimum serviceable length for the loop.
Repeat the geometry without losing your place
File every second cutter facing the same direction. Release the brake only to advance the chain, then reset it before filing. Keep the guide seated the same way, use full forward strokes, and compare each finished cutter with the reference rather than relying on feel alone.
Turn the saw or change your working position before filing the cutters that face the other direction. Avoid twisting your wrist across the bar; a strained position makes it easier to alter the file height and pressure. The aim is comparable cutter length and a clean edge on both sides, not identical stroke counts regardless of wear.
If one row is already much shorter than the other, pause before removing more metal. Unequal cutter lengths can contribute to a saw that pulls, but bar wear, tension, and damage can also cause a crooked cut. Use the ordered checks in why a chainsaw cuts crooked rather than assuming more filing is the cure.
Use a mark–file–inspect–decide loop
Apply marker to the working face of the reference cutter before the first pass. After a small number of controlled strokes, inspect the edge under steady light and choose one outcome:
| What you see | What it means | Next action |
|---|---|---|
| Marker removed evenly and the cutting edge is continuous | File position and guide contact are consistent | Match the remaining serviceable cutters to the reference |
| Marker remains high or low on the face | File size, guide seating, or file height may be wrong | Stop, re-identify the chain, and recheck the specified file and guide |
| A bright spot, nick, or rolled edge remains | The cutter is not yet clean | Continue only if the damage can be removed without crossing a service mark |
| One side repeatedly finishes shorter | Hand position, pressure, or earlier damage differs by side | Correct the setup before shortening the longer row; seek dealer grinding if equality cannot be restored confidently |
| Crack, bent component, loose rivet, or missing metal appears | This is not an ordinary dull-edge correction | Stop using the loop and follow the chain maker’s replacement guidance |
This loop separates a tool-selection error from ordinary wear before the error is copied around the chain.
Check depth gauges with their matching tool
Each depth gauge runs ahead of a cutter and controls how deeply that cutter can enter the wood. As cutters are filed back, their relationship to the depth gauges changes. Check them after sharpening with the chain-specific gauge even when they do not look tall.
Place the gauge in the orientation its instructions show. If a depth gauge projects through the tool, use the flat file as directed until it is flush, then restore only the leading profile specified by the chain maker. Do not touch the freshly sharpened cutter and do not take an extra stroke “for good measure.” A gauge that does not project needs no lowering.
Freehand depth-gauge reduction is a poor place to improvise. Lowering too far changes how aggressively the cutter enters the wood and can increase kickback tendency. For a fuller explanation of the part and its symptoms, see the chainsaw depth-gauge guide.
Inspect the loop before cutting again
Brush away filings and check that every cutter was reached once, the reference mark closes the loop, and no cutter or tie strap was damaged during filing. Restore chain tension, lubrication, covers, and the power source only as the saw manual directs.
Stop and seek qualified service if the chain binds while being moved by hand, the cutters cannot be made comparable without crossing service marks, or the saw still chatters, pulls, smokes, or produces dust after the chain, bar, tension, and lubrication have been checked. Repeated filing cannot repair a worn bar, damaged loop, incorrect chain fit, or lubrication fault.