To clean a chainsaw air filter, stop and cool the saw, clean loose debris from the closed cover, then remove and service the filter only by the method in that model’s manual. Replace the filter instead if its media or sealing edge is damaged, its type is uncertain, or the approved cleaning method does not clear it.
The important decision comes before the washing or brushing. Chainsaw filters use different materials and constructions, and manufacturer instructions do not prescribe one universal cleaner, pressure, or treatment.
Start with the cover still closed
Set the cold saw on a stable, clean surface away from ignition sources. Engage the chain brake and disable starting exactly as the operator manual directs. Keep the guide bar covered while you work around the powerhead.
Brush loose sawdust from the top cover, its fastener, and nearby cooling openings before opening anything. This prevents debris sitting above the filter from dropping toward the clean side of the intake. Do not direct water, solvent, or an air jet into the assembled saw.
Find the model number and its current manual. Locate the air-filter section and note three things before removal:
- how the cover and filter release;
- what the filter is made from or how the manual identifies it; and
- the approved cleaning agent, tool, drying step, and replacement condition.
If the manual is missing or the installed filter does not match its illustration or part description, stop and identify the correct part first.
Use the identify, clean, or replace card
| Evidence after removal | Decision | Next action |
|---|---|---|
| Filter is intact, lightly dusty, and the manual specifies brushing | Clean | Use a clean soft brush as directed, keeping loosened dirt away from the intake. |
| Filter is intact and the manual explicitly permits washing | Clean | Use only the listed solution and method, then dry it completely before refitting. |
| Manual specifies filter oil or a special cleaner | Clean by that method only | Do not substitute a generic treatment or assume another model’s procedure applies. |
| Media is torn, cut, brittle, distorted, separated from its frame, or will not seal flat | Replace | Fit the correct filter; cleaning cannot restore the barrier or sealing edge. |
| Filter remains blocked after its approved method, or its type is uncertain | Replace or obtain model guidance | Do not experiment with fuel, solvent, heat, pressure, or an unapproved wash. |
This card deliberately avoids a universal compressed-air rule. Manufacturer methods differ: one manual may direct brushing, another may permit washing, and a fine-dust design may call for a named cleaner. The filter’s manual—not its color or appearance—decides.
Remove it without feeding dirt into the intake
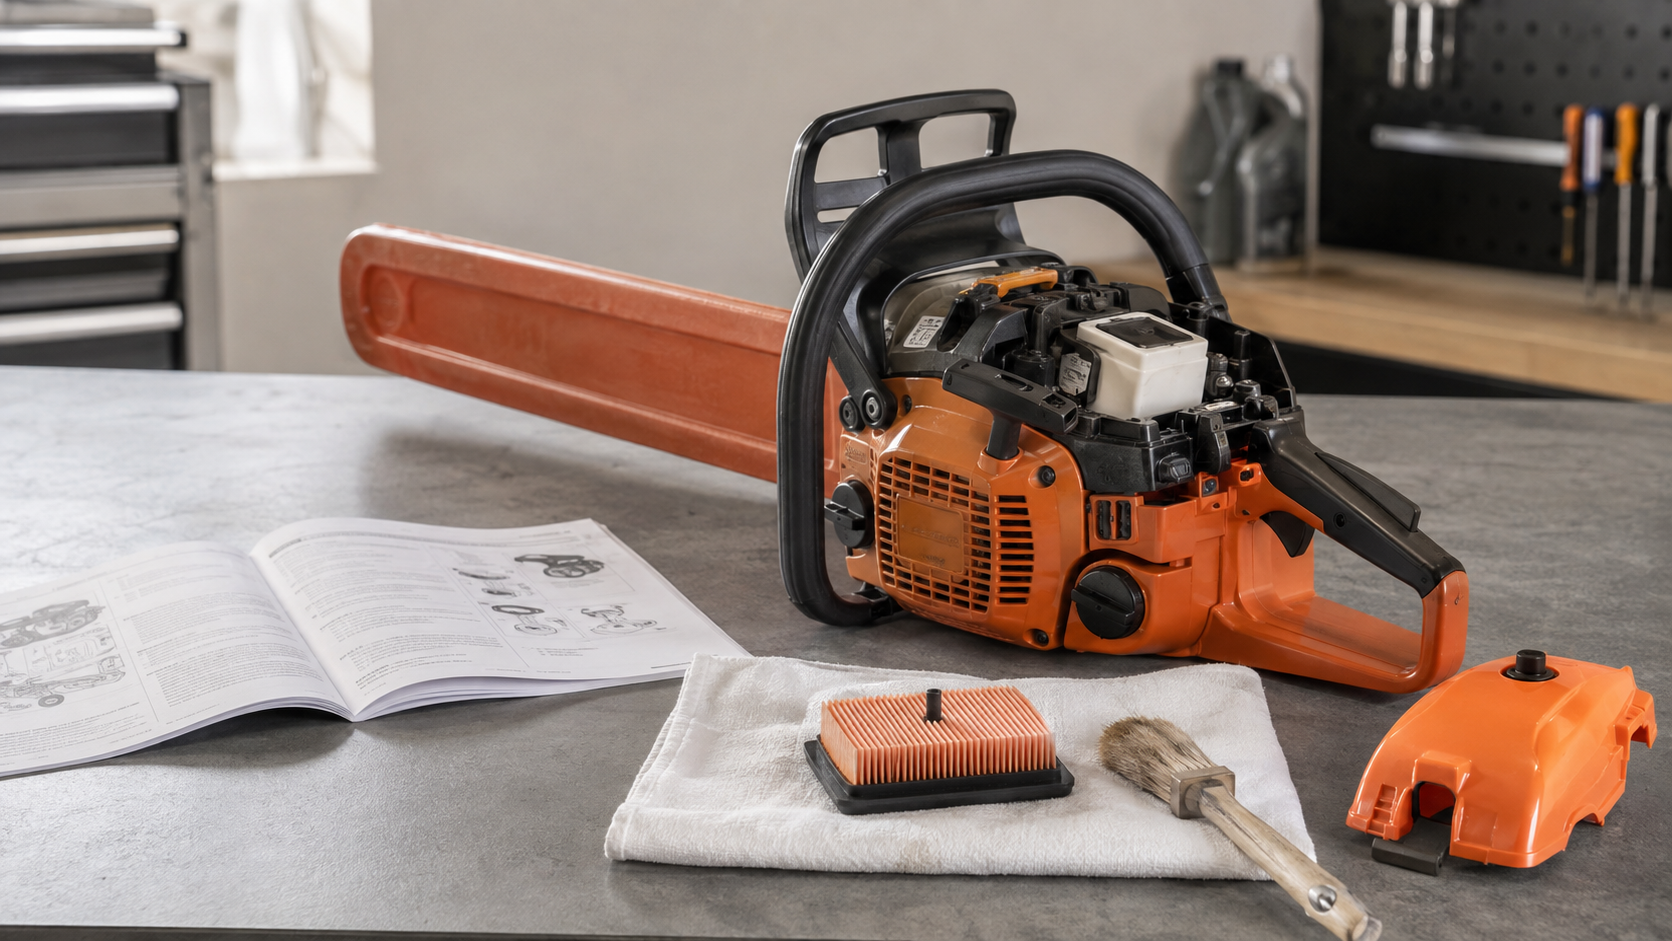
Release the cover and retainer in the documented order. Lift the filter carefully so dirt on its outside does not fall into the exposed intake. Set it dirty-side down only on a disposable clean surface where debris cannot transfer back to the sealing face.
Inspect before cleaning. Check the media against good light, then examine seams, the frame, retaining points, and the full sealing edge. A hole is a replacement decision, but so is a warped frame or damaged edge that lets air bypass otherwise clean media.
Clean the cover and filter seat with the manual-approved dry brush or cloth method. Move debris away from the opening. Do not push a rag, brush, or nozzle into the intake, and do not run the engine with the filter removed to see whether performance changes.
Apply only the method assigned to that filter
For a brush-cleaned filter, support it without crushing the media and loosen surface dust gently. Pleats and mesh can be damaged by scraping or aggressive knocking even when the dirt is visible.
For a washable filter, use only the water temperature and cleaning solution permitted by the manual. Rinse as directed and let the element dry completely before installation. A surface that feels dry while moisture remains inside the media is not ready to refit.
Some foam filters require filter oil after washing; other filters do not. Some fine-dust filters use a manufacturer-specified cleaner. Treat those as separate procedures. Adding oil to an untreated filter, washing a dry-service element, or substituting gasoline and workshop solvent can change the media rather than clean it.
If normal cleaning exposes a split, loosens a seam, distorts the frame, or leaves embedded blockage, replace the element. The useful result is a sound filter that seals—not a filter that merely looks less dusty.
Refit and verify the seal
Before installation, confirm that the clean side, intake opening, and filter seat remain free of debris. Install the dry, serviceable filter in the correct orientation. Its edge should sit evenly around the housing, with the retainer and cover secured as the manual shows.
Pause if the cover needs unusual force, the filter rocks, a latch will not hold, or the sealing edge remains visible on one side. Recheck part identity and orientation rather than compressing the assembly into place.
After reassembly, complete the other routine checks assigned by the manual. The chainsaw chain maintenance checklist covers the cutting attachment in a separate safe order. If cleaning the correct, undamaged filter does not resolve a starting or running symptom, use the starts-then-dies diagnostic and stop before carburetor adjustment or internal fuel-system work.
Know when filter cleaning is finished
The job is complete when the correct filter is intact, clean by its approved method, fully dry where required, seated evenly, and retained under a properly fitted cover. It is not complete when damage remains, the media is still blocked, debris has entered the intake, or the saw still runs abnormally.
Record the filter part number and the manual’s service method with the saw. That small note prevents the next cleaning from becoming another round of material guesswork. For longer idle periods, pair this maintenance with the manual-led chainsaw storage checklist.