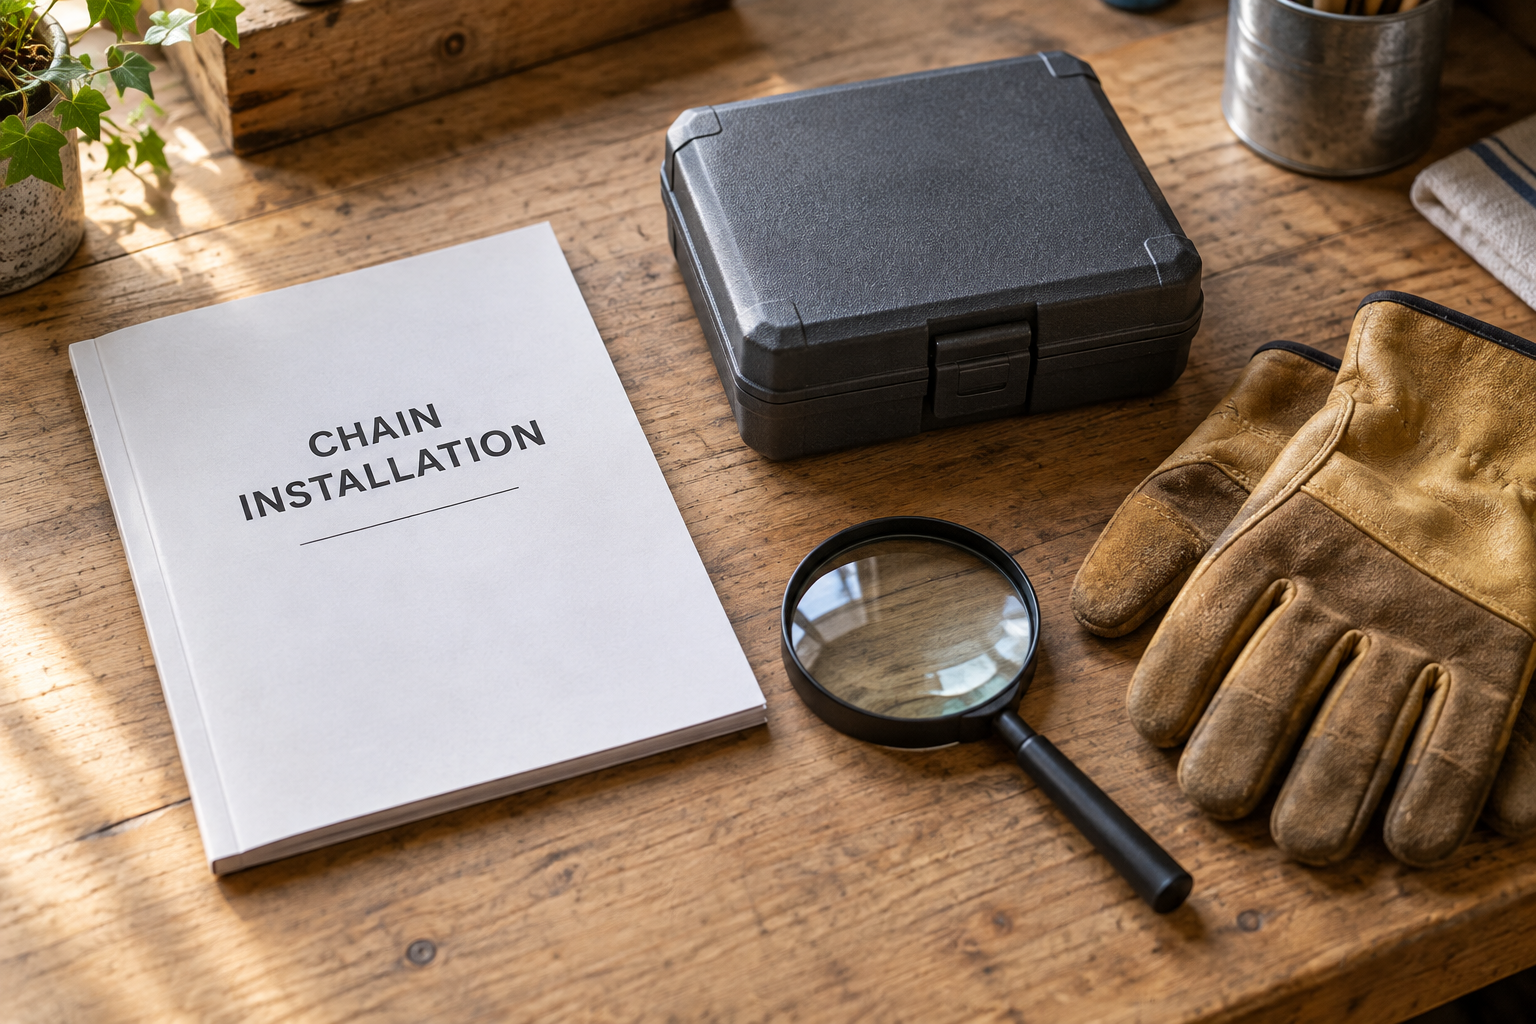
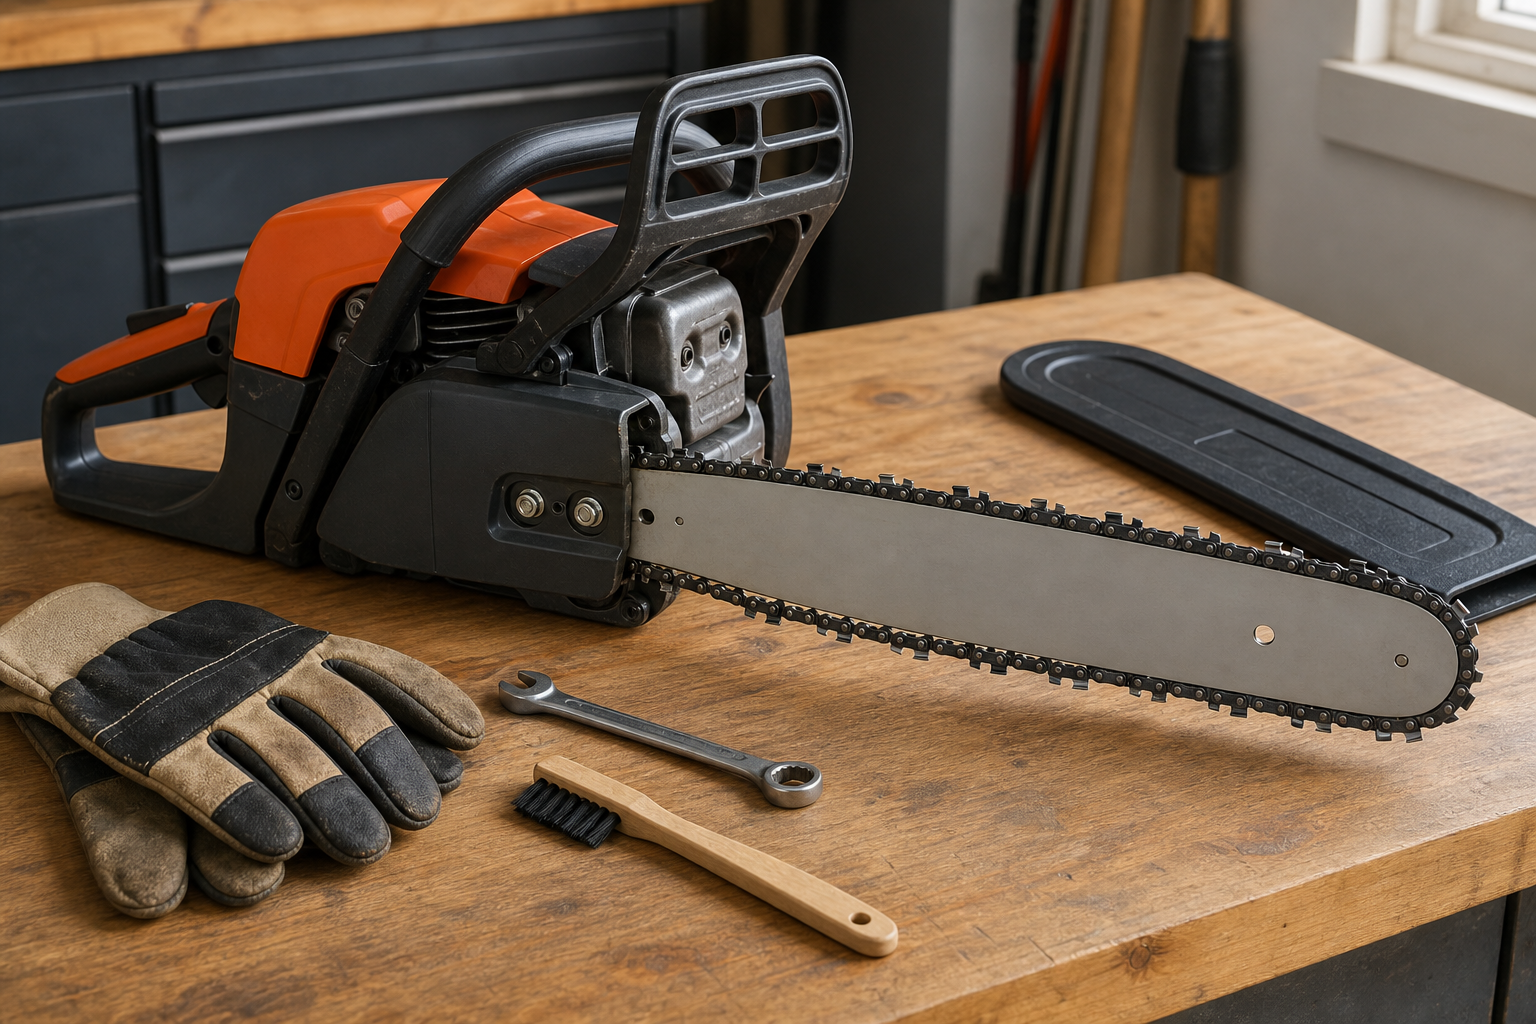
A useful chainsaw chain maintenance checklist starts with damage, then moves through cleaning, lubrication, tension, and sharpness. Do not sharpen first: a cracked component, damaged drive link, blocked oil path, or worn neighboring part needs a different response.
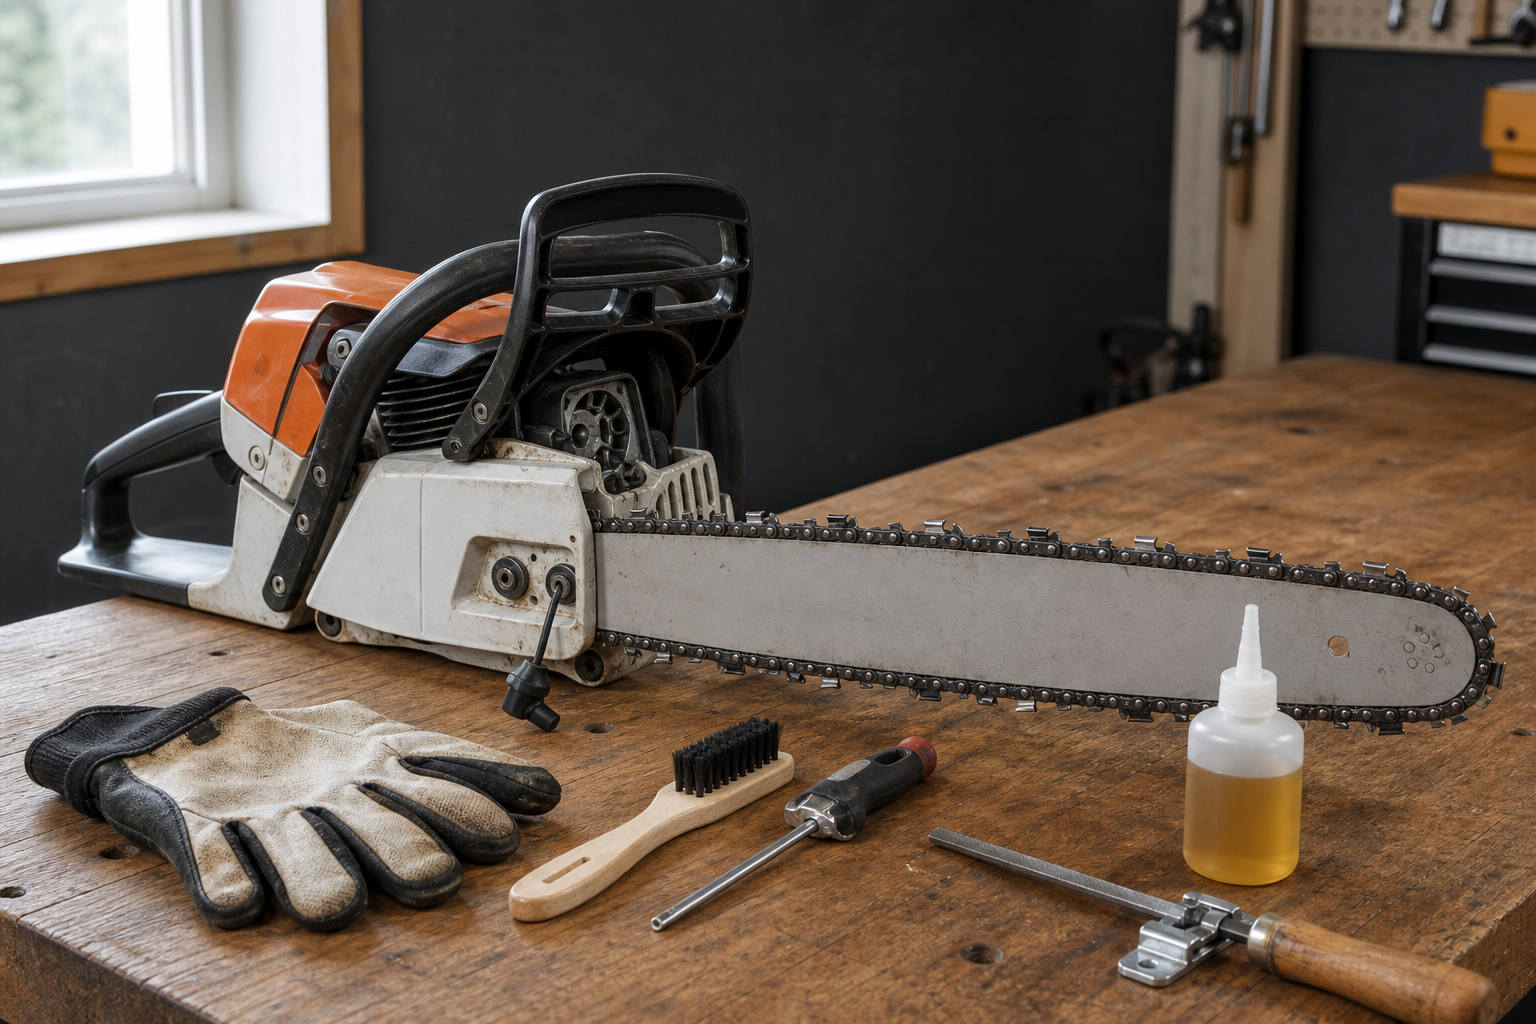
Make the saw unable to start
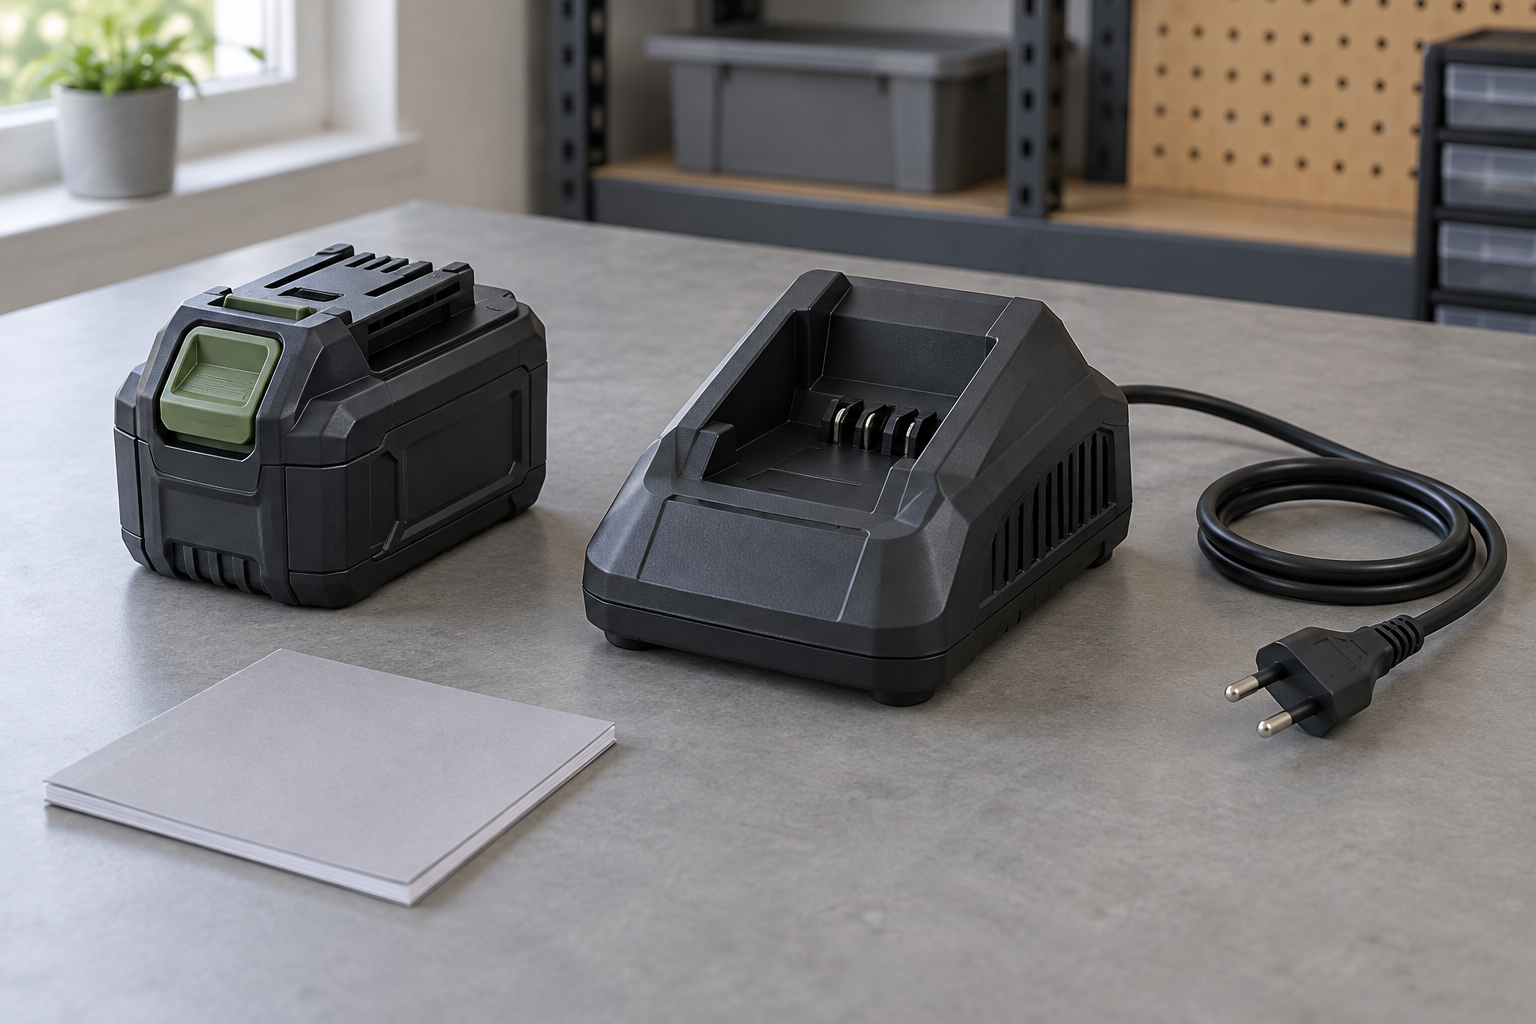
Let the saw cool and follow its manual before removing a cover, bar, or chain. Disconnect a corded saw, remove the battery from a battery saw, or use the petrol-saw isolation procedure specified by its manufacturer. Wear suitable gloves when handling the chain.
Work on a stable, well-lit surface. Brush loose debris away before deciding that a dark mark is damage or a packed groove is wear.
Use this three-moment decision card
This card separates checks that protect the next cut from work that is easier after the saw has cooled.
| When | Inspect or observe | Next action |
|---|---|---|
| Before starting | Cracked or broken cutters, tie straps or drive links; loose rivets; stiff links; an obviously damaged chain catcher or bar | Do not run the saw. Use the chain and saw manuals to decide on replacement or qualified service. |
| Before starting | Chain seating, cold tension, bar nuts, oil level, clear oil openings, and freely moving controls | Adjust only by the saw manual. If the chain will not move freely by hand after correct adjustment, stop and find the bind. |
| During a cutting session | Tension changes, reduced oil use, smoke, abnormal heat, crooked tracking, vibration, or a chain that tries to leave the bar | Stop the engine, isolate power, and let the cutting attachment cool before inspecting. Do not tension a hot chain. |
| After cutting | Oily sawdust under the cover, packed debris in the groove, resin on the chain, rail burrs, or wear marks at the sprocket | Clean until the contact surfaces are visible, then inspect again. Residue can hide the evidence needed for a sound decision. |
| Before the next job | Dull cutters without structural damage, correctable depth gauges, and a sound bar and sprocket | Identify the chain, then sharpen to its maker’s specifications. Replace or service it if the required identity or limits cannot be confirmed. |
Clean the oil route, then read the parts
Remove the bar and chain only as the saw manual directs. Clean the chain, bar groove, oil inlet hole, and the accessible area around the drive sprocket with tools and cleaner approved by the manufacturer. Avoid turning a routine clean into an unapproved disassembly.
Once the metal is visible, read the system from the chain outward:
- Chain: Walk the full loop. Look at cutters, depth gauges, tie straps, rivets, and drive links rather than judging only the sharp edge.
- Bar: Check whether the groove and oil holes are clear. Look for uneven rails, burrs, spreading, a damaged nose, or a chain that rocks abnormally in the groove.
- Drive sprocket: Look for an uneven contact path or damage that corresponds with marks on the chain. The sprocket wear inspection guide explains how to compare those parts without naming the sprocket from one symptom.
- Oil route: Reassemble correctly, add the lubricant specified by the saw maker, and use that model’s lubrication-check procedure. If cleaning does not restore oil delivery, stop and arrange service.
This evidence order matters. A sharp chain on a blocked oil path or damaged bar is still an unresolved cutting system.
Set tension from the saw manual
Check tension with the power isolated and the chain cool. The chain should sit correctly in the bar and travel by hand as the manufacturer describes; the exact adjustment method varies with the saw and bar design.
If correct cold tension will not hold, do not keep turning the adjuster. Inspect installation, the tensioning mechanism, drive links, bar groove, and sprocket together. The broader bar-and-chain maintenance workflow helps separate these neighboring causes.
Recheck a newly installed chain at the interval in its instructions. Stop and cool the chain before readjusting it.
Sharpen only a serviceable, identified chain
Clean oily residue from the chain before filing or grinding, then confirm the chain identity and use its specified file, wheel, angles, and depth-gauge tool. Keep left- and right-hand cutters consistent, but do not grind away extra material merely to chase cosmetic uniformity.
For repeat bench work, the live KonKell 250W High-Speed Chainsaw Sharpener page lists a mountable, adjustable-angle grinder for common 1/4-inch through 3/8-inch pitch chains. That makes it a possible fit only after compatibility and setup are verified; it does not inspect damage, set tension, restore oil flow, or cover every chain.
If a structural defect, severe wear, or uncertain service limit appears, use the chain replacement inspection instead of grinding until the mark disappears.
Keep a four-line service record
For each active chain, record:
- the chain identifier and the saw/bar it belongs to;
- the date and reason for the last sharpening;
- any recurring tension, oiling, bar, or sprocket observation;
- the action taken: cleaned, adjusted, sharpened, replaced, or sent for service.
The record turns repeated symptoms into evidence. A chain that repeatedly returns with the same side wear, oiling issue, or tension problem deserves a system inspection, not another automatic sharpening.