Safe chainsaw storm cleanup starts by deciding what not to cut. Leave anything near a utility line, overhead, standing or leaning, tangled, under visible tension, or attached to an unstable root plate for the utility or a qualified tree professional; an experienced homeowner’s possible work area is limited to stable, separated debris on the ground.
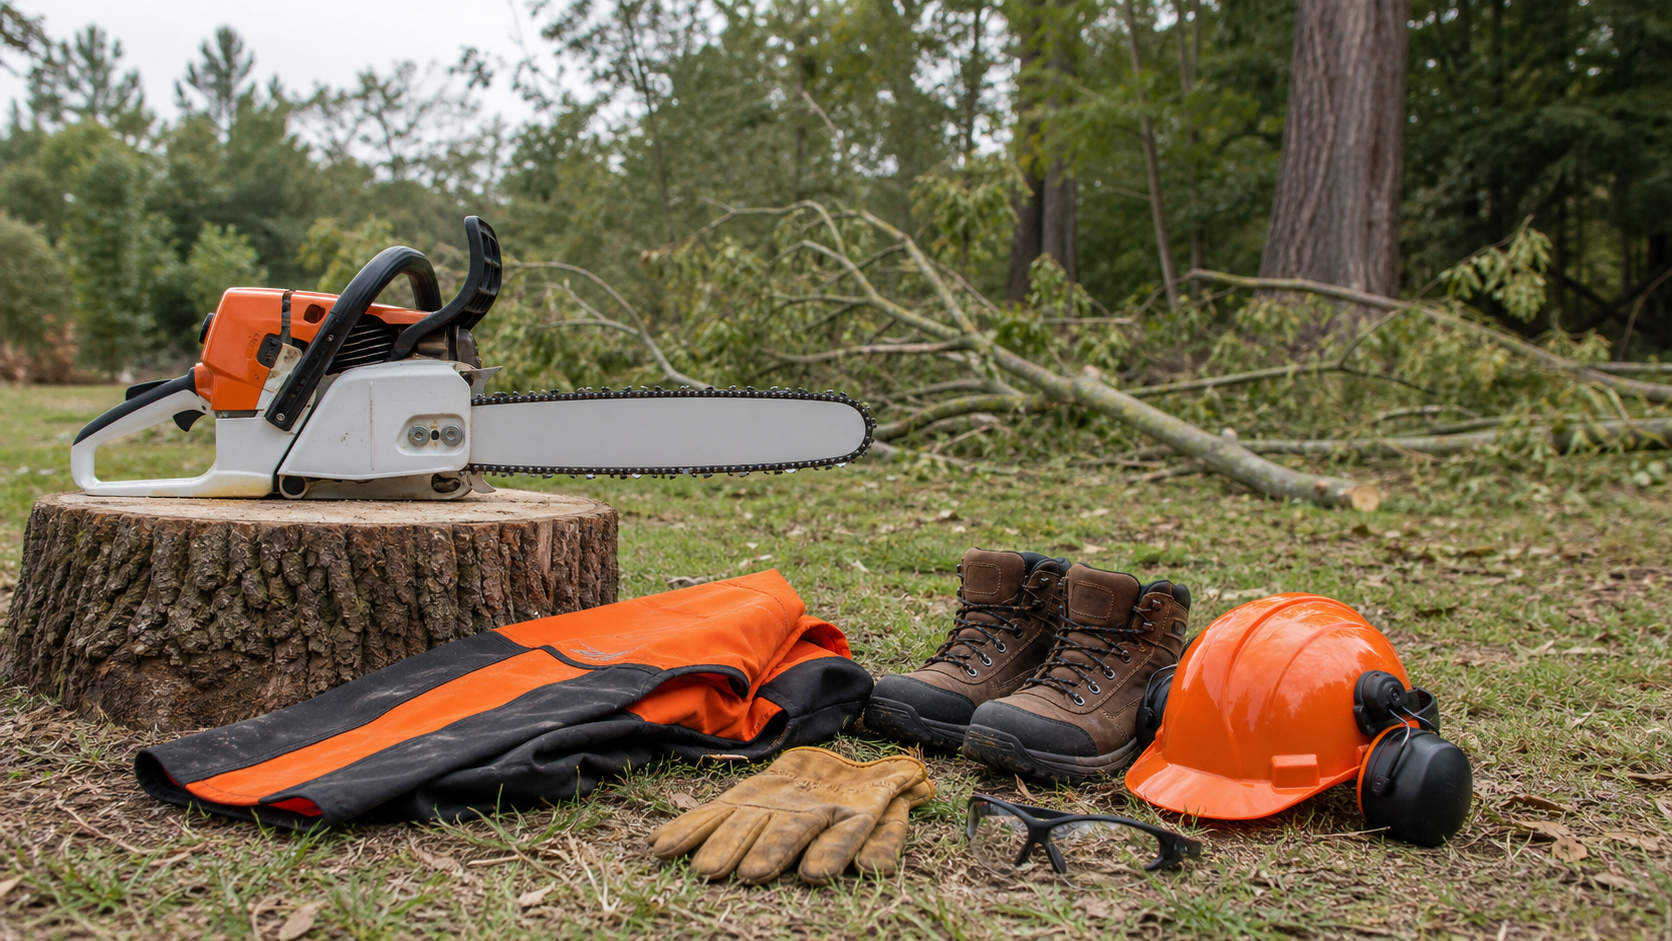
Storm damage is not ordinary firewood. Limbs can be bent under other limbs, broken tops may remain overhead, logs can roll when support is removed, and an uprooted tree can shift toward its old position. A sharp chain and a familiar saw do not remove those hazards.
Walk the site without a saw
Keep the saw off and out of your hands during the first inspection. Look from more than one position without stepping beneath damaged crowns, onto piled branches, or across a downed cable. Wind, unstable trees, traffic, water, poor footing, and people entering the area can change a manageable-looking job before a cut begins.
Use this three-zone triage:
| Zone | What you see | Decision |
|---|---|---|
| Red: do not approach or cut | Any line or cable in or near the debris; a tree or limb touching utility equipment; hanging limbs; a split or leaning standing tree; a cut above ground level; a suspended trunk; an unstable root plate; tangled blowdown; wood whose movement you cannot predict | Keep people back. Contact the utility, emergency authority, or a qualified tree professional as appropriate. Do not assume a line is de-energized. |
| Amber: stop and get a competent assessment | A grounded limb pinned at both ends, a bowed sapling, a log that can roll, a branch carrying another branch, cracked wood still attached to the tree, debris on a slope, or a cut that would require climbing, ropes, felling, or reaching above waist height | Do not use trial cuts to discover where the load is. Stored energy and changing support make the release path uncertain. |
| Green candidate: inspect further | A modest limb fully on stable ground, separated from the tree and other debris, away from utilities and traffic, with no visible bend, pin, hang-up, root attachment, or rolling path | It may be suitable only for a trained, equipped operator using the exact saw manual. Recheck the work zone and the wood before every cut. |
“Green” is not a promise that a cut is safe. It means the obvious site-level reasons to stop have not appeared. If the branch shifts while you clear around it, or a closer look reveals a split, nail, cable, loaded fork, or hidden support, reclassify it.
Treat every wire as a utility problem
Do not identify a downed line by its covering, height, or whether it is sparking. The CDC advises avoiding contact until power lines have been verified as de-energized, and University of Florida guidance says to call a professional for that verification.
That boundary includes branches touching a line and trees close enough to move into one. A plastic saw handle, dry-looking branch, silent cable, or neighborhood outage is not evidence that the area is safe. Keep away, prevent others from entering if you can do so without approaching the hazard, and report it to the utility or local emergency authority.
Look up, then read the support points
Once utilities are ruled out, scan the entire crown area before studying the log at your feet. Broken tops and suspended branches can fall without being touched. University extension guidance for hurricane cleanup limits homeowner chainsaw work to the ground and directs climbing, rope work, felling, and major restoration to professionals.
Next, trace what supports the wood:
- Find every contact point. Note where the limb meets the ground, another log, a fence, a stump, or the remaining tree.
- Look for stored bend. A bowed limb, compressed fork, lifted root mass, or sapling trapped beneath debris can move rapidly when one support changes.
- Picture the space after separation. If you cannot identify where both pieces will settle—and where you will stand without being struck, trapped, or pushed toward the saw—do not cut.
- Check the slope and roll path. Removing a small supporting branch can release a much larger log. Never stand on the log; stay out of the downhill path.
- Check the cutting path for foreign material. Storm debris can conceal nails, wire, fencing, stone, and grit. Move only loose material that can be handled without disturbing the wood.
The STIHL chain-saw safety manual reserves work in tangled blowdown for properly trained professionals and warns that limbs and logs under tension can spring toward the operator. This article deliberately does not give a tension-release cutting pattern: a diagram cannot show the loads in a specific storm pile.
Prepare only after the job passes triage
For a ground-level task that remains within your training, establish a work area before starting the saw. Keep bystanders out, agree on communication with a partner, clear stable footing and a retreat path, and move cut pieces before they become trip hazards. Do not work alone. Stop when fatigue, rain, wind, poor light, or noise makes the site harder to read.
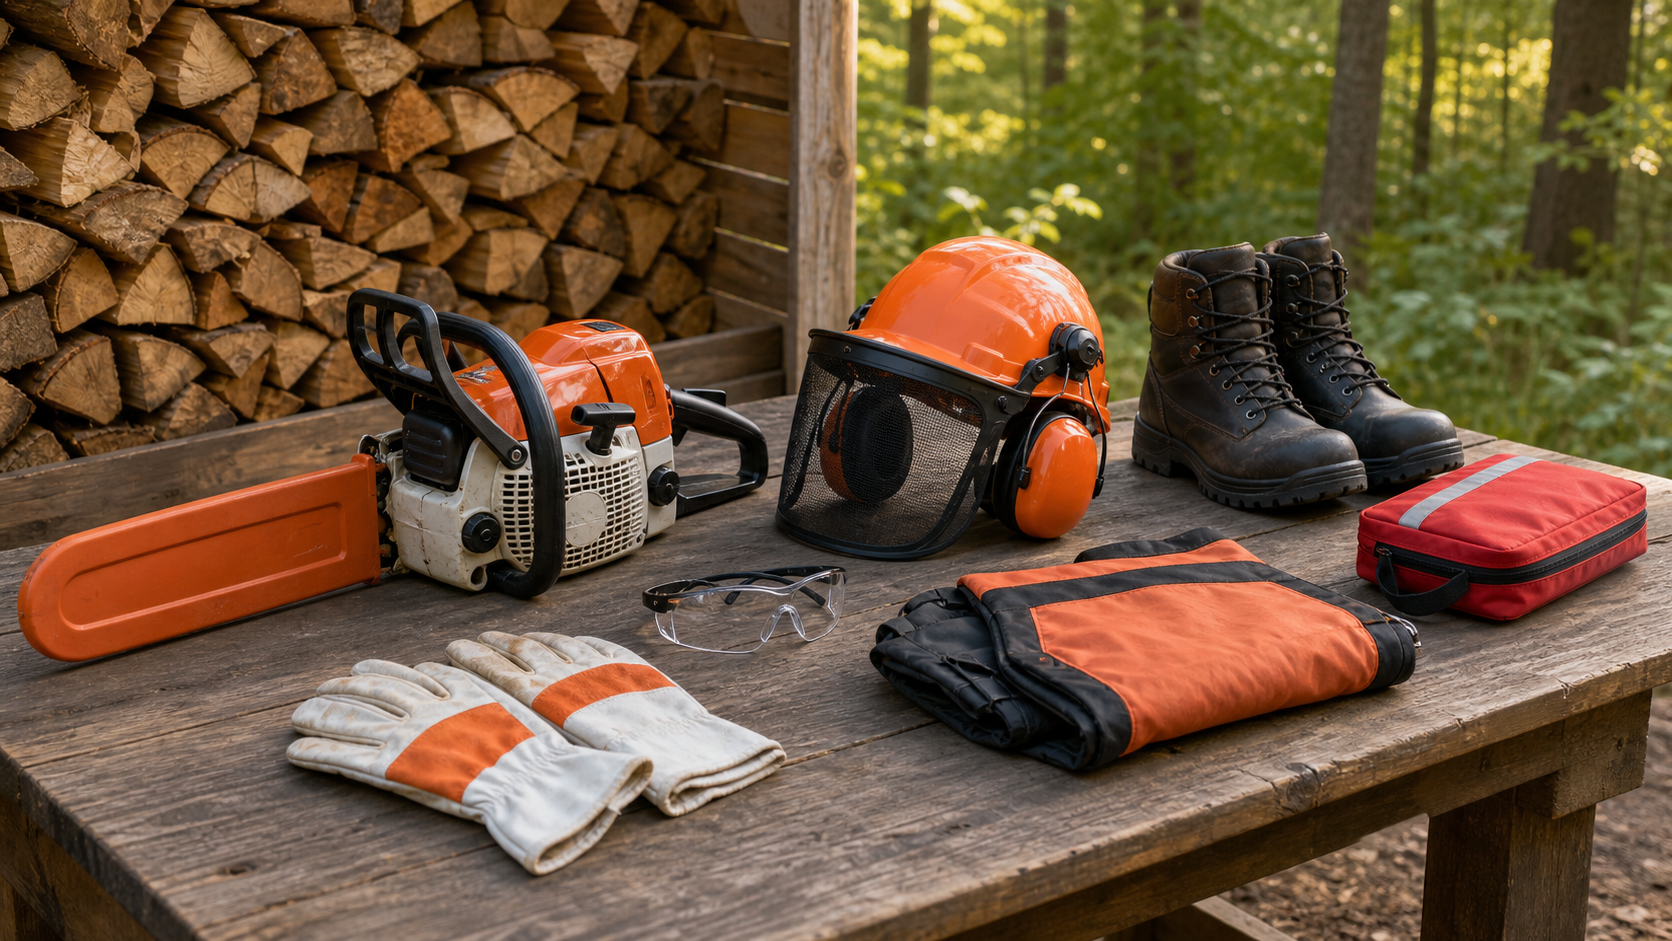
Wear the protective equipment specified by the saw manufacturer and the work: head, eye, hearing, hand, leg, and foot protection are all identified in CDC and university guidance. PPE cannot make an overhead limb, power-line contact, or tensioned tree acceptable to cut.
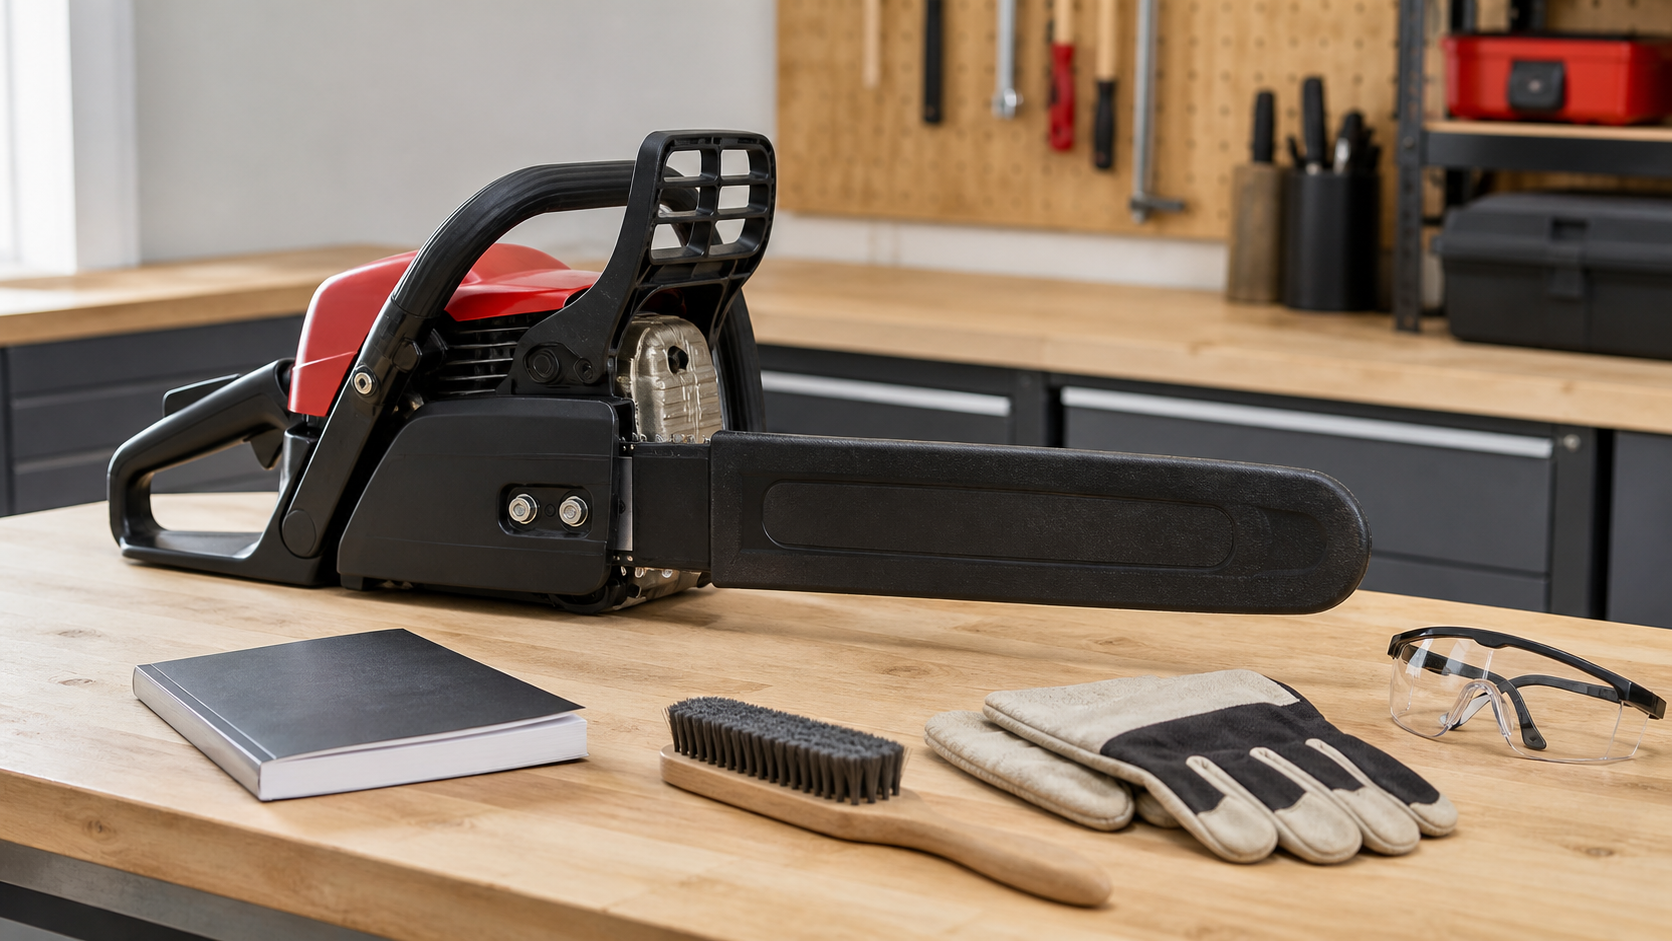
Inspect the saw according to its manual. Confirm that required guards and controls are present, the chain is correctly fitted and tensioned, and lubrication is working. The chain maintenance checklist covers a broader pre-use inspection, while the chain tension guide explains why adjustment must follow the exact saw procedure.
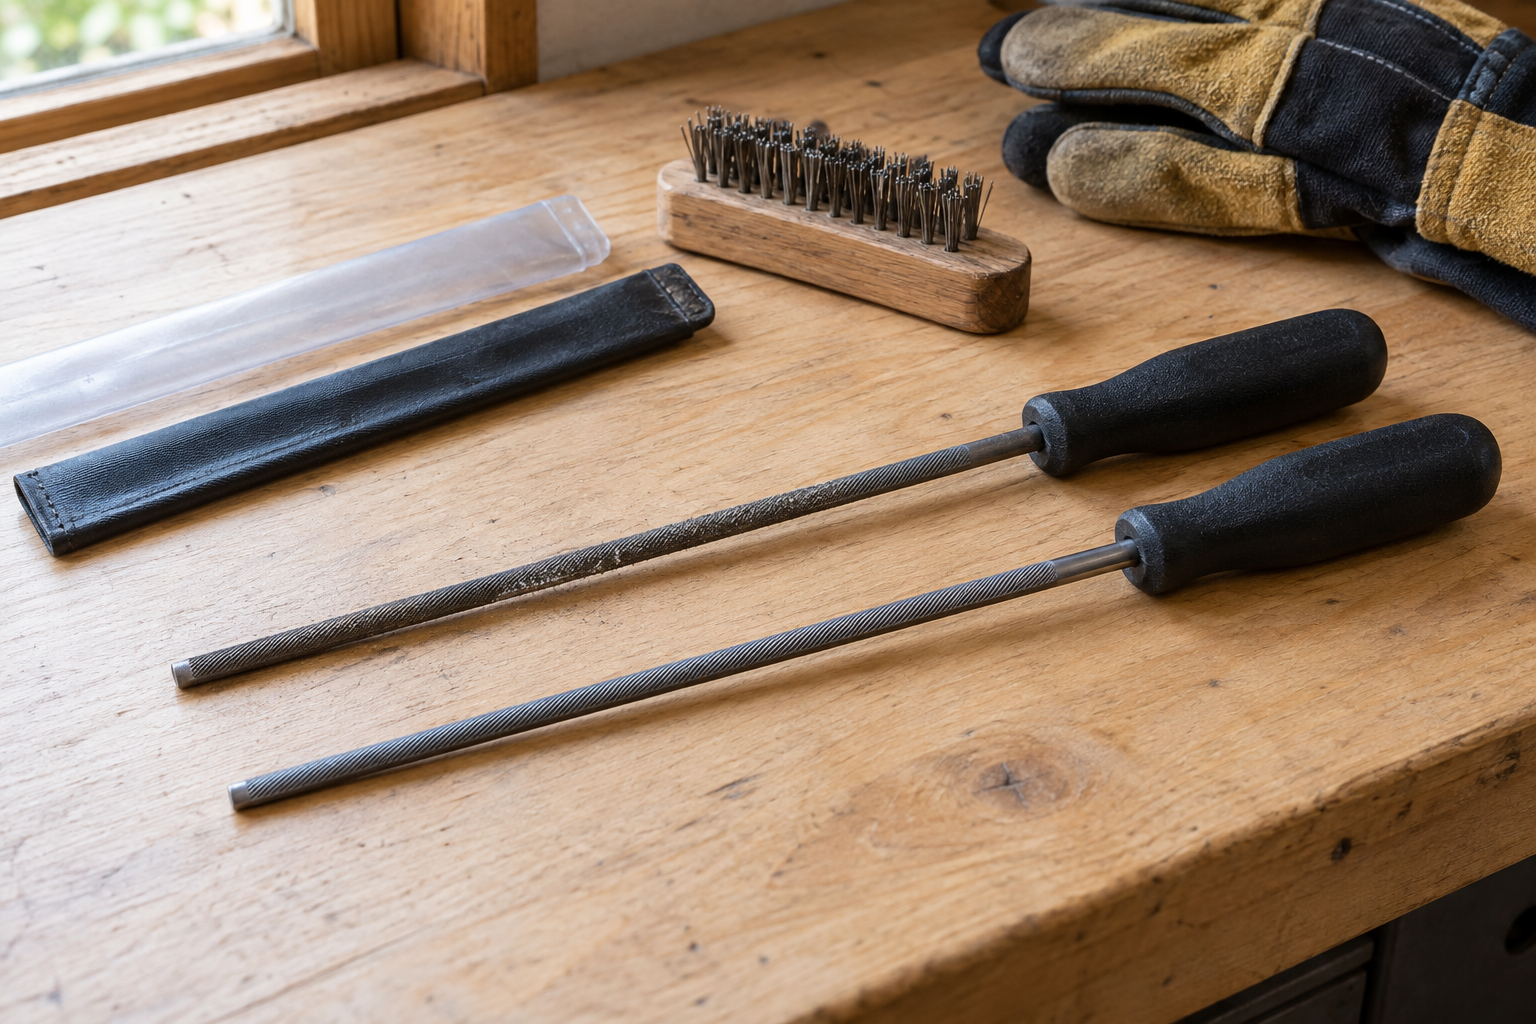
A dull chain encourages pressure and makes controlled cutting harder. If a compatible 1/4-inch through 3/8-inch pitch chain needs workshop preparation, the current KonKell 250W mountable chainsaw sharpener provides an adjustable-angle, bench-mounted setup for routine chain maintenance. It is corded, must be matched to the chain and grinding setup, and has no role in making storm-loaded wood safe; triage the site before deciding whether sharpening is even relevant.
Use a stop-first work sequence
If the site and equipment checks pass, keep the scope narrow:
- Work only from stable ground and keep both hands on the saw while cutting.
- Keep cuts at waist level or below. Do not stand on a log, ladder, pile, or unstable surface to improve reach.
- Cut one separated piece at a time. Do not reach the guide bar into a tangle where another branch can contact the bar tip or close the kerf.
- Watch the bar nose, supports, people, and escape space. If the wood moves differently than expected, release the throttle, control the saw as the manual directs, and stop the job.
- Shut the saw down by the manual’s method before carrying it through brush, clearing around the chain, adjusting tension, or inspecting a pinch.
If the chain becomes loose, do not keep retensioning between cuts without finding the cause. The diagnostic guide for a chain that keeps coming loose separates normal warm-up change from mounting, lubrication, bar, sprocket, and chain faults.
Hand the job over when the scene changes
Storm cleanup is a moving system. Removing one harmless-looking branch can expose a crack, free a suspended piece, or change how a trunk is supported. Pause and repeat the three-zone check after each piece is moved.
End DIY chainsaw work when:
- a utility line or unknown cable becomes visible;
- anyone must work above ground, fell a tree, climb, use ropes, or cut overhead;
- the wood is bent, suspended, tangled, split, rolling, or connected to an unstable root plate;
- a branch or trunk could strike a building, road, vehicle, fence, or bystander;
- the operator cannot maintain stable footing, a clear exit, and control with both hands;
- the saw binds, loses lubrication, develops abnormal chain slack, or has a damaged control or cutting attachment; or
- the next movement of the wood is uncertain.
Mark or describe the hazard from a safe location when contacting the utility or tree professional. Useful details include whether lines are involved, what remains overhead, where the root plate is, what is supporting the trunk, and whether public access is affected. Do not enter the hazard area to get a better photo.