If a chainsaw chain keeps coming loose, stop cutting, let the saw cool, and do not tighten it again until you know whether the bar moved or the chain fit changed around the loop. Slack that returns immediately points toward mounting or tensioner trouble; slack that appears with heat or varies around the bar points toward lubrication, chain, bar, or sprocket evidence.
First: note when the slack returned
A chain becomes longer as it warms in use. New chains also need more frequent tension checks during their running-in period. That does not mean every loose chain is harmless.
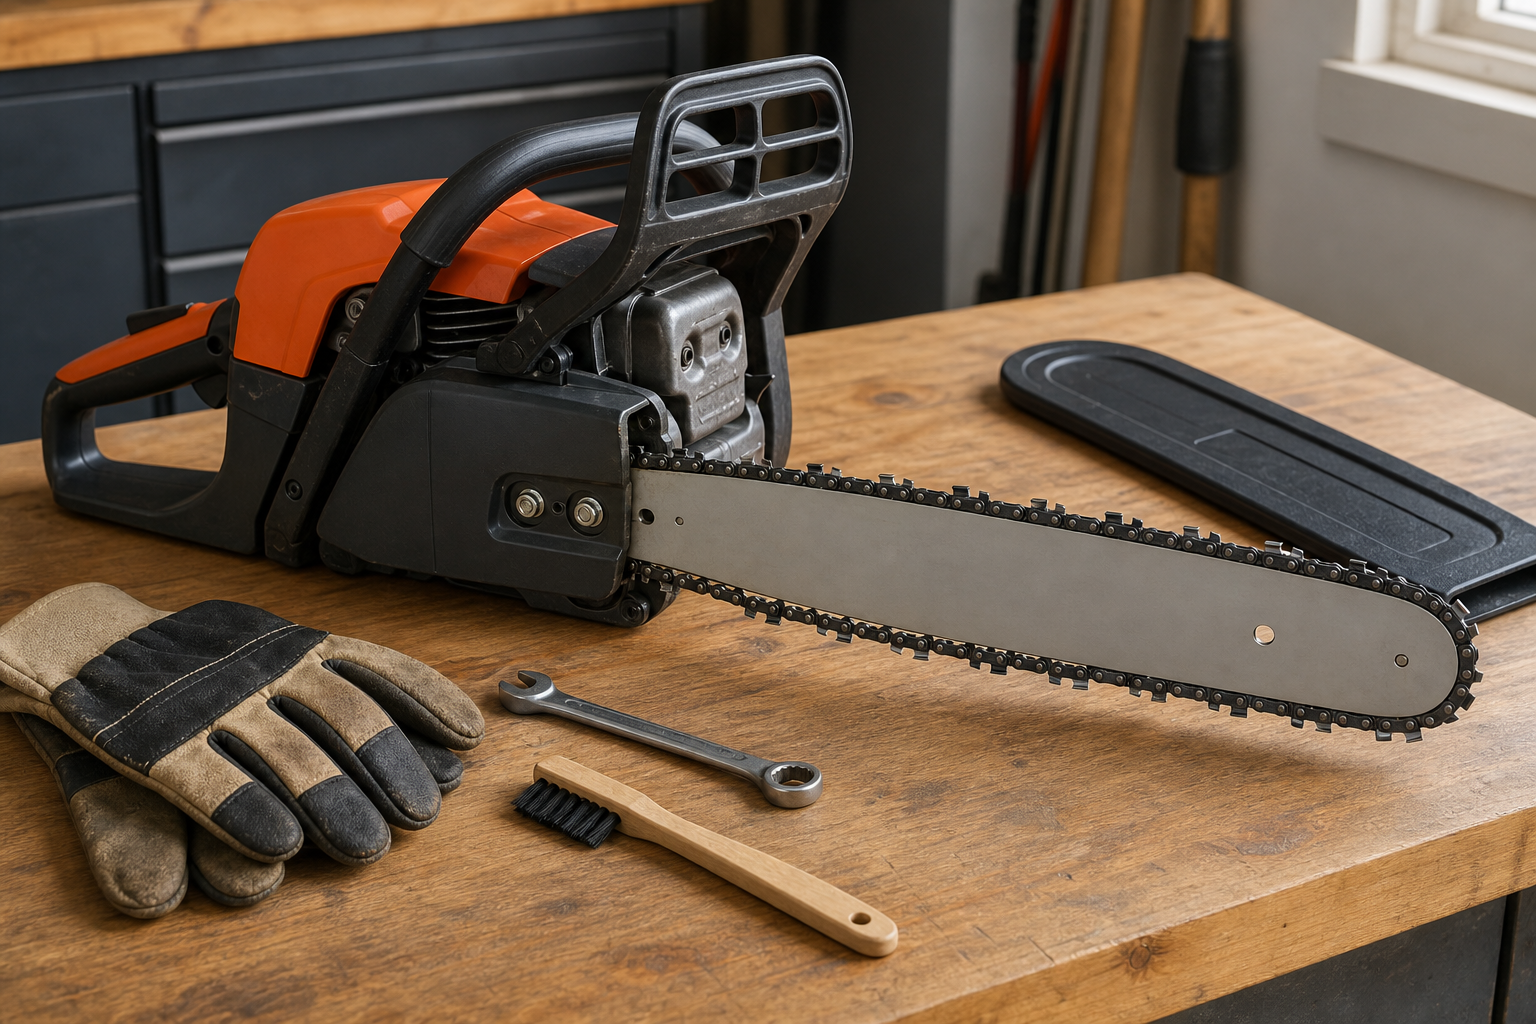
Power the saw down by the method in its manual, engage the chain brake if the manual calls for it, and let the cutting attachment cool. Remove the battery or disconnect the spark-plug lead only when your manual directs you to do so. Wear gloves before touching the chain.
Use the timing as a sorting clue, not as proof:
| When the fit changes | First place to look | Do not do this |
|---|---|---|
| While securing the side cover or bar nuts | Bar support, mounting faces, tensioner-pin engagement, fastening sequence | Add extra chain tension to compensate for a bar that moved |
| At different points while pulling the cold chain around by hand | Drive links, stiff sections, groove, bar nose, and sprocket | Run the saw to make a tight spot “settle” |
| Only after cutting, then improves as the saw cools | Manual’s warm-chain guidance, oil delivery, cutting attachment heat | Tighten a hot chain as though it were cold |
| After a derailment | Chain, bar rails, sprocket, catcher, cover, and matching | Refit the chain and resume without inspecting damage |
A new chain can require more frequent checks during its running-in period, and a chain becomes longer as it warms. Neither fact explains slack that returns immediately after a correct cold adjustment or a fit that changes at one place around the loop.
For the basic adjustment procedure, use the chainsaw chain tension guide alongside the instructions for your exact saw. The checks below begin when correct adjustment does not hold.
Use one stationary mark to find what moved
This check separates a fastening problem from a chain-path problem without running the saw.
- Clean oily chips from the bar pad, side cover, adjuster area, and visible groove using the method allowed by the manual. Debris trapped between mounting faces can keep the bar from clamping flat.
- Confirm that the chain’s drive links are seated around the drive sprocket and along the full bar groove. Check that the tensioner pin engages the intended hole in the bar.
- Adjust a cold chain while supporting the bar nose as the saw manual specifies. Secure the cover or bar nuts in the stated order, then repeat the manual’s free-movement and fit checks.
- Put a removable pencil or masking-tape reference mark at the rear edge of the bar where it meets the saw body. Do not mark a hot surface or cover a control, warning, or oil passage.
- Without starting the saw, pull the chain around the bar by the manual-approved gloved-hand method. Recheck the reference mark and chain fit.
Read the result before changing the tension again:
- Bar moved at the mark: revisit the mounting faces, bar-nut or tool-less-cover procedure, tensioner engagement, and fastening hardware.
- Bar stayed fixed but slack changes around the loop: inspect drive links, stiff sections, the groove, bar nose, and sprocket.
- Bar stayed fixed and fit changes only after cutting: let the saw cool, verify oil delivery by the manual’s method, and compare the result with its warm-chain guidance.
- The chain derailed or any part is damaged: stop. Retensioning is not a repair.
Read where the slack appears
| What you observe with the saw off and cool | What it suggests | Next action |
|---|---|---|
| Bar position changes as the cover is secured | Bar was not supported, mounting faces are obstructed, or the fastening system is not clamping | Clean and repeat the exact manual sequence; stop if hardware or threads are damaged |
| Adjuster turns but the bar does not move consistently | Tensioner pin is not engaged, or the adjuster is damaged | Remove the cover only as the manual permits; verify engagement and seek service if movement is erratic |
| Chain alternates between tight and loose as it is pulled around | Damaged drive links, a stiff section, bar-nose trouble, or uneven drive wear | Inspect the full loop and bar; do not run it to “settle” the fault |
| Bar stays fixed, but slack grows rapidly during cutting | Excess heat, poor oil delivery, or worn chain/bar/sprocket contact | Stop, cool, verify lubrication by the manual’s method, then inspect the cutting attachment |
| Drive links lift out of the groove or show burrs, bends, cracks, or peening | Chain damage or an incorrect chain-and-bar match | Retire the damaged chain and verify pitch, gauge, and drive-link count before replacement |
| Correctly fitted chain repeatedly derails | Bar rails, drive sprocket, chain, installation, or component matching may be at fault | Keep the saw out of service until the cause is identified |
This is a sorting tool, not a substitute for the model manual. A tool-less cover, a side adjuster, and a front adjuster may require different fastening steps.
Check heat before blaming “stretch”
Rapid slack accompanied by a hot bar or chain deserves more than another turn of the adjuster. Oregon warns that a chain that is too tight can heat the cutting attachment, while Husqvarna directs users to let a chain cool before adjustment because it shrinks as it cools. Tightening a hot chain can therefore leave it overtight when cold.
Follow the saw manual’s oil-delivery check. Look for an empty oil tank, a blocked bar oil hole or groove, packed debris around the outlet, or another model-specific oiling fault. The bar-oil troubleshooting workflow helps separate a delivery problem from residue around the saw.
A dull chain can also invite the operator to force the cut, adding heat and wear. Correcting cutter condition may be necessary, but sharpening does not repair a loose bar mount, worn sprocket, damaged drive link, or failed tensioner.
Inspect the parts that guide the loop
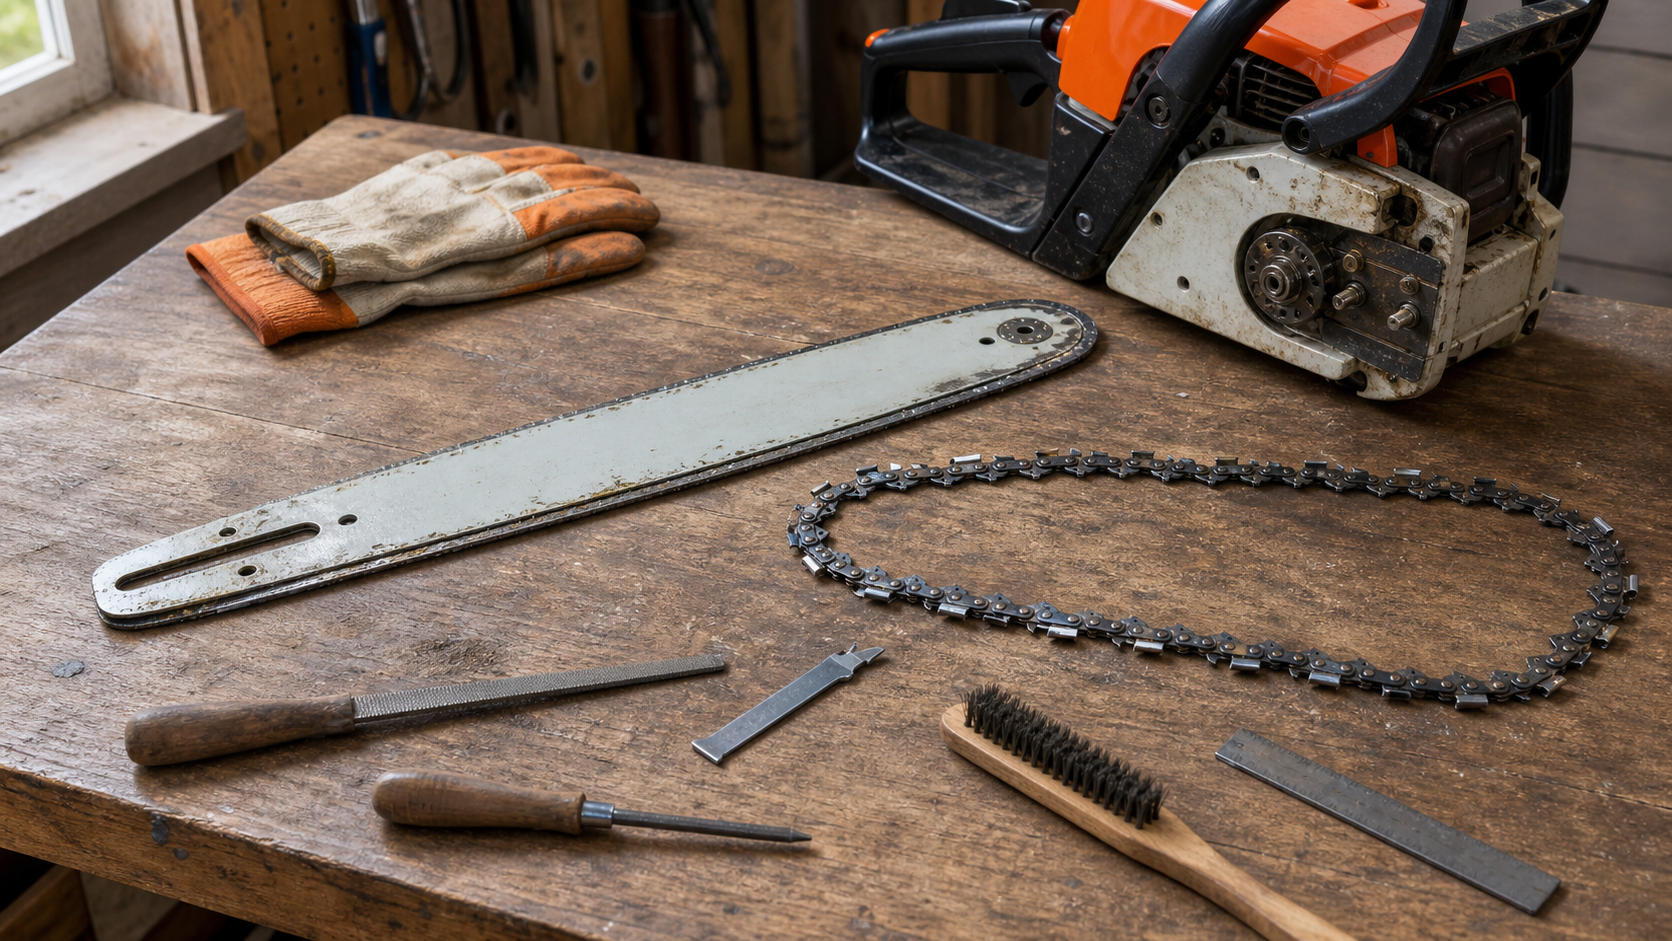
Remove the cutting attachment only after disabling the saw as its manual specifies. Clean it enough to see the contact surfaces, then inspect in this order:
Chain. Follow every drive link around the loop. STIHL’s chain-damage guide associates battered drive-link areas and tie-strap wear with loose running, derailment, mismatched or worn sprockets, and insufficient lubrication. Bent, cracked, broken, or badly burred parts are reasons to stop, not targets for improvised straightening.
Guide bar. Look along both rails for uneven wear, spreading, burrs, a damaged groove, and nose-sprocket trouble. Check the oil holes and groove while the bar is off. The broader bar-and-chain maintenance guide covers cleaning and inspection points without assuming that chain tension is the only fault.
Drive sprocket. Inspect it at the interval and by the method in the saw manual. Wear or a pitch mismatch can batter drive links and disturb tracking. If the manual reserves sprocket measurement or replacement for a dealer, stop there.
Match. Verify the saw maker’s approved bar-and-chain combination, including pitch, gauge, and drive-link count. A chain can appear to sit on a bar yet still be the wrong component. Use markings, packaging, or the manufacturer’s parts lookup rather than measuring by eye.
Stop conditions
Keep the saw out of service when any of these remains unresolved:
- the chain has derailed and any drive link, tie strap, cutter, rivet, bar rail, catcher, cover, or sprocket is damaged;
- the bar will not remain clamped after the manual’s fastening procedure;
- the tensioner does not move or hold the bar predictably;
- the chain binds, develops tight spots, or cannot pass the manual’s movement check;
- oil delivery cannot be confirmed;
- the approved bar-and-chain match is uncertain; or
- correct cold tension repeatedly disappears and the cause is still unknown.
Before taking the saw for service, record whether the slack appeared while fastening, at one point around the cold loop, or only after cutting. Also note whether the stationary bar mark moved. Those observations are more useful than another unexplained tension adjustment.