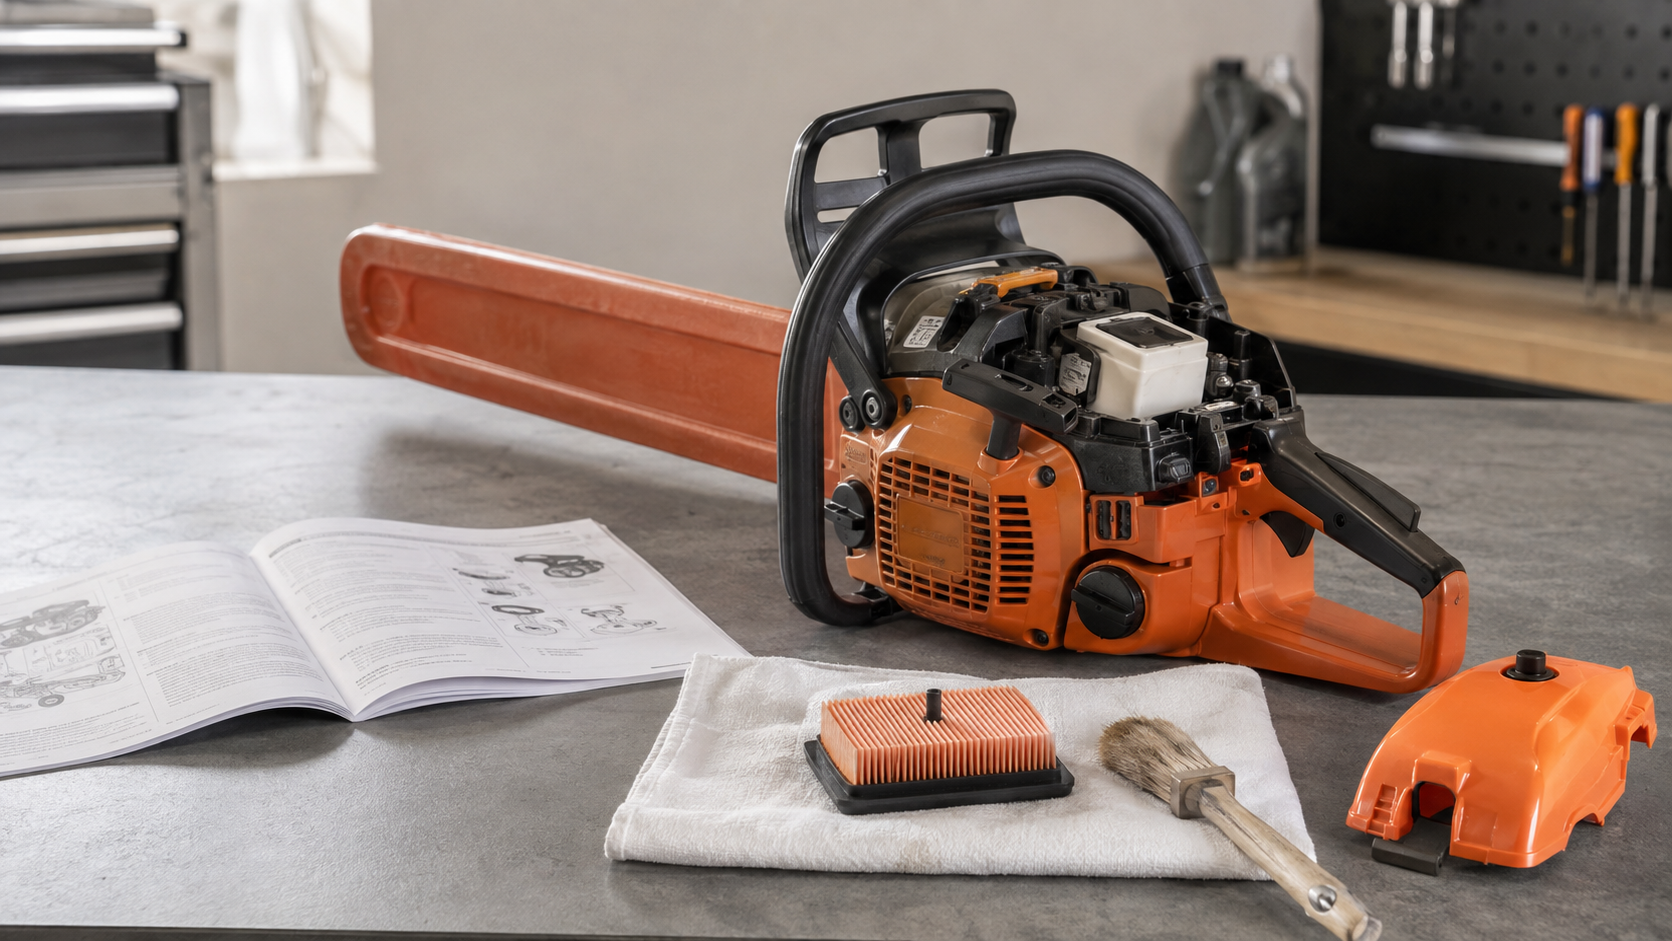
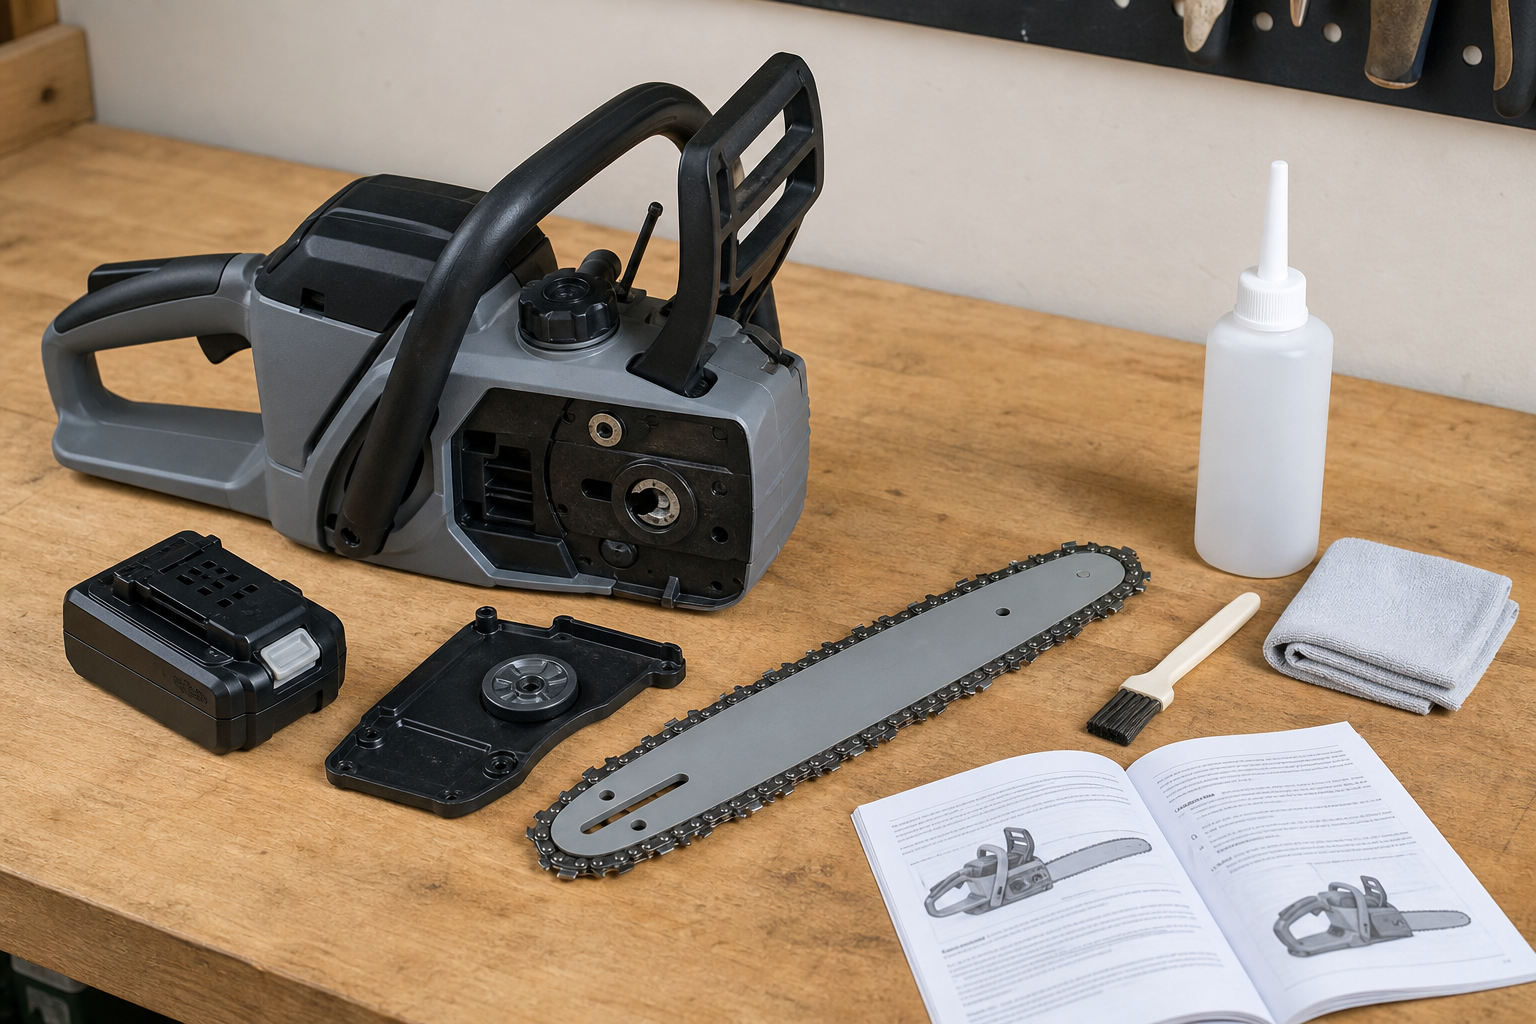
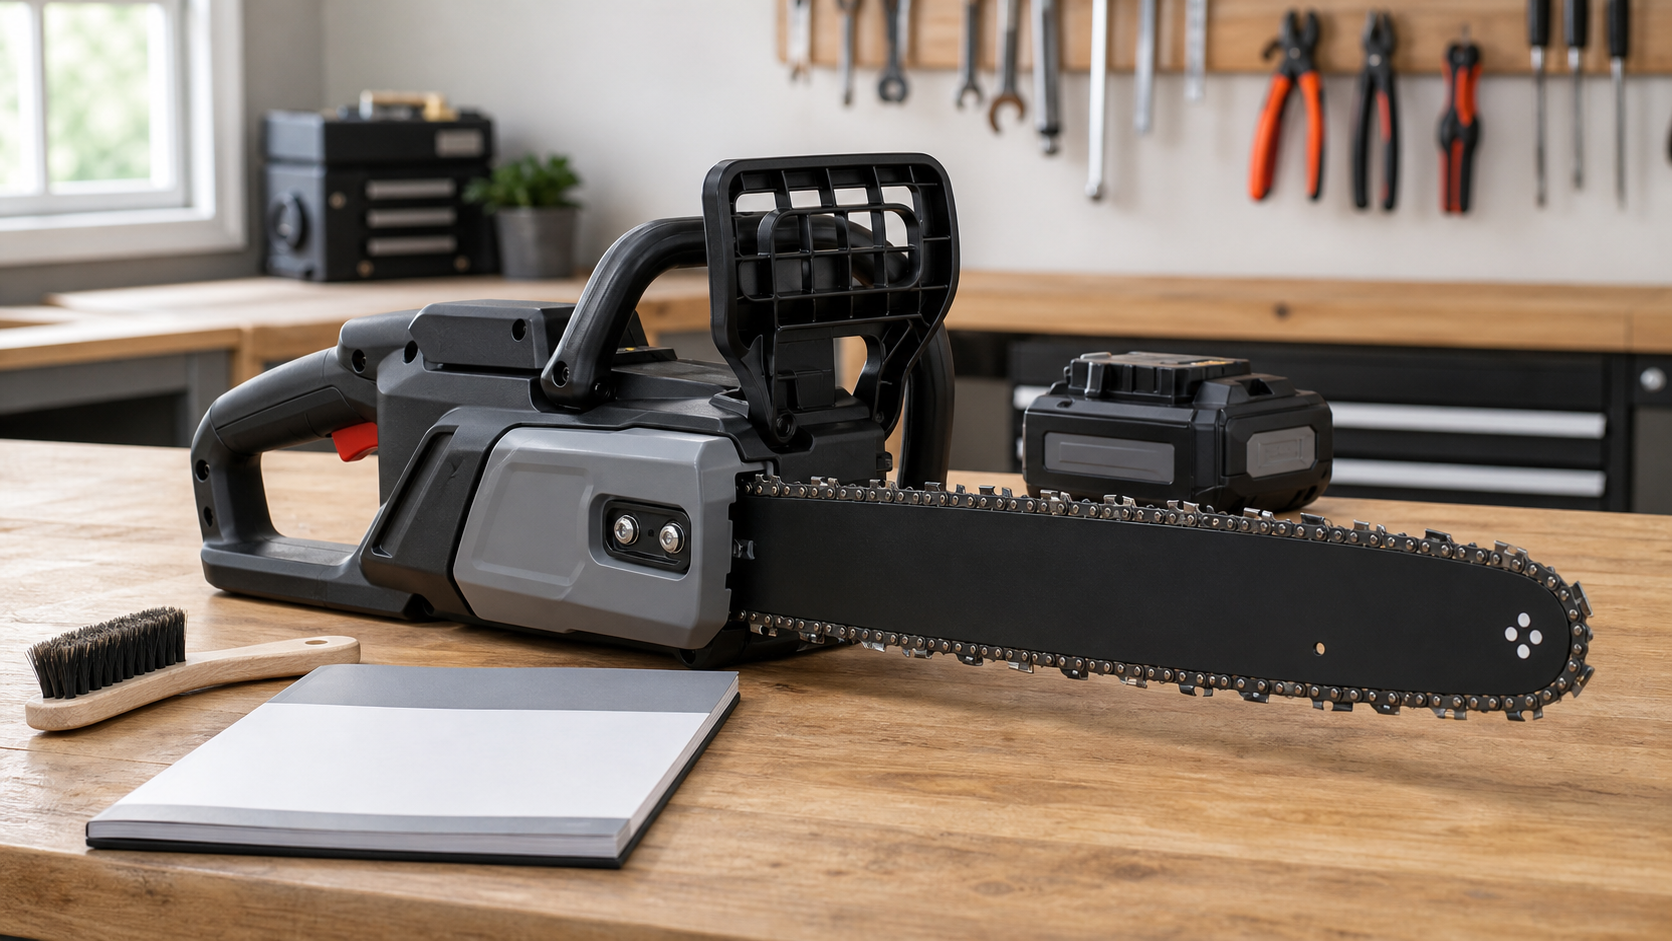
A cold chainsaw chain should sit against the underside of the guide bar without visible sag, move smoothly around the bar when the saw is disabled and the brake is released, and return to the groove after a gentle lift. Those are general checks—not a universal measurement—so use the tensioning sequence and acceptance limits in the manual for your exact saw and cutting attachment.
Prove three things before adjusting
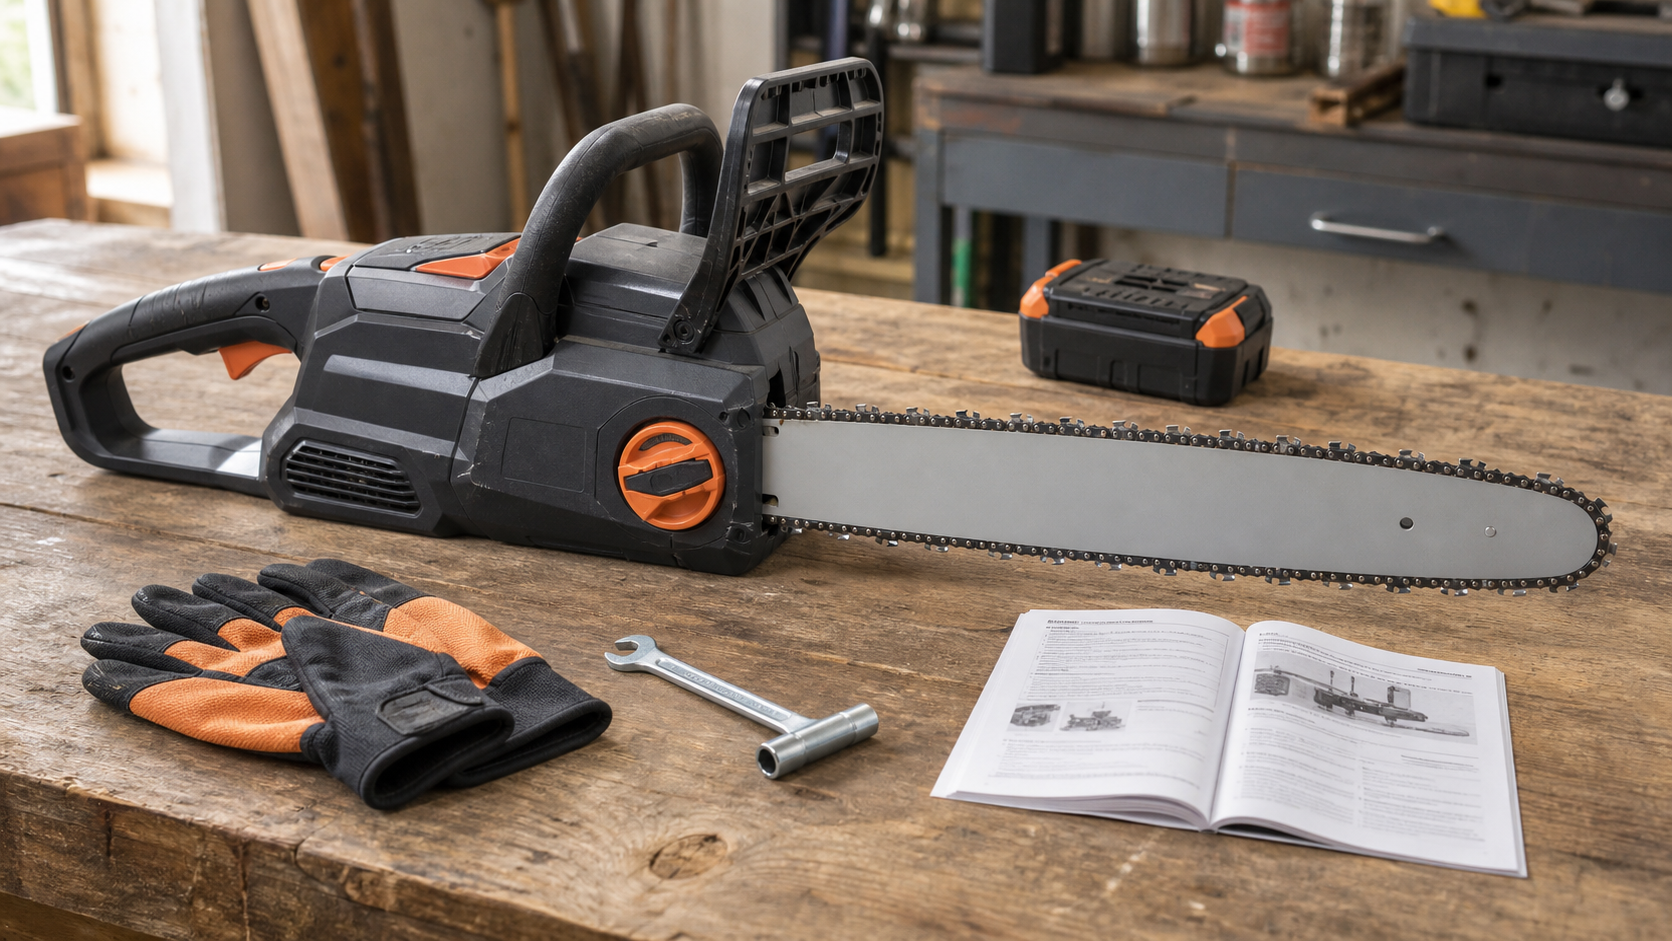
Let the cutting attachment cool. Make the saw unable to start as its manual directs: remove the battery, unplug the cord, or follow the specified ignition-disabling procedure. Place it on a stable surface and wear gloves when touching the stationary chain.
Release the chain brake only when the manual calls for it and the power source is disconnected. Then look for all three signs:
- Contact: the chain sits against the underside of the bar rather than hanging in a loop.
- Travel: using the manual-approved method, the chain moves around the bar without a tight spot or heavy drag.
- Return: a gentle lift at the middle of the bar lets the chain return into the groove; the drive links do not remain outside it.
Passing only one sign is not enough. A chain can look snug yet bind, or move freely because it is too loose. Avoid coin, finger-width, or universal millimetre rules unless your own manual gives that test; bar construction and manufacturer procedures differ.
Adjust the mechanism your saw actually has
Identify whether the saw uses bar nuts with a side or front tensioner, a tool-free wheel, or another system. Do not transfer a sequence from a different model.
For common bar-nut systems, manufacturer instructions generally call for loosening the retaining nuts enough for the bar to move, supporting the bar nose, and turning the tensioner gradually. The retaining hardware is tightened while the bar nose remains supported. Tool-free systems use a different order and locking mechanism.
After securing the bar, repeat the contact, travel, and return checks. If the chain binds, sags, will not seat, or develops a tight spot as it travels, stop and readjust by the manual. Do not run the saw to compensate for an uncertain stationary result.
Read the failed proof, not just the slack
| Stationary result | What it separates | Next action |
|---|---|---|
| Chain hangs below the bar but travels freely | Tension is too loose or the bar was not held in its working position during tightening | Repeat the model’s tensioning sequence with the bar supported as directed |
| Chain sits against the bar but is difficult to move | Excess tension, brake engagement, packed groove, mismatched parts, or a tight joint may be involved | Confirm the saw is disabled and brake released as instructed; clean and inspect before another adjustment |
| Drive links pull clear of the groove or do not return | The chain is not passing the retention check | Keep the saw out of use; verify fit, installation, tension, bar groove, and component condition |
| One section moves freely and another binds | This is not a simple whole-loop tension problem | Mark the location and inspect for a damaged or stiff chain joint, bar damage, packed debris, or drive-system trouble |
| Correct cold tension becomes slack again | Heat-related change may be normal, but repeated cold slack is evidence to investigate | Follow the manual’s in-use recheck procedure; if the cold setting will not hold, inspect the mounting and drive system |
This map prevents a common mistake: turning the tensioner farther whenever the chain looks loose. A backed-off bar mount, damaged adjuster, worn groove, stiff joint, wrong chain, or sprocket problem will not be repaired by extra tension.
Recheck at the time the manual specifies
Chain temperature changes during use, and new or recently fitted chains may need more frequent checks. Follow the saw maker’s interval and shutdown sequence. Never check or adjust tension with the motor running.
If a hot chain is adjusted, some manufacturers instruct the operator to reduce tension again after it cools so the cooling chain does not overload the bar or bearings. Treat that as a model-manual task, not a reason to leave a cold chain visibly slack.
When the chain repeatedly loosens after a correct cold setup, use the stationary-mark diagnostic for a chain that keeps coming loose. It separates movement at the bar mount or adjuster from chain, bar, and sprocket evidence. The bar-and-chain maintenance inspection covers cleaning the groove and oil route before parts are blamed.
Know when tension is not the cutting problem
Correct tension does not make a dull or structurally damaged chain serviceable. Stop if you find a crack, bent or broken part, damaged rivet, badly battered drive link, or wear beyond the chain maker’s service marks. If the loop is intact but cutting still produces dust or needs excess feed pressure, inspect lubrication, bar support, cutter edges, and depth gauges rather than tightening the chain again.
The live KonKell 250W mountable chainsaw sharpener lists adjustable grinding-angle setup and support for common 1/4-inch through 3/8-inch pitch chains. It can fit a bench sharpening step only after the chain is identified, compatible, correctly tensioned for the saw, lubricated, and structurally serviceable. It does not set chain tension or diagnose a bar, sprocket, adjuster, or mounting fault.
For damage-versus-dullness decisions, use the replace-or-sharpen chain inspection before removing more cutter material.