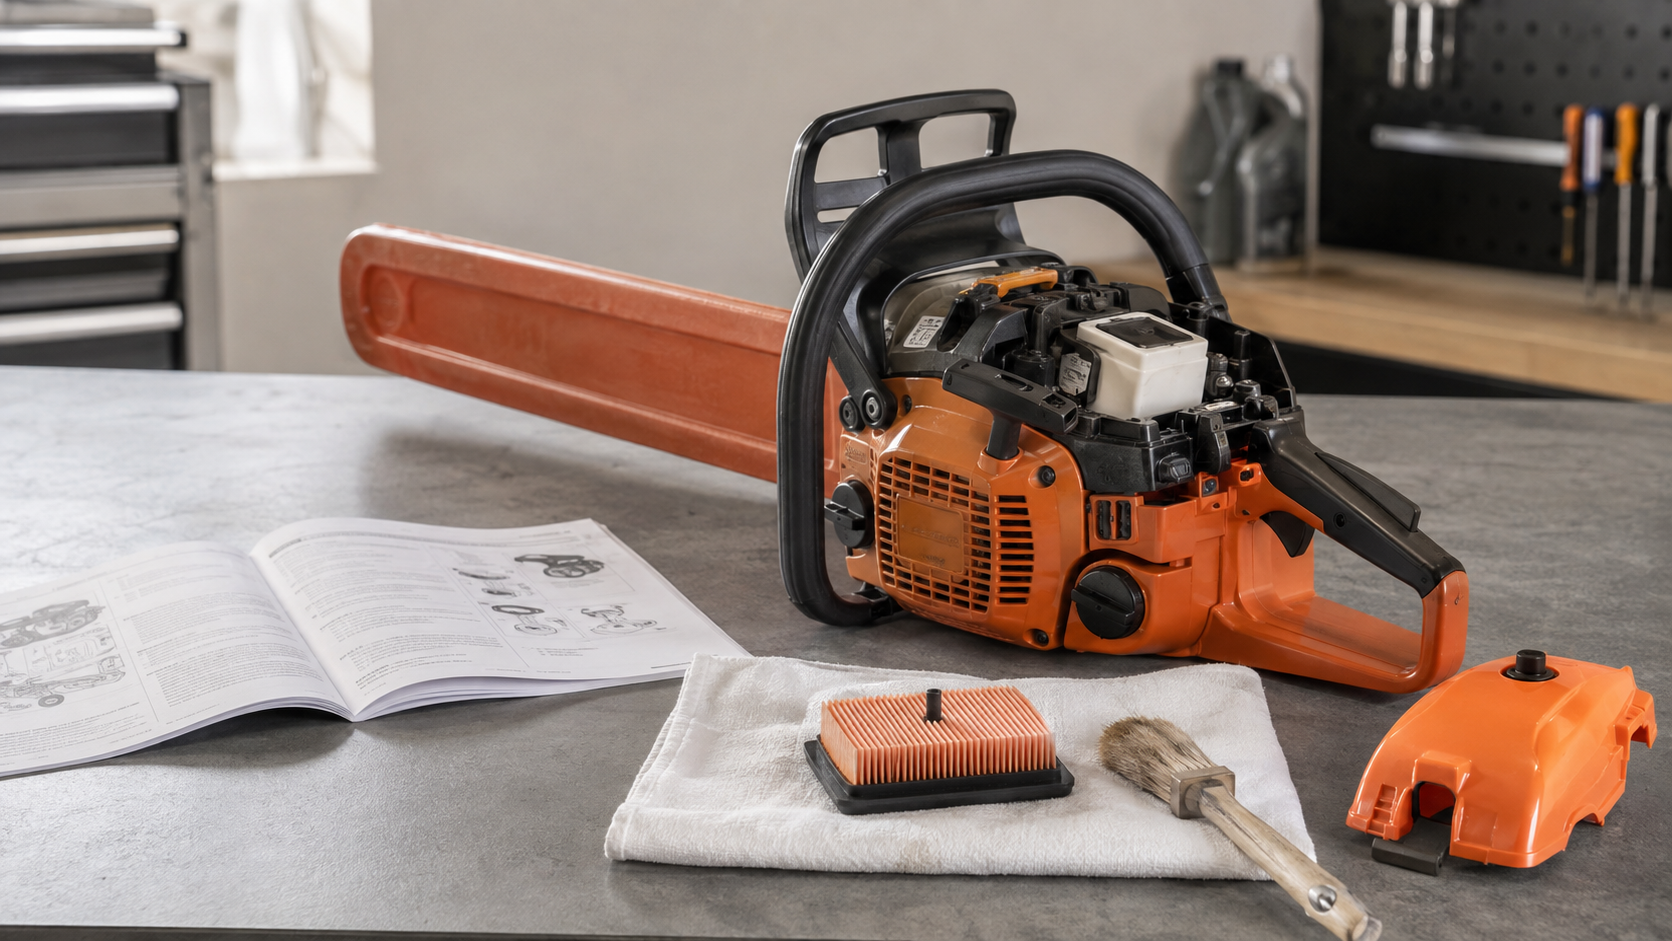
Chainsaw bar and chain maintenance starts by making the saw unable to start, removing the cutting attachment as its manual directs, and cleaning until the wear surfaces are visible. Then use what the clean parts show to choose one action: reassemble, correct lubrication or tension, sharpen a serviceable chain, replace a worn part, or arrange service.
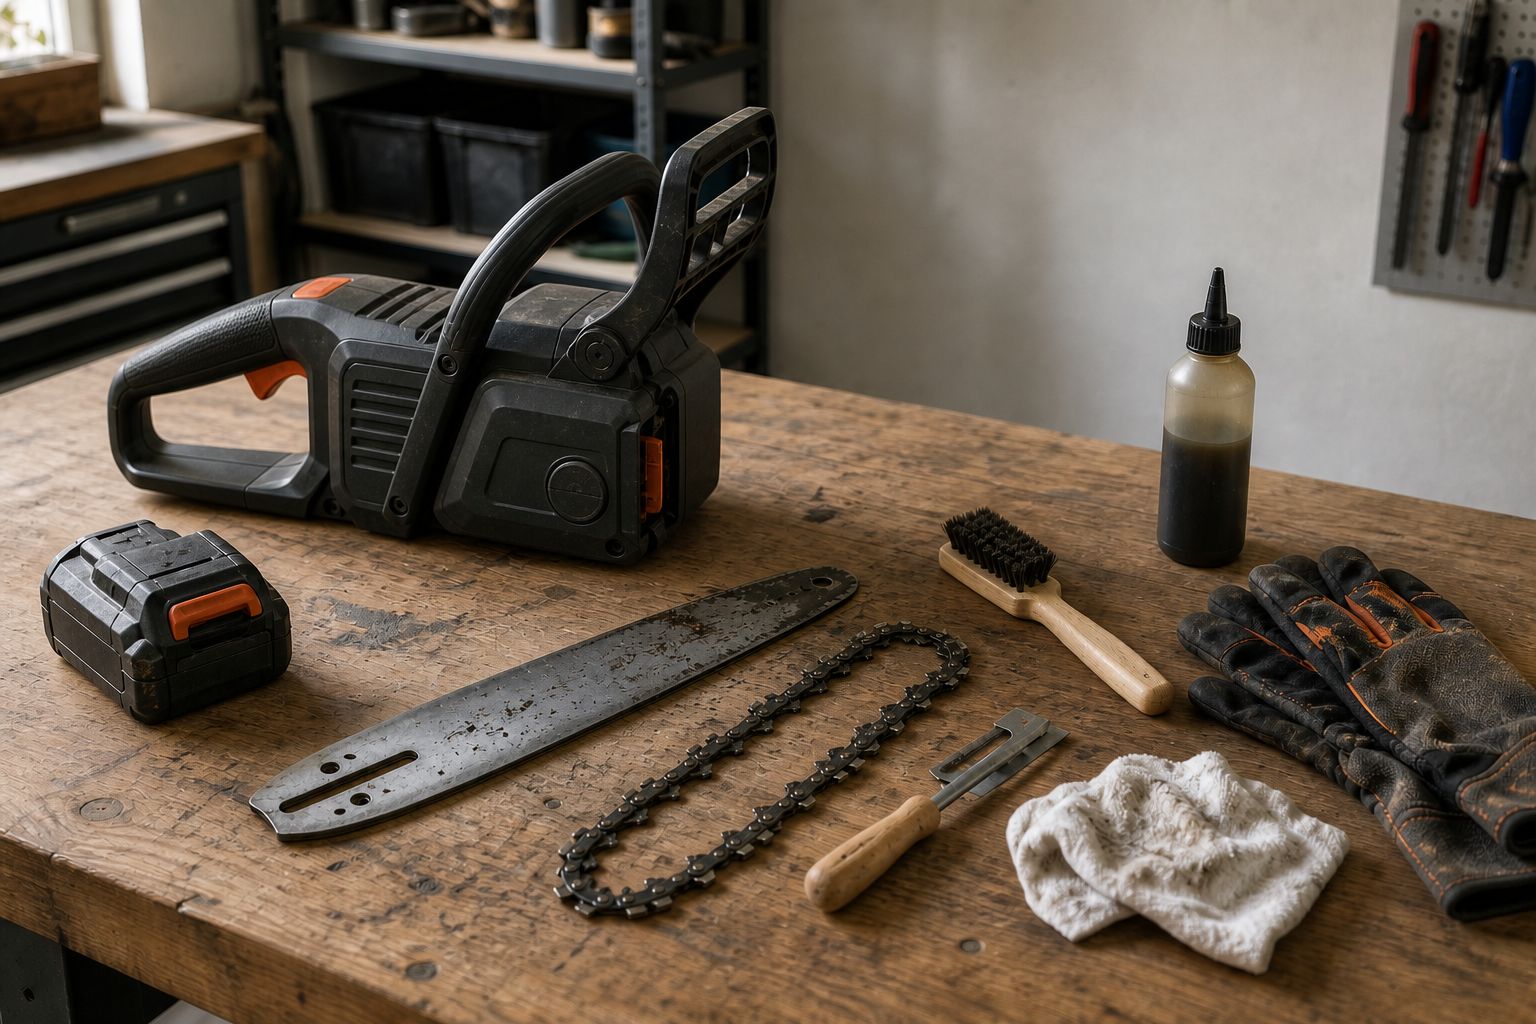
Start with an inspection, not a running test
Let the saw cool. Follow its manual to prevent an accidental start: that usually means removing the battery, unplugging the cord, or using the gasoline model’s specified shutdown procedure. Engage the chain brake where the manual calls for it, wear gloves when handling the cutters, and remove the bar and chain only by the model-specific method.
Before brushing anything away, look at where oily sawdust has collected. Packed residue around the sprocket cover is different evidence from a dry bar groove or a blocked oil inlet. Note any fresh metal dust, unusual polish, damaged drive links, stiff chain joints, cracks, or a bar rail that looks higher on one side.
Do not start the saw merely to make diagnosis quicker. Cleaning and stationary inspection come first; any later lubrication check must follow the saw maker’s procedure and keep the cutting attachment clear of people and surfaces.
Clean the route the chain actually travels
Remove loose chips from the sprocket-cover area with a brush and wipe the mounting faces clean. A trapped chip beneath the bar mount can interfere with seating, so the contact surfaces matter as much as the visible outside of the saw.
Clean the full guide-bar groove and the bar’s oil inlet holes with a suitable manual groove-cleaning tool. Work debris out rather than packing it deeper. STIHL’s current cleaning guidance identifies the oil outlet channel, oil inlet hole, and groove as the places where oily residue should be removed. Avoid improvising with a powered tool that could alter the groove or rails.
Wipe the chain while checking the loop section by section. The goal is not a cosmetic shine. It is to expose the cutter edges, depth gauges, tie straps, rivets, and drive links well enough to find damage or abnormal wear. Use only cleaning products and methods allowed by the saw and chain manuals.
Read the clean parts with this result map
| What becomes visible | What it points to | Next action |
|---|---|---|
| Packed groove or blocked oil opening, but no obvious metal damage | Residue may have interrupted oil delivery or chain support | Clear the route fully, reassemble to the manual, then verify oil delivery by the maker’s method |
| Groove and chain still look dry after cleaning and a correct oil check | The fault may be upstream of the bar | Stop cutting and follow the ordered checks in the bar-oil troubleshooting guide or arrange service |
| Burrs, one-sided rail wear, a loose nose sprocket, spreading, pinching, cracks, or a bent bar | The guide bar needs closer measurement, permitted dressing, or replacement | Use the manual’s wear limits; do not try to solve bar wear by sharpening the chain |
| Reflective flats on cutter edges, fine dust in the previous cut, or uneven cutter shapes without structural damage | A serviceable chain may need correct sharpening | Identify the chain and sharpening specification before removing metal |
| Cracked components, damaged drive links, stiff joints that cleaning does not free, or abnormal rivet wear | The chain may be unserviceable | Do not run it; use the replace-or-sharpen decision guide or seek dealer assessment |
This map is deliberately conditional. One symptom can have more than one cause, and the exact acceptance limits belong to the bar, chain, and saw documentation.
Inspect the bar as a supporting surface
Run the stationary inspection from the mount toward the nose. Check that both oil openings are clear, the groove is clean, the rails do not show obvious unequal wear, and the nose sprocket—if fitted—turns and is serviced only as its manual describes. Husqvarna’s guide-bar procedure calls out a loose nose wheel, nicks, one-sided tip wear, and excessive chain wobble in the groove as findings that can lead to bar replacement.
Light rail burrs may be removable with the correct guide-bar dressing tool when the manufacturer permits it. That does not make a bent, cracked, deeply worn, pinched, or spread bar repairable. If the rail condition cannot be judged against a documented limit, stop and have the cutting attachment assessed.
Bar rotation can help distribute wear, but use the interval in the applicable manual. Rotation is not a remedy for damage already present.
Inspect the chain without blaming “stretch”
Lay the cleaned loop out where every component can be seen. Look for cracked cutters or tie straps, damaged or peened drive links, abnormal rivet wear, stiff joints, missing components, and cutter edges that no longer have a clean working profile. Check the manufacturer’s service marks rather than estimating remaining life by eye.
If a chain repeatedly develops slack, investigate the whole mounting and drive path instead of treating tension adjustment as routine maintenance. The chain-keeps-coming-loose diagnostic separates initial settling from contamination, installation faults, tensioner trouble, and wear.
Sharpen only after structural inspection. The live KonKell 250W mountable chainsaw sharpener lists an adjustable-angle setup and support for common 1/4-inch through 3/8-inch pitch chains, so it can fit a bench routine for a serviceable chain within that stated range. It cannot clear an oil fault, square worn bar rails, or restore damaged chain components; verify the exact chain, grinding wheel, and settings against the relevant manuals before use.
Reassemble around the manual, then verify
Reinstall the bar and chain in the correct direction and sequence for the saw. Seat the bar, tensioner mechanism, cover, and fasteners exactly as the manual directs. Set chain tension using the model’s cold-chain procedure while supporting the bar as instructed; do not substitute a generic “snap” test for the manufacturer’s method.
Before cutting, confirm the oil reservoir and lubricant type, then verify delivery using the saw maker’s stated procedure. If the chain remains dry, binds in the groove, develops slack again, or cannot be moved and tensioned as specified, stop. Repeated adjustments can hide a blocked oil route, incompatible chain, worn bar, damaged sprocket, or mounting fault.
A maintenance session is complete when the parts are clean enough to inspect, all findings have a documented action, and the reassembled cutting attachment meets the saw manual—not when every symptom has been filed away.