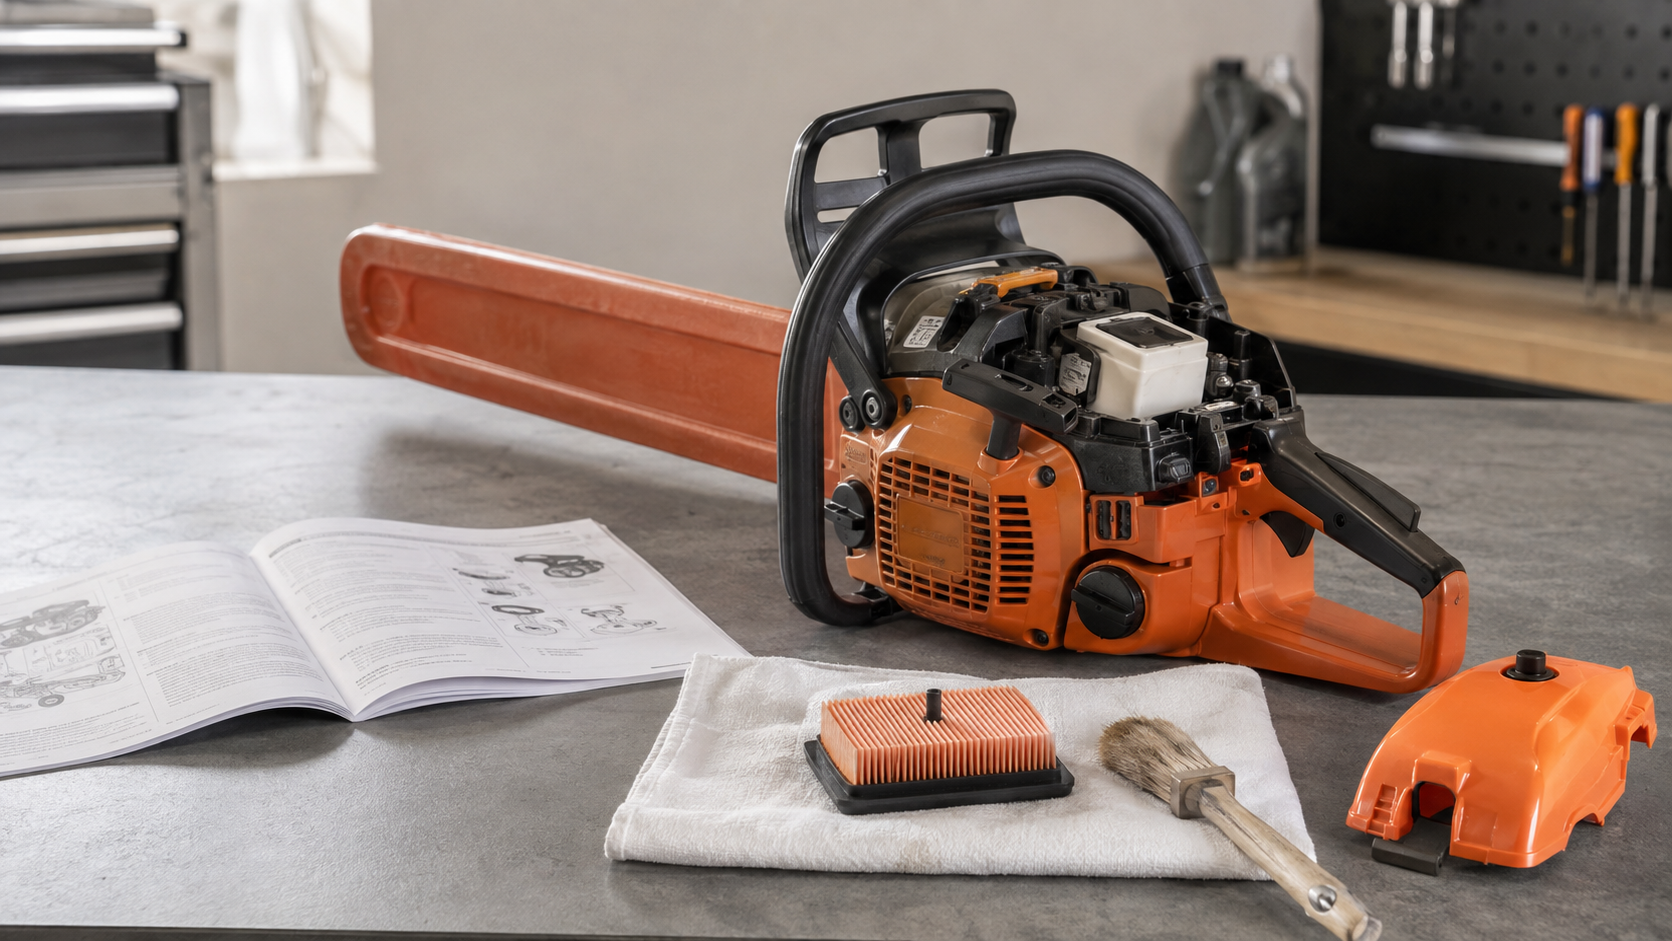
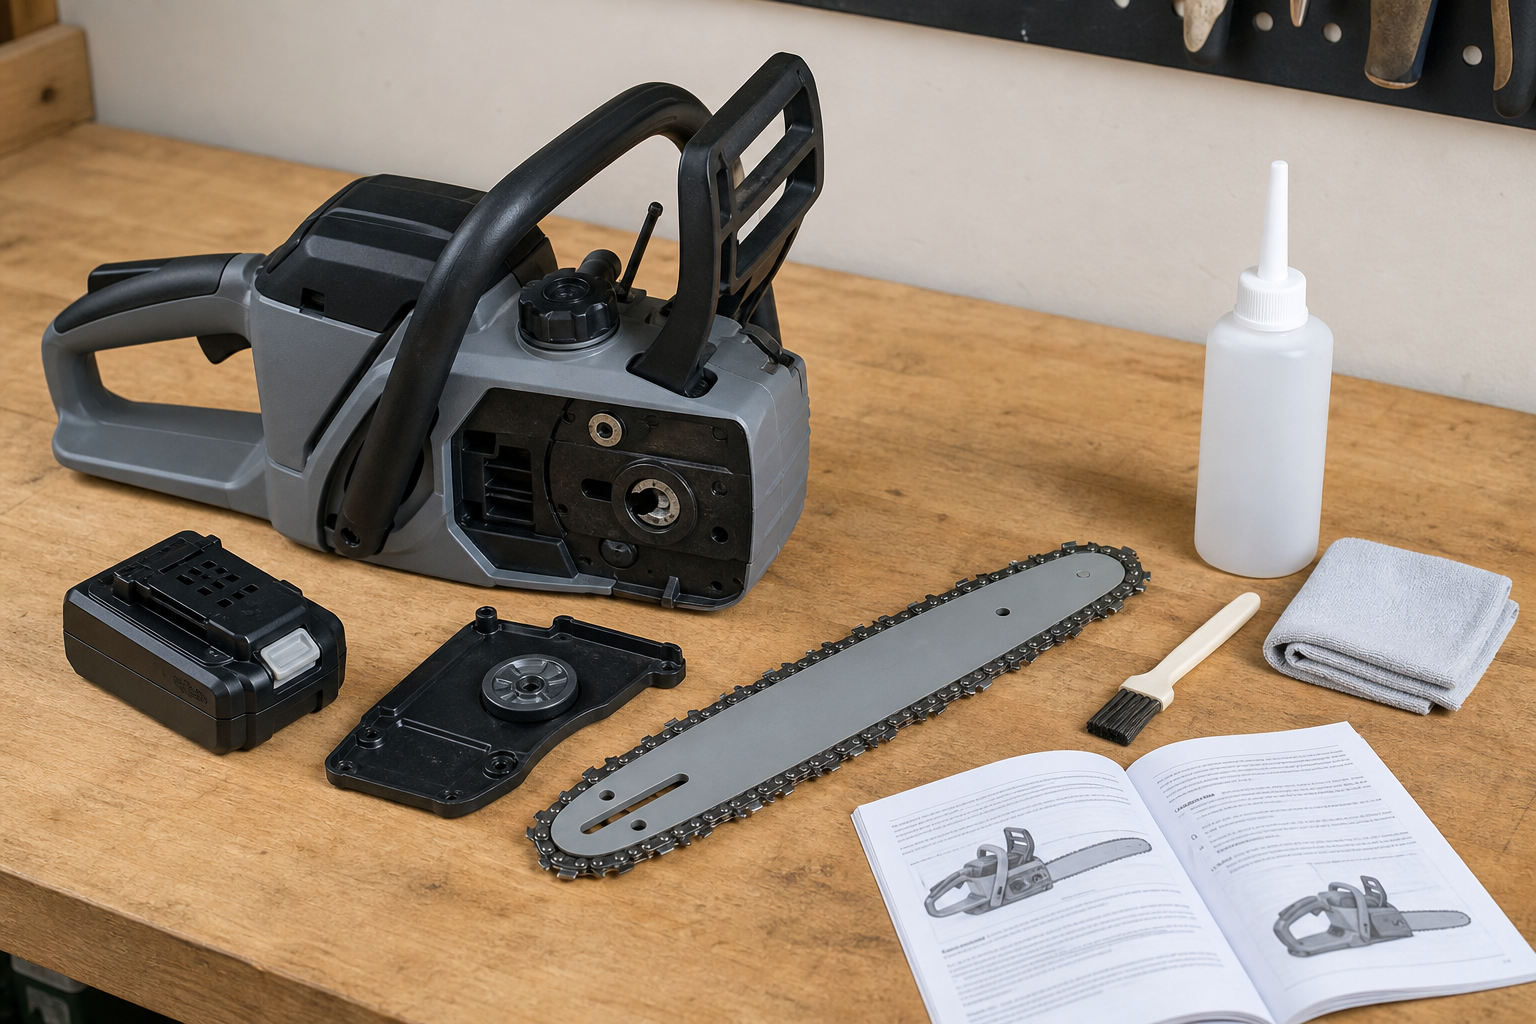
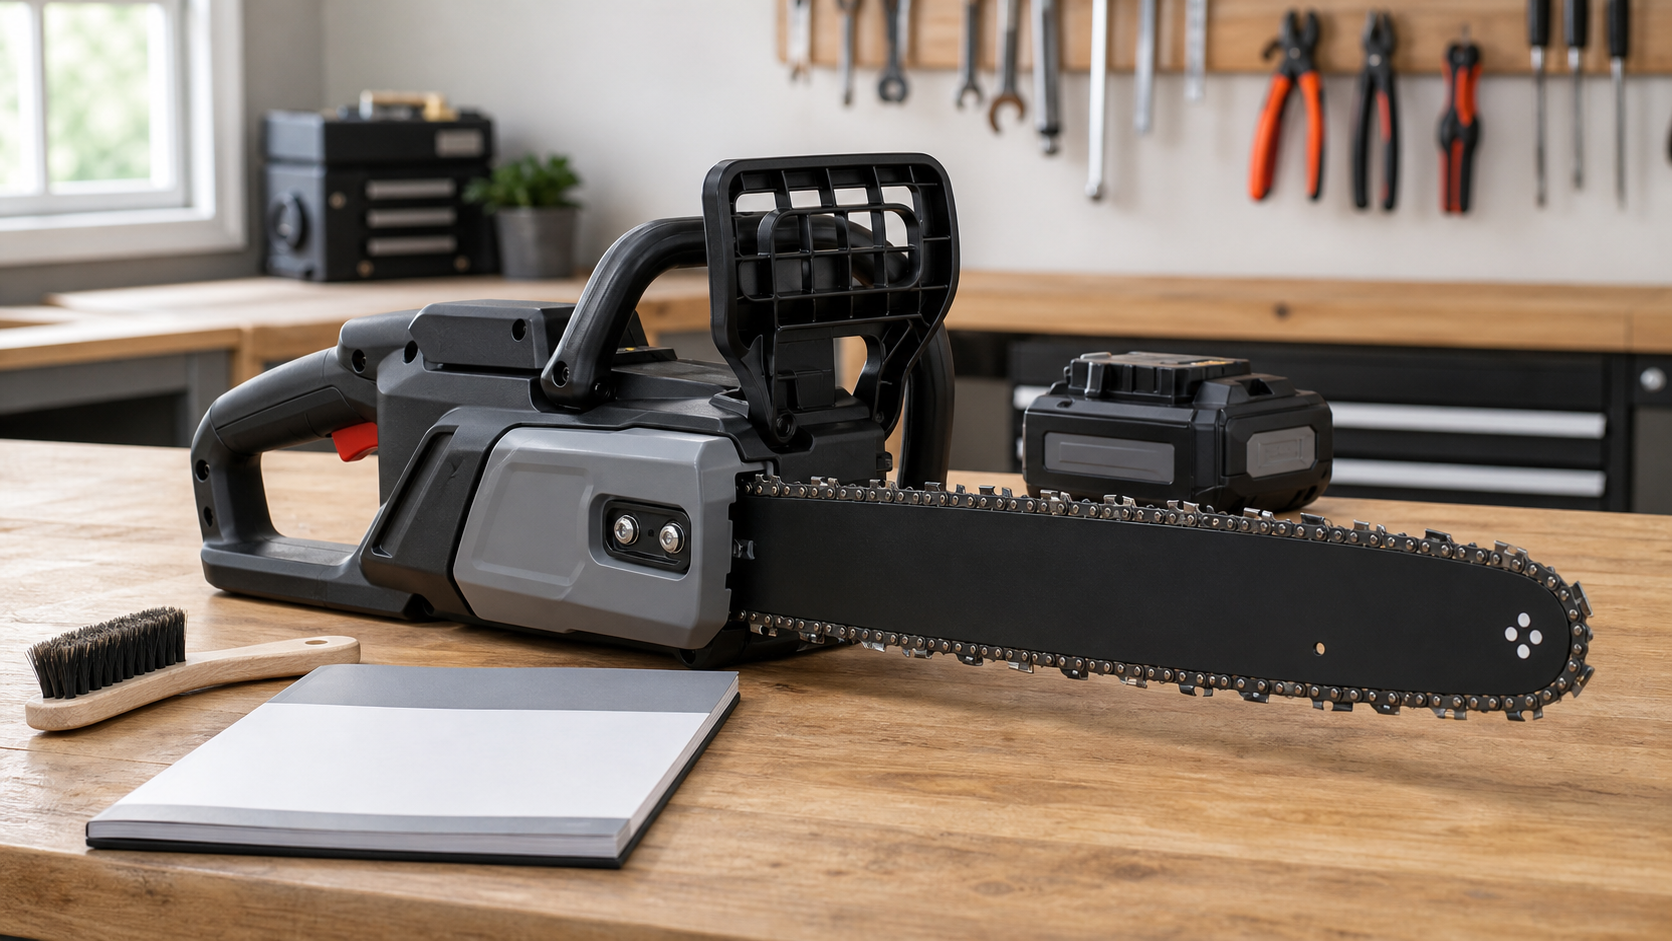
Chainsaw sprocket wear is a replacement concern when the cleaned drive surface has excessive grooves, damaged or distorted teeth, or wear beyond the limit in the saw manual. Inspect the chain’s drive links and the rest of the cutting attachment at the same time, because recurring slack or rough travel does not identify the sprocket by itself.
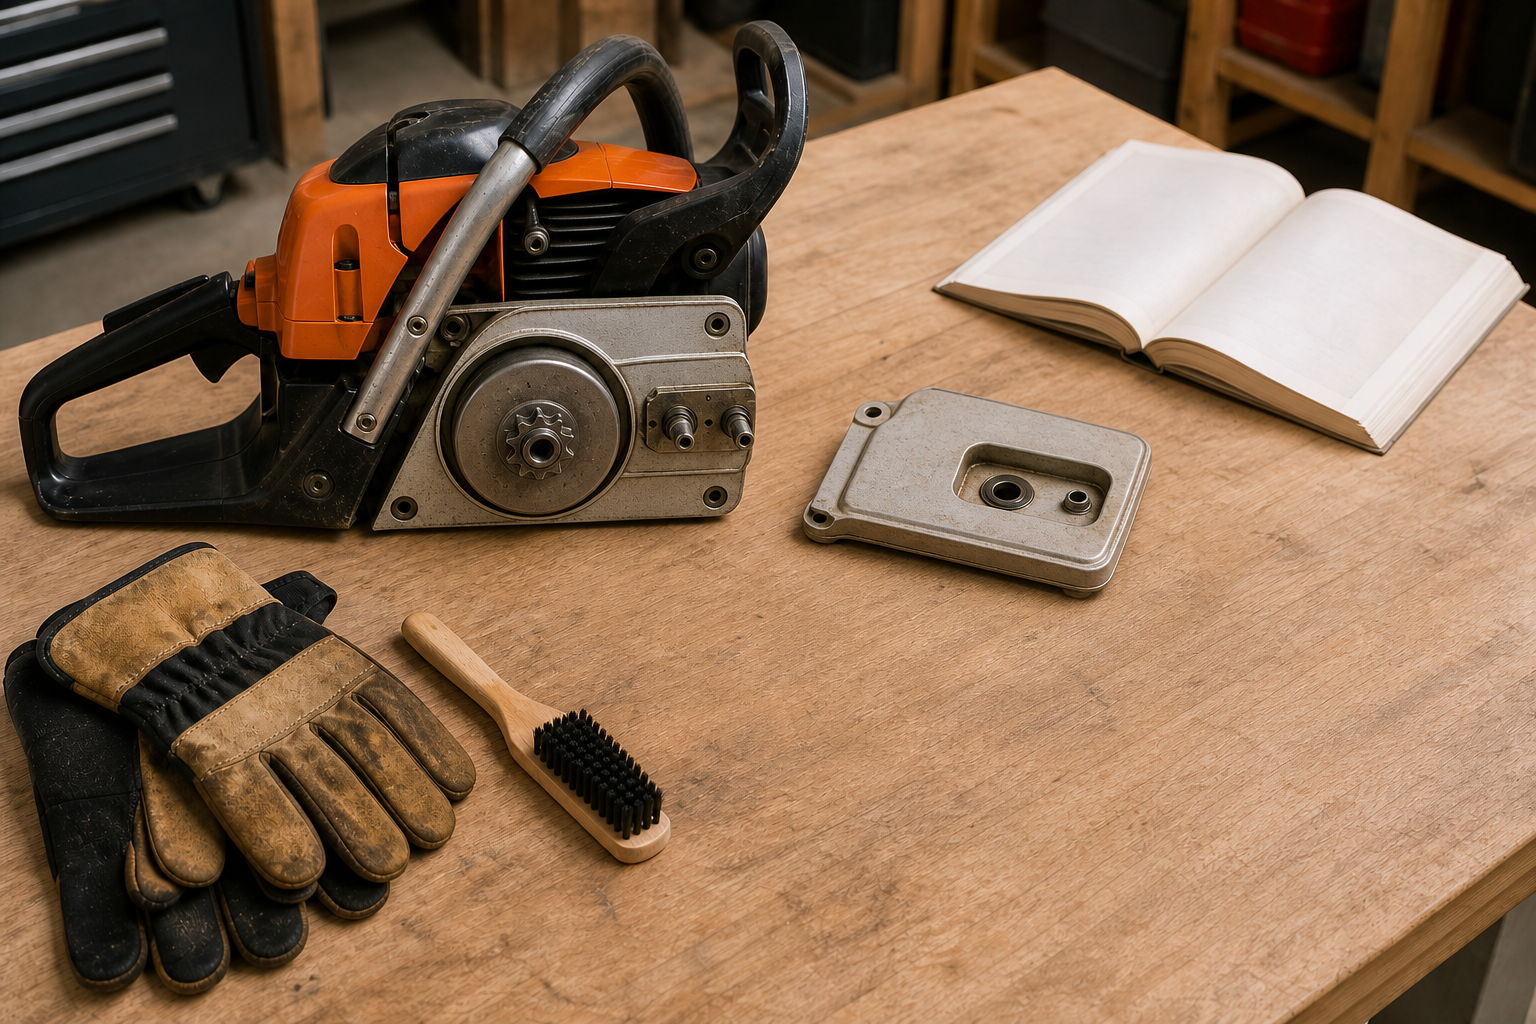
Start with the part you actually have
A spur sprocket is formed with or fixed to the clutch drum; a rim sprocket is a separate ring that runs on the drum. That difference changes the replacement part and procedure, so identify the arrangement from the saw’s parts diagram or manual before judging it.
Do not infer a universal wear limit from a photograph online. Some manufacturers provide a gauge or a model-specific measurement. Others direct the owner to inspect regularly and have excessive wear assessed. A number quoted for one saw is not automatically the limit for another sprocket design.
Make the saw unable to start by the exact method in its manual. Let it cool, wear gloves for the stationary chain, and remove the cover, chain, and guide bar only if the manual assigns those steps to the owner. If access requires clutch removal, special holding tools, or work outside the owner-maintenance section, stop at the inspection boundary and use a servicing dealer.
Clean enough to see the contact path
Before wiping the area, note where chips, oily residue, or fresh metal dust have collected. Then brush loose debris out of the sprocket-cover area and clean only by the saw maker’s method. The aim is to expose the surfaces, not polish away the evidence.
Look at the full chain-contact path under good light. Normal contact can leave a smooth or polished band. The stronger findings are grooves that have become pronounced, tooth damage or distortion, sharp displaced edges, uneven wear around the circumference, or a manual gauge that reaches its replacement mark.
Do not file the sprocket to make the grooves look smaller. Oregon’s technical handbook treats a damaged drive sprocket as a component to inspect and replace, not reshape. Altering the tooth form also removes the evidence a dealer needs.
Read three parts before naming the fault
Use this result map while the cutting attachment is off the saw:
| Evidence | What it supports | Next move |
|---|---|---|
| Light, even polish with no damage; sprocket remains within the manual’s check | Contact alone does not establish excessive wear | Inspect the chain, bar, lubrication route, and tensioner before reassembly |
| Pronounced grooves, damaged teeth, distortion, or a failed model-specific wear check | The sprocket is a replacement or service case | Do not fit a new chain and hope the parts wear together; follow the manual or arrange dealer service |
| Peened, burred, cracked, or unevenly worn chain drive links | The chain may be damaged, mismatched, or running against a worn drive component | Keep the loop out of service and inspect sprocket pitch, bar groove, and chain identity together |
| Repeated slack with little sprocket evidence | Mounting, tensioner, bar seating, lubrication, chain fit, or heat may be the stronger lead | Use the recurring loose-chain diagnostic rather than tightening repeatedly |
| Wear or damage cannot be seen clearly without removing the clutch or drum | The diagnosis has reached the owner-service limit | Take the saw, chain, and manual to a qualified service shop |
This is a comparison, not a powered test. Turning the clutch or sprocket by hand is appropriate only when the saw manual describes that check and the starting system has been disabled as directed.
Let the chain supply corroborating evidence
Lay the cleaned chain in a loop and inspect every drive link—the pointed tabs that run in the bar groove and engage the sprocket. Look for repeated bright hammering marks, burrs, deformation, cracks, or wear concentrated on one side. One damaged link can make the chain unserviceable; a repeating pattern across many links can point back to fit, alignment, or the drive surface.
Check chain identity rather than relying on apparent width. The chain, guide bar, and drive sprocket must share the approved pitch, and the chain gauge and drive-link count must match the specified bar and saw combination. If the markings or records do not resolve the match, use the manufacturer lookup or a dealer instead of trial fitting.
A worn sprocket can damage a replacement chain, while a damaged or incompatible chain can mislead the sprocket diagnosis. Before buying either part, use the replace-or-sharpen chain inspection to separate dull but serviceable cutters from structural chain damage.
Check the neighboring causes of the same symptom
Sprocket wear often enters the conversation because the chain runs roughly, will not hold tension, or shows unexpected drive-link wear. Those symptoms also involve the bar groove, oil supply, mounting faces, chain tensioner, and chain specification.
Clean the bar groove and oil openings by the manual’s method. Inspect the rails, bar mount, and nose assembly for damage or uneven support. Check that the tensioner engages correctly and that the bar seats flat. The bar-and-chain maintenance result map keeps these findings in one sequence.
Do not run the saw to “see if it settles” when the sprocket has tooth damage, the chain has damaged drive links, the bar cannot retain the chain, or the approved combination is uncertain. Stationary evidence is enough to stop.
Decide what belongs on the bench
The safe outcome may be reassembly to the manual, a model-specific measurement, replacement by the owner where expressly documented, or dealer service. Record the saw model, sprocket type, chain markings, and the visible wear before ordering. This prevents a rim from being confused with a complete drum assembly and keeps chain pitch from becoming a guess.
The live KonKell 250W mountable chain sharpener has an adjustable grinding-angle setup and fits only a later sharpening step for an identified, structurally serviceable chain. It cannot measure, repair, or replace a chainsaw drive sprocket; use the saw maker’s parts information and service procedure for that job, and verify chain and grinding-wheel compatibility before removing metal.