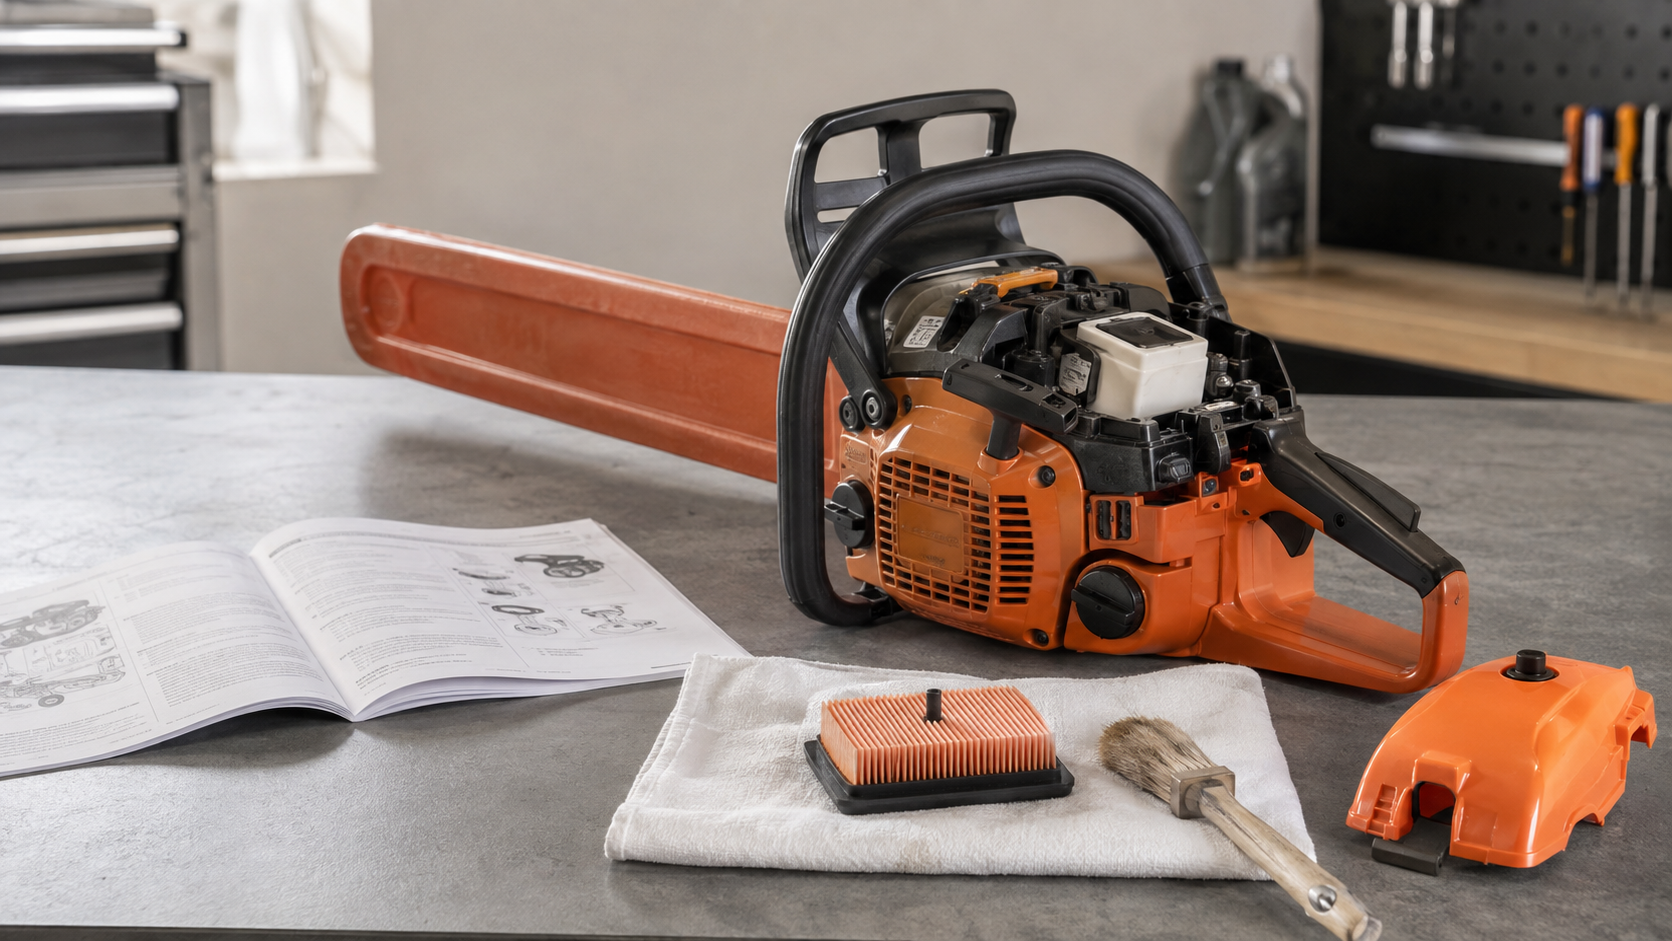
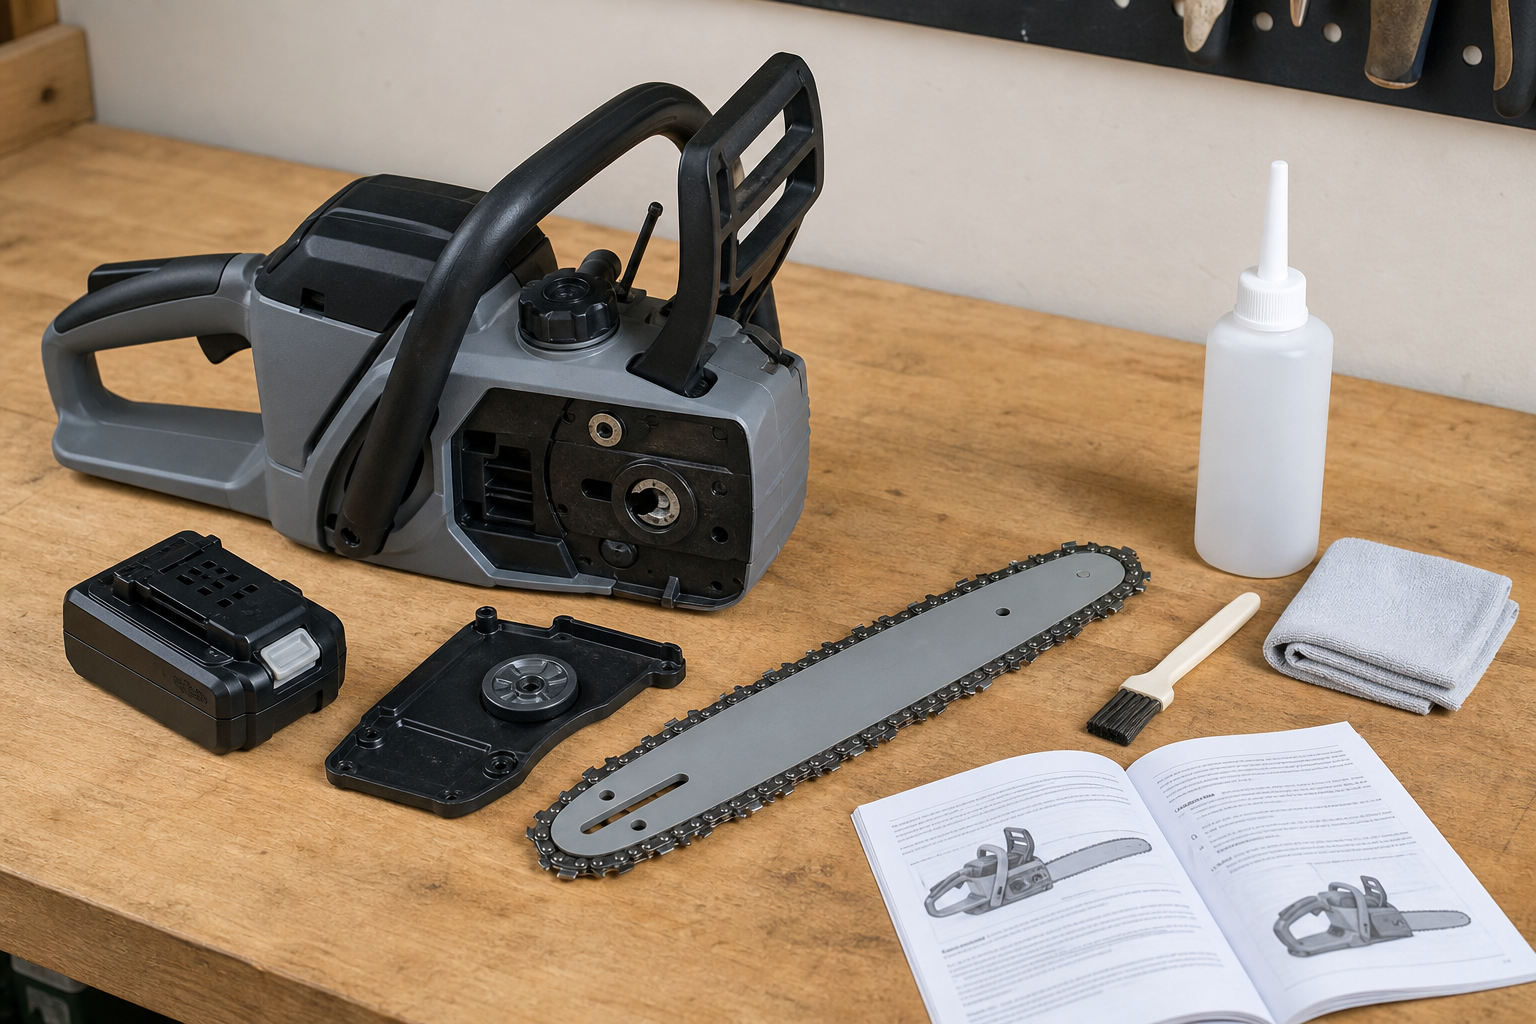
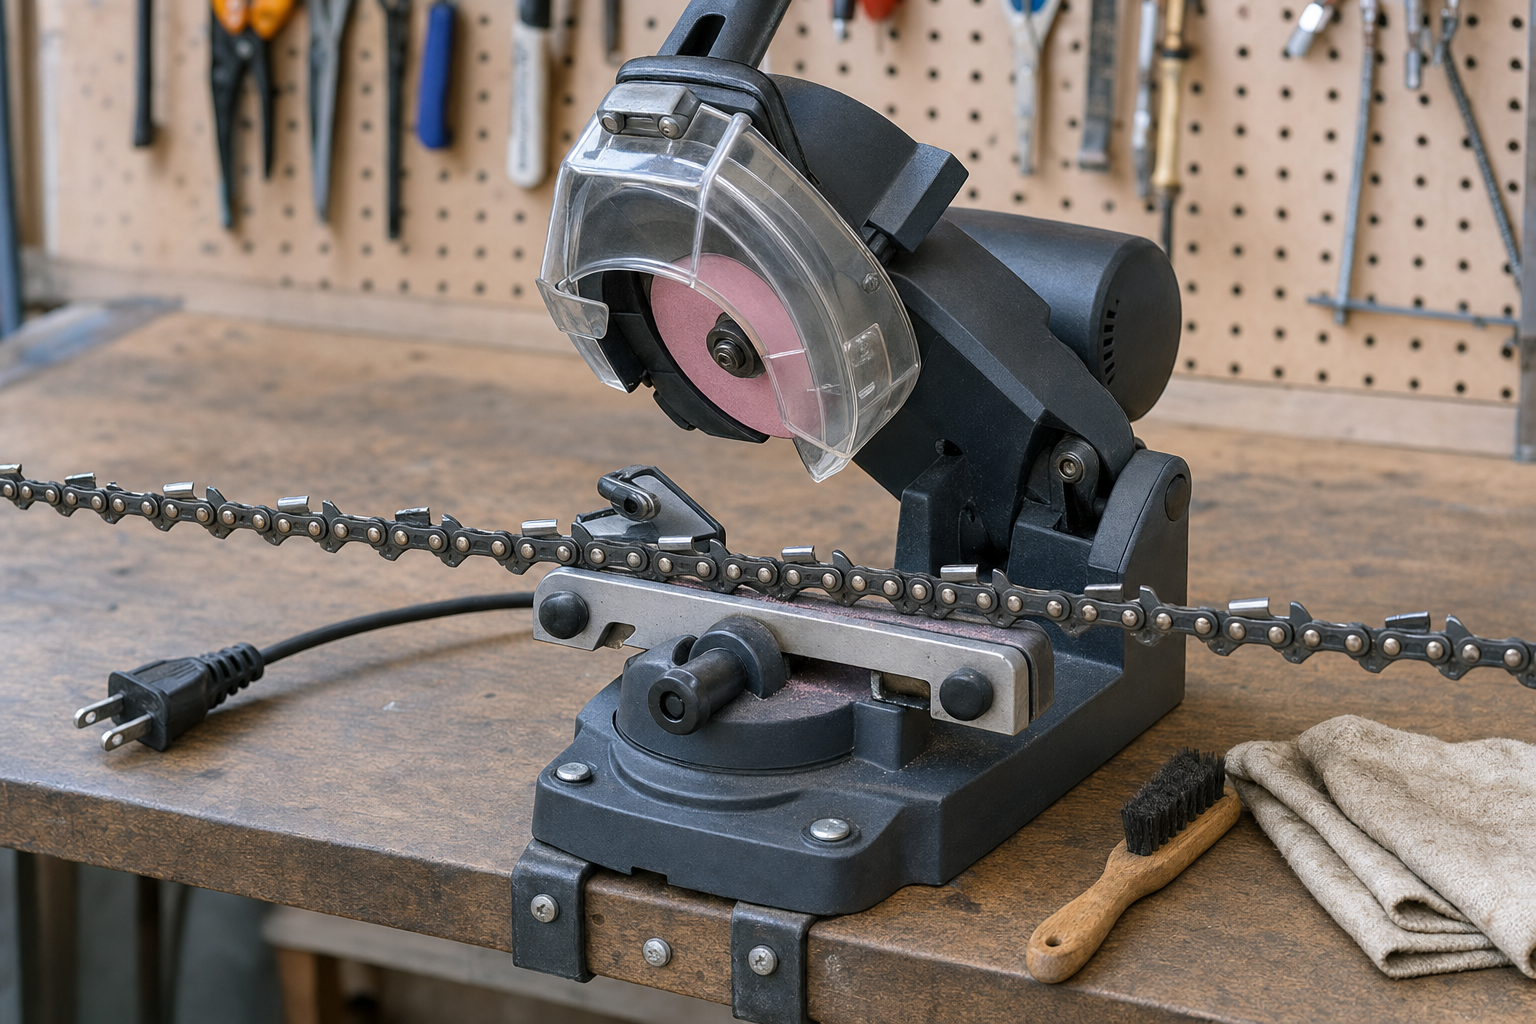
If the chainsaw motor runs but the chain won’t move, stop applying throttle and switch the saw off. After disabling its power source exactly as the operator manual directs, use the chain’s hand-movement result to separate a brake, tension, installation, or debris problem from a clutch or drive fault that needs service.
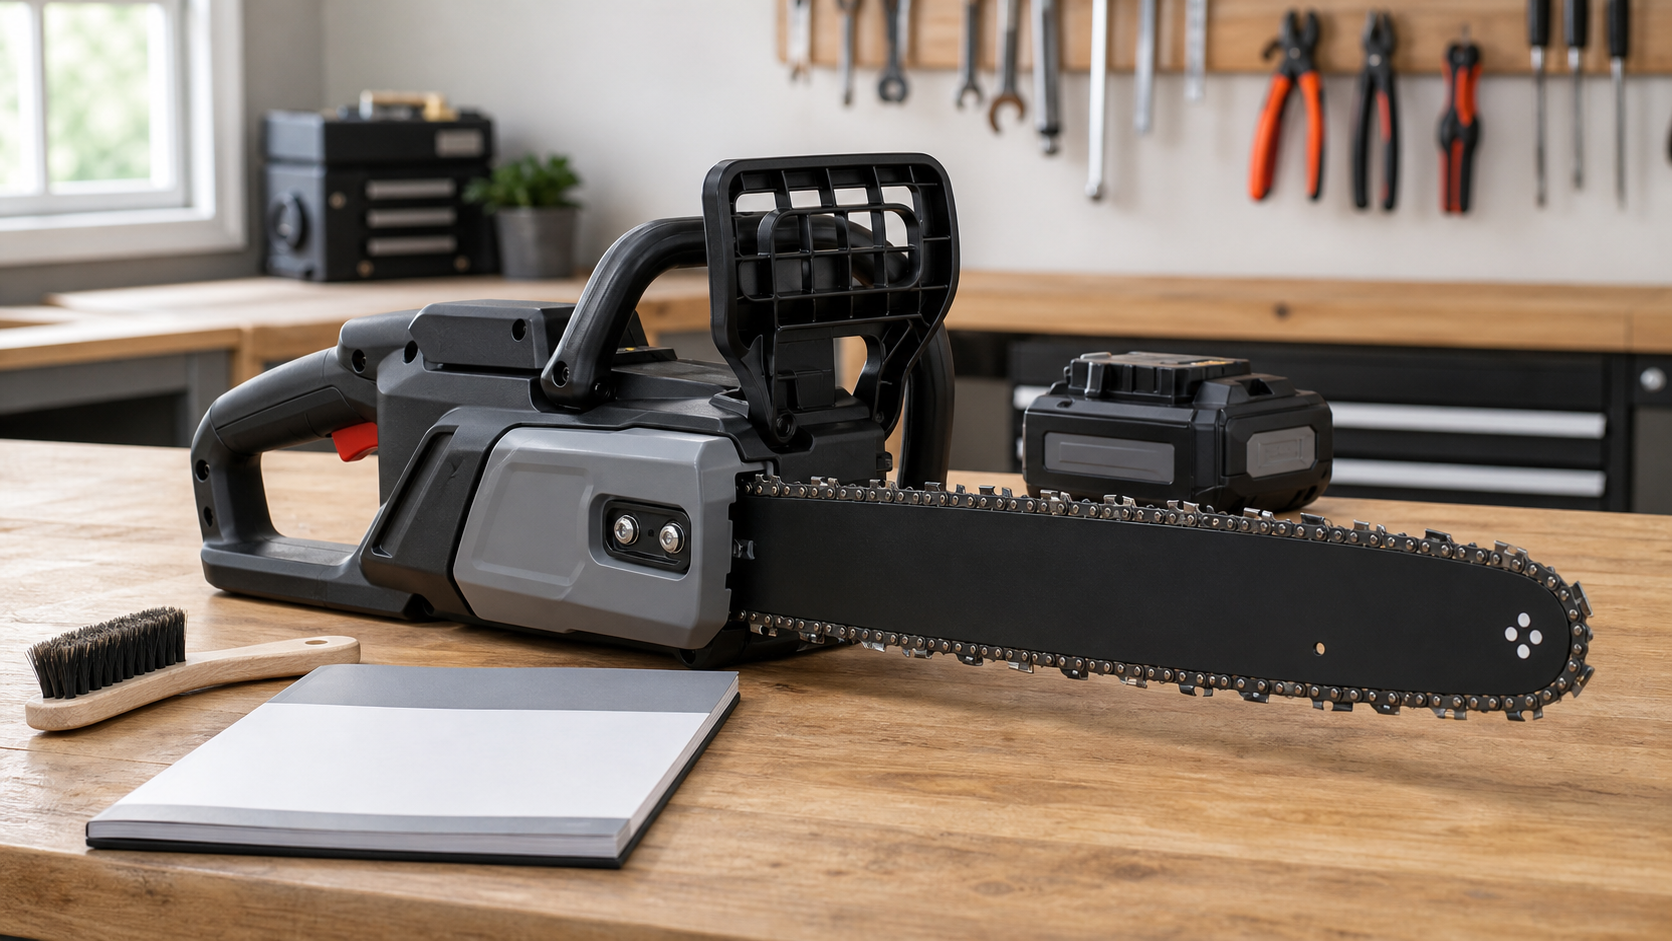
This article is for a motor that runs while the chain remains stationary. If the motor will not start, cannot accelerate, or dies when you press the throttle, that is a different diagnostic job. Do not keep revving against a chain that is locked: the useful evidence comes from a cooled, disabled saw.
Disable the saw before touching the chain
Put the saw on a stable bench away from the workpiece. Let it cool, then remove the battery, unplug the cord, or follow the gasoline model’s manual procedure for preventing an accidental start. Wear work gloves when the cutting edges are exposed.
Find the exact model number and operator manual before removing a cover or adjusting tension. The manual establishes how the chain brake releases, how the bar and chain are installed, how tension is checked, and which work belongs to the owner. Similar-looking saws can use different covers, tensioners, and brake arrangements.
Start with external evidence:
- Is the front hand guard in the documented released position?
- Is the chain pinched in wood, packed with debris, derailed, or visibly damaged?
- Did the symptom begin just after fitting a chain, adjusting tension, or reinstalling the side cover?
- Is there heat discoloration, a scorched smell, smoke residue, or a changed brake action?
Visible damage, heat evidence, a brake that will not engage or release normally, or a chain trapped in a loaded cut is a stop condition. Do not pull a pinched saw free while the wood can close or move.
Use the disabled-chain movement split
Release the chain brake only as the manual directs. With the saw still incapable of starting, use a gloved hand to pull the chain forward along the top of the guide bar. Do not force it and keep your fingers away from the cutter edges.
| What the disabled chain does | What that result points toward | Next action |
|---|---|---|
| Moves smoothly around the full bar | The cutting attachment is not mechanically locked at rest. The brake may have been engaged, or power may not be reaching the chain under throttle. | Recheck the brake procedure and installation in the manual. If the running symptom returns, stop and arrange drive-system service. |
| Catches at the same place each revolution | A damaged drive link, tight joint, local bar-rail damage, or packed groove may be binding the loop. | Remove and inspect only as the manual permits. Replace damaged chain; service a damaged bar. |
| Will not move, or is uniformly hard to pull | The brake may still be applied, tension may be excessive, the chain may be installed incorrectly, or debris may be locking the bar/sprocket area. | Do not run it. Work through brake, tension, fit, and cleanliness checks in that order. |
This split is diagnostic, not a specification. Use the manual’s tension and movement criteria rather than an invented amount of sag or pull force.
Check the brake before changing tension
An engaged chain brake is a common reason for a running motor and stationary chain. Confirm the front hand guard’s released position from the exact manual; do not assume that moving the lever proves the mechanism released internally.
If the guard is cracked, loose, restricted, will not remain in the documented position, or feels different from its normal action, stop. The manual-first chain-brake test explains how to separate observation from a complete functional check. Do not remove a brake band or spring-loaded brake parts as a troubleshooting shortcut.
Once the brake is released, repeat the powered-down hand-movement check. If the chain now moves smoothly, inspect the remaining cutting attachment before returning the saw to use. If it remains locked, leave the saw off and continue below.
Check tension, direction, and drive-link seating
Excessive tension can make a chain difficult or impossible to move. A chain can also bind when its drive links are not seated in the bar groove and drive sprocket, the bar is not located on its adjuster, or a newly installed loop does not match the bar and sprocket.
Follow the model’s installation sequence. Loosen and reset tension only as the manual specifies, supporting the bar in the required position before securing its fasteners. Inspect the full loop rather than correcting the easiest-to-reach section.
Look for:
- drive links sitting above rather than inside the bar groove;
- a cutter direction that does not match the manual’s installation diagram;
- a kink, cracked component, separated side plate, or stiff joint;
- a mismatch in pitch, gauge, or drive-link count; and
- a tensioner pin or bar mount that is not seated correctly.
Do not run a visibly damaged or mismatched chain. If the chain repeatedly loses its setting after correct installation, use the separate chain-keeps-coming-loose diagnostic instead of tightening it harder.
Inspect the bar groove and oil path
Husqvarna and RYOBI both identify debris or a jam as possible causes of a chain that will not move. Remove the bar and chain only when the operator manual assigns that work to the owner. Brush loose sawdust and resin from the permitted areas, then inspect the bar groove, oil holes, drive links, and accessible sprocket area in good light.
A packed groove can resist the drive links. A pinched rail, burr, damaged nose, or drive link that catches at one repeatable point needs correction or replacement based on the bar and chain maker’s instructions. The bar and chain maintenance checklist covers routine cleaning and paired wear evidence.
Also verify the specified bar oil is present and the oil path is not visibly blocked. Lack of lubrication raises friction, but do not treat adding oil as proof that a previously locked or overheated attachment is safe. Heat marks, smoke, abnormal wear, or continued binding call for inspection before another powered test.
Stop before clutch or internal brake repair
If the disabled chain moves smoothly, the brake is correctly released, installation matches the manual, and the motor still runs without driving the chain, the remaining fault may be in the clutch, drum, sprocket, drive coupling, control system, or brake mechanism. Those parts vary by power type and model.
Do not repeatedly apply throttle to “free” the drive. Do not defeat the brake, alter idle or control settings, or open a spring-loaded mechanism unless the manufacturer explicitly includes that procedure in owner maintenance. Record what you observed—motor response, brake position, whether the disabled chain moves, and whether the failure began after installation or a jam—then give that information to an authorized or qualified service provider.
After any correction, reassemble the saw exactly as the manual directs. Confirm cold-chain tension, free movement, lubrication, fasteners, controls, and the manufacturer-prescribed brake check before cutting. A chain that still catches, heats, or stops is not ready for a test cut.
Frequently asked questions
Why does the motor run when the chain brake is on?
The brake is designed to stop chain movement, not necessarily to prevent the motor or gasoline engine from running. If the motor runs while the brake is engaged, release the throttle, switch off, and follow the exact manual. Continued revving against the brake does not diagnose the fault and can add heat or wear.
Can a chainsaw chain be too tight to move?
Yes. Manufacturer troubleshooting guidance lists excessive tension as a cause of restricted chain movement. Reset it only to the model manual’s criteria; do not substitute a universal gap or force. If correct tension does not restore smooth full-loop movement, inspect installation, the groove, drive links, and the drive system rather than loosening it further.
What if the chain moves by hand but not under power?
That result makes a fully bound bar-and-chain loop less likely. Reconfirm the brake and assembly instructions. If those checks pass and the motor still does not drive the chain, stop running the saw and arrange service for the model-specific clutch, sprocket, coupling, control, or brake system.