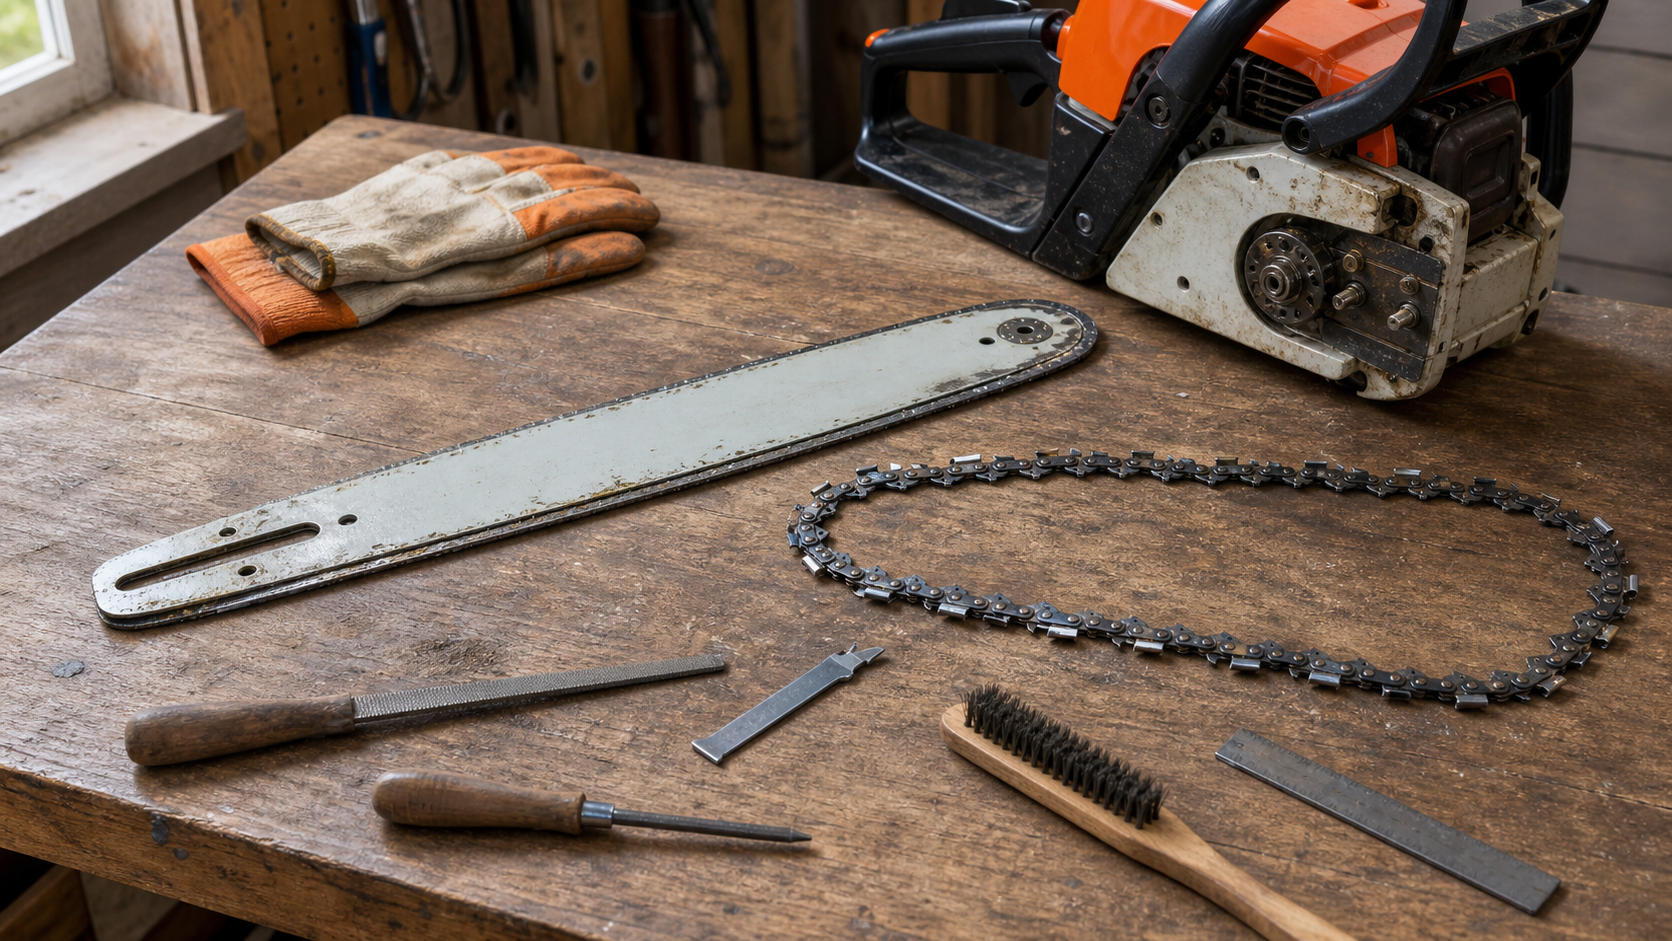
On a conventional chainsaw, the cutting edges on the top of the guide bar must face away from the powerhead and toward the bar tip. Along the underside, the cutting edges face back toward the powerhead; check this with the saw stopped and its power source isolated, using the installation diagram for your model.
This check is useful after removing a chain for cleaning, fitting a replacement loop, or unpacking a saw that requires assembly. You do not need to start the motor or try cutting wood to establish which way the cutters face. Keep the operator manual open at the bar-and-chain installation section so the physical parts and the manufacturer’s drawing can be compared directly.
Make the chain safe to inspect
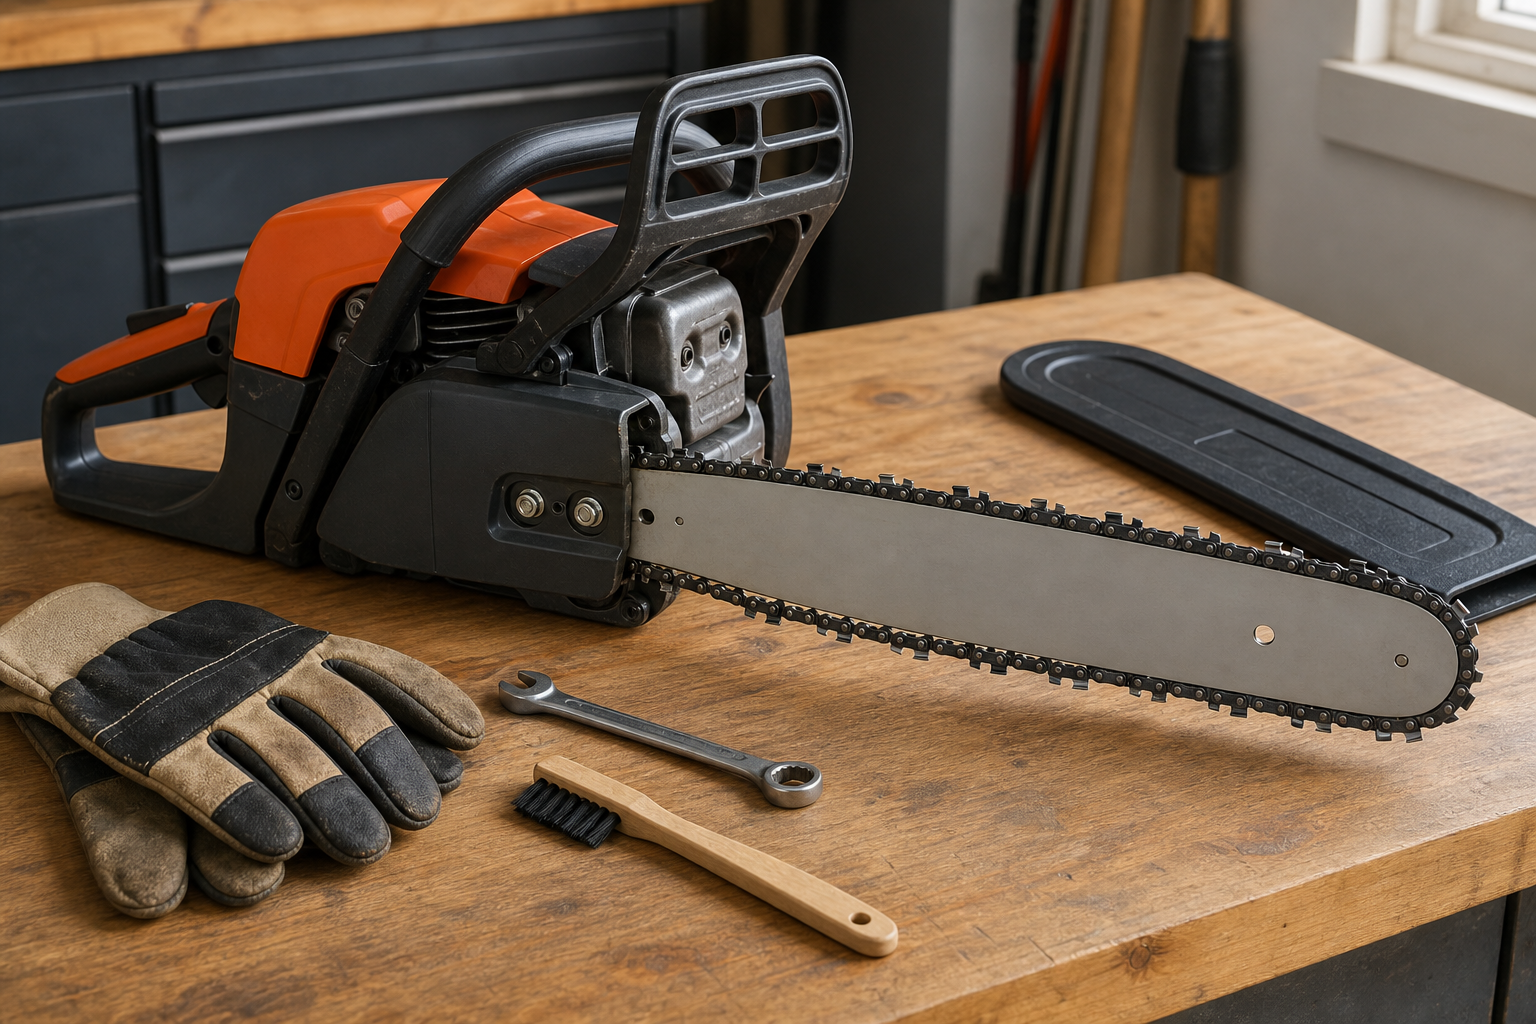
Set the saw on a stable surface and let hot parts cool. Remove the battery from a cordless model or unplug a mains-powered saw. For a petrol saw, stop the engine and follow its maintenance isolation instructions; the Makita EA5600F manual, for example, requires removing the spark-plug cap before working on the bar or chain.
Wear protective work gloves when handling the chain. Inspect visually rather than sliding a finger across an edge. A chain that failed to cut can still have sharp parts.
Use the brake position specified for the particular step in your manual. A visual direction check does not require moving the chain, while disassembly and stationary travel checks may require the brake to be released. Do not copy the cover-removal sequence from a different saw: the STIHL replacement guide distinguishes several tensioning arrangements, and their parts and order differ.
Find the cutting edge, not just a pointed piece of metal
Look at a cutter along the straight upper section of the bar, away from the nose. The cutter has a top plate, a side plate and a working corner where the cutting edges meet. Ahead of it in the direction of travel is a lower depth gauge. Oregon’s chain anatomy drawings distinguish these from the drive links, which run inside the guide-bar groove.
The part to read is the sharpened leading edge of the cutter. On the top run it must face the nose. Do not judge direction from the downward-pointing drive-link tangs or from whichever shiny corner catches the light first.
Left-hand and right-hand cutters cut opposite sides of the kerf, but both travel forward along the top of the bar. “Left cutter” does not mean that one tooth should point back toward the powerhead. Compare more than one cutter so that the alternating shapes do not become a false reversal signal.
If you cannot identify the working edge confidently, use the labelled chain drawing in the manufacturer’s documentation or have a servicing dealer identify it. Guessing from an unfamiliar cutter shape defeats the purpose of checking before assembly.
Cross-check three locations before accepting the direction
Use this short record while the saw remains isolated. “Top” and “underside” mean the bar surfaces when the saw is upright in its normal orientation, even if you have laid it on its side for inspection.
| Location | Evidence to look for | What to do with the result |
|---|---|---|
| Straight upper run | Cutting edges face toward the bar nose | If they face the powerhead, keep the saw out of use and refit the loop in the correct orientation. |
| Straight lower run | Cutting edges face toward the powerhead | Use this as a cross-check. If your readings disagree, identify the cutter edge again before changing anything. |
| Manufacturer’s installation drawing and any direction marks | Installed cutter orientation agrees with the drawing; identified rotation arrows agree too | If a mark appears contradictory, establish what it labels. Do not overrule the manual with a guess. |
Record the outcome as direction confirmed, loop reversed, or not yet identified. The third answer is useful: it keeps an uncertain reading from turning into a powered experiment.
Avoid a standalone “clockwise” rule. Its appearance changes when you view the saw from the other side. Powerhead-to-nose on the upper run gives you two physical reference points that remain identifiable.
Bar branding is another poor reference. Some bars can be turned over as part of their prescribed maintenance, so the lettering may appear upside down without the chain being reversed. That does not authorize flipping every bar: follow the bar manufacturer’s instructions for the actual design.
Correct a reversed loop using the model’s assembly sequence
Once the orientation is clear, keep power isolated and follow the manual to release tension, remove the cover and lift off the chain as directed. Reorient the loop so the upper cutting edges face the nose, then refit it by the documented sequence. Do not try to change its cutting direction by filing the backs of the cutters.
Husqvarna’s assembly guidance calls for the chain to engage the drive sprocket and sit evenly in the bar groove. It also requires the cover to align with the bar studs and tension pin. Those are separate checks from direction: pointing the teeth correctly does not prove that the assembly is seated.
Complete the prescribed tension adjustment and fastening procedure, then repeat the stationary checks. The chain-tension inspection guide explains why contact with the bar, free travel and drive-link retention must be assessed together using the model’s criteria. Do not substitute a generic gap measurement or tightening force.
When direction is correct but the assembly is not
Stop if the drive links will not enter the groove. Husqvarna identifies incorrect gauge, a wrong chain specification and damaged bar rails among the causes of a new chain failing to fit. Forcing it into place does not resolve any of those faults.
Use the chain identification workflow to verify pitch, gauge and drive-link count against the current saw-and-bar combination. A loop of roughly the right length is not sufficient evidence of compatibility.
Cracks, loose rivets or broken chain components also require a separate decision. The replace-or-sharpen inspection helps separate structural damage from a serviceable but dull edge. Changing orientation cannot repair either condition.
After assembly, finish the manual’s lubrication, tension, cover and safety checks before returning to use. If the correct loop still binds, will not seat or cannot pass the specified checks, leave the saw isolated and take the model details, bar markings and chain information to a servicing dealer.