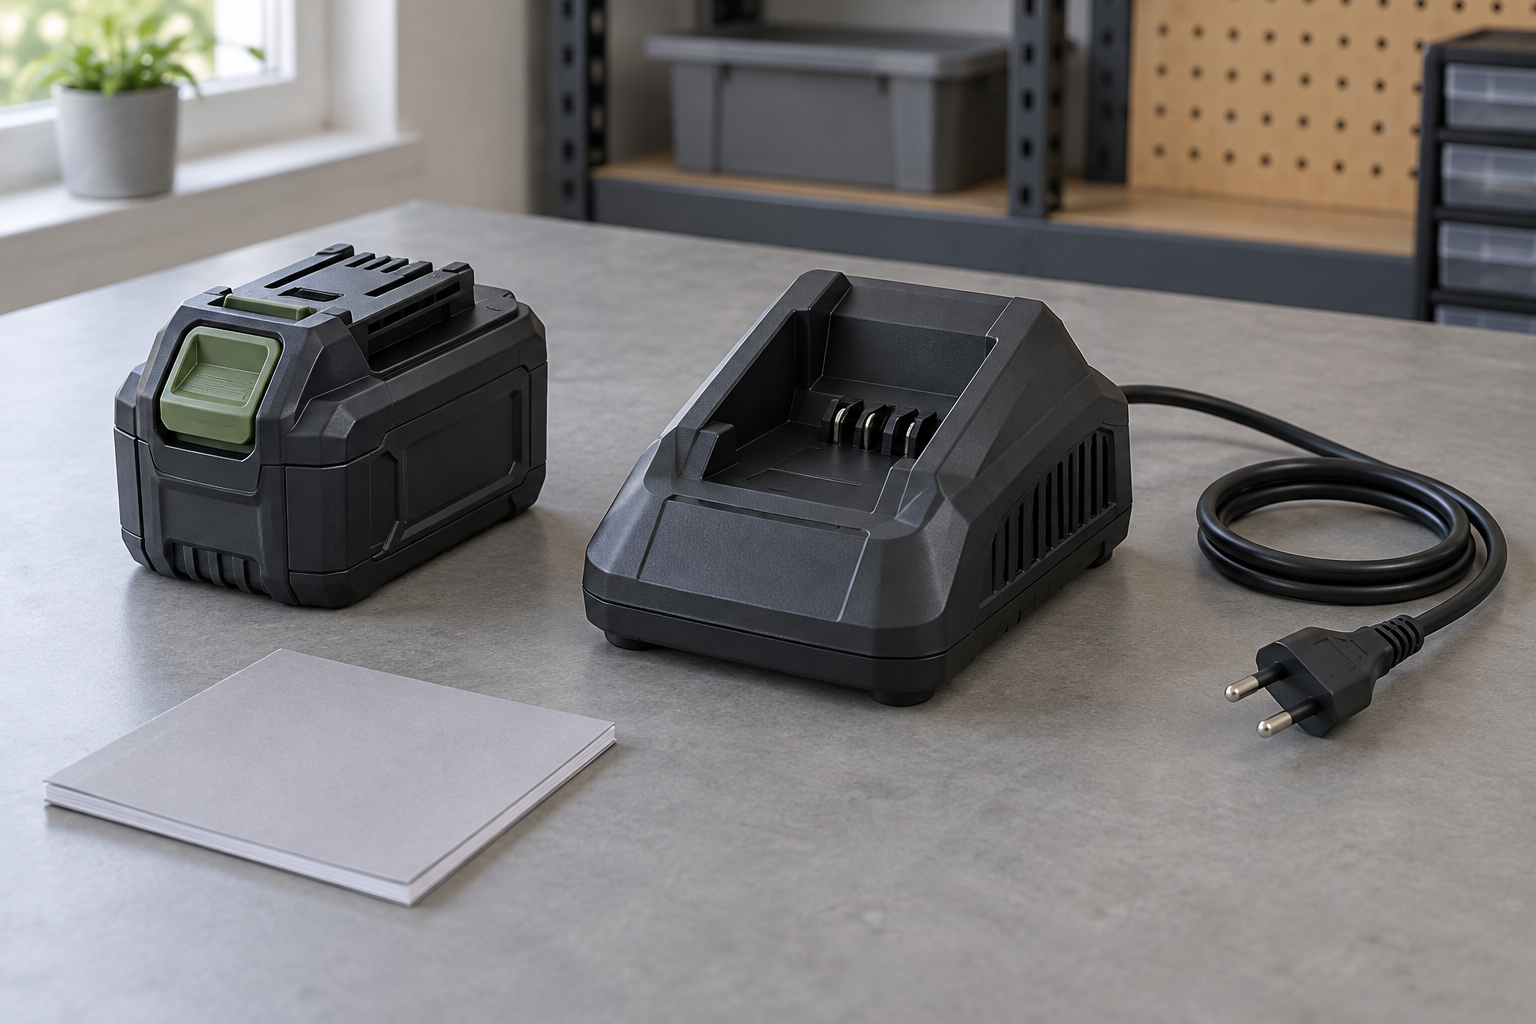
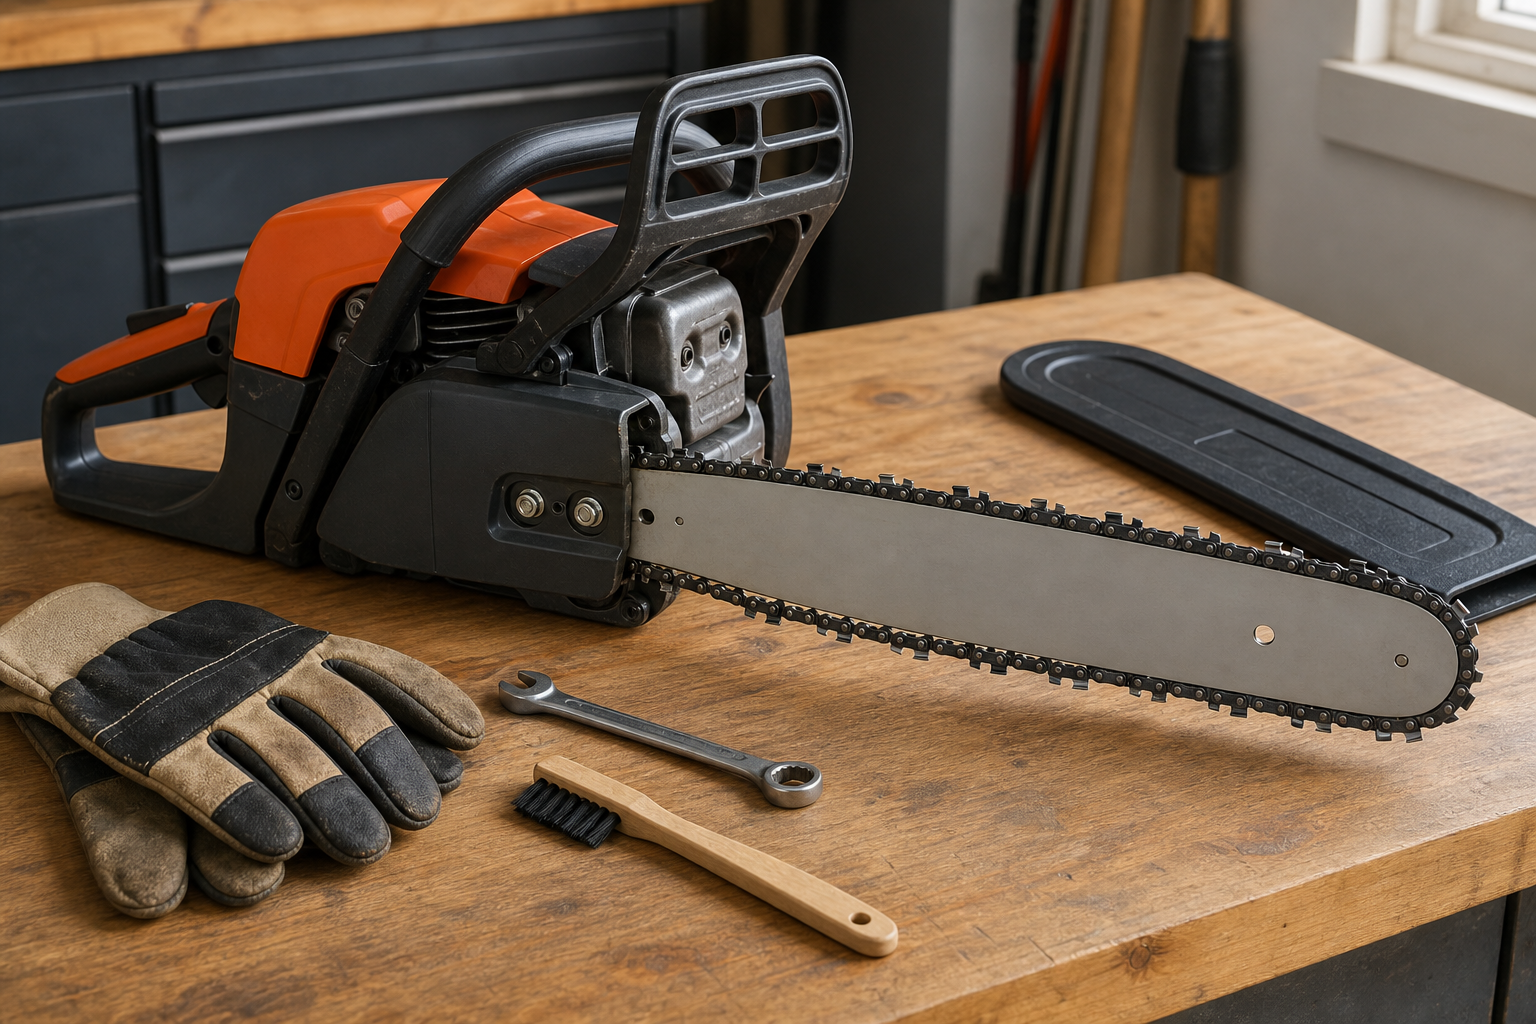
To check a chainsaw spark plug, stop and cool the engine, disconnect the plug lead as the manual directs, then inspect the removed plug and measure its electrode gap against the model’s specification. Replace a damaged or worn plug with the specified type; an intact plug may be cleaned by the approved method, but its appearance alone does not establish that the ignition system works.
This is an owner-maintenance inspection for a petrol saw. It does not involve cranking the engine with an exposed plug or opening the ignition system. The procedure and limits below draw on manufacturer guidance and the manuals listed at the end.
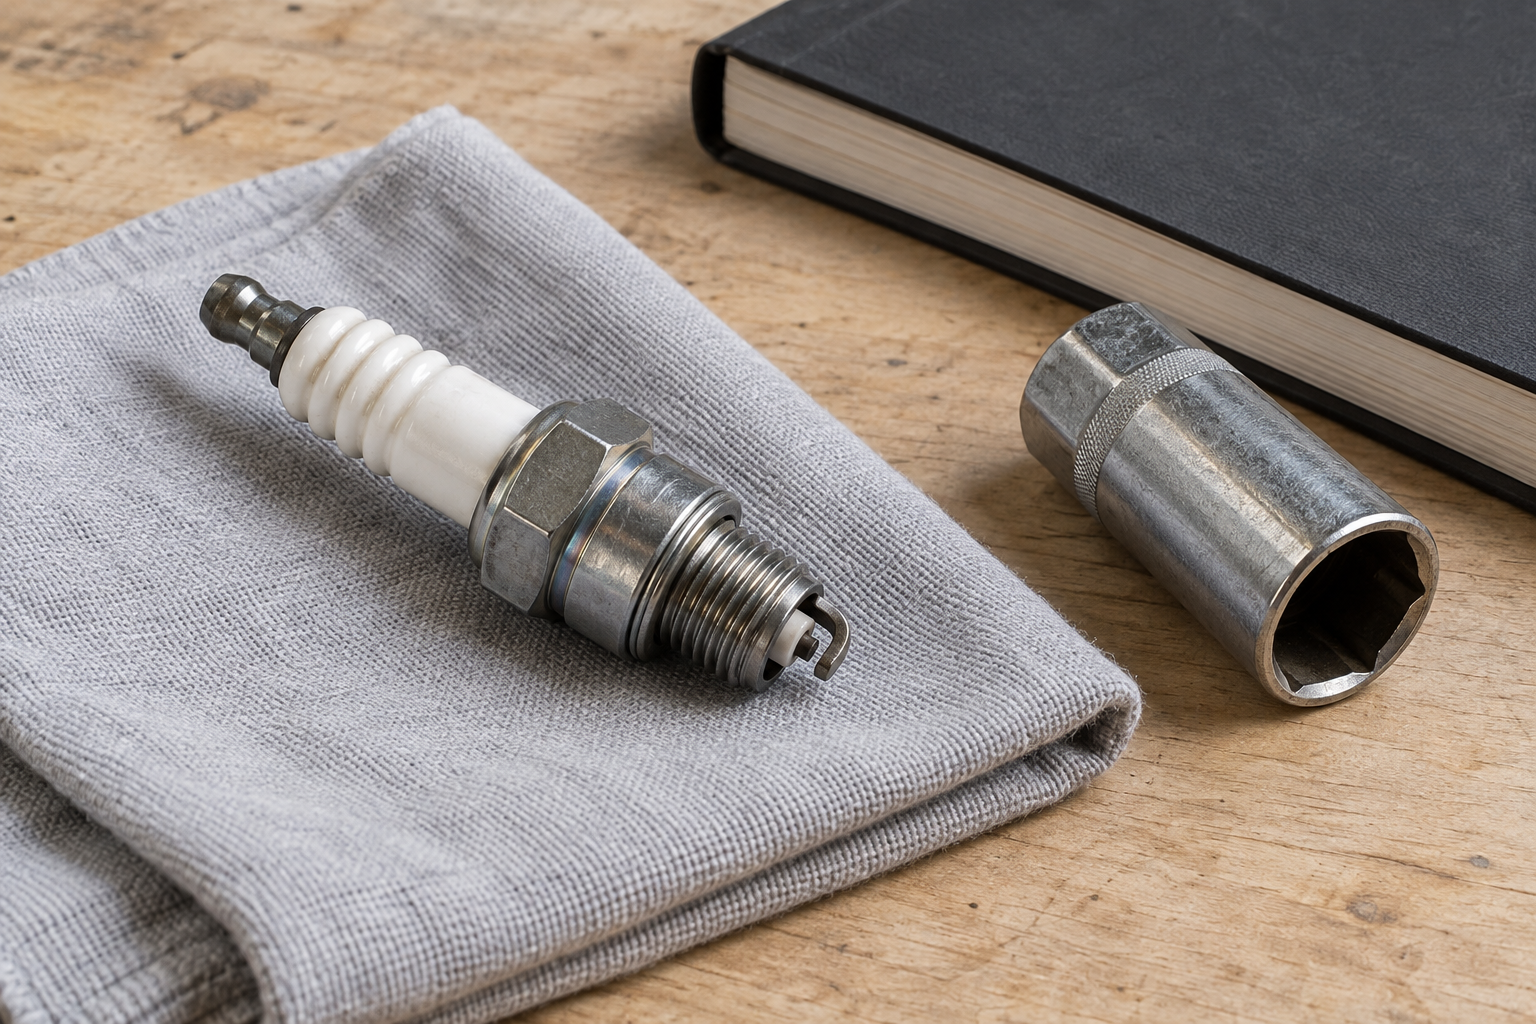
Illustration of inspection preparation; the pictured plug does not establish compatibility or a correct gap for your saw.
Open the manual before opening the cover
Find the saw’s exact model identification and its spark-plug maintenance section. Keep three instructions beside the work area: the approved replacement designation, the electrode gap, and the installation tightening specification or procedure. Also check the maintenance schedule. A calendar interval from another saw is not a substitute for that schedule.
Do not assume that the plug already fitted is correct, particularly on a second-hand machine. Compare its marking with the manufacturer’s specification. If the marking is unreadable or the manual lists an unfamiliar alternative, ask the manufacturer’s parts service or dealer to identify the approved replacement before installing anything.
CCOHS advises using parts intended for the particular saw and leaving repairs outside the operator manual to qualified service staff. Treat missing instructions as a reason to obtain the instructions, rather than choosing a gap or tightening method from a similar-looking engine.
Make access a clean, powered-down job
Stop the engine, wait for all movement to cease, and let the saw cool. Follow its maintenance isolation instructions, including disconnecting the spark-plug lead. The ECHO CS-3510 manual specifically warns that its stop switch returns to the run position; pressing stop alone is not its maintenance isolation procedure.
Use the cover-removal sequence in your manual. Before loosening the plug, clear debris from the surrounding area so it cannot fall into the opening. Husqvarna makes this cleaning step part of its plug-maintenance guidance. Use a plug tool that fits the model and keep the removed part on a clean surface for inspection.
If access, removal, or tool fit differs from the manual, pause. Forcing an unfamiliar assembly is outside this inspection. Fuel leakage is also a stop condition: the ECHO manual directs owners to have a leaking system inspected or repaired before use.
Read the condition without guessing the engine fault
Look at the ceramic insulator, metal body, and electrode end. Record visible cracks, corrosion, deposits, or electrode wear before cleaning. A photograph can preserve the initial condition for a dealer; it is not an electrical test.
Use this condition/action table as an inspection aid assembled from the sources below. It is not a manufacturer-approved test of ignition performance.
| What you find | Decision for this maintenance job | What remains unresolved |
|---|---|---|
| Cracked ceramic or visibly damaged plug | Replace with the approved type; seek service if surrounding parts are damaged | Why the damage occurred |
| Worn or corroded electrodes | Replace rather than treating gap adjustment as restoration | Whether another running fault contributed |
| Deposits on an otherwise intact plug | Check whether the exact manual permits cleaning and use its method | Whether deposits will recur |
| Intact plug with a measurable gap | Compare the measurement with the model’s specified value | Electrical performance during operation |
| Plug identity cannot be verified | Obtain the correct specification before refitting | Whether the installed part was suitable |
NGK identifies damage, corrosion, and electrode wear as relevant findings, and warns that continuing problems after replacement point beyond the plug. Avoid turning a deposit colour into a carburetor adjustment. Keep the observation and the diagnosis separate: “black deposits were present” is useful evidence; “the carburetor must be adjusted” requires more support.
Husqvarna permits wire-brush cleaning of an undamaged dirty plug in its maintenance guidance. Follow your own model’s instructions where they differ. Do not substitute a flame, grinding, or an improvised abrasive restoration for the prescribed method. Cleaning does not remove a crack or replace metal lost from an electrode.
Measure the gap, then accept the installation
The gap is the space between the centre and ground electrodes at the firing end. Husqvarna explains that electrode wear can enlarge it and directs owners to the saw’s operator manual for the correct value.
Use the appropriate feeler gauge or spark-plug gap tool. Compare the measured opening with the specified value; do not judge it from the cover photograph or from the size of another plug. If the manual permits adjustment, use its method without damaging the centre electrode, and measure again afterward. Replace a damaged plug instead of continuing to bend its parts.
Before refitting, write a short acceptance record:
- Identity: saw model and approved plug designation, with the manual page used.
- Condition: retained after permitted cleaning, or replaced because of the recorded finding.
- Gap: required value and checked result, including units.
- Installation: the applicable tightening instruction and whether it was completed.
This record makes a later check useful. It distinguishes a verified installation from “a new plug was fitted,” and gives a servicing dealer something more specific than a recollection of the repair.
Husqvarna directs owners to start the threads by hand before tightening. Use the exact saw’s installation instruction for the final tightening; the ECHO CS-3510 manual, for example, provides a model-specific torque. Do not transfer that value to another model. If the plug will not engage normally, stop rather than pulling it into place with the wrench.
Reconnect the cap and reinstall the cover as the manual specifies. ECHO requires guards and protective covers to be properly assembled before operation. An unfinished installation is not ready for a start attempt.
If the running problem remains, preserve the evidence
After complete reassembly, follow the manufacturer’s normal starting and pre-use procedures. If poor starting or stalling persists, keep the old plug and the acceptance record for service. Repeatedly fitting plugs without resolving the recurring fault does not complete the repair.
For a saw that fires but will not keep running, use the starts-then-dies symptom record to describe when it stops. If the manual calls for an air-filter check, the filter cleaning guide helps separate filter materials and approved methods. Neither step requires guessing an ignition-coil fault from the removed plug’s colour.
Tell the service provider what was observed before cleaning, which replacement was used, and whether the behaviour changed afterward. Leave ignition testing and repairs beyond the operator manual to the appropriate service route.