If your chainsaw battery is not charging, check the approved battery–charger pairing, power supply, seating and exact indicator message before deciding which part has failed. A temperature delay can prevent charging without proving a fault; damaged equipment or a persistent fault indication needs manufacturer-directed service, not an improvised battery repair.
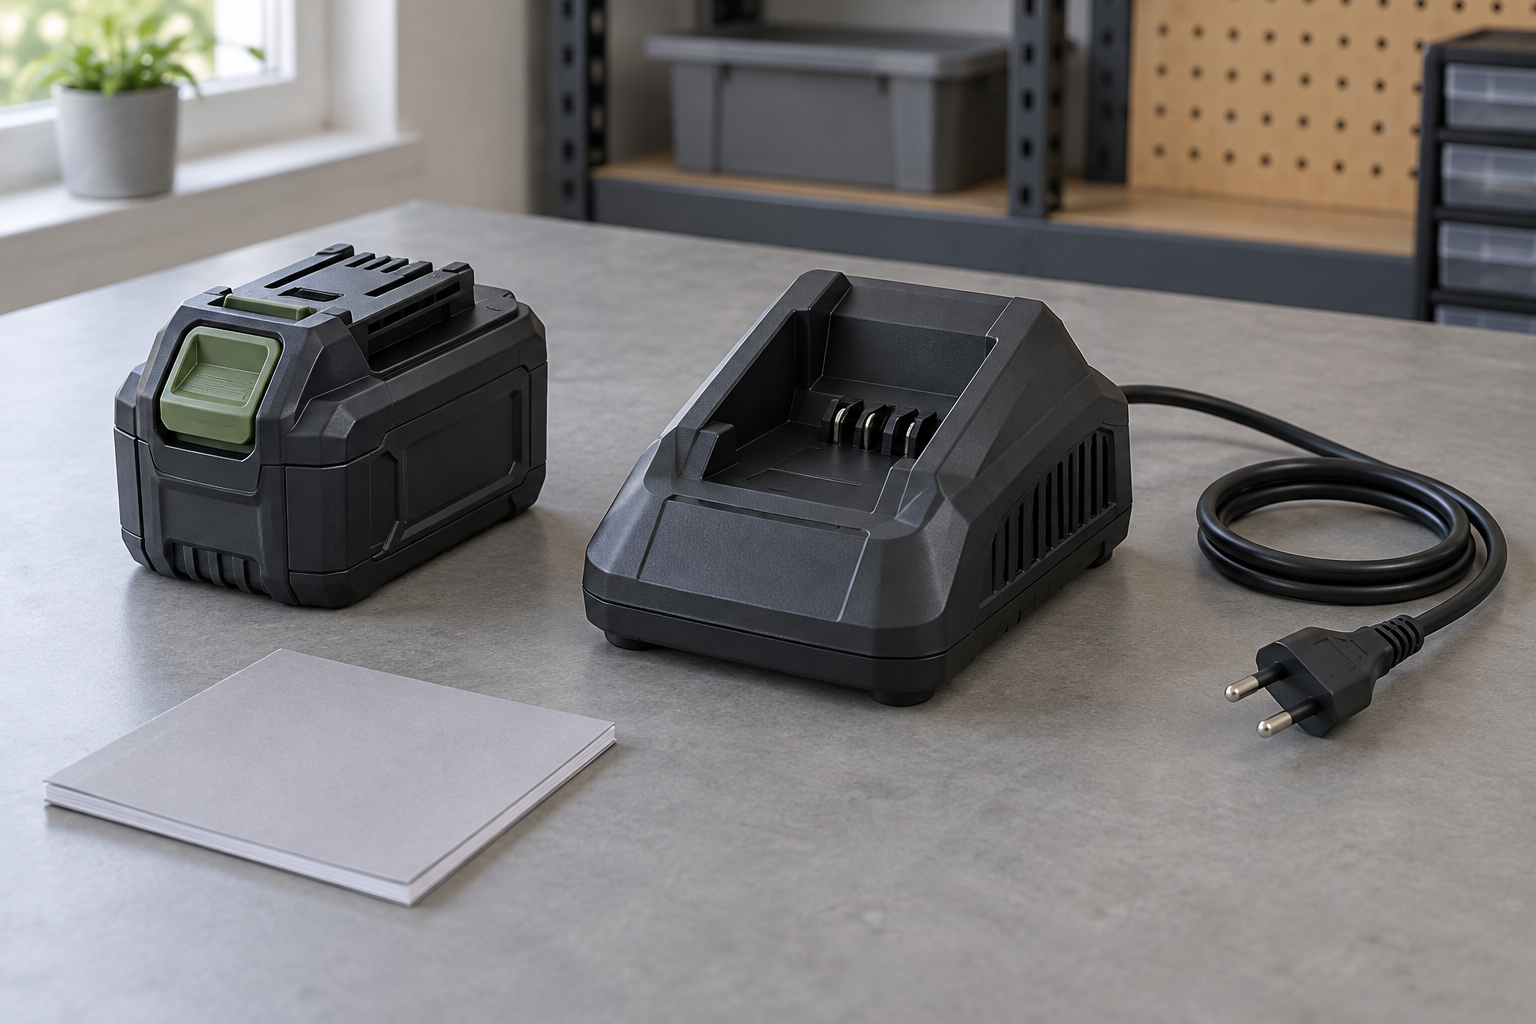
This guide is for detachable battery packs. The cover illustrates a powered-down inspection arrangement, not a particular compatible product pair. Identify your actual equipment from its labels and manuals before connecting it.
Is the equipment fit for another charging attempt?
Keep the saw off and remove the pack using its instructions. Look at the battery housing, charger, lead and plug before troubleshooting the lights. Yard Force’s support guidance rejects damaged batteries and cracked casings. STIHL likewise warns against using broken or deformed packs and against opening them or exposing them to short circuits, liquids or heat.
Stop if the pack is broken, deformed or leaking. Ask the manufacturer for handling instructions before transporting or shipping it; STIHL specifically says not to ship a broken or leaking battery. A charger with a damaged lead or housing, or one that has suffered a significant impact, also needs assessment rather than another trial. EGO assigns charger repairs to qualified service personnel.
Do not open the pack, bridge its contacts or connect an external power supply to force it to accept charge. A charging fault does not make those actions an owner-maintenance procedure.
What exactly does “not charging” look like?
Record the indication before changing anything. “Red light” leaves out information that the manual may need: which component shows it, whether it flashes, how many lights appear and whether the pattern changes.
Use this short observation record. It is an editorial aid for following the manufacturer’s procedure, not a new electrical test.
| Record | What to write |
|---|---|
| Equipment identity | Battery model and charger model, copied separately from their labels. |
| Starting condition | After use, after storage, or first use with this charger; note any known drop or moisture exposure. |
| Starting indication | Battery lights and charger lights separately, including steady, flashing or absent. |
| Manual instruction | The matching fault-table entry, its page, and the permitted next action. |
| Result | The indication after that action, or the reason you stopped without trying it. |
For example, “charger light steady; battery display off” is an observation. “Battery is dead” is a diagnosis that the observation has not established. Keep those two kinds of statement separate when asking for help.
If the manual shows a different number of indicators from your charger, check the model again. Do not choose whichever online light chart looks closest. Even equipment sold under the same brand can use different displays.
No lights: has the external connection been checked?
Yard Force’s battery-check guidance starts with a working mains socket, a secure connection and correct battery seating. It also says not to force the pack into the charger. Follow the equivalent checks in your own instructions, using only a supply that meets the charger’s rating.
Confirm compatibility from the manufacturer’s documentation. Matching colour, brand or a pack that appears to slide into place is not your compatibility record. Copy the approved combination into the first row of the observation sheet; if you cannot establish it, ask the manufacturer before proceeding.
With the charger disconnected from mains and the pack removed, inspect accessible connection areas for visible debris or damage. Use only the cleaning method assigned to those parts. EGO’s charger manual requires unplugging before maintenance and warns against disassembly. Do not probe electrical contacts or open the charger to investigate an absent light.
If the external checks are complete and the expected indication still does not appear, record that result. Repeating the same connection without a new instruction adds little useful evidence.
Does the manual identify a hot or cold battery?
EGO’s support page identifies battery temperature outside its specified range as a reason charging cannot proceed. Husqvarna’s support distinguishes battery charging limits from operating limits and from the charger’s ambient limits. The temperature permitted for one activity does not automatically authorize another.
Find the charging conditions for both components. Follow the manual’s waiting and reconnection instructions; do not import a temperature or waiting time from another manufacturer’s chart. A room that now meets the ambient requirement does not itself document the condition of a pack just brought in from elsewhere.
Record whether the indication changes after the prescribed wait. A change to normal charging supports the manual’s temperature-delay explanation. An unchanged warning should send you back to its next troubleshooting step or service contact, rather than to a guessed longer charging session.
Keep seasonal care separate. Once the charging issue is resolved, the chainsaw storage guide helps distinguish storage instructions from charging and operating conditions.
Can another battery identify the faulty part?
Only use a comparison that the manufacturer permits, with an undamaged pack explicitly approved for that charger. If you do not have one, leave this step to the dealer; buying another pack is not necessary merely to complete a diagnostic worksheet.
For the EGO CH2100E specifically, the manual’s fault procedure includes reseating the pack and, if the fault repeats, trying another approved pack. A second pack that charges normally points toward the original pack; a repeated fault leads to further charger checks. That is a model-specific sequence, not a universal reset recipe.
Preserve the comparison in the record: original pack model, comparison pack model, same charger, and each result. Avoid changing the charger, outlet and battery together and then reporting only that charging worked. That result would not tell the service provider which change mattered.
Stop the comparison when the manual’s service condition is reached. Do not keep cycling combinations in the hope that one briefly produces a reassuring light.
What should go to the service provider?
Send the observation record first, along with clear model-label and indicator photographs if requested. Include the manual entry you followed and any physical damage or exposure you observed. Ask which components they need to inspect and how any suspect battery should be handled before arranging delivery.
A useful report can be brief: the approved pair is confirmed, the external checks are complete, the documented action was performed, and the same indication remains. If a check could not be completed, leave it marked unresolved instead of replacing it with an assumption.
Successful charging settles only this charging complaint. Follow the saw’s own pre-use checks before cutting. If its motor runs but the chain remains stationary, use the separate chain-won’t-move diagnostic; that symptom needs a different investigation from a pack that will not charge.