Inspect chainsaw anti-vibration mounts with the saw switched off and unable to start. If a damping unit is cracked, deformed, detached, missing, or not securely connected between the handle and engine unit, keep the saw out of service and use the exact model manual or a qualified service provider.
This is a visible condition-and-attachment check, not a running vibration test or a generic replacement procedure. Mount designs, locations, fasteners, and owner-service limits vary between saws.
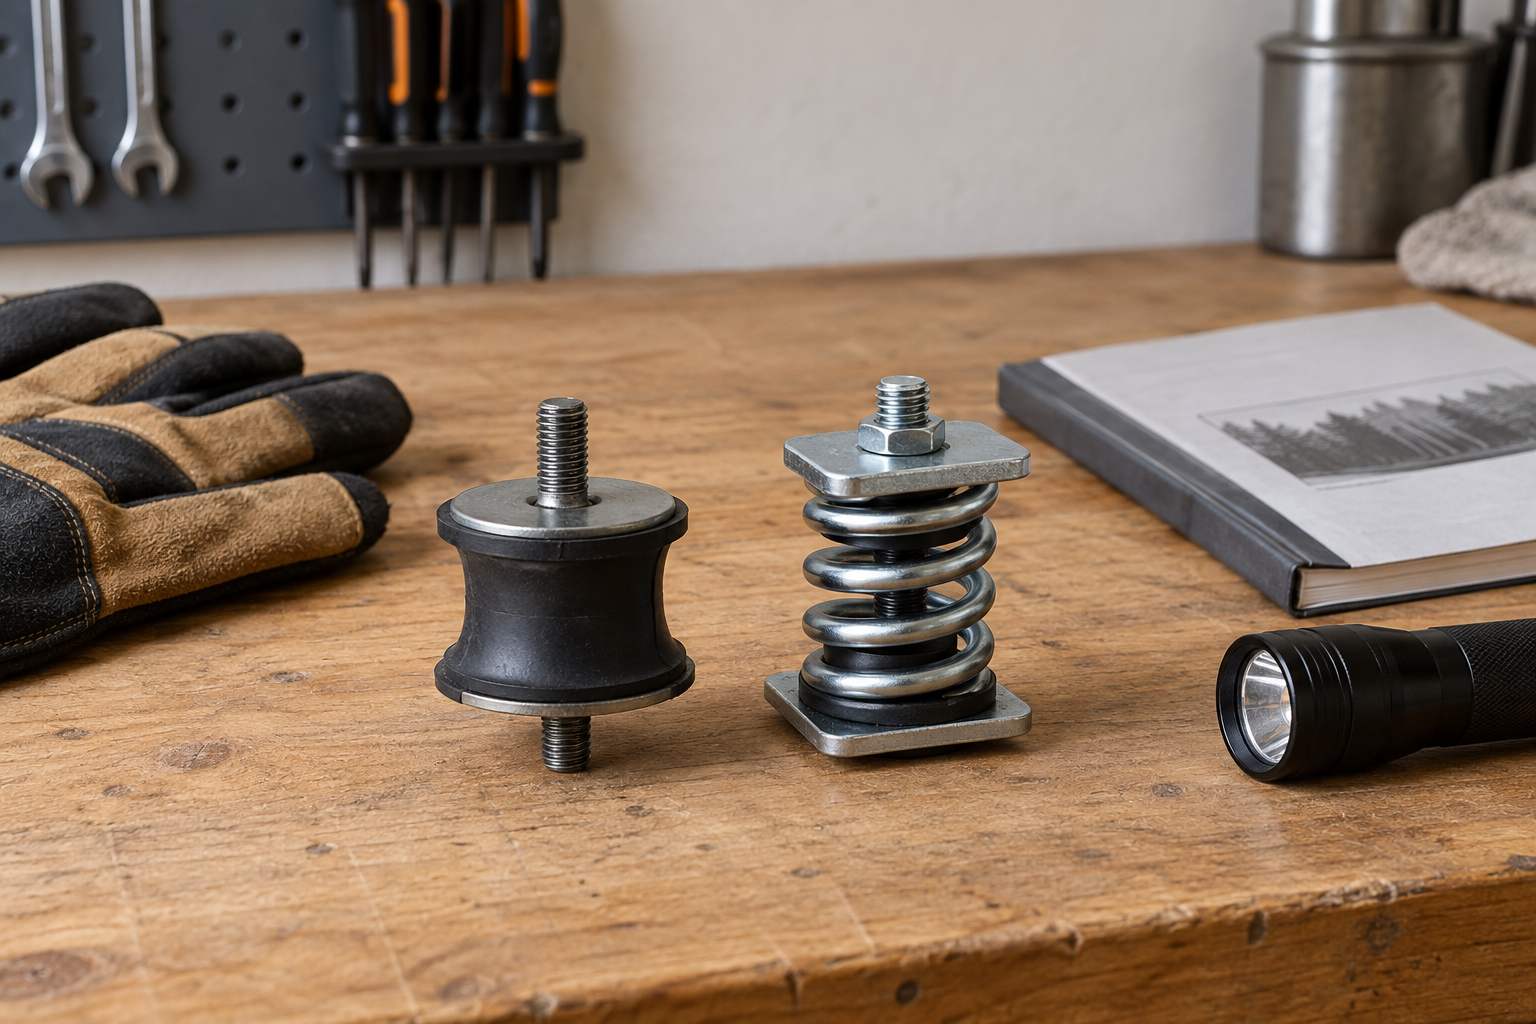
Illustrative inspection parts only. Their shape, dimensions, and fasteners do not establish compatibility with a particular chainsaw.
Find the system in the manual before judging it
The anti-vibration system separates the handles from the engine and cutting unit through model-specific damping elements. Depending on the saw, the visible parts may include rubber isolators, springs, or a combination of components. A similar-looking mount on another saw is not a parts reference.
Open the operator manual at the product overview and maintenance sections. Identify every damping-unit location shown for the exact model, rather than inspecting the most obvious mount and assuming the system is complete. The Husqvarna manual reviewed for this guide directs the owner to use its product overview to locate the system, then check the units for cracks, deformation, and correct attachment to both the engine and handle units.
Use the maintenance-isolation method in that same manual. On the petrol model documented by Husqvarna, maintenance requires removing the spark-plug cap because the stop switch returns to its start position. A battery saw or corded saw will use a different isolation sequence. Do not transfer the petrol-saw instruction to another power system.
Let hot parts cool, place the saw on a stable surface, and keep the guide bar pointed into a clear area. Wear suitable gloves when the inspection brings your hands near the chain, but do not treat gloves as a substitute for disabling the saw.
Record three things at each mount
Work around the saw in the order shown by its manual. A small flashlight can help reveal a split or a displaced edge, but do not lever, stretch, or remove a mount to improve the view unless the manual specifically assigns that procedure to the owner.
| Inspection point | What you can establish with the saw off | Decision |
|---|---|---|
| Location | Every damping unit shown in the model overview can be identified | Continue to condition and attachment; an unidentified or inaccessible location remains unresolved |
| Condition | No visible crack, deformation, separation, or missing section is found | Continue to attachment; appearance alone does not certify the whole saw |
| Attachment | The unit appears correctly connected at the engine and handle sides, with no missing or visibly displaced attachment | Record the result and proceed to the saw’s remaining pre-use checks |
| Any failed or uncertain point | A unit is cracked, deformed, detached, missing, visibly displaced, or cannot be assessed as the manual requires | Do not operate the saw; obtain the model-specific service route |
The table is an editorial record assembled from the sources below. It does not add a universal movement limit, clearance, torque, or service interval.
Look at the surrounding handle and housing while staying within the visible inspection. A loose-feeling handle can accompany worn or broken mounts, according to BC Forest Safety training, but handle feel does not identify which unit failed or prove that a mount is the only damaged part. If the handle position looks wrong, an attachment is missing, or the housing around a mount is damaged, preserve that observation for the service provider instead of tightening an unknown fastener.
Do not diagnose the mounts by running the saw
An unexpected increase in vibration deserves attention, but it is not a safe reason to keep restarting the saw and comparing how it feels. Chain condition, the cutting attachment, the material being cut, engine condition, and the damping system can all affect what reaches the handles. A sensation at the grip is not a component test.
If unusual vibration was noticed during the last use, stop and write down when it occurred: at idle, as the chain entered wood, throughout the cut, or after an impact or repair. Then complete the powered-down checks in the exact manual. Do not make another cut solely to reproduce the symptom.
Keep this inspection separate from cutting-attachment maintenance. A dull, damaged, incorrectly tensioned, or poorly lubricated chain needs its own diagnosis, but correcting the chain does not release a saw with a broken damping unit. Conversely, an intact-looking mount does not approve a damaged chain, bar, sprocket, brake, or catcher.
HSE guidance explains why this distinction matters. Improved engine mounting is one engineering measure that has reduced chainsaw vibration exposure, while so-called anti-vibration gloves have not been shown to replace effective exposure controls. Gloves may protect against abrasion or help keep hands warm; they do not turn a failed mount into a serviceable one.
Stop at identification when repair information is missing
Do not choose a replacement from shape, colour, outside diameter, or a marketplace photograph. The damping material, attachment, position, and part number belong to the saw’s model and sometimes its production variant. A mount that fits through a hole is not necessarily the specified part.
The owner manual or official parts information should establish:
- the exact saw identity and applicable serial or production range;
- every damping-unit location used by that model;
- the correct replacement part or assembly;
- whether replacement is owner maintenance or dealer/service work; and
- the required access, fasteners, tightening procedure, and post-repair checks.
If those details are absent, stop at the inspection record. Do not open a fuel system, handle assembly, wiring path, spring-loaded component, or engine housing to reach a mount based on a procedure for another saw.
BC Forest Safety’s training material gives a clear operating boundary: do not operate a chainsaw with broken anti-vibration mounts. That boundary is more useful than guessing whether one remaining mount can carry the handle or whether a short job is acceptable.
Return to the complete pre-use check
A visible pass at the damping system means only that this inspection found no listed defect. It does not clear the saw for use by itself.
Continue with the pre-start sequence in the exact manual, including its fastener, control, chain, bar, lubrication, and guarding checks. The manual-first chain-brake check keeps a separate control inspection within its own model limits. The chain-catcher inspection explains what to record when that component is loose, damaged, or has been struck during a derailment.
Keep the saw out of service when any of these remains true:
- a damping unit is cracked, deformed, separated, detached, or missing;
- a mount or its attachment appears loose, displaced, incomplete, or different from the manual;
- the handle, housing, or attachment area is damaged;
- not every location shown for the model can be checked as instructed;
- unusual vibration remains unexplained after the permitted powered-down checks; or
- the correct part and repair route cannot be positively identified.
Record the saw model, the mount location, the visible condition, and what made the result uncertain. That gives the manufacturer, dealer, or service provider useful evidence without turning a safety check into an improvised repair.