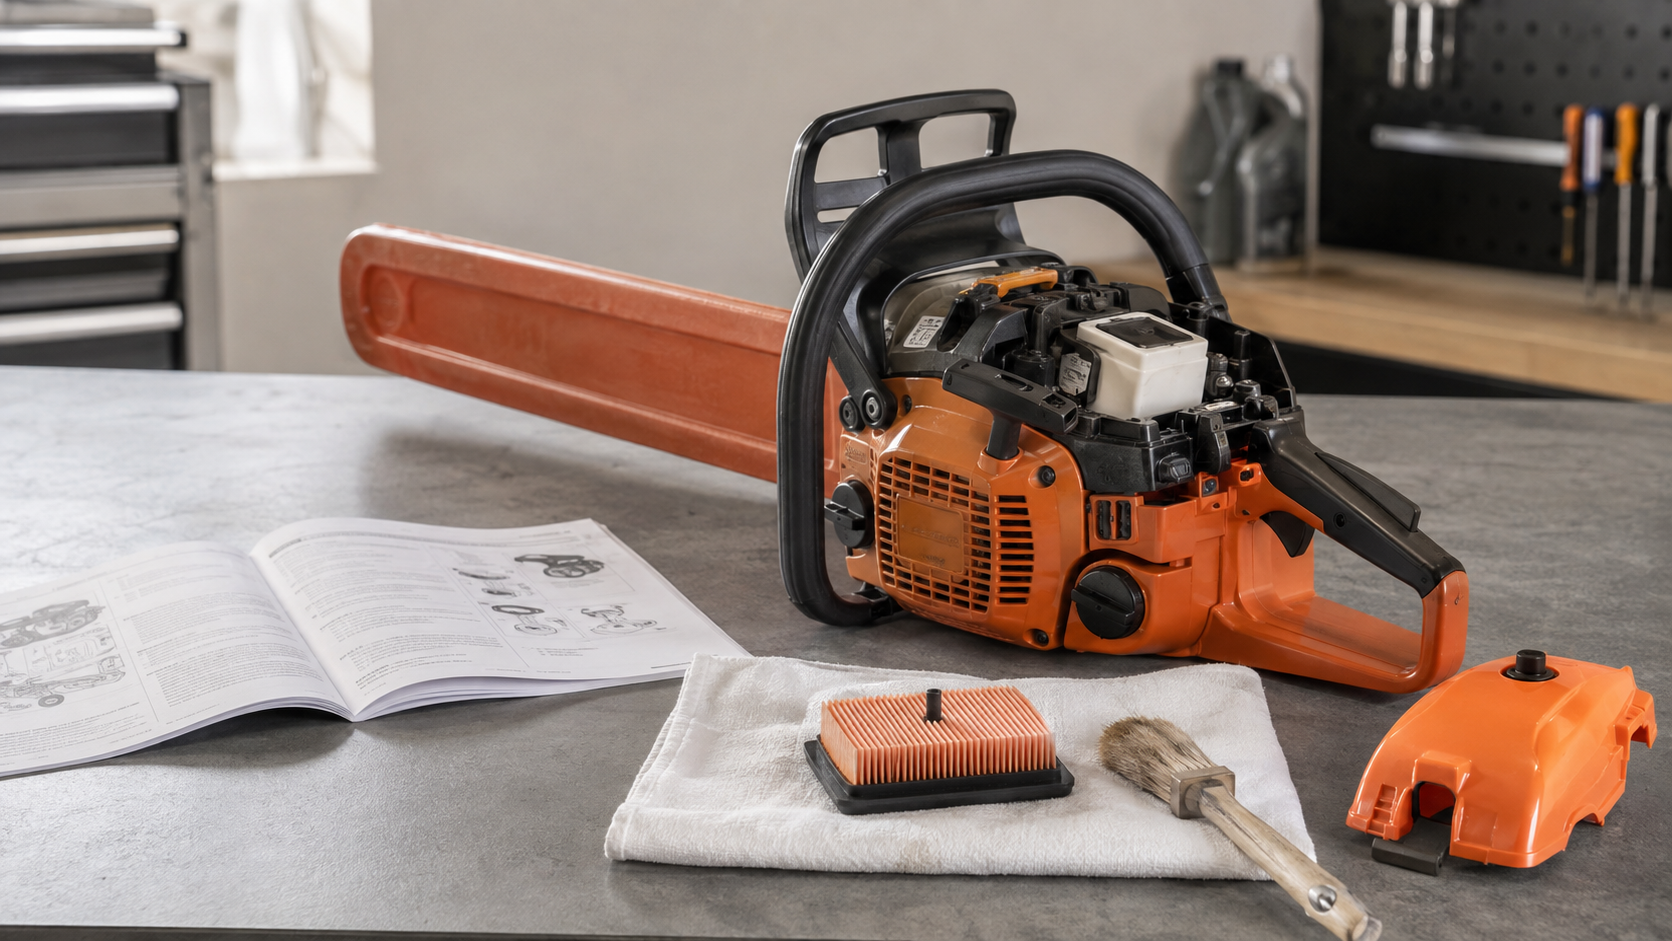
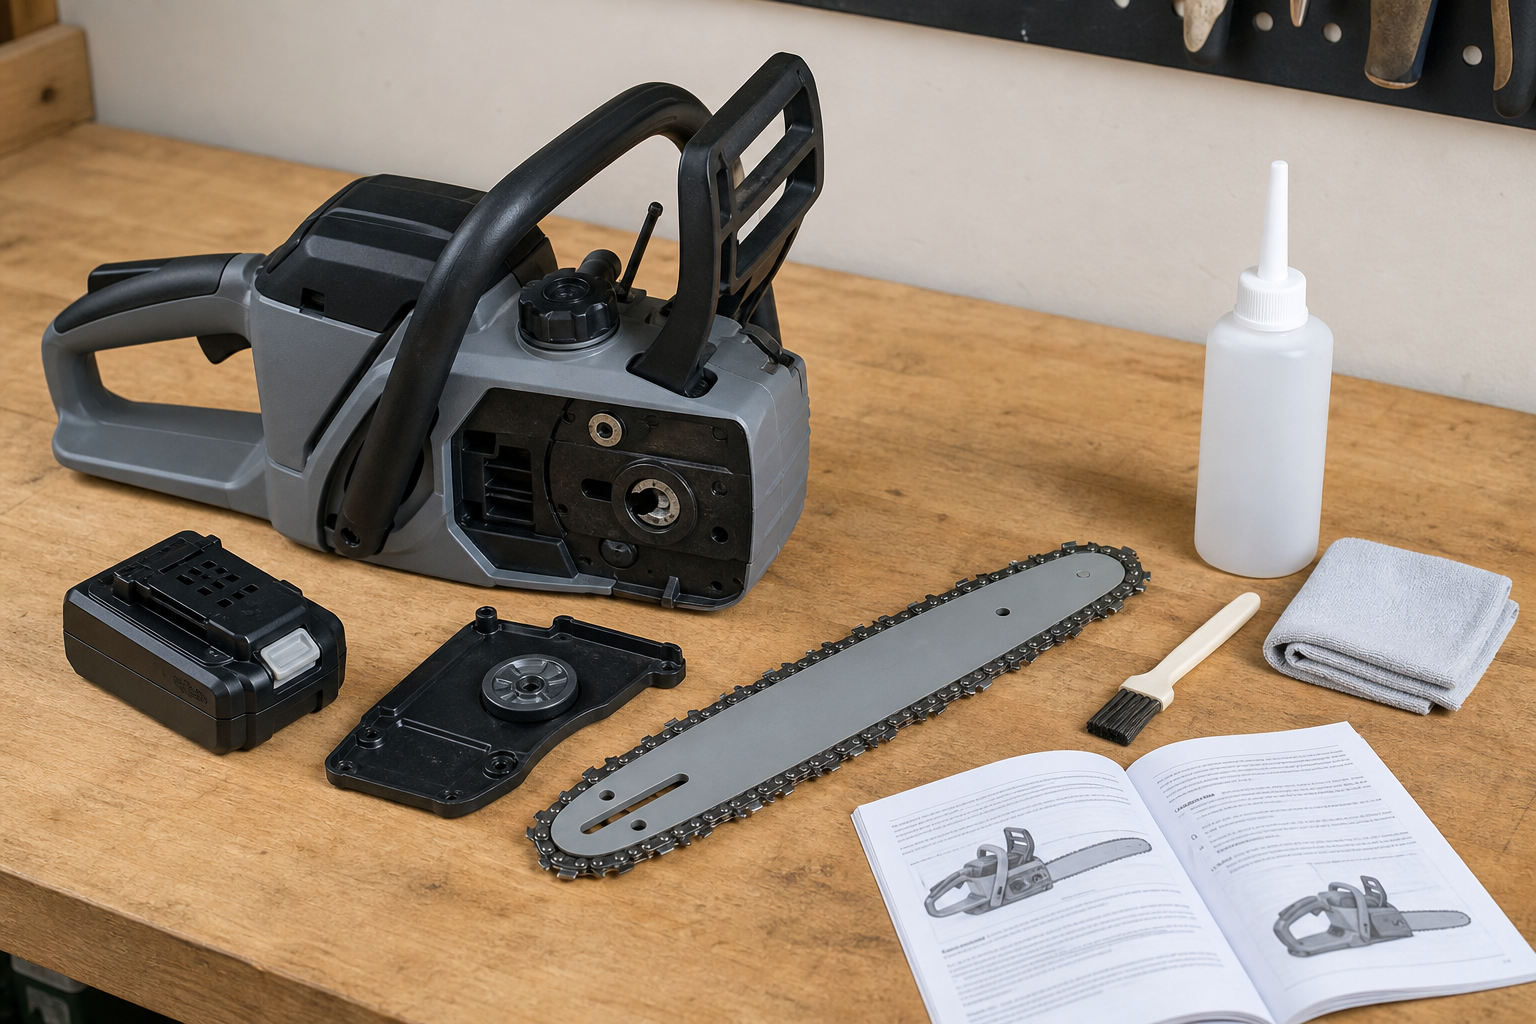
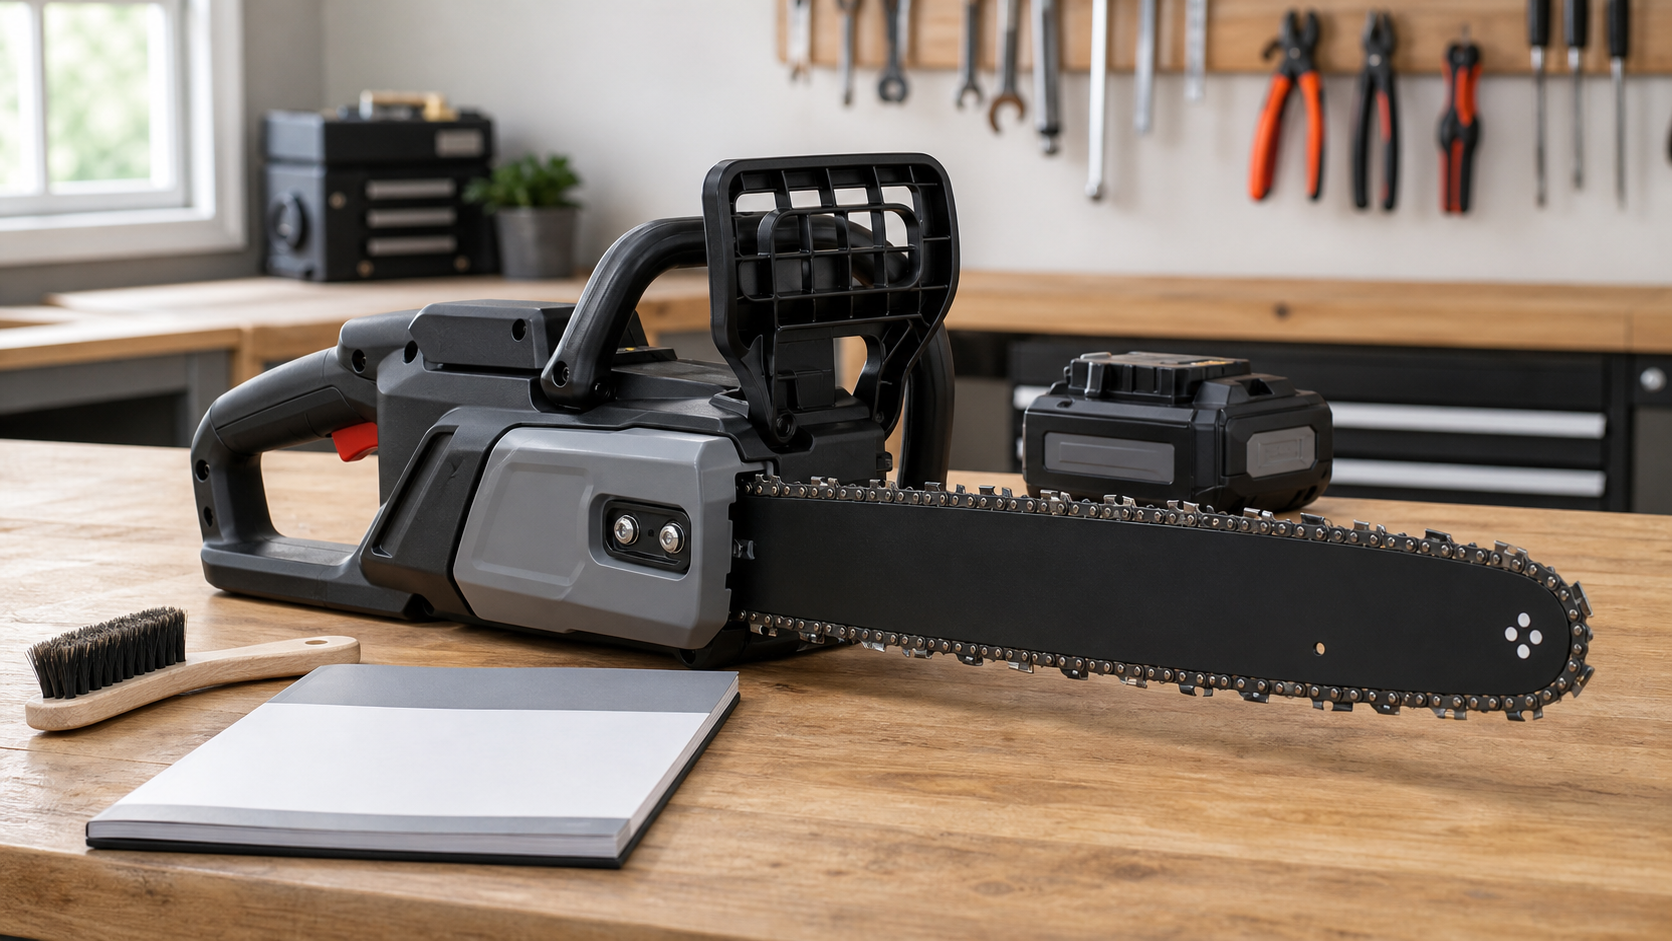
Sharpen a chainsaw chain when its cutting behavior changes—not after an arbitrary number of cuts, fuel tanks, or hours. A chain that produces coarse chips, feeds into sound wood without being forced, and tracks straight may not need filing. Stop and inspect it when the chips turn dusty, feed pressure rises, the cut slows, or the saw starts pulling or vibrating differently.
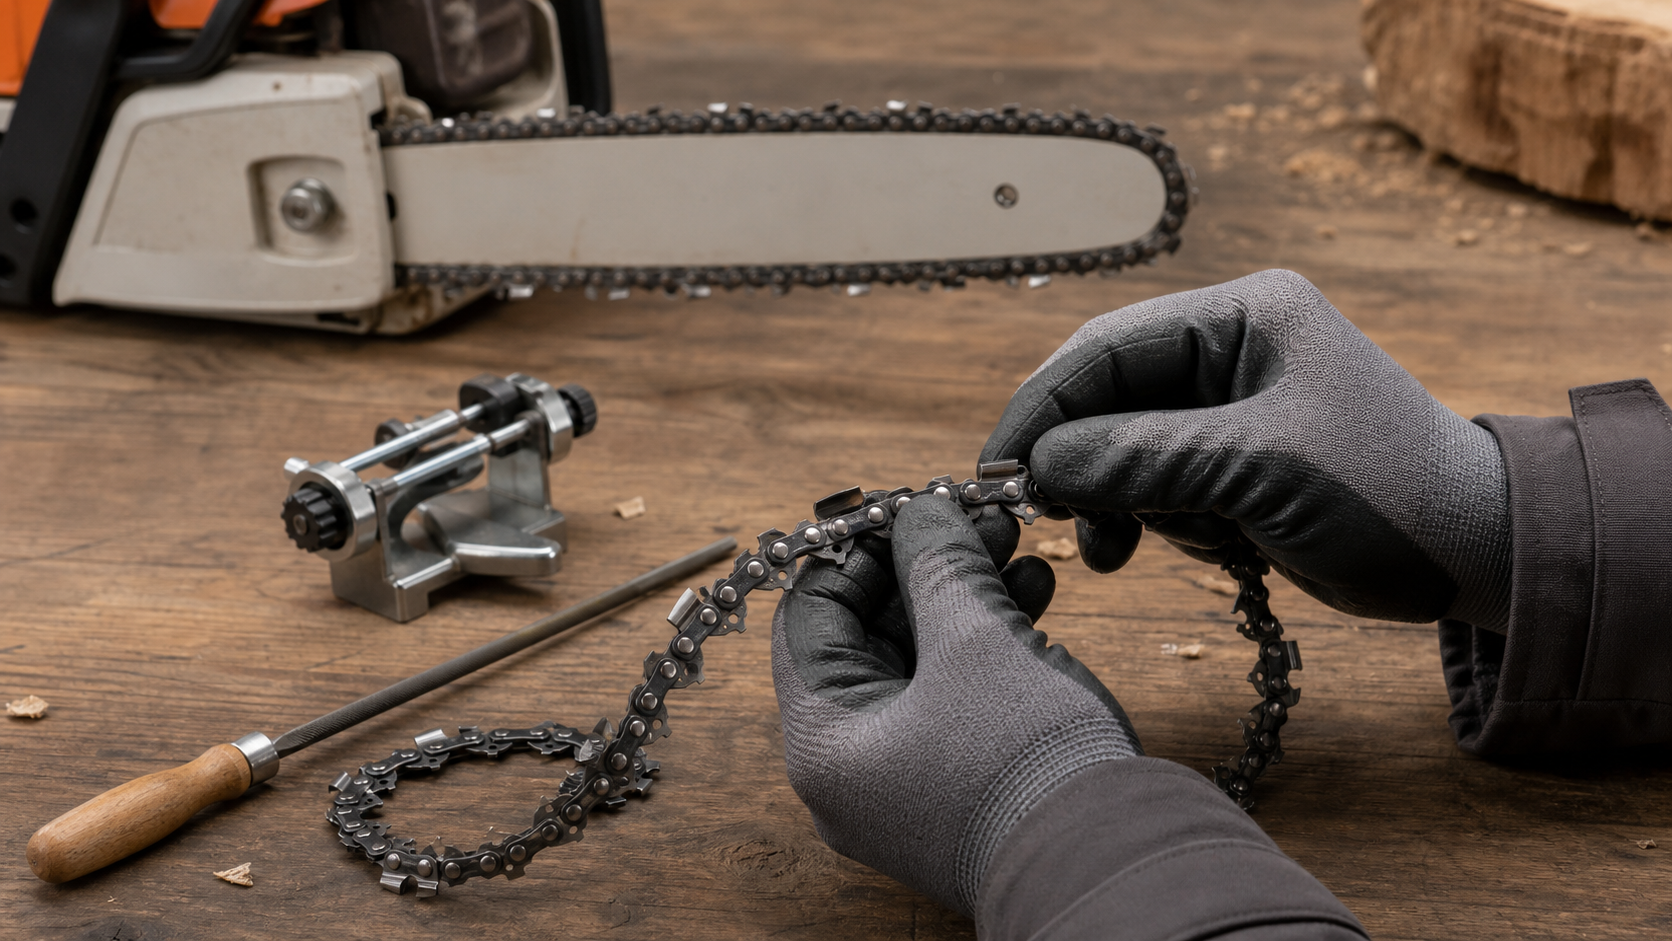
Wood species, bark contamination, soil contact, embedded grit, and operator technique can change the interval dramatically. That is why a condition-based check is more reliable than a calendar.
There Is No Single Sharpening Interval
Two chains can spend the same time running and finish in very different condition. A clean green log presents a different cutting surface from storm-fallen timber dragged through sand. One brief touch against soil, stone, wire, or a hidden fastener can damage an edge faster than many ordinary cuts.
For professional logging work, OSHA requires cutting edges to be kept sharp and properly shaped and directs that dull cutting edges be sharpened to the manufacturer’s specifications. That is a useful maintenance principle for any operator: inspect frequently and respond to condition, while following the saw-chain maker’s filing information.
Do not wait for the saw to become difficult to control. A light touch-up at the first clear dullness signal usually removes less cutter material than trying to restore a badly rounded or damaged edge.
Seven Signs It Is Time to Sharpen
Make the judgment from several clues, not chip appearance alone. Wet or rotten wood can produce debris that looks different even with a sharp chain, and a crooked cut can also involve guide-bar wear or unequal cutter lengths.
| Checkpoint | What to look for | Why it matters |
|---|---|---|
| Chips | Fine dust or powder replaces the usual coarse chips | Rounded edges scrape instead of severing clean fibers |
| Feed | The saw must be pushed into a normal crosscut | A sharp chain should feed without heavy force |
| Cut speed | A familiar cut takes noticeably longer | Slower progress is an early performance comparison |
| Tracking | The saw pulls to one side | One cutter row may be duller or shorter than the other |
| Vibration | New chatter or roughness appears in the cut | Dull or damaged cutters may be loading unevenly |
| Heat or smoke | Heat rises despite correct lubrication and tension | Stop first; dullness is one possible cause, not the only one |
| Cutter edge | Reflected light, rounding, chips, or impact marks appear at the working corner | A crisp edge is easier to assess under clean, bright light |
STIHL and Husqvarna both identify fine sawdust and increased feed pressure as common dull-chain signals. Husqvarna also lists slower cutting, side pull, vibration, heat, and smoke. Treat smoke as a stop-and-diagnose warning: verify bar-oil delivery, chain tension, bar condition, and whether the chain is installed correctly before assuming sharpening alone will fix it.
Inspect Immediately After Dirt, Stone, or Metal Contact
Do not finish the tank first if the chain touches the ground. Stop the engine, let the cutting attachment cool, engage the brake as directed for the saw, and disconnect the power source before handling the chain. For a gasoline saw, follow the manual’s shutdown and service procedure; for a cordless or corded saw, remove the battery or unplug it when the manual calls for that step.
Brush away oily dust so it cannot hide the working corners. Rotate the chain only by the safe method described in the manual and inspect every cutter under direct light. Mark the starting cutter so none are skipped.
Look for:
- a bright flat glint where the top-plate edge should be crisp;
- a chipped corner or visibly bent cutter;
- one section of the loop with much heavier damage;
- cracked components, loose rivets, or damaged drive links;
- cutter length already at the chain maker’s wear indicator.
Ordinary rounded edges can often be sharpened. A cracked, bent, severely damaged, or worn-out chain should be removed from service and assessed for replacement. Filing is not a repair for damaged structural parts.
Use a Three-Point Check During Every Work Session
A short check at predictable moments catches dullness before the operator starts compensating with extra force.
Before the first cut
Confirm that the chain is correctly tensioned, lubricated, and free of visible damage. Look at several left- and right-hand cutters in good light. Check the guide bar and chain brake as the saw manual directs. OSHA’s chainsaw guidance similarly calls for checking controls, tension, bolts, and handles and for keeping the chain sharp and the oil reservoir filled.
At refueling, battery changes, or another natural pause
Compare the chips and feed behavior with the start of the session. Check tension only using the manufacturer’s safe procedure because the cutting attachment may be hot. Clear packed debris from the bar area without disturbing adjustment references.
After the last cut
Clean the chain enough to expose the cutter edges. If a touch-up is due, doing it before storage leaves the saw ready for the next job and makes it less tempting to run “just one cut” with a dull chain.
Keep a simple note if you cut similar material repeatedly: wood condition, contamination, abnormal contact, and whether the chain needed a light touch-up or a full correction. The record helps you plan spare chains, but it should never become a fixed interval that overrides actual inspection.
Light Touch-Up or Full Sharpening?
A light touch-up suits cutters that remain evenly shaped but have begun losing their clean edge. Use the correct file, guide, wheel, or sharpener setting for the exact chain. Apply consistent treatment to both cutter directions and avoid removing more steel than needed.
A full corrective sharpening is appropriate when edges are substantially rounded or cutter lengths have become uneven, provided the chain remains serviceable. Start from a reference cutter only after identifying the shortest sound cutter, then keep the corresponding cutters consistent. Check depth gauges at the interval and with the tool specified by the chain manufacturer; do not lower them by guesswork.
If repeatability is the problem—especially when maintaining several loops on a bench—a guided system such as KonKell Chainsaw Sharpeners can help hold a consistent setup. The tool still has to match the chain, and the operator must verify the correct geometry in the chain or sharpener manual before grinding.
After sharpening, clean away filings and inspect the complete loop. Refit and tension the chain according to the saw manual, confirm lubrication, and make a controlled test cut in clean wood while wearing the required protective equipment. The useful result is not merely a shiny edge; it is normal chip formation, self-feeding behavior, and straight tracking without new vibration.
When Sharpening Is Not the Answer
Replace the chain or have it assessed when you find cracks, damaged tie straps or drive links, loose or abnormal rivets, severely damaged cutters, or wear at the manufacturer’s discard marks. Also stop if the chain cannot be tensioned correctly or does not move freely after the saw has been cleaned and adjusted according to its manual.
If a freshly sharpened chain still cuts poorly, work through the system rather than filing it again immediately:
- Confirm the chain is installed in the correct direction.
- Verify tension and bar-oil delivery.
- Inspect the guide-bar rails, groove, and nose area for wear or packed debris.
- Compare left- and right-hand cutter lengths and shapes.
- Check depth gauges with the correct chain-specific gauge.
- Confirm that the sharpening tool and setup match the chain.
Repeated sharpening without finding the underlying fault wastes cutter life and can make an uneven chain worse.
FAQ
Should I sharpen my chainsaw chain after every tank of fuel?
Not automatically. Refueling is a convenient inspection pause, but the need to sharpen depends on cutting performance and cutter condition. Clean wood may leave the chain working well, while one touch in dirt can dull it immediately. Check chip size, feed pressure, tracking, and visible edges at each pause, then sharpen only when those signs support it.
Is it better to sharpen a chainsaw chain little and often?
Light, timely touch-ups can remove less metal than waiting until edges are badly rounded. The important limits are correct tool selection, chain-specific geometry, and consistent treatment of both cutter directions. Do not file merely to follow a schedule, and do not keep filing a chain with cracks, damaged components, or cutters at their wear limit.
How can I tell whether a chain is sharp without touching the edge?
Use visual and cutting clues. Under bright light, a dull working corner may reflect a small bright line, while a sound sharp edge is crisp. During a controlled cut in clean wood, look for coarse chips, normal self-feeding behavior, reasonable cut speed, and straight tracking. Never test sharpness by dragging a finger across a cutter.
Why is my chain dull again right after sharpening?
First check for contact with soil, sandy bark, stone, or hidden metal. Then verify lubrication, tension, guide-bar condition, cutter consistency, depth-gauge setting, and whether the sharpening tool matched the chain. If only one side was sharpened differently, the saw may pull even though some edges are sharp. Inspect the complete cutting system before removing more cutter material.