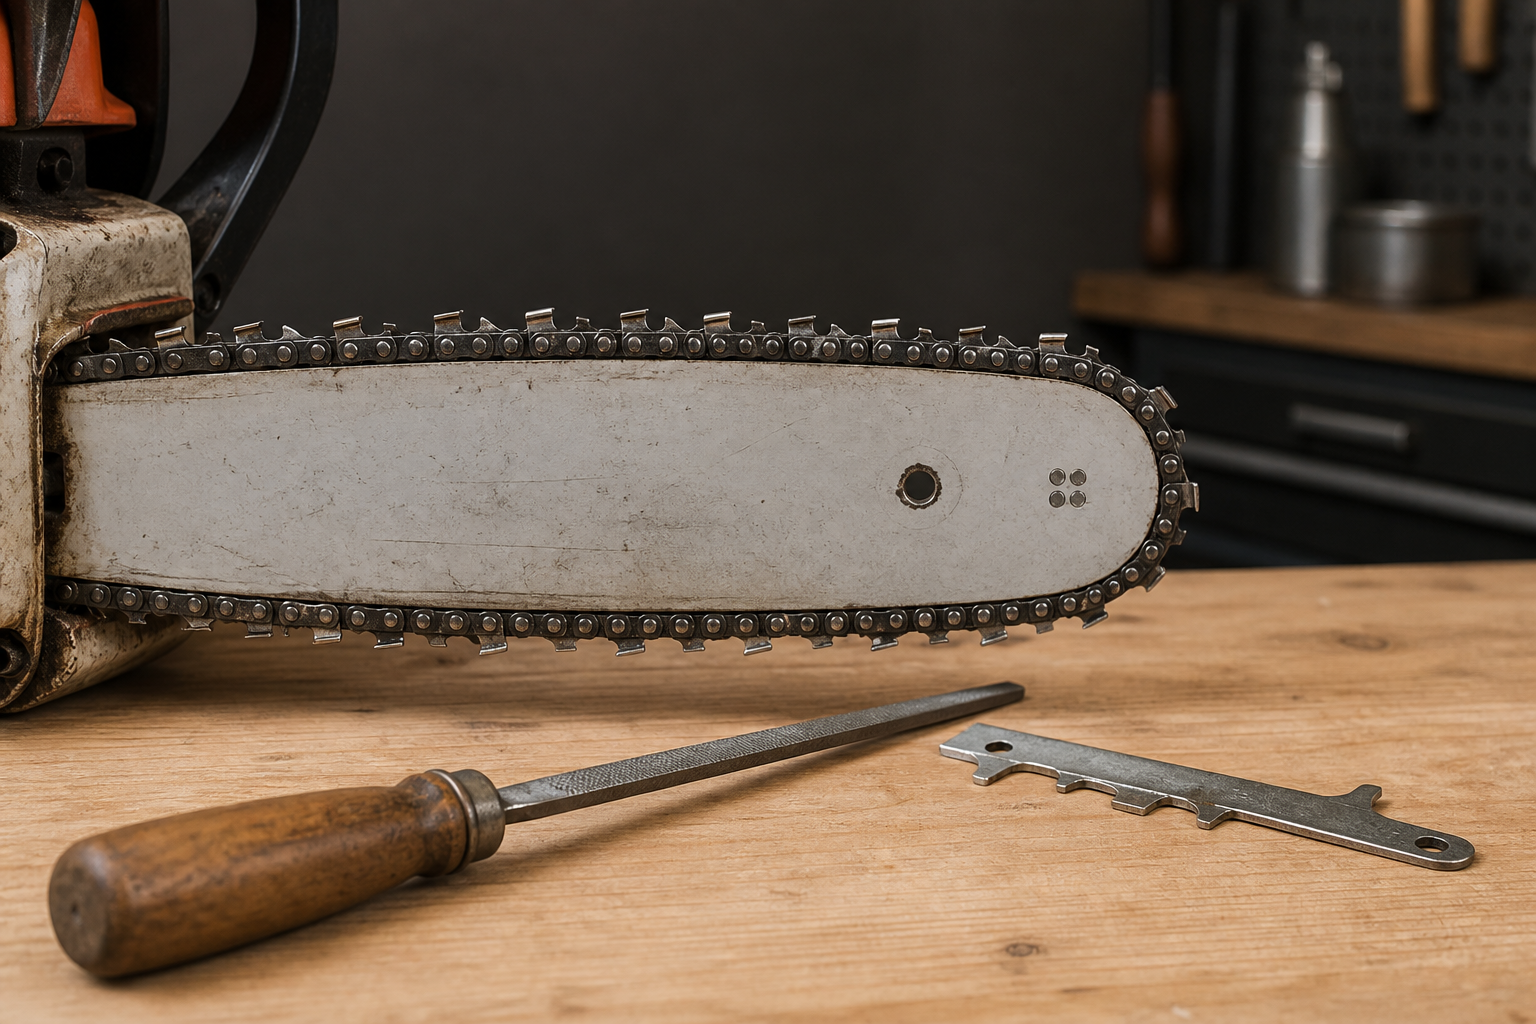
A chainsaw that is still dull after sharpening usually has a cutting edge that was not fully restored, depth gauges that no longer match the shortened cutters, or inconsistent cutter geometry around the loop. Do not start another full sharpening pass until you know which fault you are correcting.
This guide is for homeowners, firewood cutters, and workshop users who have just filed or ground a chain but still need to push the saw through clean wood. Put the saw aside, clean the chain enough to see bare metal, and work through the checks in order.
Quick Diagnosis: Why a Sharpened Chain Still Feels Dull
Start with the symptom from the first test cut. A sharp chain should feed without heavy pressure and produce recognizable chips in sound, clean wood. Fine dust, slow feed, wandering cuts, or heavy vibration point to different parts of the chain.
| Checkpoint | What to look for | Why it matters |
|---|---|---|
| Cutting corner | A bright line, rounded tip, chip, or rolled metal at the top-plate and side-plate junction | A file can touch the tooth without reaching the working edge |
| Cutter sequence | One missed tooth, mixed angles, or visibly different cutter lengths | A few dull or aggressive cutters can spoil the whole loop |
| Depth gauges | Gauges that sit high relative to shortened cutters or vary from tooth to tooth | A sharp edge cannot take a proper chip if its depth gauge limits the bite |
| File or wheel contact | Polished metal below the edge, an untouched corner, or inconsistent grind marks | The abrasive may be the wrong size, position, or shape |
| Chain condition | Cracked cutters, damaged tie straps, stiff joints, or bent drive links | Structural damage is not corrected by sharpening |
| Saw-side setup | Reversed chain direction, poor oil flow, incorrect tension, or damaged bar rails | A good edge still performs poorly if the chain cannot travel and sit correctly |
Treat this as a sorting table, not a list of reasons to remove more metal. Find the first clear defect, correct it, and then repeat a controlled test cut.
Inspect the Cutting Corner Under Strong Light
The cutting corner does the useful work. It is the junction where the top-plate edge meets the side-plate edge. A cutter can look clean along the gullet and still have a blunt corner.
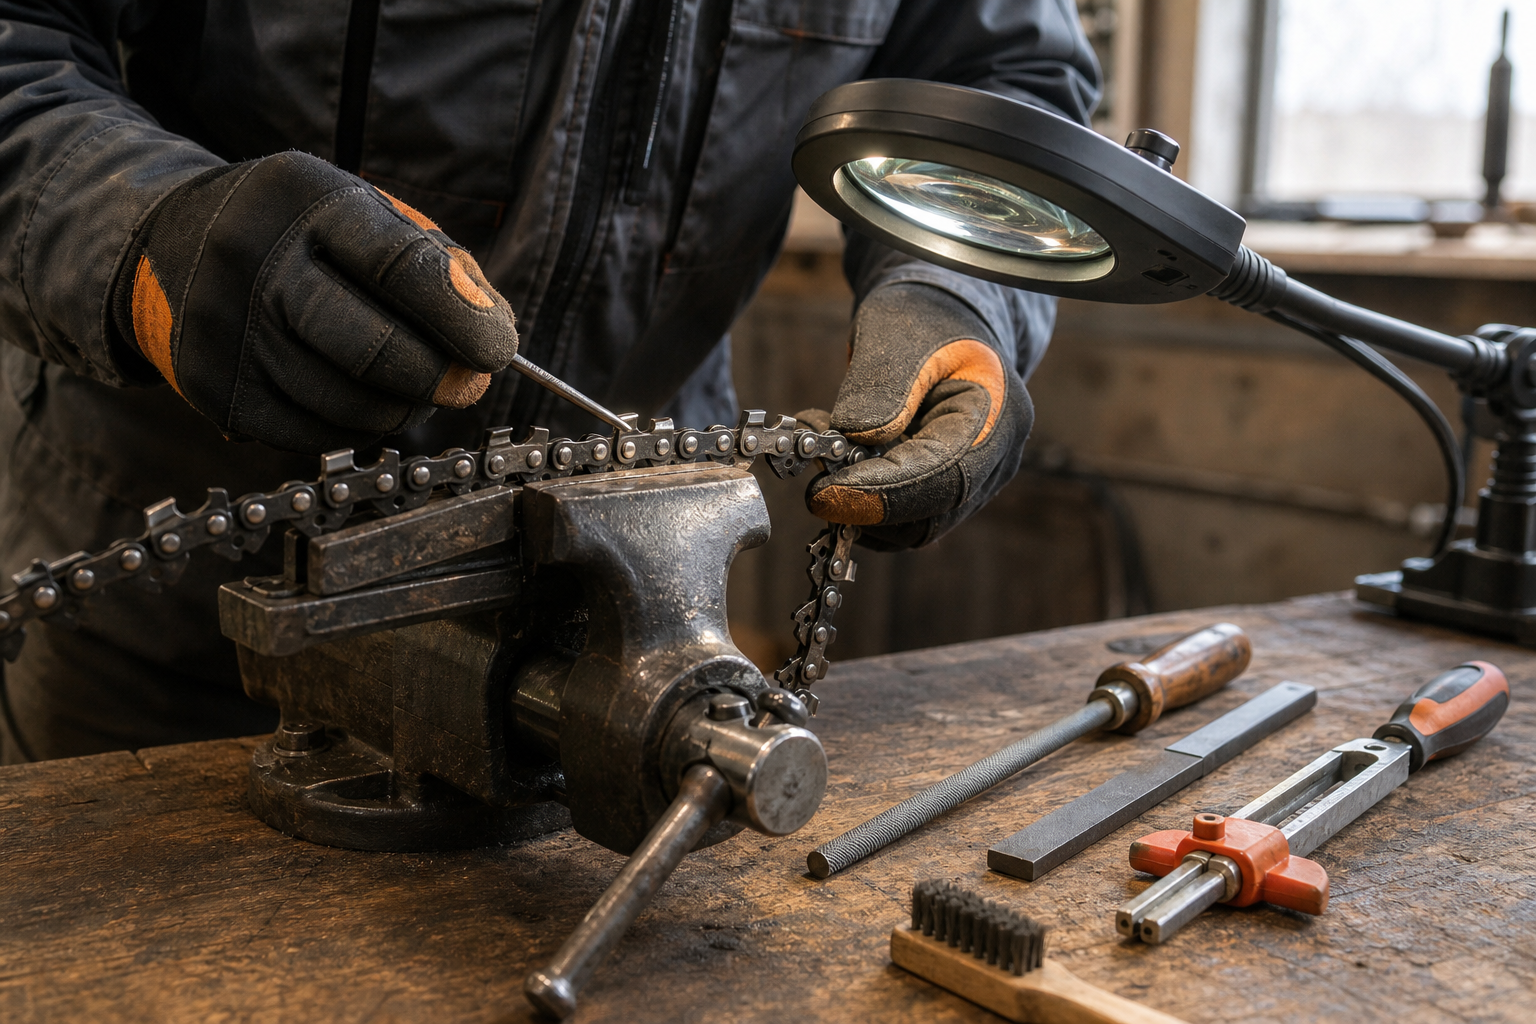
Rotate the chain until light reflects across the edge. A properly restored edge is difficult to catch with reflected light. A bright strip or shiny dot usually marks a flat, rounded, or damaged area that the previous sharpening pass did not remove. Inspect the worst cutter first; STIHL’s sharpening guidance also starts with the cutter in the poorest condition because it gives you a practical reference for the rest of the loop.
Look at several left-hand and right-hand cutters. If only the easier side is clean, your hand position or grinder setup may be favoring one direction. If the damage follows a patch around the chain, the loop may have contacted soil, stone, wire, or dirty bark. Those cutters need enough material removed to get behind the damaged edge—not simply the same light touch used on undamaged teeth.
Do not test the edge by dragging a finger along it. Good light and magnification reveal more, and they do it without putting skin against a cutting corner.
Confirm the File or Wheel Is Reaching the Edge
Color one suspect cutter with a permanent marker. Make one controlled file stroke or one very light grinder contact, then inspect where the color disappeared. This exposes setup errors quickly.
If the mark comes off low on the side plate but remains at the cutting corner, the tool is not restoring the edge. With a round file, possible causes include an incorrect file diameter, poor file height, or a file that has stopped cutting cleanly. With a grinder, inspect wheel profile, vise alignment, stops, and head position against the sharpener manual.
A worn file often skates, loads with oily filings, or encourages extra pressure. Brush the cutter clean and try a known-good file of the chain manufacturer’s specified size. A grinding wheel should cut with light, controlled contact. Heavy dwell that discolors the cutter is not a shortcut; it adds heat while making cutter-to-cutter consistency harder to maintain.
Use the chain package, chain identification, or saw manual to verify the abrasive and settings. Do not copy a neighboring chain’s setup just because the loops look similar on the bench.
Check Every Cutter, Not Just the Reference Tooth
Mark the first cutter so you know where the loop begins. Advance one cutter at a time and inspect the full sequence. It is easy to skip a tooth when oil-darkened cutters look alike, especially after turning the vise or changing sides.
Compare these features:
- The working edge is restored on every cutter.
- Left-hand cutters resemble one another, and right-hand cutters resemble one another.
- No cutter is dramatically shorter than its neighbors.
- Grind depth and gullet clearance are consistent.
- Burrs, chips, and heat discoloration are not being ignored.
Equal stroke counts do not guarantee equal results. A rocked cutter may need more correction than a cutter dulled by normal wood. The useful reference is the finished edge and cutter shape, not the number of file strokes.
If one damaged cutter becomes the shortest practical reference, bring the other cutters into reasonable consistency without removing metal blindly. When the correction would consume most of the remaining cutter or leave the loop outside its service limits, replace the chain.
Measure the Depth Gauges After the Cutters
Depth gauges—often called rakers—control how deeply the cutter enters the wood. As the cutter is sharpened back, its geometry changes. A depth gauge that was correct on a newer chain can eventually sit too high relative to the shortened cutter.
That produces a familiar complaint: the edge looks sharp, but the chain rides over the wood and needs pushing. Oregon’s sharpening guidance calls for checking and adjusting depth gauges after sharpening. The important word is “checking.” Do not lower every gauge by eye or by a fixed number of strokes.
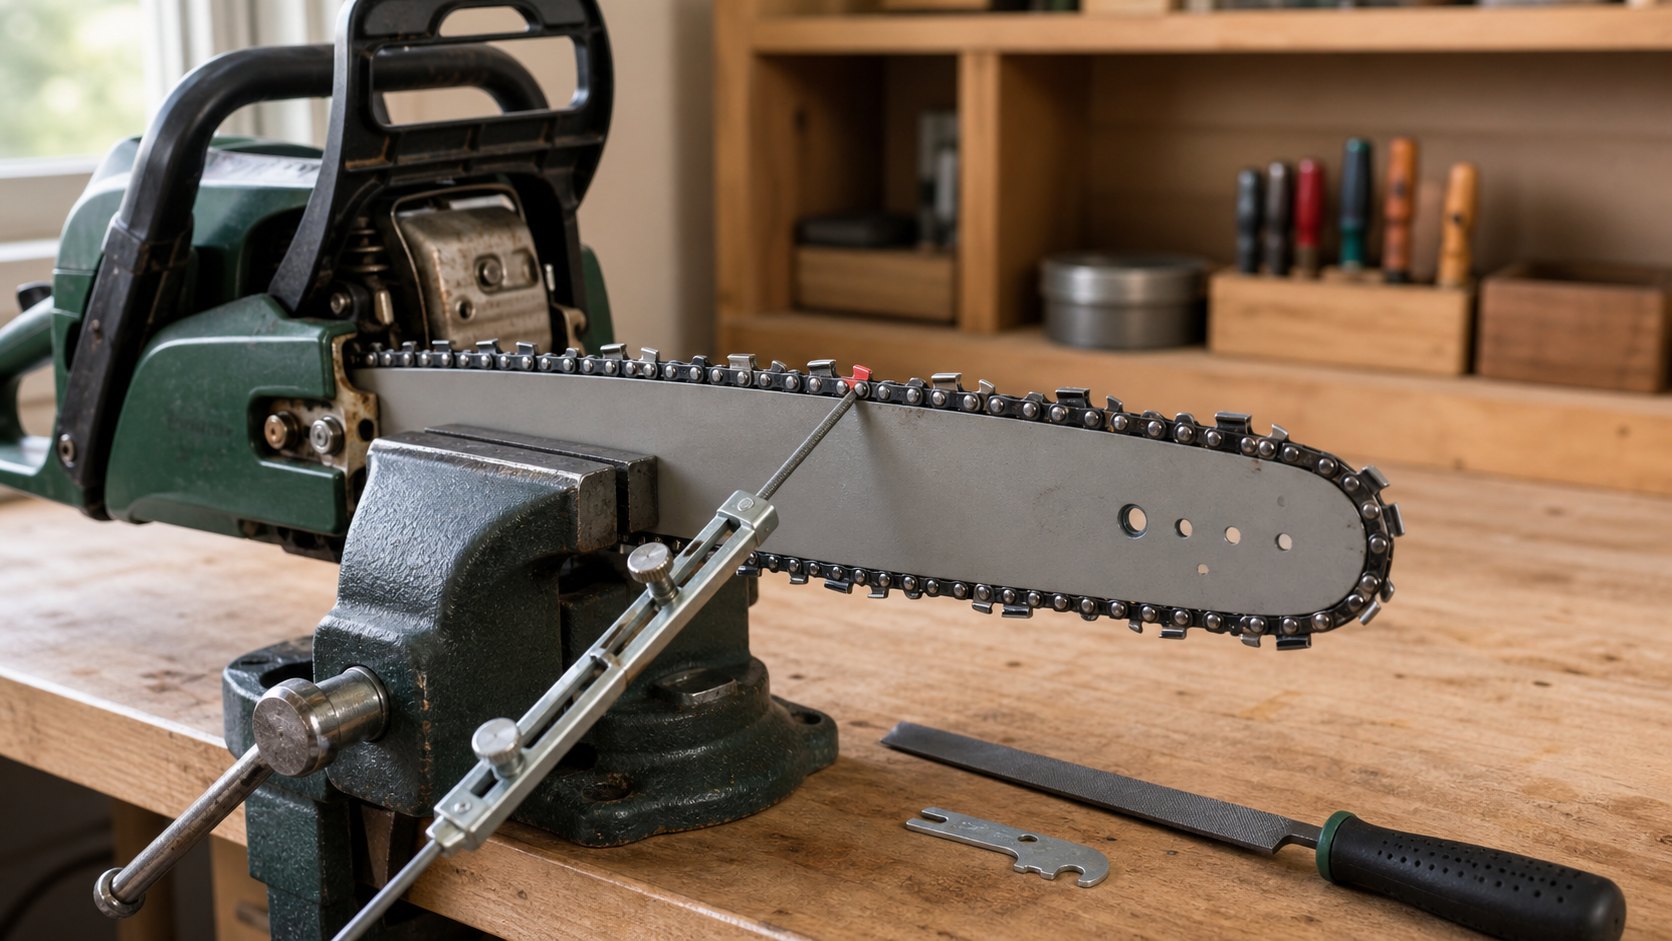
Use the depth-gauge tool specified for the chain. Set it on a clean section of chain and file only the material the tool exposes. Keep the leading profile smooth as directed by the chain manufacturer. Work around the loop methodically and check again after filing.
Depth gauges that are too low create a different problem. The chain may grab, chatter, vibrate, or feed harshly. Removing more from them cannot be undone. If prior filing has left them badly uneven or consistently too low, a replacement loop is usually a better answer than trying to reshape every cutter to compensate.
Decide Whether Your Sharpening Setup Fits the Job
Freehand filing is useful in the field, but a heavily damaged or inconsistent chain may need a more controlled correction at the bench. Before changing tools, clean oily filings out of the chain clamp, guide slot, vise jaws, cutter stop, and abrasive. Debris under a drive link can tilt the cutter enough to change where the file or wheel meets the tooth.
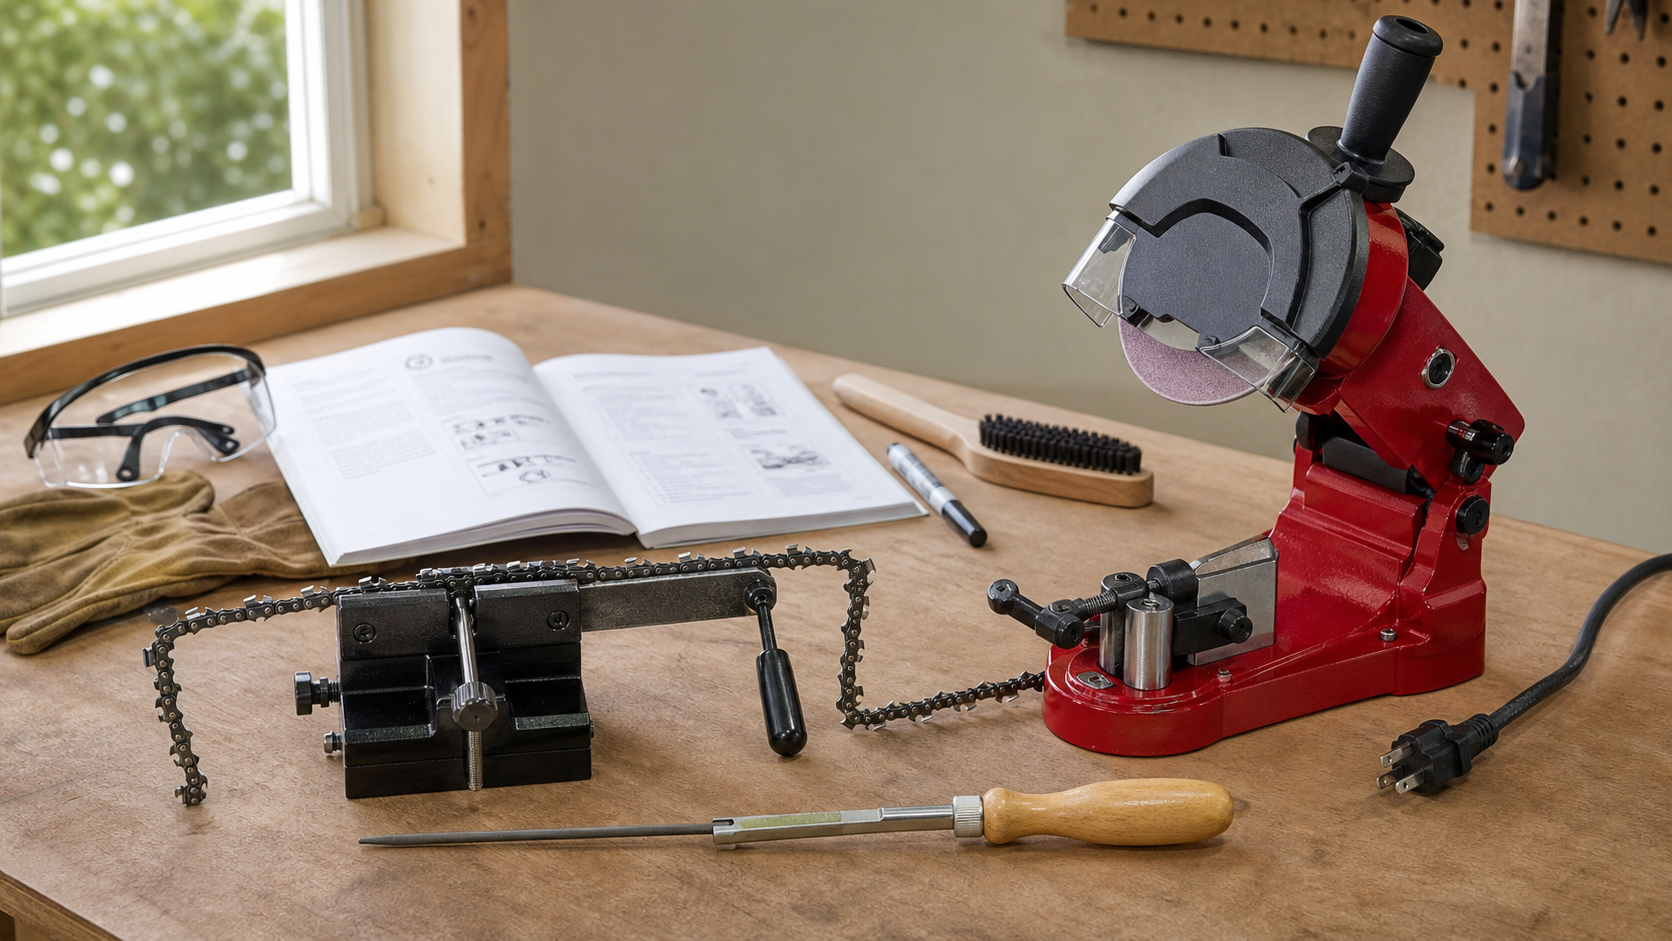
A guide or bench sharpener should make the same setup repeatable on every cutter. It does not choose the chain’s specifications for you, and it does not replace inspection. You still need to identify the worst cutter, set the correct abrasive and angle from the chain information, use light contact, and verify the finished edge.
If uneven hand filing or shifting chain position is the recurring problem, KonKell Chainsaw Sharpeners are worth comparing as a way to hold the chain more consistently while you inspect and correct each cutter. The useful product fit is repeatability, not aggressive metal removal.
Rule Out Problems on the Saw
Once the cutter edges and depth gauges pass inspection, look at the parts that carry the chain. First confirm that the cutters face the correct travel direction on the top of the guide bar. A chain installed backward will travel but will not cut normally.
With the power source isolated according to the saw manual, check that the chain moves freely, the tension is set correctly, and the drive links are not binding in the bar groove. Brush compacted chips and oily residue from accessible oil passages and the bar groove. Inspect the bar rails for uneven wear, burrs, spreading, or pinching that could make the chain lean.
Verify lubrication using the procedure in the saw manual. Poor oil delivery raises friction and heat, and it can make a newly sharpened chain lose performance quickly. If a second known-good chain also cuts poorly on the same saw and bar, the problem is less likely to be your first chain’s edge.
Chain, guide bar, and drive sprocket wear should be evaluated as a system. If you see damaged drive links, badly worn rails, or questionable drive components, stop the test and have the cutting attachment inspected rather than forcing another cut.
Use One Controlled Test Cut
Choose sound, clean wood that is raised clear of soil. Dirty bark and ground contact can damage a fresh edge before the diagnosis tells you anything. Avoid using rotten, gritty, or heavily contaminated wood as the test piece.
Before the cut:
- Brush sharpening debris from the chain and lubricate it.
- Confirm chain direction, tension, and free movement.
- Check that all guards and covers are installed as required.
- Set the work securely and follow the saw manual’s operating guidance.
Let the chain feed without leaning hard on the saw. Note the chip shape, feed pressure, cut direction, vibration, and heat. Stop after a short, representative cut and inspect again.
If the chain now pulls cleanly and throws chips, the cutter or depth-gauge correction worked. If it stays slow but cuts straight, revisit the working edges, gauge relationship, lubrication, and wood condition. If it pulls to one side, compare left and right cutter condition and inspect the bar rails. If it grabs or chatters, stop and check for low or uneven depth gauges, inconsistent cutters, tension problems, and damaged components.
Change one variable at a time. Regrinding the cutters, lowering the depth gauges, adjusting the bar, and switching wood all at once destroys the value of the test.
When Sharpening Is No Longer the Repair
Replace the chain when inspection finds cracks, broken cutter parts, damaged tie straps, bent drive links, or other structural defects. Replacement also makes sense when cutters have reached the wear limit identified by the manufacturer, extensive damage would require excessive correction, or repeated uneven filing has left too little material for a consistent loop.
Husqvarna’s support guidance separates dull but otherwise serviceable cutters from severely damaged cutters, cracks, and chains at their wear limit. Oregon likewise advises inspecting for broken or replacement-worthy parts before sharpening.
A fresh chain is also a useful diagnostic control. If it cuts well on the same properly maintained saw and bar, the old loop was the likely fault. If the new chain performs poorly too, stop sharpening and investigate bar fit, lubrication, sprocket condition, setup, or saw performance.
FAQ
Why is my chainsaw chain still dull after I sharpened it?
The file or wheel may not have reached the cutting corner, one or more cutters may still be damaged, or the depth gauges may sit too high relative to the shortened cutters. Inspect the edge under strong light and use the correct depth-gauge tool before making another full sharpening pass.
Can a chainsaw tooth feel sharp but still not cut?
Yes. A point may feel sharp while the working top-plate and side-plate edges remain rounded or chipped. The chain can also have sharp cutters but high depth gauges that prevent them from taking a useful bite. Judge the full cutter geometry and a controlled test cut, not touch alone.
Do I need to file the rakers every time I sharpen?
Check them every time, but file only when the correct gauge shows that material protrudes. Cutter wear changes the depth-gauge relationship gradually. Filing rakers automatically can lower them too far, causing harsh feed, chatter, and vibration.
When should I replace a chain instead of sharpening it again?
Replace it when cutters or connecting parts are cracked, bent, broken, severely overheated, or at the manufacturer’s wear limit. Replacement is also sensible when restoring the worst cutters would require excessive metal removal or when depth gauges and cutter lengths are too inconsistent to correct reliably.
Source Notes
This diagnostic was grounded in Oregon’s saw-chain sharpening instructions, STIHL’s chainsaw sharpening guide, and Husqvarna support guidance on dull-chain symptoms and depth-gauge settings. Verify file size, angles, depth-gauge settings, wear marks, tension, and lubrication procedures against the exact chain and saw manuals before removing metal or operating the saw.