A chainsaw sharpener burns cutters when the grinding wheel puts heat into the cutting edge faster than the metal can shed it. A faint straw, brown, blue, or purple band after grinding is a warning to stop. Long wheel contact, heavy pressure, a glazed wheel, or an incorrect setup can all create that heat.
Do not keep grinding the rest of the loop and hope the color will disappear. Mark the affected cutter, switch off the machine, and inspect the chain and grinder. The safest correction starts with finding the cause, not taking another deep pass.
What a burned chainsaw cutter looks like
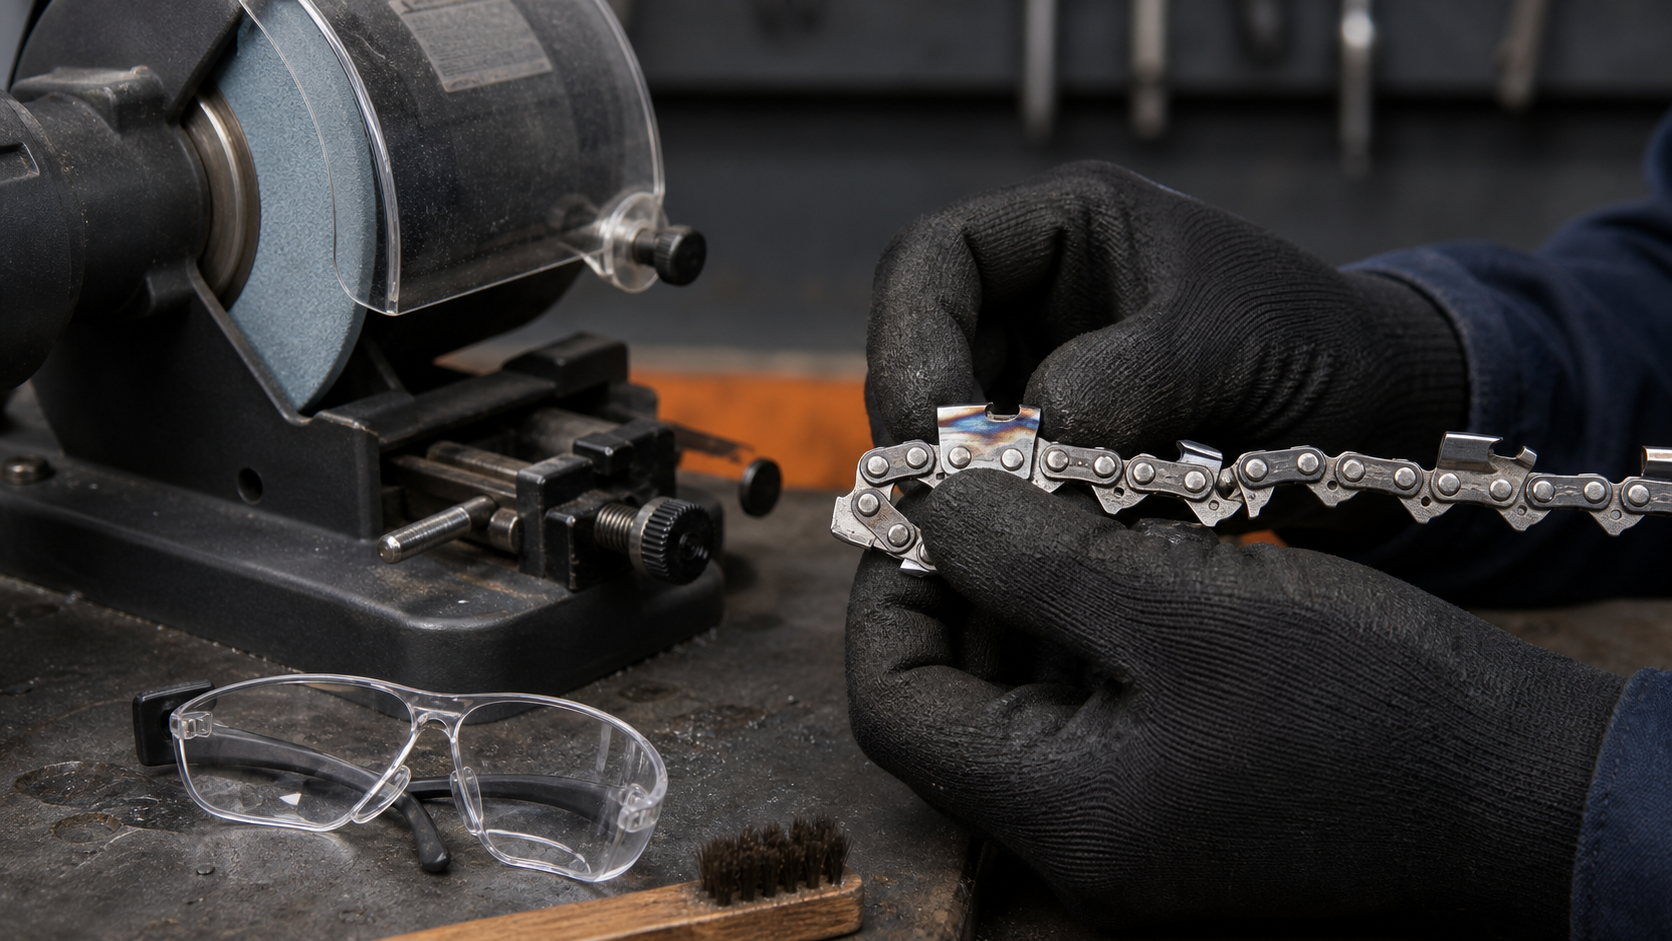
Inspect the top plate and side plate under a bright, neutral light. Heat tint usually appears close to the newly ground edge rather than evenly across the whole cutter. It may begin as a pale yellow-brown patch and deepen toward blue or purple after more severe heating. Resin staining and old oil can look similar, so clean the cutter before judging it.
Use these clues together:
| Checkpoint | What to look for | Why it matters |
|---|---|---|
| Color location | Tint concentrated beside the fresh grinding line | Points to heat created during sharpening |
| Surface condition | Smooth colored steel after oily residue is brushed away | Separates heat tint from removable grime |
| Burr and edge | Heavy burr, rounded corner, or a bright blunt line | Suggests pressure, poor wheel contact, or incomplete sharpening |
| Pattern around chain | One tooth, one cutter direction, or nearly every cutter | Helps isolate technique, grinder setup, or wheel condition |
| Wheel face | Shiny patches, loaded debris, grooves, or lost profile | A glazed or misshapen wheel may rub instead of cutting cleanly |
| Cutter length | One cutter requires much more stock removal than the rest | Long dwell is more likely when damage is corrected in one pass |
A single discolored cutter may reflect one moment of excessive dwell. Burn marks on every right-hand cutter point toward a repeatable setup or operator-position problem. Color on both sides around the full loop puts the wheel, grinding depth, and general technique at the top of the list.
Why a chain grinder overheats the teeth
The wheel stays on the cutter too long
A grinder should remove a small amount of material with brief, controlled contacts. Holding the head down to erase rock damage in one attempt concentrates heat at a thin edge. Oregon advises light, intermittent strokes to avoid burned cutters in its mechanical harvesting chain handbook. The same heat-control principle applies at a small chain-grinding bench.
Break a larger repair into short contacts and inspect between them. Let the cutter cool naturally. Do not quench a hot cutter in water unless the chain or grinder manufacturer specifically directs that process.
Pressure is substituting for a cutting wheel
Pushing harder does not make a glazed wheel sharp. It increases friction, can deflect the setup, and makes it harder to control the finish point. If normal light contact produces mostly rubbing, stop and examine the wheel. Dress or replace it only by the grinder manufacturer’s procedure, with the correct accessory and the machine isolated from power.
The wheel is wrong, dirty, or poorly dressed
The wheel must match the grinder and chain instructions. Its thickness and dressed profile determine where it meets the cutter. A loaded face can polish the steel rather than cut it, while an incorrect profile may create a narrow contact patch that heats quickly.
Brush oily filings from the clamp, chain guide, cutter stop, and nearby surfaces before setup. Keep lubricant away from an abrasive wheel unless the machine was designed for it. Check the wheel for damage before use; OSHA’s abrasive-wheel rules call for close inspection before mounting and require suitable guarding and eye protection in covered workplaces (OSHA 1926.303).
Too much material is being removed
One damaged cutter often tempts the operator to reset the stop and grind the whole chain aggressively. First identify the shortest serviceable cutter and decide whether the chain has enough usable cutter left to justify the repair. Then bring the other cutters into consistency gradually, without trying to finish a deep correction in one hot contact.
Tecomec grinder instructions use the same practical rule: remove minimal material and do not remain on one tooth long enough to burn its edge. A grinder is most controllable when it makes small corrections; it is not a substitute for replacing a chain with extensive impact damage.
A low-heat grinder workflow
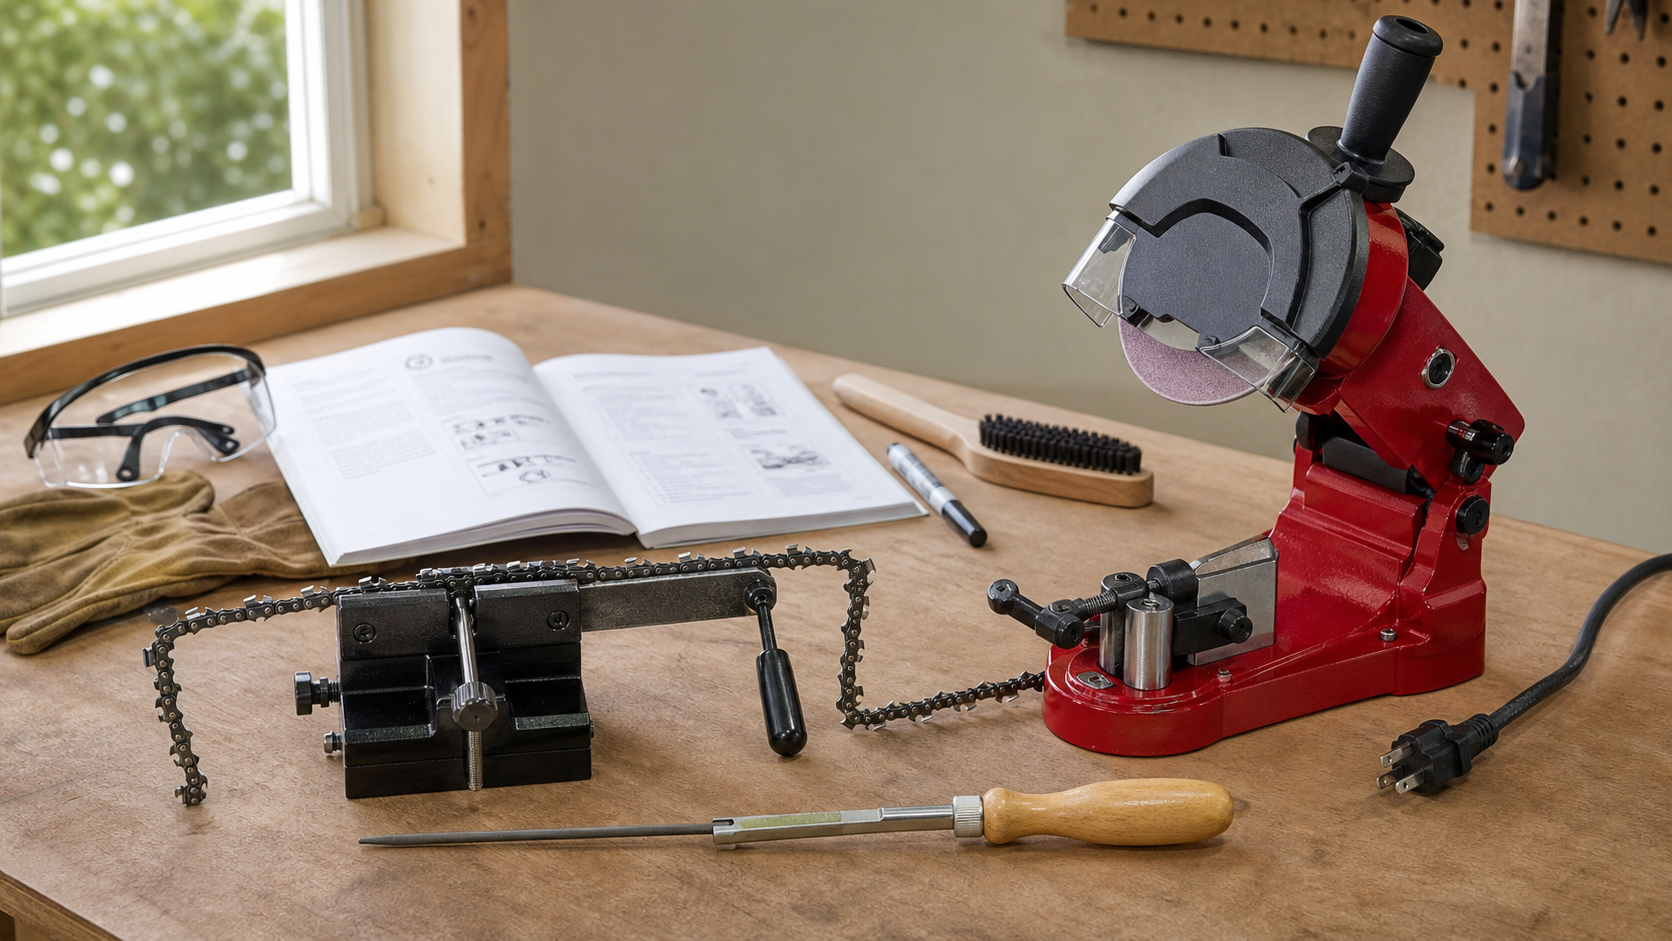
Work with the grinder unplugged during inspection and setup. Leave its guard in place, wear eye protection, and follow the machine manual for wheel mounting, dressing, adjustments, and startup checks.
1. Clean and inspect the whole chain
Brush away oily chips and resin. Look at cutters, tie straps, rivets, drive links, and depth gauges. A crack, loose or damaged rivet, bent drive link, or cutter beyond its service mark takes the chain out of the sharpening queue. Do not grind defects that require replacement.
2. Confirm the chain and wheel match
Identify the chain from reliable markings, packaging, or the saw manual. Verify the wheel and grinder setup against the chain and machine instructions. Do not copy a setting from a visually similar chain. Different cutter families can need different tool profiles and settings.
3. Dress and test the wheel as directed
Check that the wheel is sound, clean-cutting, and correctly profiled. Make adjustments only with the machine off and the wheel stopped. If the wheel has damage, an uncertain rating, or an incorrect fit, replace it with the specified part rather than improvising.
4. Set one reference cutter
Choose the shortest serviceable cutter and mark it. Seat the chain stop on the same reference surface you will use around the loop. Clamp the chain without distorting it. Lower the stationary head first to confirm where the wheel will touch.
5. Make one light test contact
Start the grinder from the position specified in its manual. Touch the wheel to the marked cutter briefly, then lift. Inspect the top plate, side plate, cutting corner, and color before making another contact. The goal is a clean edge with the least practical stock removal.
If the cutter colors, stop. A second pass without correcting the cause will only put more heat into the same edge.
6. Repeat without letting debris move the references
Work one cutter direction at a time. Keep the clamp, stop contact, head motion, and inspection rhythm consistent. Brush filings from the chain guide and stop whenever seating changes. Confirm the first cutter on the opposite side before completing that group.
For a fixture that helps hold and reference each cutter consistently, compare how KonKell Chainsaw Sharpeners fit your chain and normal workload. A guided setup reduces movement, but the operator still has to use the matched abrasive and brief contact.
7. Check depth gauges separately
Sharpening shortens cutters and changes their relationship with the depth gauges. Use the gauge and procedure specified for the chain. Never lower depth gauges by eye to compensate for a cutter that was burned, rounded, or sharpened at the wrong geometry.
Can a blue chainsaw tooth be saved?
Color alone cannot prove how deeply the heat affected a cutter. Treat it as a process warning and inspect conservatively. If the tint is slight, confined to removable surface material, and the cutter remains comfortably inside its service limits, a skilled technician may be able to restore a clean edge with light, cool contacts.
Stop and replace the chain or seek dealer assessment when:
- Blue or purple color extends well behind the cutting edge
- The edge repeatedly discolors under light, correct grinding
- Several cutters need heavy removal to reach clean metal
- Any cutter is at or beyond its wear indicator
- A cutter, tie strap, drive link, or rivet is cracked, bent, loose, or otherwise damaged
- Cutter geometry is uncertain after an attempted correction
Do not chase discoloration far back into a cutter merely to make it look uniform. Removing too much metal shortens chain life and can leave the cutter group inconsistent.
Diagnose the pattern before the next chain
| Burn pattern | Likely area to check first | Corrective direction |
|---|---|---|
| One isolated cutter | Dwell during a deep damage repair | Use several brief contacts and inspect between them |
| Every cutter on one side | Body position, head movement, stop seating, or side-to-side setup | Reset and test one cutter on that side |
| Cutters throughout the loop | Glazed wheel, excess depth, heavy pressure, or wrong wheel | Verify the wheel and full setup before continuing |
| Heat appears later in the batch | Wheel loading or debris changing chain seating | Clean and inspect at regular intervals |
| Edge burns immediately after dressing | Incorrect wheel/profile, excessive contact, or setup error | Stop and verify manuals and part compatibility |
Once the cause is corrected, test the chain in clean wood only after it is properly fitted, tensioned, and lubricated. A correctly sharpened chain should cut without being forced. Stop if it chatters, pulls sideways, produces fine dust, or needs heavy feed pressure. STIHL’s sharpening reference connects inconsistent cutter angles and lengths with wandering cuts and poor performance, which is why geometry must be checked along with heat damage (STIHL sharpening guide).
FAQ
Why do my chainsaw teeth turn blue when sharpening?
Blue or purple color near the fresh edge usually means the cutter became too hot during grinding. Common causes are long wheel contact, excessive pressure, a glazed or loaded wheel, too much material removal, or an incorrect wheel profile. Stop on the first affected cutter and correct the setup before continuing around the chain.
Does a blue chainsaw cutter mean the chain is ruined?
Not automatically, but the color is a warning that deserves inspection. Slight discoloration confined to material that can be removed within the cutter’s service limits may be correctable. Deep color, repeated burning, extensive damage, or cutters near their wear marks calls for professional assessment or chain replacement.
Should I cool a chainsaw cutter in water while grinding?
Do not improvise a water-quenching routine. Use the cooling method specified by the chain and grinder manufacturers. For many small dry chain grinders, heat is controlled by a correctly dressed wheel, light pressure, brief intermittent contacts, and pauses between passes. If the manual specifies another process, follow it exactly.
How do I keep a chainsaw grinder wheel from burning the chain?
Confirm the wheel matches the grinder and chain, inspect it for damage, dress it by the manual, and keep oily debris off its face. Set the stop on a marked reference cutter and remove only a small amount per contact. If light contact rubs instead of cutting, stop and address the wheel rather than adding pressure.
Source notes
This troubleshooting guide draws on Oregon’s light, intermittent grinding guidance, STIHL’s chain-geometry and sharpening-error references, Tecomec grinder operating guidance, and OSHA abrasive-wheel safety requirements. Exact wheel selection, cutter geometry, dressing method, and service limits must come from the manuals for the specific chain and grinder.