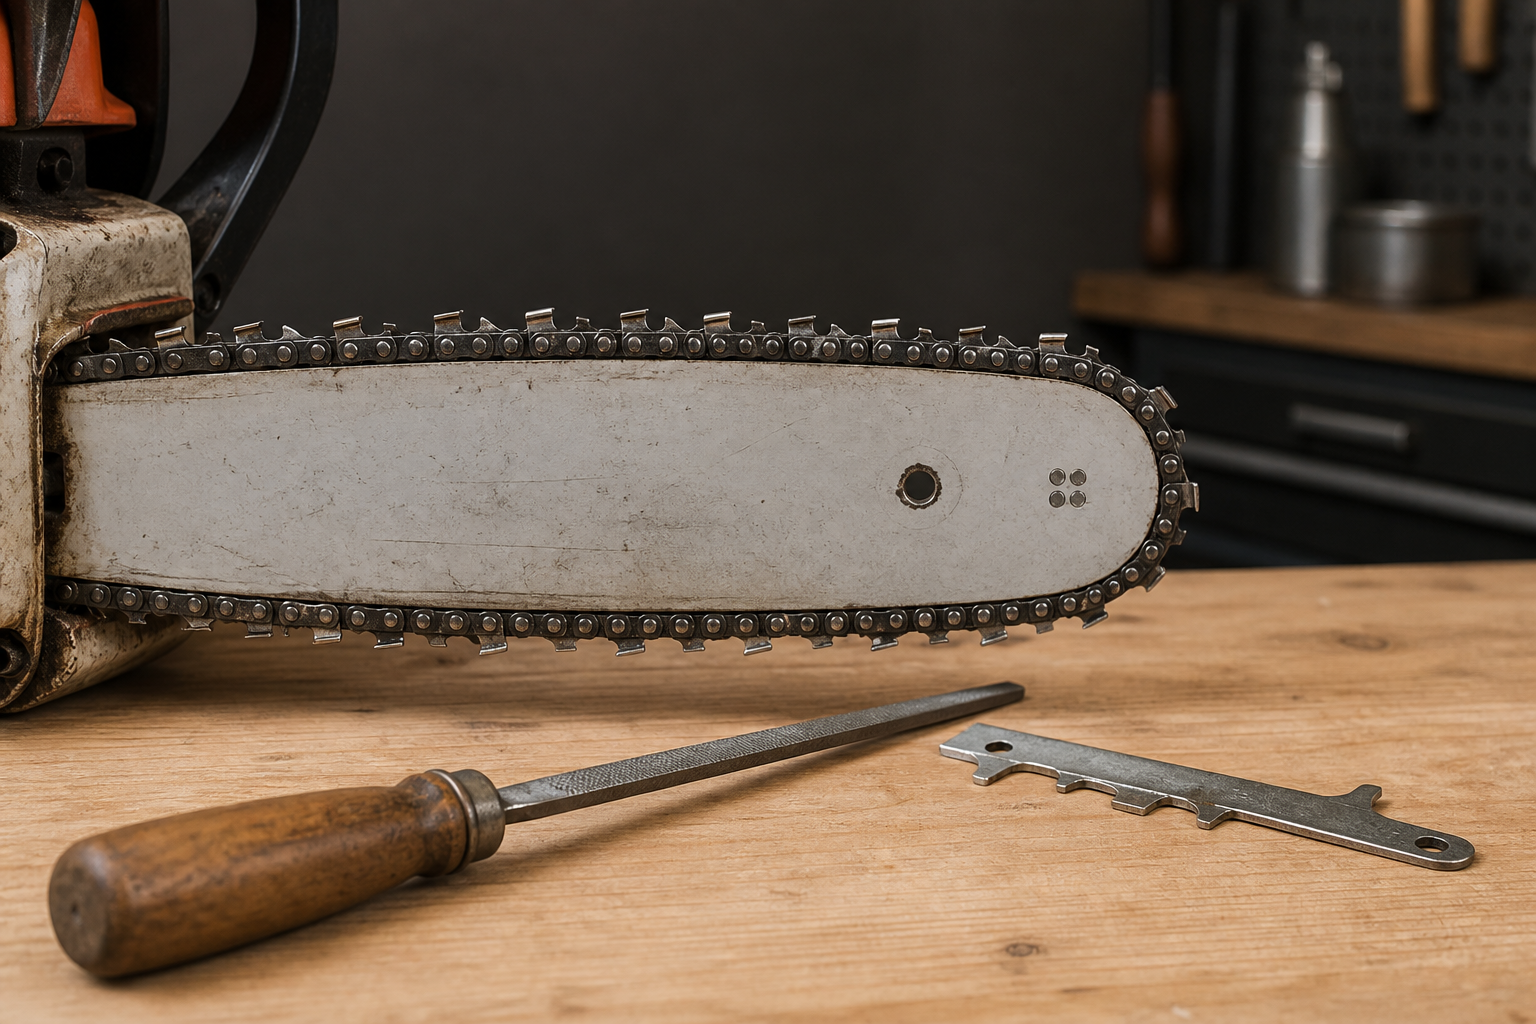
Chainsaw cutters of different lengths need inspection before you file the whole loop shorter. A slight random variation is not the same fault as every left-hand cutter being shorter than every right-hand cutter, and one rocked tooth should not dictate an aggressive correction unless the rest of the chain still has enough service life.
The practical goal is a loop with sharp, reasonably consistent cutters and depth gauges checked against the corrected cutter geometry. This bench method helps you decide what to match, what to leave alone, and when the chain is no longer worth reworking.
Quick Check: Does the Length Difference Need Correction?
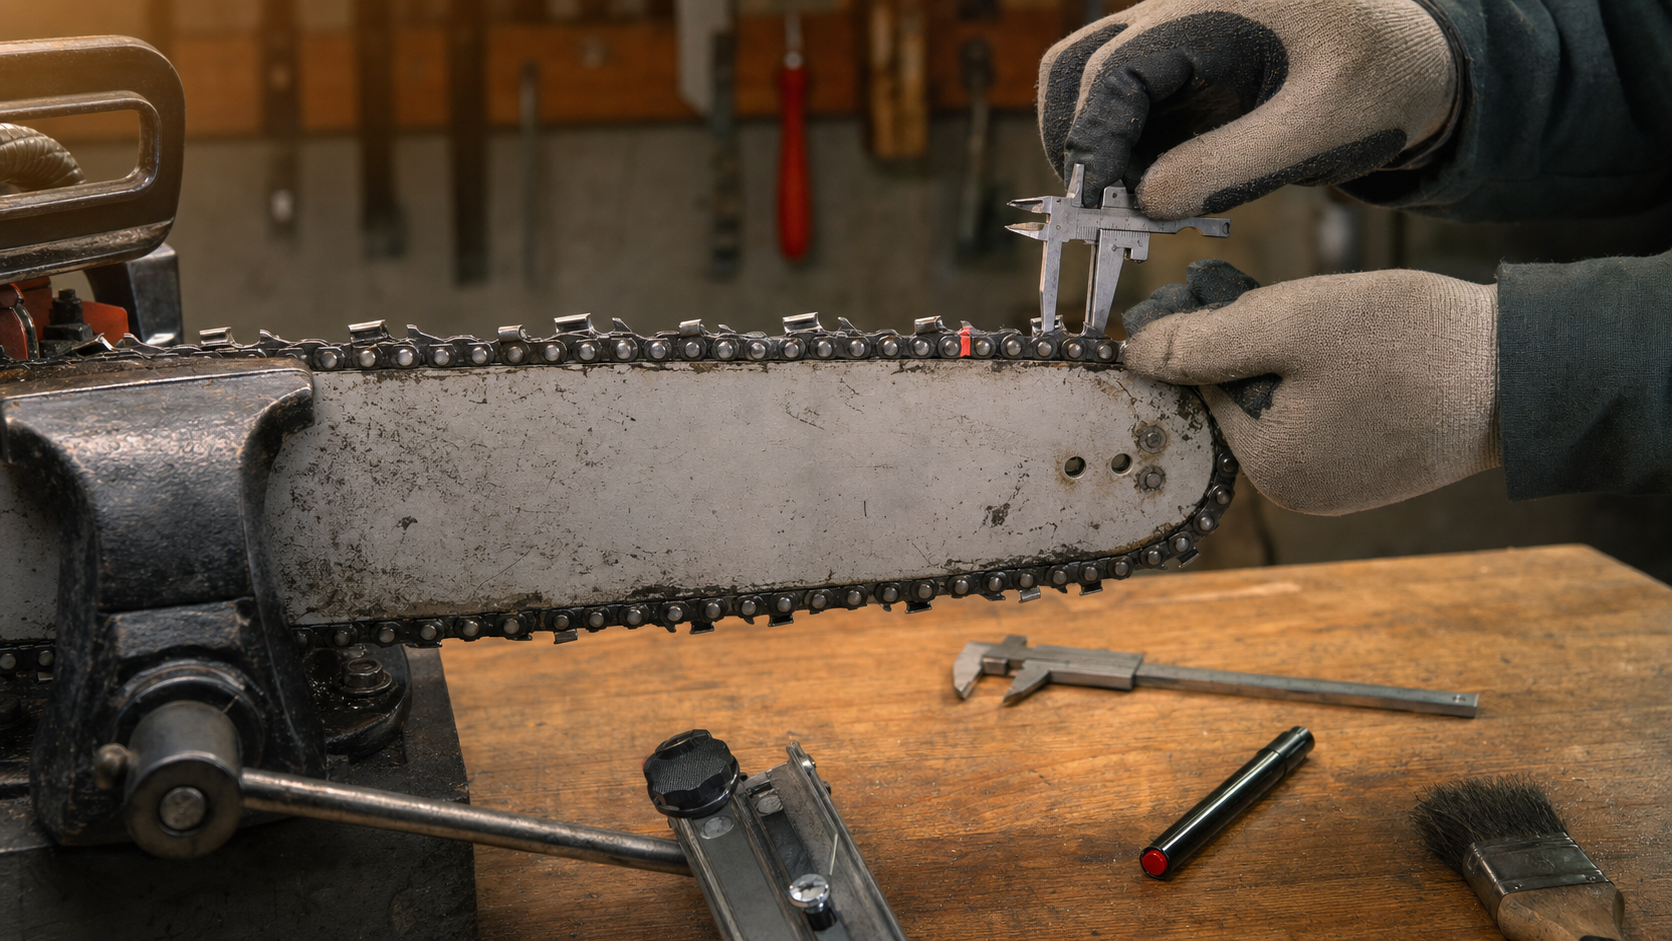
Clean the chain enough to see the top plates, secure the bar, and mark your starting cutter. Rotate the chain one full loop while comparing left-facing cutters with left-facing cutters and right-facing cutters with right-facing cutters.
| Checkpoint | What to look for | Why it matters |
|---|---|---|
| Random small variation | A few cutters differ slightly, but both sides look balanced and every edge is sharp | Removing good steel only to chase visual perfection shortens chain life |
| One damaged cutter | A chipped or rocked tooth is much shorter after damage is filed away | This tooth may become the reference, but only if matching it is practical |
| Side-to-side pattern | Most cutters on one side are visibly shorter, duller, or shaped differently | The chain can feed unevenly and may pull during a cut |
| Alternating inconsistency | Long and short cutters repeat around the loop | The file pressure, grinder stop, or chain clamping may be changing |
| Depth-gauge relationship | The clearance ahead of short cutters differs from that ahead of long cutters | Cutter length changes the working relationship with its depth gauge |
| Remaining cutter material | Wear marks, cracked parts, heat damage, or very short top plates | Replacement may be safer and more economical than equalizing the loop |
Do not judge length from the cutting corner alone. View the top plate from directly above, then compare the cutter body and working edge under strong light. Oil, burrs, and viewing angle can make neighboring teeth look farther apart than they are.
Why Cutter Lengths Become Uneven
Uneven cutter length usually comes from damage or an inconsistent sharpening setup.
A chain that touches soil, stone, wire, or gritty bark rarely damages every tooth equally. The worst cutter may need several more strokes to remove the rounded or chipped edge. If the remaining cutters receive only a light touch, the repaired tooth finishes shorter.
Hand filing can create a broader pattern. Most people have a comfortable side and an awkward side. The comfortable stroke may carry the full file length with steady pressure, while the other hand rocks the file, changes its height, or takes shorter strokes. Over several sharpenings, one set of cutters recedes faster.
Bench grinders introduce different variables. Oily filings beneath a drive link can tilt the cutter. A loose clamp can let it creep away from the stop. Heavy wheel contact can flex the setup or remove more steel than intended. A worn stop surface, inconsistent wheel profile, or changing head pressure can produce alternating long and short teeth even when the scale settings have not moved.
Equal stroke counts help only when the cutters begin in similar condition and every stroke removes similar material. They are a process check, not proof that the finished cutters match.
Find the Master Cutter Without Sacrificing the Chain
Manufacturer instructions commonly use the shortest or most damaged serviceable cutter as the master cutter. The reason is simple: steel can be removed from a longer cutter, but it cannot be put back on the short one.
That does not mean the single shortest tooth must automatically control the entire job. First determine why it is short.
- Brush residue from the cutters, tie straps, and depth gauges.
- Mark the shortest-looking cutter and the first cutter in the loop.
- Inspect the marked tooth for cracks, missing chrome at the edge, heat discoloration, or damage beyond a normal sharpening repair.
- Compare several cutters on both sides from directly above.
- Check the chain manufacturer’s wear marks and service limits.
If one tooth is an extreme outlier because it was badly rocked, calculate the cost in steel before matching every other tooth to it. A professional sharpening shop can assess whether a moderate correction is workable or whether the loop should be replaced. Do not grind sound cutters nearly to their wear marks merely to make the chain look uniform.
For a generally serviceable chain, sharpen the shortest sound cutter until its working edge is clean. Mark it clearly. This is your master cutter for the correction.
Correct Cutter Lengths in a Controlled Sequence
Work on a clean, stable setup with the power source isolated as directed by the saw manual. Wear gloves and eye protection when handling and sharpening the chain. Verify the file, guide, wheel, and settings against the exact chain identification rather than copying another loop.
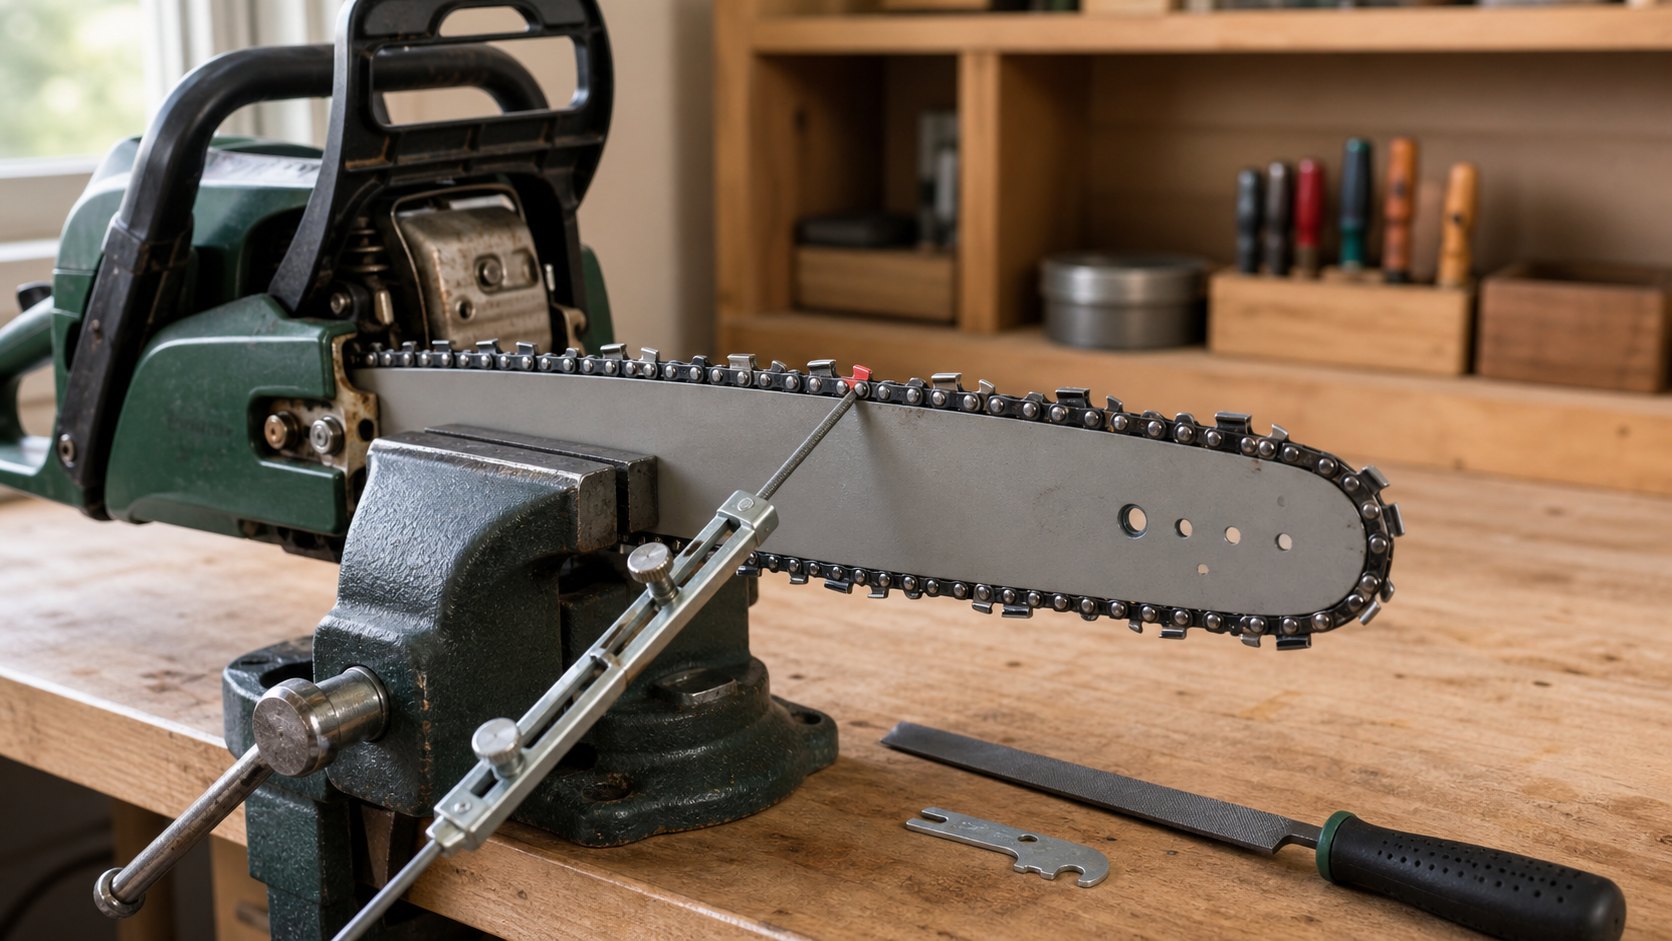
With a round file
Place the correct filing guide on the master cutter and restore the edge with smooth forward strokes. Lift the file on the return. Once the master cutter is sharp, use it as a visual or measured reference for the other cutters.
Complete all cutters facing one direction, then reposition yourself or the saw and complete the opposite side. Keep file height, angle, and pressure steady. Count strokes as a warning signal: if one cutter suddenly needs many more strokes, stop and inspect it for damage instead of filing by habit.
A compact caliper can help compare top-plate length when used consistently, but it does not replace edge inspection. Measure the same feature in the same orientation each time. The objective is not a laboratory-perfect number; it is to catch a meaningful outlier or a side-to-side pattern.
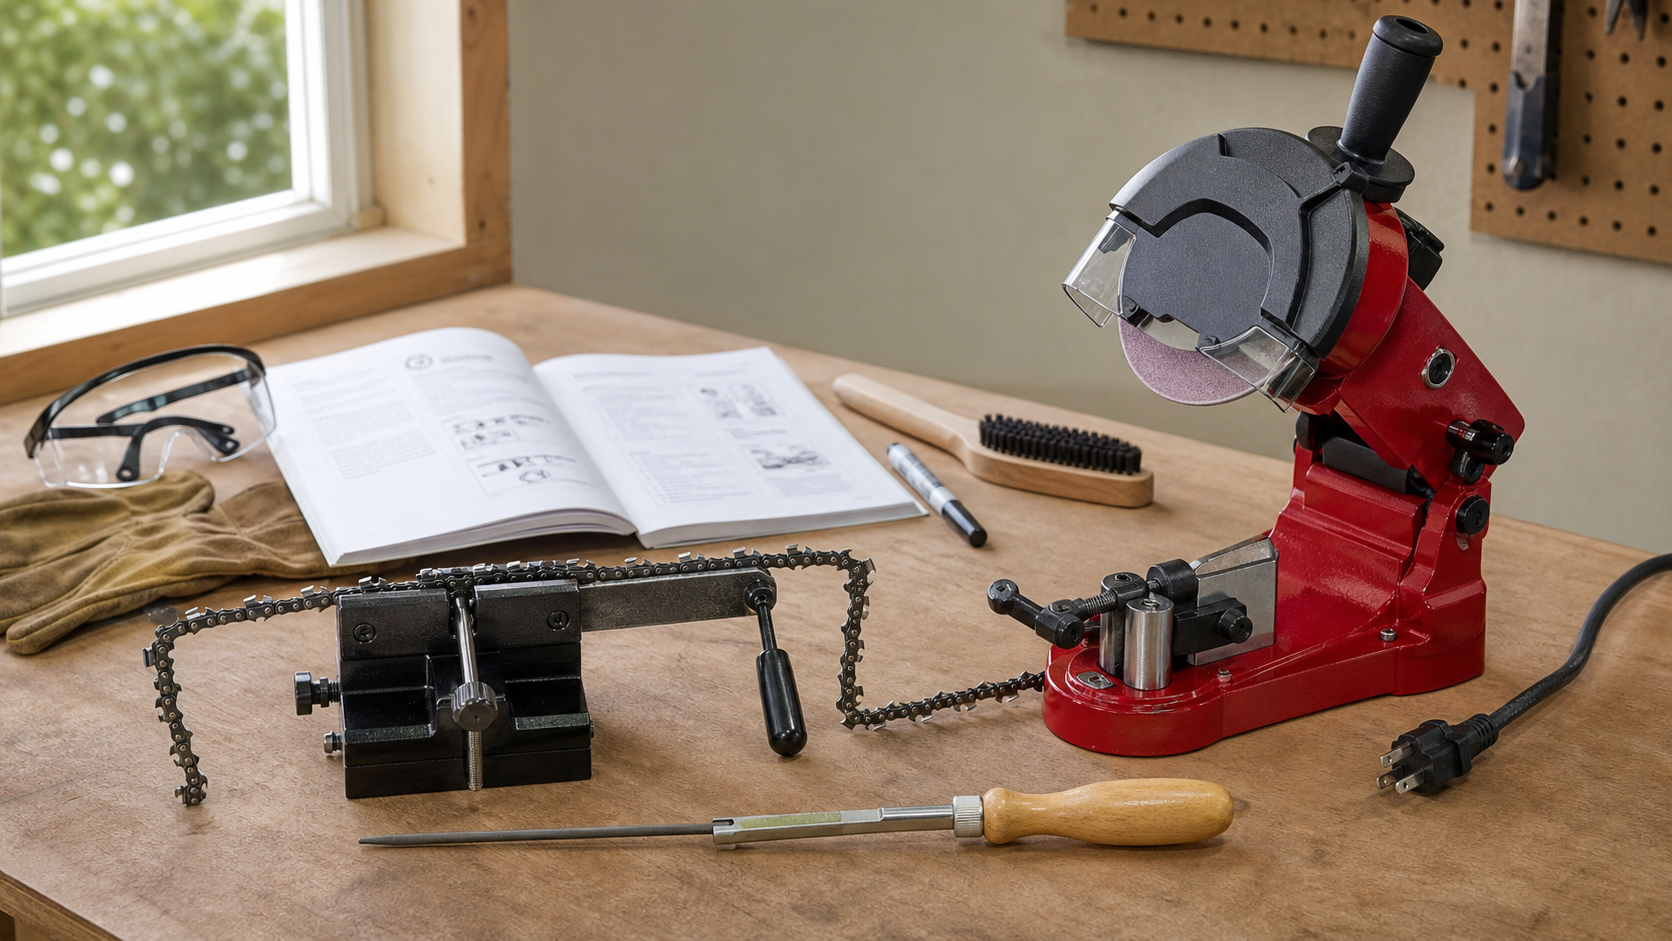
With a bench sharpener
Clean the chain clamp, guide slot, cutter stop, and wheel area before setting the first tooth. Seat each drive link the same way and confirm that the cutter rests firmly against the stop before lowering the head.
Set the master cutter with the lightest contact that restores its edge. Bring longer cutters back gradually. Avoid holding the wheel against the tooth; repeated light contacts are easier to control and less likely to discolor the steel.
Check the first cutter after switching sides. A scale reading alone does not prove that left- and right-hand cutters will finish alike. Vise centering, wheel profile, stop contact, and how the drive link seats all affect the actual grind.
If clamping movement or inconsistent stop contact caused the mismatch, a repeatable guided setup matters more than removing metal quickly. KonKell Chainsaw Sharpeners fit this part of the workflow when you want steadier chain positioning and a consistent reference from cutter to cutter.
Recheck Every Depth Gauge After Length Correction
The depth gauge ahead of each cutter limits how deeply that cutter can enter the wood. As a cutter is filed back, its working geometry changes. Correcting several long cutters to a shorter master can therefore change the depth-gauge relationship around the loop.
Use the depth-gauge tool specified for the chain. Place it as the manufacturer directs and file only the material the tool exposes. Work methodically from your marked starting point so no gauge is skipped or filed twice.
Do not make every depth gauge the same absolute height by eye. What matters is its relationship to the associated cutter under the chain maker’s system. Do not copy a setting from a different pitch, cutter style, or chain model.
After filing, maintain the leading profile only as the manufacturer instructs. A gauge left too high can make a sharp chain reluctant to feed. A gauge taken too low can make the chain grab, chatter, or vibrate. Extra filing is not reversible.
Diagnose the Pattern Before the Next Sharpening
The way the mismatch appears tells you where to look.
One side keeps getting shorter
Compare your body position and file grip on both sides. Check whether you press harder with one hand, change file height, or use shorter strokes on the awkward side. On a grinder, verify vise centering and test the first cutter after changing direction.
Every few cutters finish short
Look for debris beneath drive links, stiff joints, inconsistent stop contact, or a clamp that does not hold each cutter squarely. Brush out packed oily filings before changing any angle setting.
One cutter always needs major work
The chain may be contacting contamination at one point, or that cutter may have damage the rest do not share. Inspect the neighboring tie straps and drive links. A cracked, bent, or structurally damaged component is a replacement issue, not a sharpening challenge.
Length looks even but the saw still pulls
Cutter length is only one variable. Compare sharpness, top-plate shape, filing angle, depth-gauge setting, and left-to-right consistency. Then inspect bar rails, groove condition, chain tension, lubrication, and drive components. A worn or uneven bar can steer a good chain.
Test the Correction Without Ruining the Edge
Brush abrasive dust from the chain, lubricate it, and reinstall or prepare the cutting attachment according to the saw manual. Confirm chain direction, tension, free movement, covers, and guards before running the saw.
Use sound, clean wood held clear of the ground. Let the chain feed without forcing the bar sideways. Watch for:
- recognizable chips rather than mostly fine dust;
- steady feed without heavy pushing;
- a straight kerf;
- no new chatter, grabbing, or unusual vibration;
- normal oil delivery and chain movement.
Stop after a short representative cut. If the saw still pulls, do not immediately shorten the longer-looking side again. Return to the bench and compare the complete geometry, then check the guide bar. Change one variable at a time so the test tells you something.
When Replacement Is the Better Decision
Replace the chain when it has cracked cutters, damaged tie straps, bent drive links, broken parts, or wear beyond the manufacturer’s limits. Also replace it when bringing all cutters back to one extreme outlier would consume most of the useful cutter material.
Severe heat discoloration, repeated aggressive corrections, badly uneven depth gauges, or a chain that cannot move freely after cleaning deserve professional inspection. Sharpening corrects cutting edges; it does not repair structural damage.
A new compatible chain can also serve as a diagnostic control. If it cuts straight on the same properly maintained bar and saw, the old loop was likely the problem. If the new chain pulls the same way, inspect the bar rails, groove, lubrication, sprocket, mounting, and saw setup before altering another chain.
FAQ
Do all chainsaw cutters have to be exactly the same length?
They should be reasonably consistent and follow the chain manufacturer’s sharpening guidance, but chasing a tiny visual difference can waste usable steel. Pay special attention to a pattern where one side is consistently shorter, cutters have different working angles, or individual depth-gauge relationships vary. Sharpness and complete cutter geometry matter alongside length.
What happens if chainsaw teeth are different lengths?
Small random differences may be hard to notice. Larger or patterned differences can make cutters share work unevenly, contribute to rough feeding, and complicate depth-gauge setup. When one side also differs in sharpness, angle, or gauge relationship, the saw may wander or pull. Inspect the bar too, because rail wear can produce similar symptoms.
Should I file every cutter down to the shortest tooth?
Use the shortest serviceable cutter as a reference only after inspecting why it is short and checking remaining wear life. If one badly damaged tooth is an extreme outlier, filing every sound cutter to match may waste the chain. Replace the loop or ask a sharpening shop to assess it when the correction would be excessive.
Do I adjust depth gauges after evening cutter lengths?
Yes, check every depth gauge with the tool specified for that chain after the cutters are corrected. File only what the gauge exposes. Do not lower them all by eye or by a fixed number of strokes; the correct setting depends on the chain design and the gauge method provided by its manufacturer.
Source Notes
This workshop method was grounded in STIHL’s chain-sharpening instructions, the STIHL Sharp Advice guide’s master-cutter method, Oregon’s saw-chain sharpening sequence, and Husqvarna’s filing guidance. Use the exact chain and saw manuals for file size, angles, depth-gauge tools, wear marks, tension, and operating procedures.