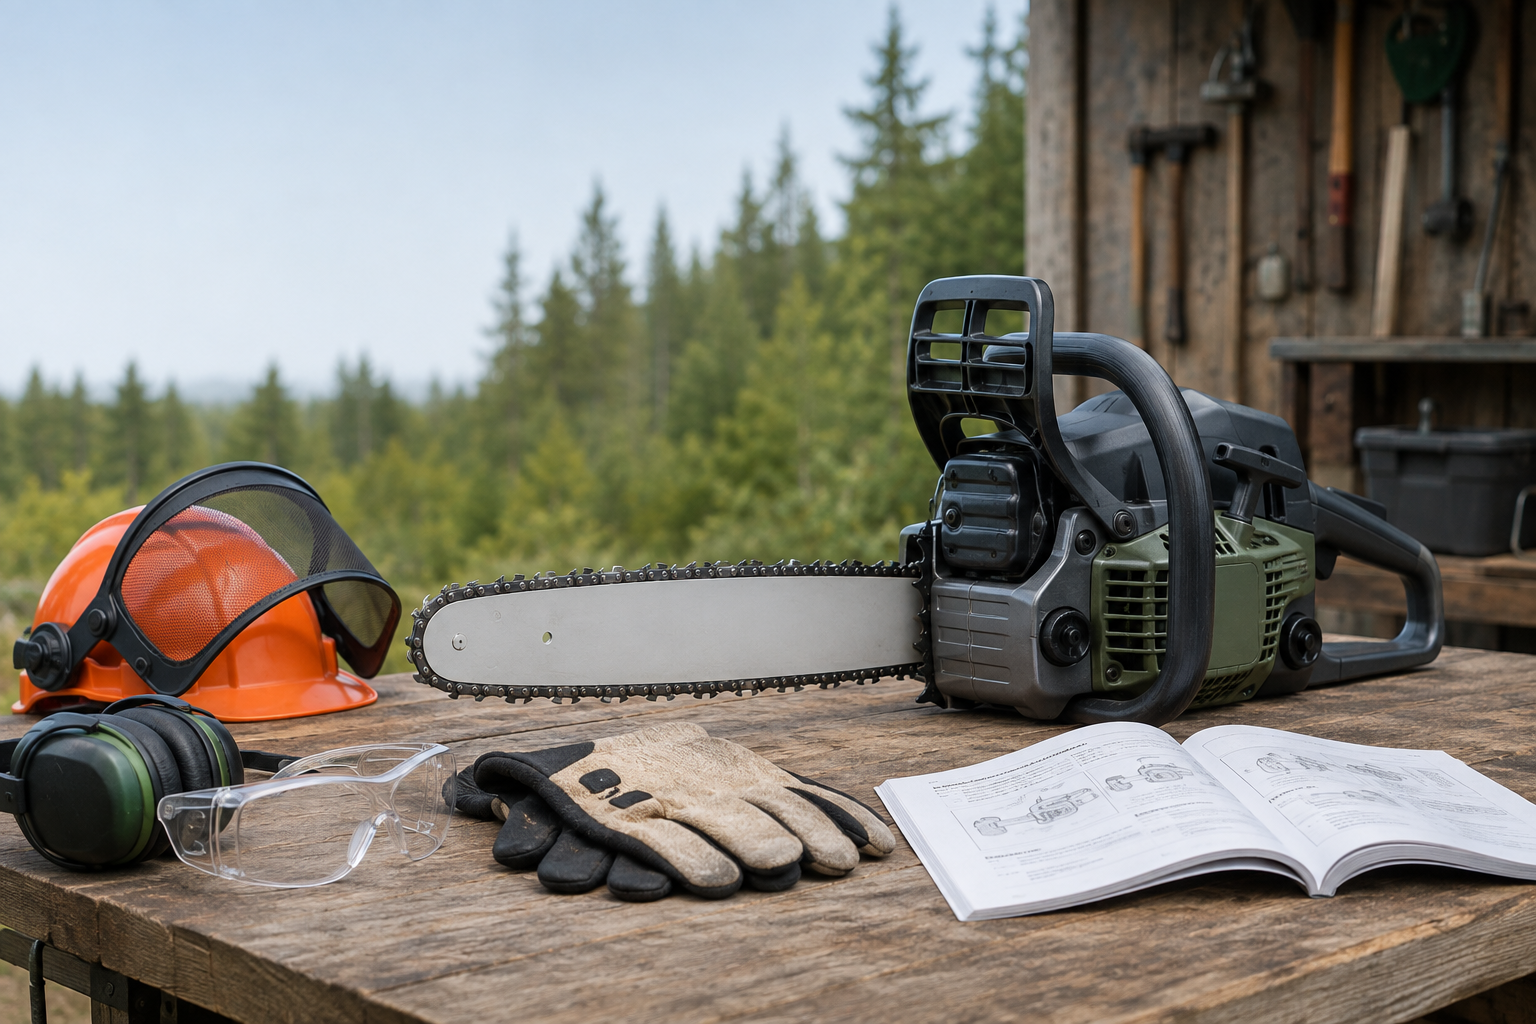
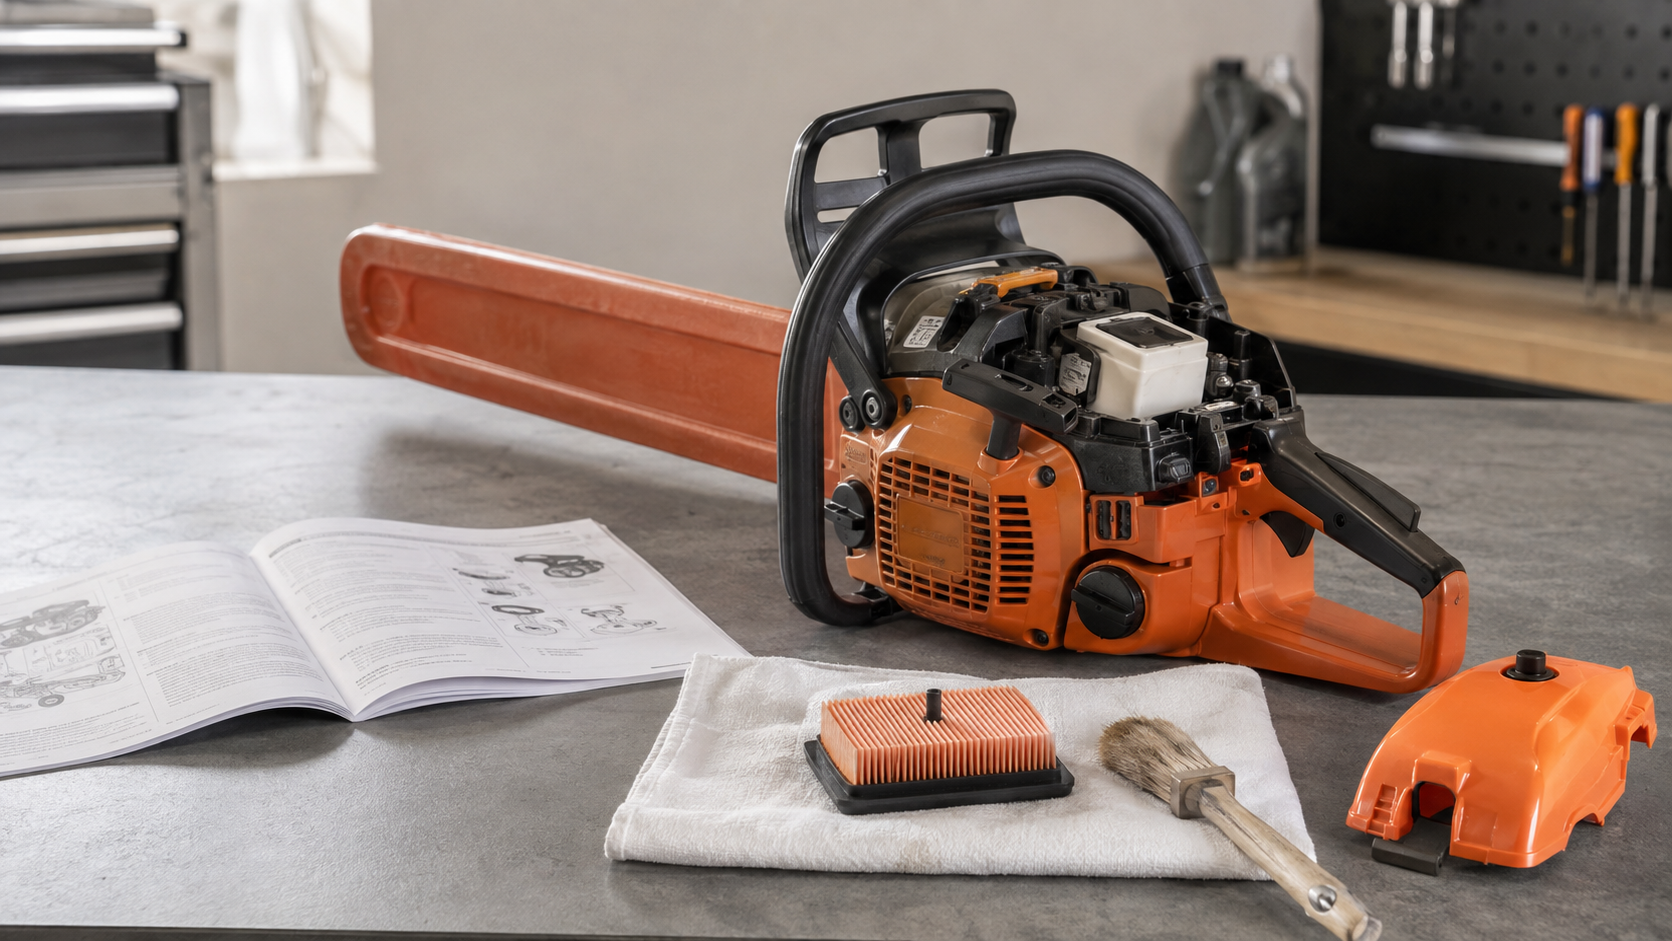
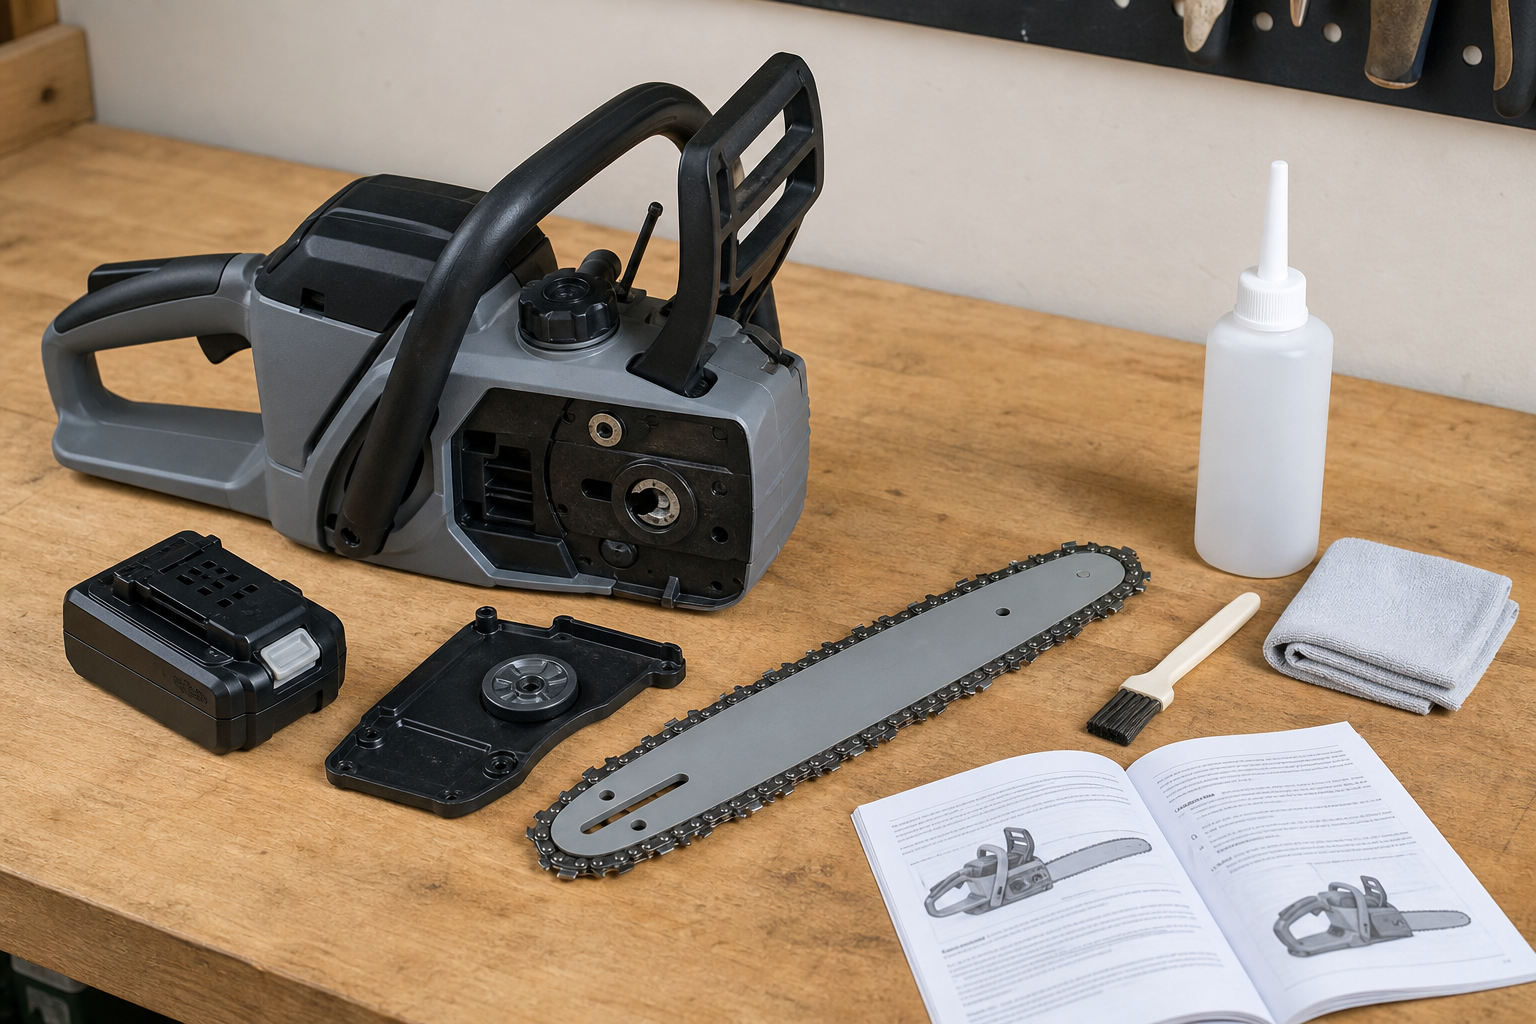
A chainsaw chain that chatters after sharpening is usually taking an uneven or overly aggressive bite. Stop cutting and inspect the chain before trying to force it through another log. The common causes are depth gauges filed too low, hooked cutter profiles, inconsistent cutter lengths, incorrect tension, or a worn guide bar that no longer supports the chain squarely.
Do not diagnose the problem while the chain is moving. Shut the saw down, let it cool, isolate its starting system as directed in the manual, and wear gloves while handling the chain. A short workshop inspection can separate a sharpening error from a bar, sprocket, or chain-condition problem.
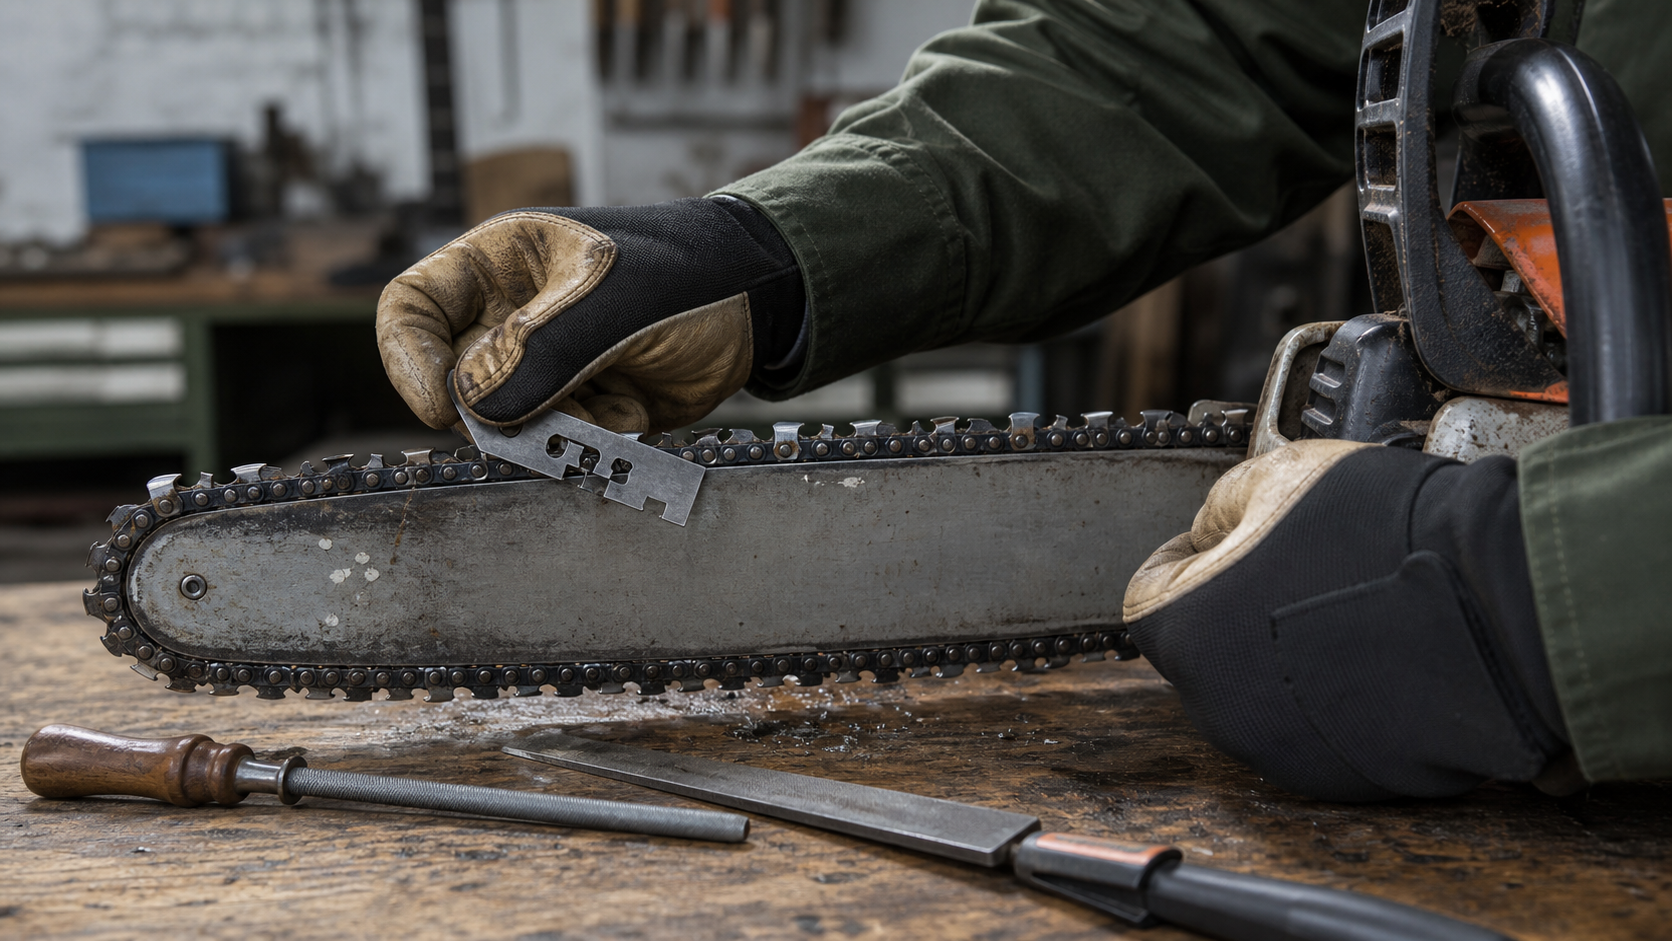
Quick checks for a chain that chatters
Start with the change you just made, but inspect the whole cutting system. Chatter that began immediately after sharpening points strongly toward cutter or depth-gauge geometry. Chatter that was present beforehand may come from wear elsewhere.
| Checkpoint | What to look for | Why it matters |
|---|---|---|
| Depth gauges | One or more sit visibly lower than neighboring gauges when checked with the correct tool | Excess clearance lets a cutter take an aggressive bite and can increase vibration |
| Cutter profile | A deep hook under the top plate or noticeably different shapes around the loop | A hooked cutter can grab instead of entering the wood smoothly |
| Cutter consistency | Short and long cutters mixed within the same side or from side to side | Unequal cutters load the chain in pulses rather than sharing the cut evenly |
| Cutting edges | Reflected light, chips, dents, or damage left on some cutters | A partly sharpened loop alternates between cutting and skidding |
| Chain tension | Sag below the bar, drive links lifting out, or a chain that binds when moved by hand | Poor support or excessive tightness prevents smooth travel |
| Bar rails | Burrs, uneven rail height, a spread groove, or a chain that leans in the groove | The bar may let the cutters enter the kerf at changing angles |
| Rivets and drive links | Tight joints, damaged links, cracks, or abnormal looseness | A defective loop should be removed from service, not sharpened again |
If you find a cracked component, damaged rivet, bent drive link, or chain beyond its wear marks, stop. Replace the chain or have it assessed by a qualified dealer. Filing cannot restore structural damage.
Why sharpening can make a chain grab and vibrate
Depth gauges were lowered too far
Each cutter is preceded by a depth gauge, often called a raker. The height difference between the cutter and that gauge controls how deeply the cutter can enter the wood. Lowering the gauge increases the bite. Lowering it too far can make the chain aggressive, raise vibration, increase stress on the saw, and increase kickback risk.
Husqvarna’s chain-filing guidance specifically connects excessive depth-gauge clearance with a more aggressive, high-vibration cut. STIHL likewise warns in its sharpening instructions that depth gauges set too low increase kickback.
Do not try to fix low gauges by lowering the rest to match. Metal removed from a depth gauge cannot be put back. Depending on remaining cutter length and chain condition, the practical choices are to restore the cutter-to-gauge relationship by carefully shortening cutters under the chain manufacturer’s procedure, or replace the loop. When in doubt, ask a servicing dealer.
The round file sat too low
A round file held too deep in the cutter can leave a pronounced hook under the top plate. The edge may feel sharp, yet its shape makes it dive into the wood. Husqvarna notes that filing too deep produces a hook and exposes the saw and operator to increased vibration.
Check several left-hand and right-hand cutters under bright light. Their side-plate curves and top-plate profiles should look consistent. Confirm the correct file size and file position from the chain identification and manufacturer instructions. Do not select a file by guessing from the saw’s bar length.
Cutters no longer share the work evenly
If one group is shorter, sharper, or shaped differently, the chain does not pull with a steady load. It surges as the more aggressive cutters enter the wood. STIHL recommends bringing the cutters to the same length as the shortest serviceable reference cutter, while Oregon describes the goal as removing damage while keeping the chain balanced in its sharpening procedure.
Equal stroke counts alone do not guarantee equal cutters. A rocked tooth may need more material removed than a lightly dulled neighbor. Mark the shortest serviceable cutter, restore a clean cutting edge there, then use it as the reference without grinding healthy cutters more than necessary.
Some damage was left at the cutting corner
A bright line at an edge under direct light usually means a rounded or damaged spot remains. One cutter that skates while the next cutter bites can feel like a rapid shudder. Clean the loop and inspect every corner, not just the top plates that are easiest to see.
Remove only enough material to reach a clean edge. If impact damage would require filing cutters to or beyond their service marks, replace the loop. Keeping one badly damaged cutter is not worth shortening every other cutter beyond a sensible working life.
Rule out tension, bar, and sprocket problems
Sharpening may reveal a support problem that a dull chain had hidden. A newly sharpened chain pulls harder into the cut, so worn rails or poor tension can become more obvious.
With the saw safely isolated and cool, clean the bar groove and oil holes. Inspect the rail edges for burrs and compare rail height along the working length. The chain should remain upright in the groove rather than rocking conspicuously side to side. Husqvarna recommends cleaning the groove and oil inlet, removing rail burrs, and replacing a bar that can no longer keep the chain straight in its cutting-equipment guidance.
Set chain tension by the saw manual, then move the chain by a gloved hand in the specified direction. It should travel without a tight link or abrupt bind. Check the drive sprocket using its service instructions. A heavily worn sprocket, mismatched components, or a chain with the wrong pitch or gauge can create rough travel that sharpening will never cure.
A controlled correction workflow
1. Identify the chain before filing
Read the markings on the drive links, original package, bar information, or saw manual. Confirm the chain type, file or grinder setup, and matching depth-gauge tool. Oregon advises identifying the chain and its specifications before sharpening rather than treating similar-looking chains as interchangeable.
2. Clean, mark, and compare
Brush resin and oily filings from the cutters, depth gauges, and drive links. Mark one starting cutter. Find the shortest cutter that is still serviceable, then compare cutter lengths and profiles around the full loop. Check both directions rather than assuming one side matches the other.
3. Correct the cutting edges first
Secure the bar or chain by the method in the tool manual. Restore the marked reference cutter with the specified file position or grinder settings, using light controlled passes. Match the remaining cutters without changing their intended geometry. If a guided fixture would help keep the chain seated and each cutter referenced consistently, review the working method used by KonKell Chainsaw Sharpeners before choosing a setup for your chain and workload.
4. Measure every depth gauge
Check depth gauges only after the cutters are finished. Use the gauge made for the specific chain and follow its orientation. File only a gauge that projects through the tool as described by the chain manufacturer. Never estimate clearance by sight, copy an unsupported number from another chain, or take an extra stroke “for faster cutting.”
If any gauge is already below the tool’s reference surface, mark it and assess the loop as a whole. A mixed set of correct and over-lowered gauges can keep pulsing even after the cutters are sharp.
5. Service the supporting components
Clean the bar groove and oil path. Address rail burrs only by the bar manufacturer’s method. Verify bar, chain, and sprocket compatibility, then tension and lubricate the chain by the saw manual. Replace damaged or excessively worn parts rather than compensating at the sharpener.
6. Make a cautious test cut
Use clean, supported wood and the protective equipment and working method required for the saw. Let the sharp chain feed without forcing it. Stop immediately if it still grabs, bangs, pulls, smokes despite correct lubrication and tension, or produces unusual vibration.
Routine maintenance matters because chainsaws already expose the operator to substantial vibration. OSHA’s vibration guidance recommends routine chainsaw maintenance among the controls for hand-arm vibration exposure. Persistent new vibration deserves a mechanical inspection, not a longer test cut.
When the chain should be replaced
Replace the chain or seek dealer assessment when you find:
- A cracked cutter, tie strap, drive link, or damaged rivet
- Cutters at or beyond their wear indicators
- Depth gauges filed so low that safe correction would consume too much cutter
- Severe differences in cutter shape that cannot be restored within service limits
- Tight joints, bent links, or damage from derailment
- Chatter that remains after verified chain geometry, correct tension, lubrication, and sound bar support
Also inspect the bar and sprocket before installing a new loop. A worn groove or sprocket can quickly damage the replacement and leave the original symptom unchanged.
FAQ
Why does my chainsaw bounce after I sharpen the chain?
The chain may be taking an aggressive or uneven bite. Check for depth gauges filed too low, hooked cutter profiles, unequal cutter lengths, and damage left on some cutting edges. Then verify chain tension and bar-rail condition. Stop using the saw until the cause is found; forcing a bouncing chain adds load and reduces control.
Can rakers that are too low cause chainsaw vibration?
Yes. Excessive clearance between the cutter and depth gauge lets the cutter enter the wood too deeply. That can produce an aggressive cut, high vibration, added saw stress, and greater kickback risk. Use the depth-gauge tool specified for the exact chain. Do not lower the remaining gauges to match one that was over-filed.
Will sharpening all cutters to the same length stop chatter?
It can correct one cause, but length is only part of the inspection. The cutters also need consistent profiles and clean edges, while depth gauges must match the manufacturer’s procedure. The chain must then run in a sound bar with correct tension, lubrication, and compatible drive components. A damaged link or worn bar will not be fixed by equal cutter lengths.
Is some chainsaw vibration normal after sharpening?
A chainsaw produces vibration in normal operation, but a new grab, pulse, bounce, or harsh shudder after sharpening is not something to ignore. Stop and compare the chain with the manufacturer’s sharpening requirements. If geometry, tension, lubrication, bar support, and sprocket condition check out but the symptom remains, have the cutting system inspected before further use.
Source notes
This diagnostic workflow is grounded in Husqvarna guidance on cutter profile, depth-gauge clearance, bar wear, and vibration; STIHL instructions on cutter consistency and depth-gauge risk; Oregon’s chain-identification and balanced-filing procedure; and OSHA guidance on reducing chainsaw vibration exposure through maintenance. Exact geometry, service limits, tension, and component compatibility must come from the manuals for the specific chain and saw.