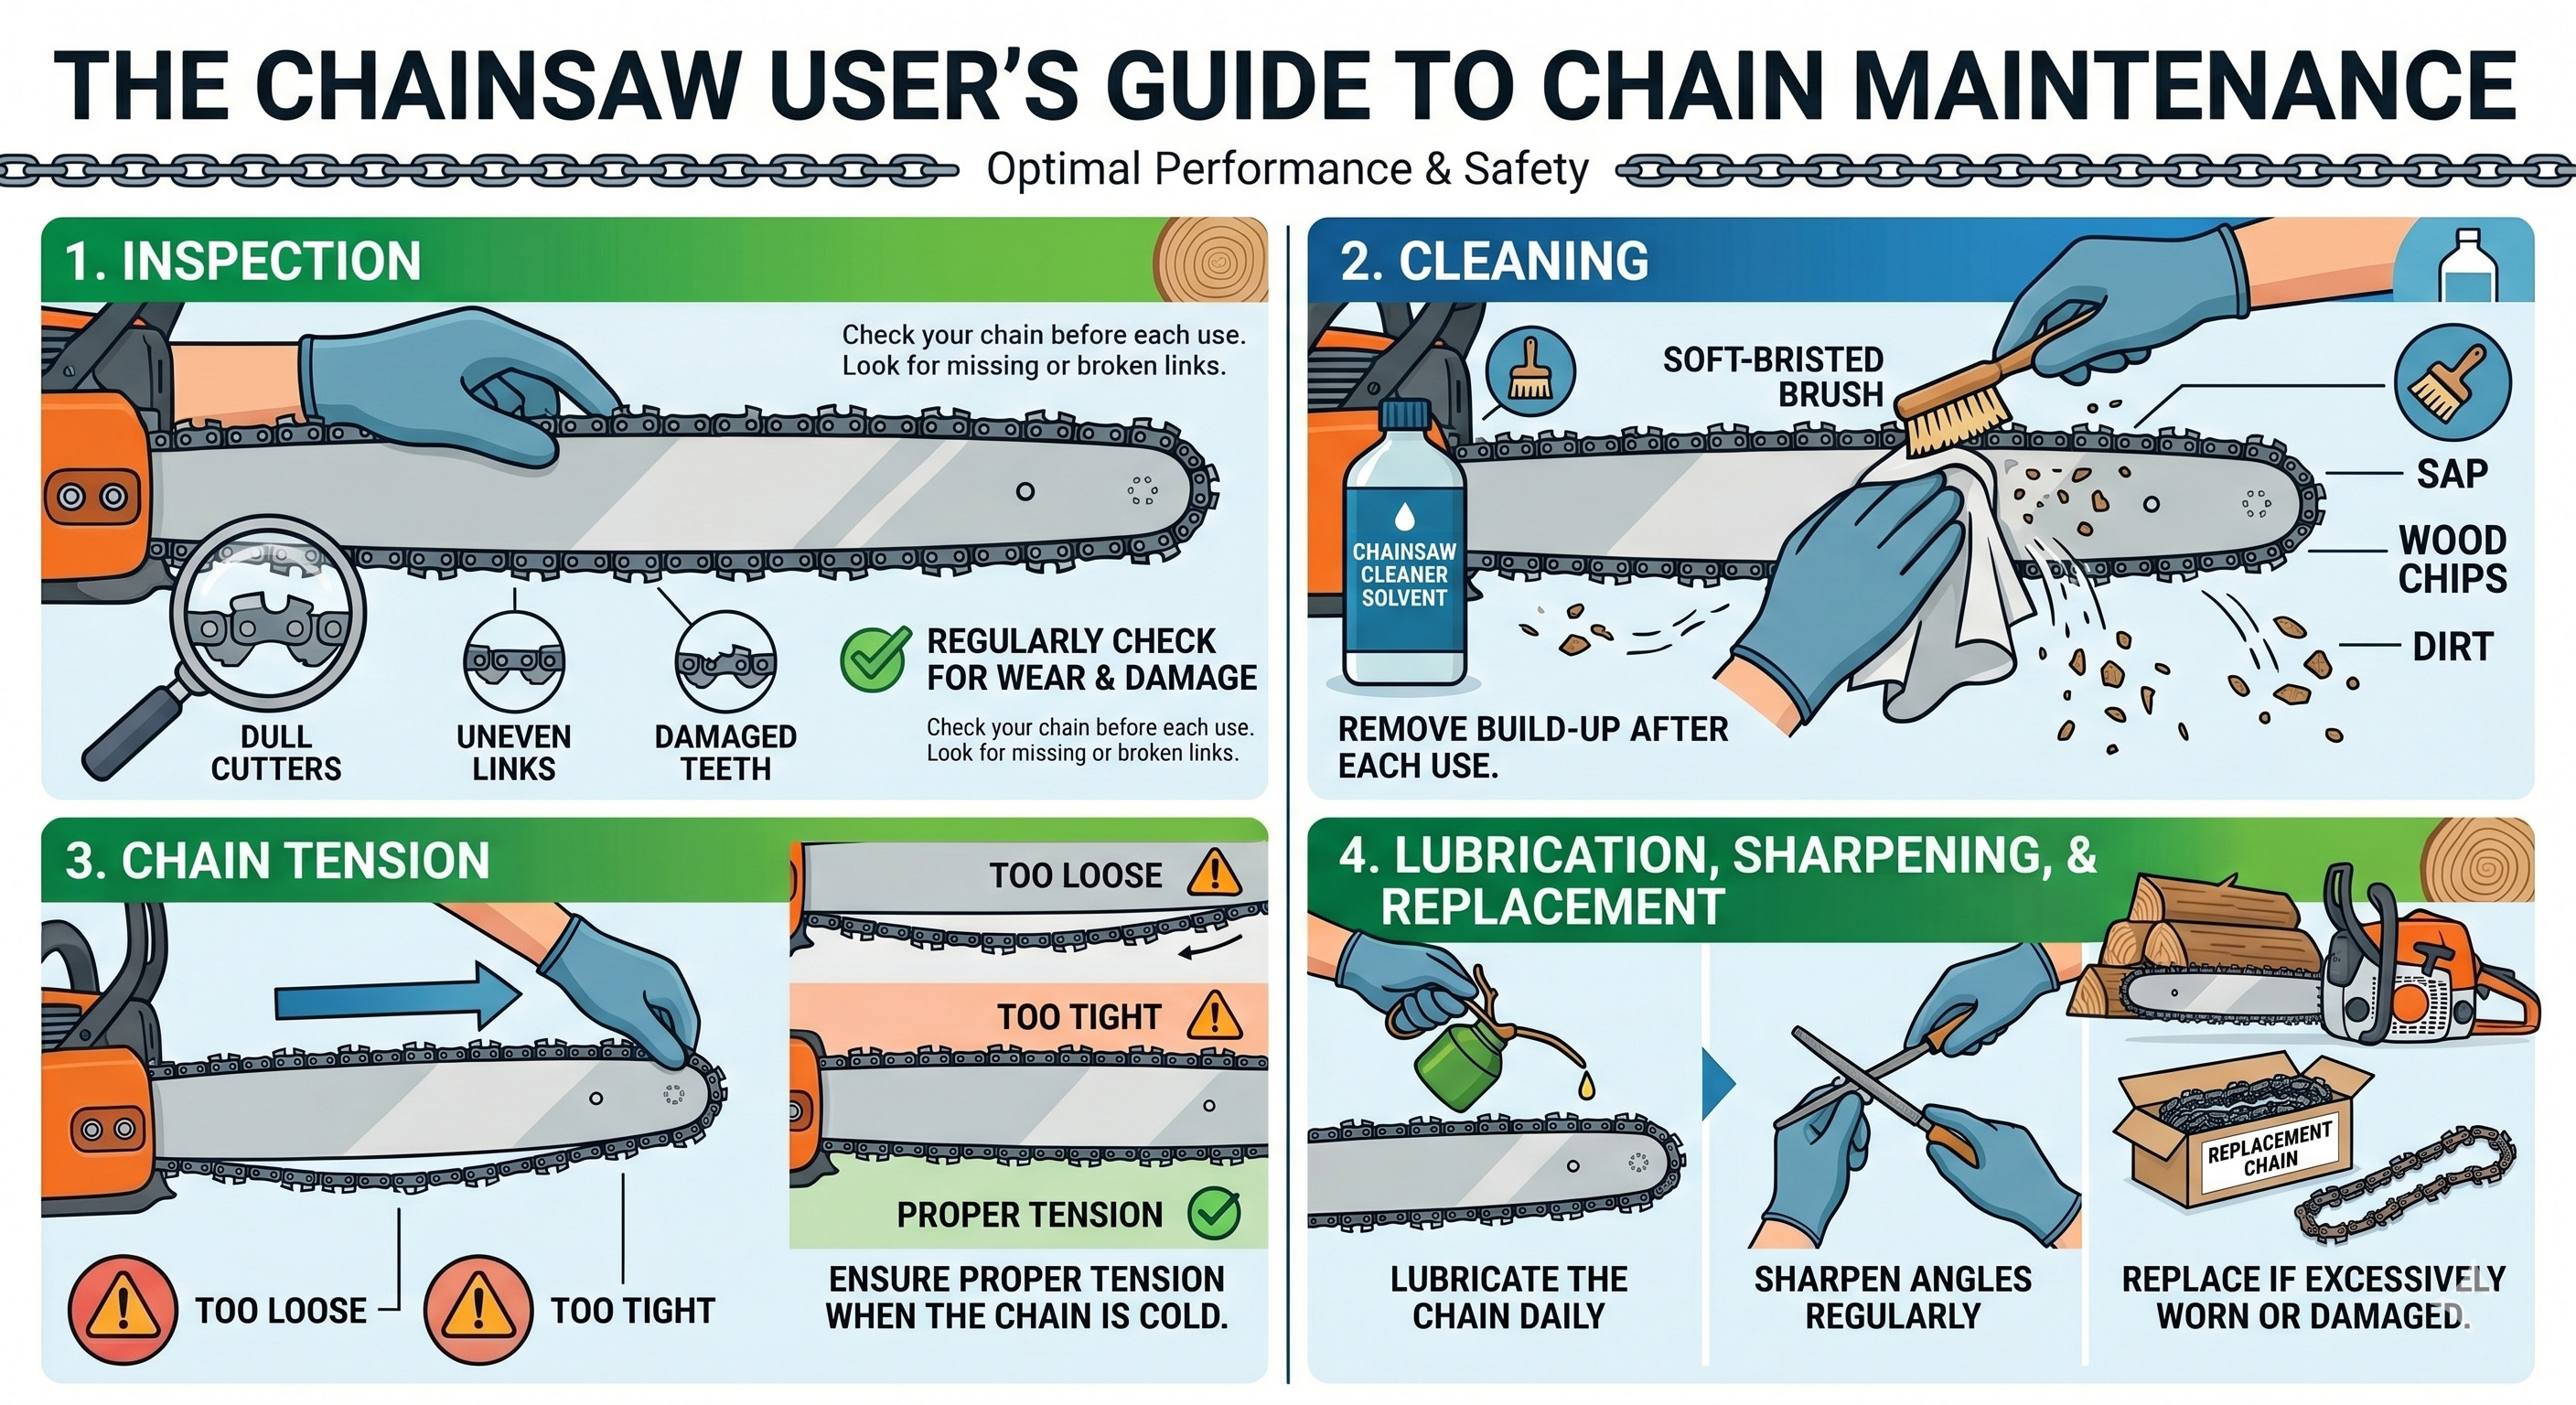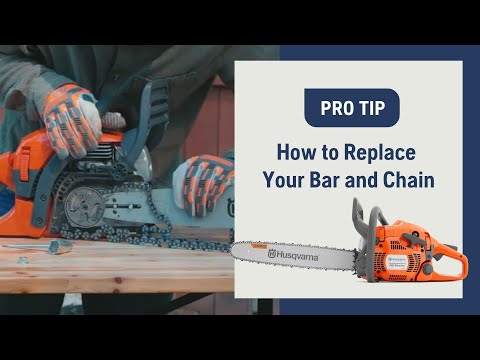
How-To Series: Bar and Chain Replacement
If you’re a fan of outdoor maintenance, you know that a chainsaw is your best friend when tackling those tough jobs. Whether you’re clearing fallen branches, trimming trees, or preparing firewood, a functional chainsaw is key. One of the most critical components of a chainsaw is its bar and chain. Over time these parts can wear down, leading to decreased efficiency and performance. In this post, we’ll walk you through the essential steps of bar and chain replacement, helping you keep your chainsaw in top shape.
Why Replace Your Bar and Chain?
Before diving into the replacement process, let’s look a bit deeper into why you should keep these parts in good shape. The bar and chain are responsible for cutting through wood, and when they wear down, the effectiveness of your chainsaw diminishes. A dull chain can lead to added strain on your engine, making it work harder than necessary and potentially reducing its lifespan.
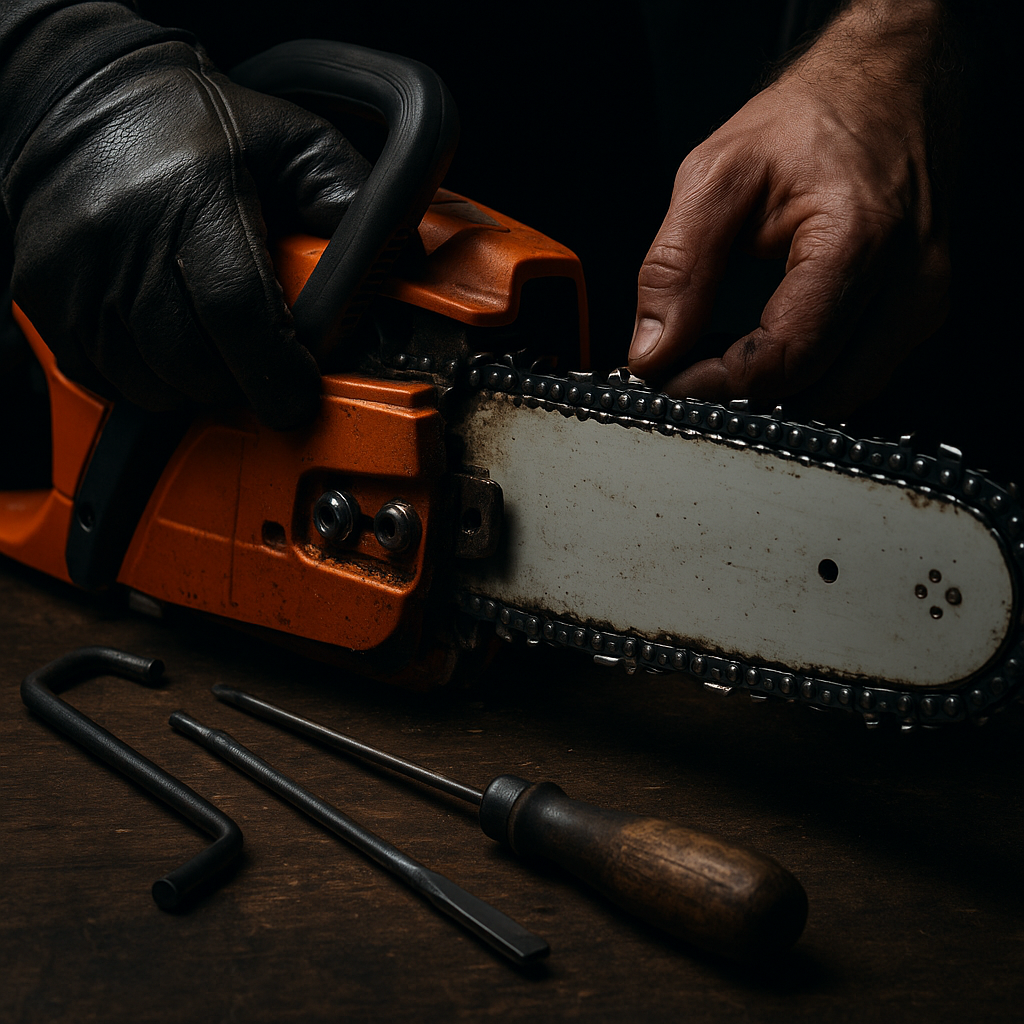
Tools You’ll Need
Before starting any maintenance work on your chainsaw, gather the following tools:
- Replacement bar and chains
- Wrench or socket set
- Screwdriver
- Protective gear (gloves, goggles, and ear protection)
- Cleaning brush
- Oil for lubrication
Steps for Bar and Chain Replacement
-
Safety First
Always put safety at the forefront. Make sure you’re wearing a pair of gloves and goggles to protect yourself from debris. Turn your chainsaw off and disconnect it from the power source. -
Clean the Chainsaw
Before making any changes, it’s a good idea to clean the area around the bar and chain to ensure no debris interferes with the replacement. Use a cleaning brush to remove sawdust and dirt from the surface. -
Loosen the Nuts
Using a wrench or socket set, carefully loosen the nuts that hold the guide bar in place. Make sure you keep these nuts in a safe spot so you don’t lose them during the process. -
Remove the Bar and Chain
After loosening the nuts, slide the old bar off. You can now remove the chain from the bar and discard it. If the chain is significantly worn or damaged, replacing it is essential to restore efficient performance. -
Prepare the New Bar and Chain
Before installing, ensure your new bar and chain are compatible with your chainsaw model. Align the new chain around the guide bar and make sure that it is seated properly in the bar’s grooves.
-
Install the New Bar
Position the new bar and chain onto the chainsaw. Make sure to fit it snugly while ensuring the chain tension is neither too tight nor too loose for optimal cutting performance. -
Secure the Nuts
With the new bar and chain in place, tighten the nuts that hold the guide bar firmly. Be sure not to overtighten, as this can lead to damage. -
Oil the Chain
To ensure smooth operation, remember to oil the chain through the bar’s lubrication port. A well-oiled chain will not only cut effectively but also prolong the life of your new setup. -
Test Run
After everything is in place, it’s time to fire up your chainsaw. Start slowly and check the chain’s movement. Make adjustments to tension as necessary until it runs smoothly.
Maintenance Tips
Once your new bar and chain are installed, it’s crucial to maintain them to extend their lifespan. Regularly check for wear and tear, make sure to keep the area clean, and always keep the chain well-oiled.
By the way, keeping your tools sharp is essential for peak performance. Check out the professional KonKell Chainsaw Sharpeners to save time and effort.
Wrapping Up
Replacing the bar and chain of your chainsaw might seem like a daunting task, but with the right tools and knowledge, it can be a straightforward process. Remember to focus on safety, and don’t hesitate to consult your manufacturer’s guidelines for specifics related to your chainsaw model. Happy cutting!
EQUIP YOURSELF FOR THE JOB
Don't let dull tools slow down your workflow. Experience the precision of KonKell chainsaw sharpeners.
View Sharpening Kits construction