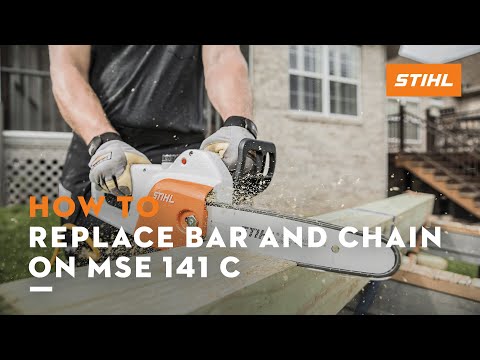
How to Replace Bar and Chain on MSA 120, 140, 160, 200, 220 | STIHL Tutorial
Maintaining your STIHL battery-powered chainsaws, such as the MSA 120, 140, 160, 200, and 220, is vital for optimal performance and longevity. One of the critical maintenance tasks involves replacing the bar and chain. Whether you’re a seasoned pro or a weekend warrior, understanding how to do this can save you time and guarantee safety while you’re on the job. Let’s dive into the step-by-step process to replace the bar and chain on these popular STIHL models.
What You Will Need:
Before you start, gather the following tools and materials:
- Replacement bar and chain (specific to your model)
- Wrench or socket set
- Screwdriver
- A clean workspace
Step 1: Safety First
Before you get started, make sure your chainsaw is turned off and the battery is removed. Ensure you’re wearing protective gear including gloves, eye protection, and sturdy clothing to prevent any accidental injuries.
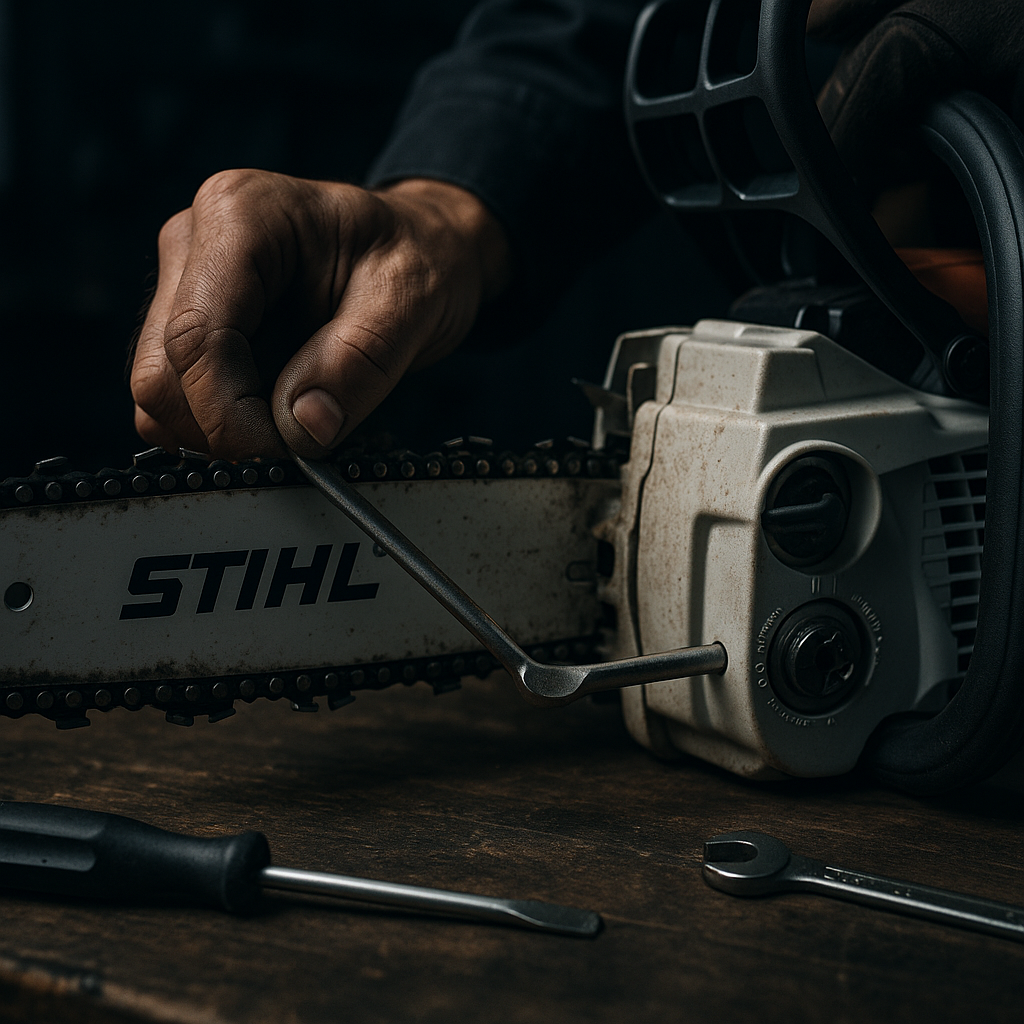
Step 2: Remove the Old Chain and Bar
-
Loosen the Tensioning Screw: Locate the tensioning screw on the side of the chainsaw and use a screwdriver or wrench to loosen it. This will allow you to remove the chain without resistance.
-
Remove the Chain Guard: Most models will have a chain guard or cover that protects the chain. Unscrew the nuts or bolts securing the guard and carefully lift it away.
-
Take Off the Old Chain and Bar: With the chain slack, gently pull the chain off the bar and remove it from the guide studs. Take out the bar, making sure to remove any debris in the process.
Step 3: Install the New Bar and Chain
-
Attach the New Bar: Position the new bar onto the guide studs. Ensure that it is properly aligned in the same orientation as the old one.
-
Fit the New Chain: Before installing, check the direction of the teeth—make sure they face the correct direction for cutting. Place the new chain on the bar, ensuring it fits into the guide groove uniformly.
-
Secure the Chain: Once the chain is in position, gently pull it to remove any slack, aligning it correctly in the guide.
Step 4: Tighten Everything Up
-
Reattach the Chain Guard: Replace the chain guard and secure it with the nuts or bolts you previously removed. Make sure it’s snug, but not overly tight to the point of damaging the materials.
-
Tension the Chain: Using the tensioning screw, adjust the chain until you can lift it slightly from the bar. It should have some tension but not so tight that it can’t move freely. Check for any slack or tightness.
Step 5: Final Checks
-
Inspect Your Work: Before you power up the chainsaw, inspect the installation. Ensure the bar and chain are fitted correctly, without any protrusions or misalignments.
-
Reinstall the Battery: Once satisfied, reinstall the battery and perform a test run to ensure everything is functioning properly.
By the way, keeping your tools sharp is essential for peak performance. Check out the professional KonKell Chainsaw Sharpeners to save time and effort.
Conclusion
And there you have it! Replacing the bar and chain on your STIHL MSA chainsaw models is a manageable task that enhances efficiency and safety. Regular maintenance not only prolongs the life of your equipment but also ensures cutting with precision. Don’t hesitate to dive into this DIY project and take the steps needed to keep your chainsaw in top-notch condition!
EQUIP YOURSELF FOR THE JOB
Don't let dull tools slow down your workflow. Experience the precision of KonKell chainsaw sharpeners.
View Sharpening Kits construction