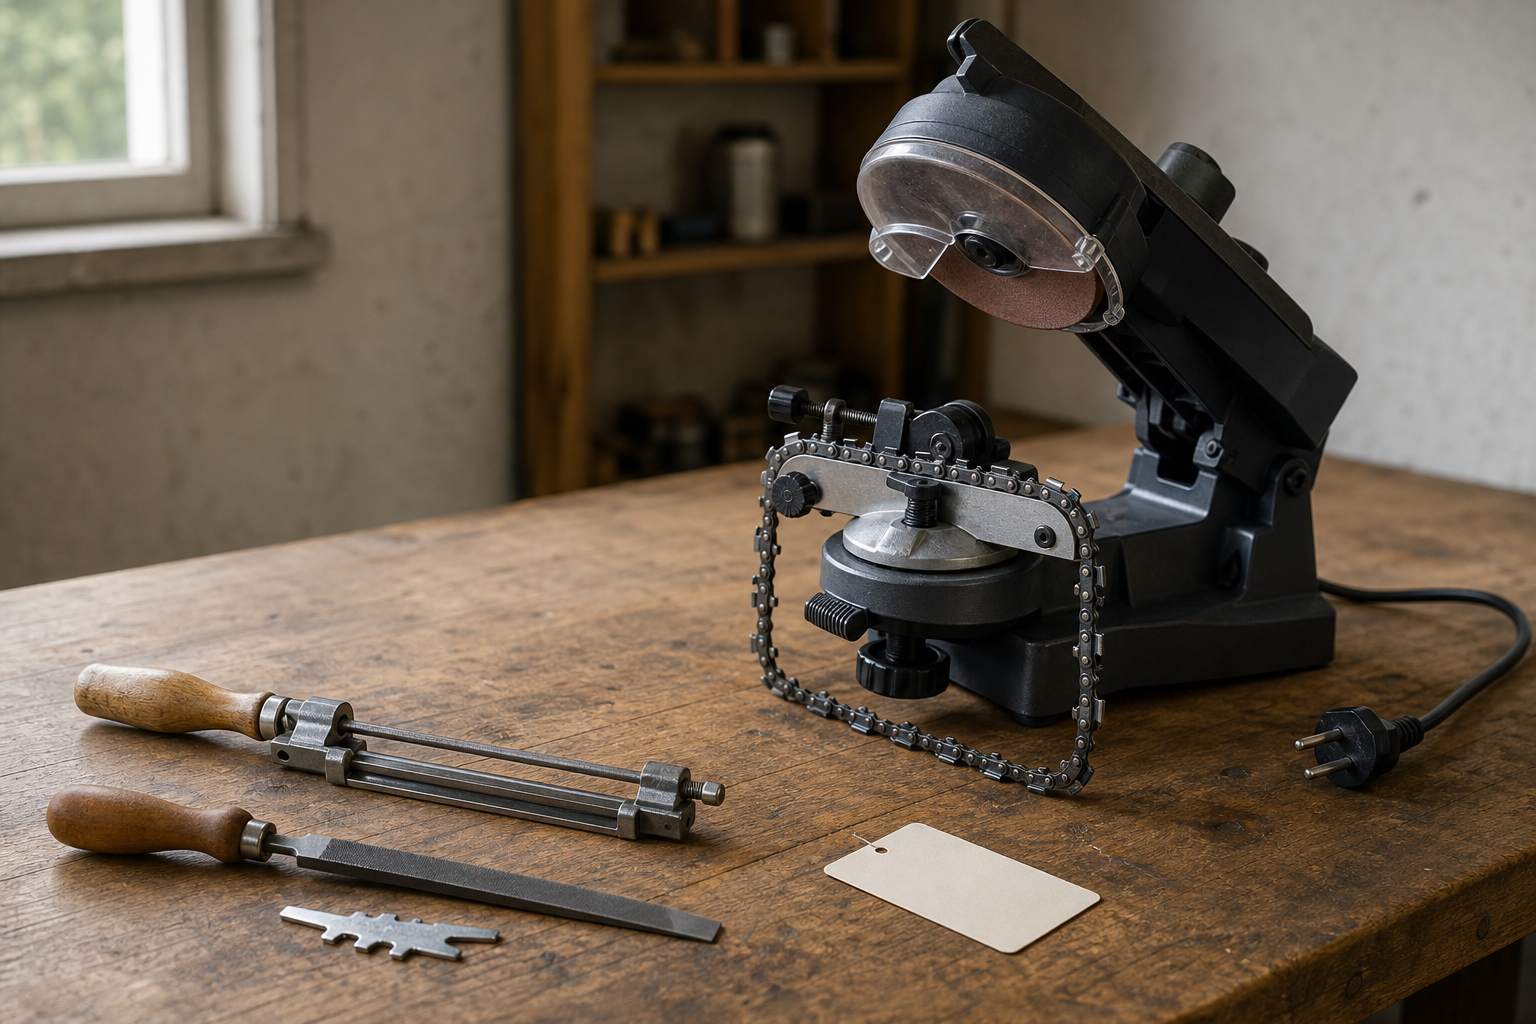
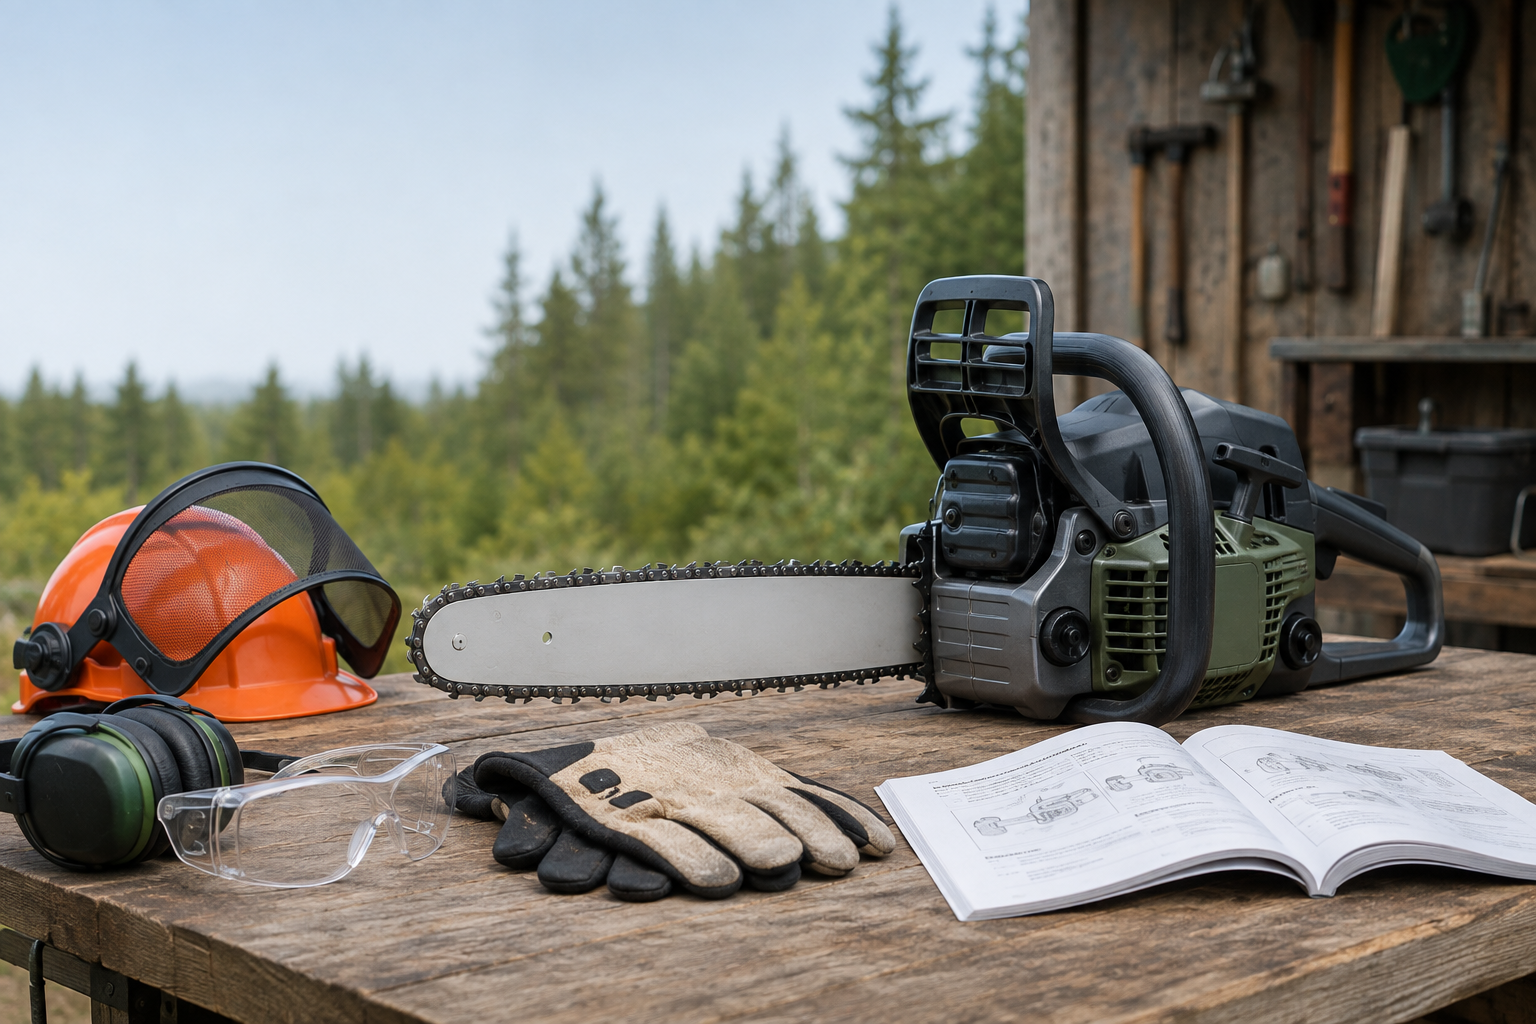
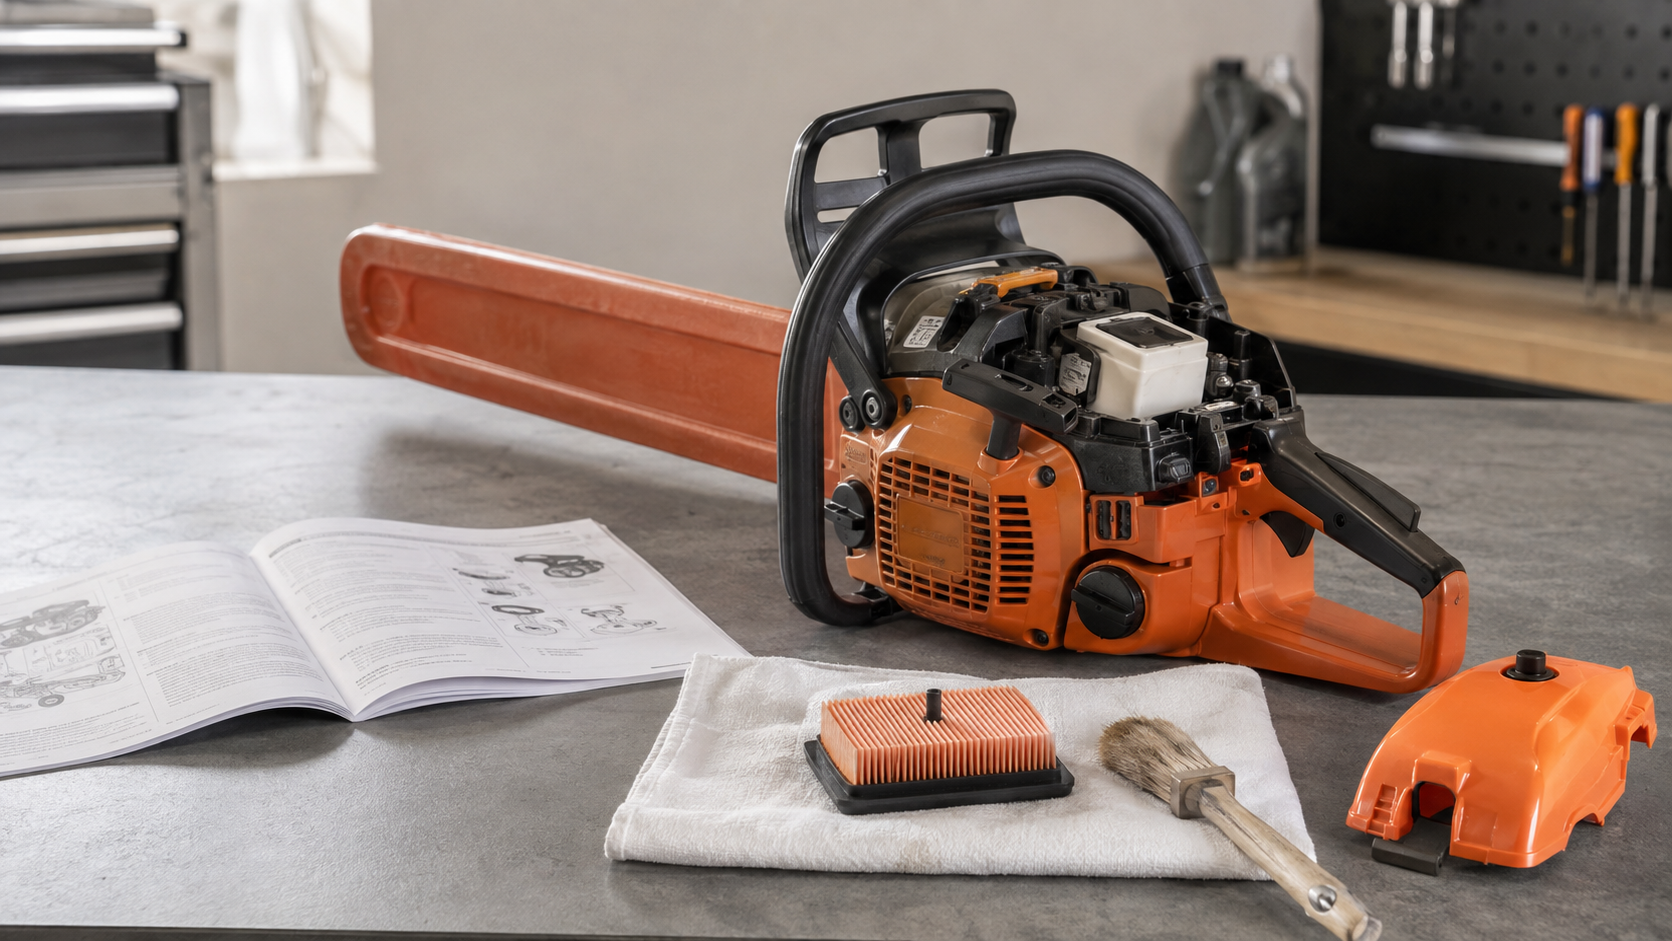
Choose a hand file for portable touch-ups and a bench electric sharpener when several removable chains or uneven cutters justify a fixed, repeatable setup. Neither method identifies the chain, chooses its specification, checks depth gauges, or decides whether a damaged chain should be replaced for you.
Start with the jobs you actually have
Don’t compare motor power with the price of one file. Write down the next three likely sharpening jobs: where they will happen, how many chains will be waiting, and whether the cutters need a light edge touch-up or correction after contact with soil or another abrasive material.
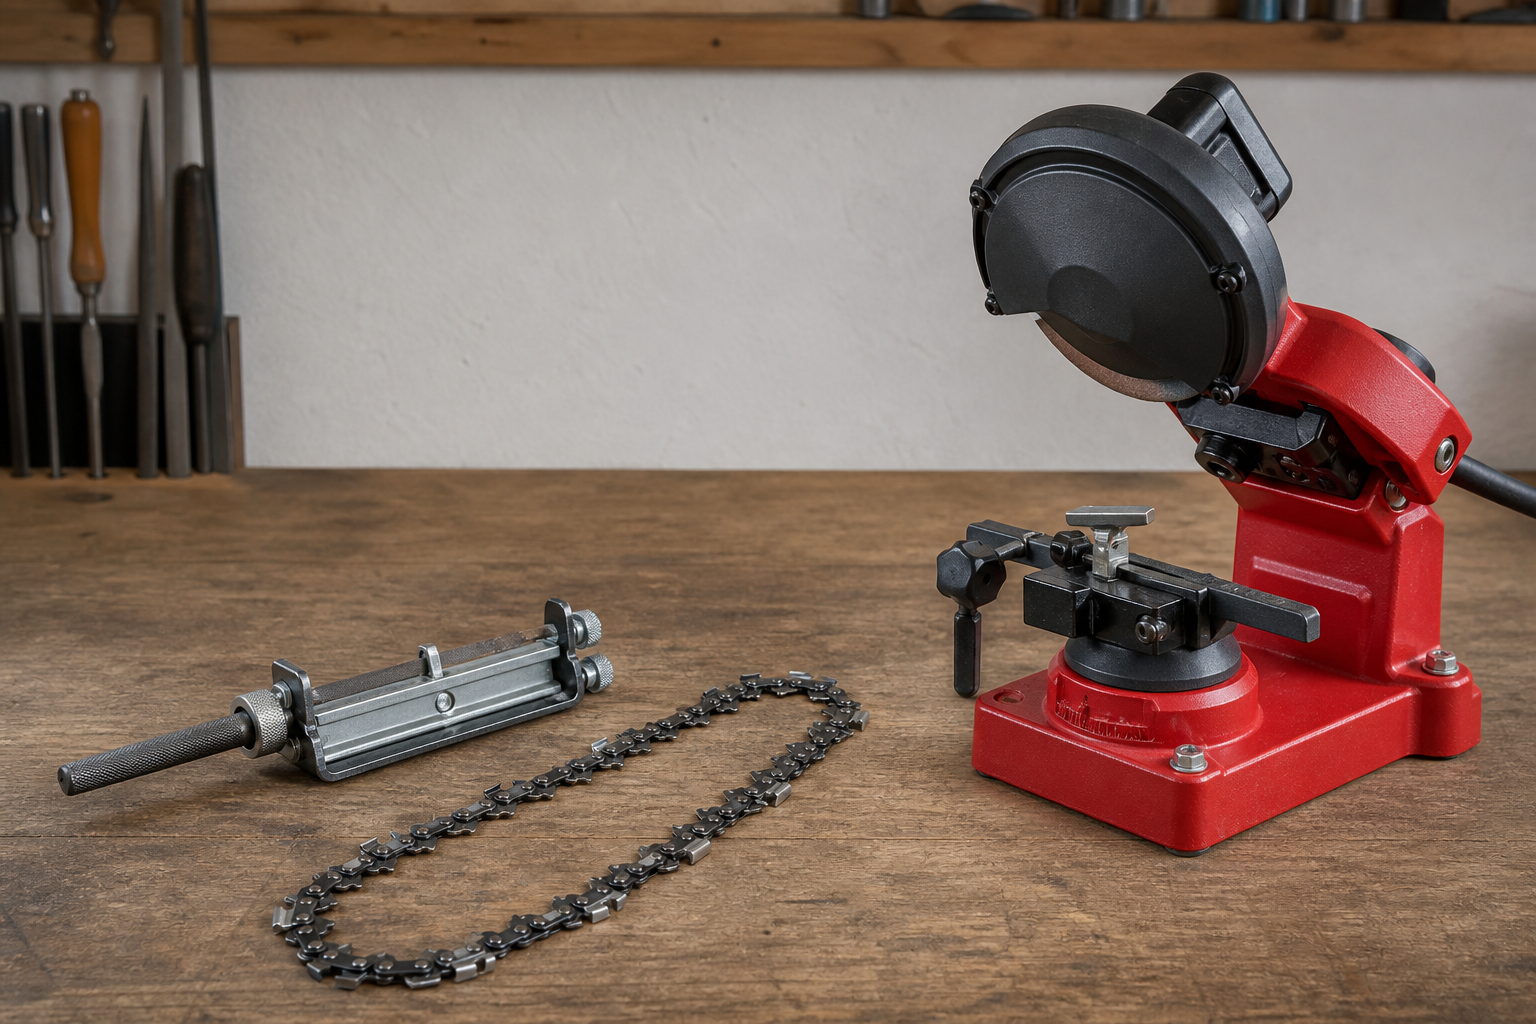
That short list exposes the practical difference. A file travels with the saw and lets you see each stroke. A bench grinder holds a removed chain against stops and an abrasive wheel, but it asks for mounting space, chain-specific setup, and controlled wheel contact.
| Evidence on your job card | Better starting method | What still needs checking |
|---|---|---|
| One chain needs a light touch-up away from the workshop | Matched round file and guide | Chain identity, file size, filing angles, depth gauges |
| Several known, compatible chains are waiting at one bench | Bench electric sharpener | Wheel match, grinder settings, cutter reference, depth gauges |
| Left and right cutters have drifted noticeably | Guided file if the difference is small; bench grinder if controlled correction is practical | Bar wear, damaged cutters, and the shortest serviceable reference cutter |
| Cutters have cracks, broken parts, loose rivets, or severe wear | Neither | Replace or obtain qualified service before sharpening |
| You cut remotely but maintain several spare loops at home | Both can have separate jobs | File for field touch-ups; grinder for the planned bench session |
The last row is often the honest answer. Owning an electric sharpener doesn’t make a correctly matched field file redundant.
Compare the fixture, not only the power source
“File” can mean a bare round file, a file in a simple holder, or a guided tool that controls more of its position. “Electric sharpener” can mean a handheld rotary tool or a bench machine with a chain clamp and stops. Those differences can matter more than the manual-versus-electric label.
If repeatability is the reason you are shopping, inspect what actually locates the cutter and limits material removal. A handheld motor may remain highly dependent on hand position, while a guided file may provide clear angle references without needing power. A bench grinder adds a fixture, but only after the operator mounts it firmly, cleans the contact surfaces, and verifies the stops. Compare the complete setup you would use, not the most favorable claim attached to either category.
What a file gives you
A round file and guide suit small, frequent corrections because the chain can remain on a securely supported, disabled saw. STIHL’s guided-file instructions begin with a cool, switched-off saw, a snug chain, a secured bar, and a marked most-worn cutter. Husqvarna likewise calls for a file gauge matched to the chain and equal cutter length.
The useful control is visibility: you can stop after a stroke, inspect the cutter face, and avoid removing metal from cutters that don’t need it. The tradeoff is that your hand still controls pressure and alignment. A guide helps, but it doesn’t make the chain specification optional.
Before buying files, use the markings and documents in the chain-identification workflow rather than matching a file by saw model alone. If sharpening must happen away from a bench, the field-sharpening decision guide explains when a touch-up is reasonable and when swapping to a spare chain is the cleaner decision.
What a bench grinder gives you
A bench grinder makes sense when its fixture and stops can be set once, verified on one reference cutter, and repeated across a loop. That is especially relevant when several cutters need controlled correction rather than a light touch-up. Oregon’s sharpening guidance still requires the user to know the chain type and manufacturer specification, inspect for damage first, and use brief wheel contact to limit heating.
The machine adds repeatable reference points; it does not guarantee a correct edge. Packed residue under the drive links, the wrong wheel, an aggressive stop, or an unverified angle can repeat the same error around the entire chain. Set up conservatively, inspect the first cutter in good light, and continue only when it matches the chain maker’s instructions. The bench-mounted sharpener setup checklist covers that first-cutter verification in detail.
For owners with a stable work surface and several compatible chains, the live page for the KonKell 230W bench chainsaw sharpener lists an adjustable grinding head and turntable, 1/4-inch, .325-inch, 3/8-inch, and .404-inch pitch coverage, plus 1/8-inch and 3/16-inch grinding wheels. That makes it a plausible fixed-workshop option, not a universal match: verify the exact chain, wheel, and settings before grinding, and allow for permanent bench space.
Run the first-cutter check before committing
Whichever method the job card points to, stop before working around the full loop and answer these questions:
- Can you identify the chain and find its sharpening specification from the chain maker or package?
- Is the chain clean enough to inspect, with no cracked parts, broken cutters, loose rivets, or other replacement signs?
- Does the file, guide, or grinding wheel match that chain?
- Can the chain and tool be supported exactly as their instructions require?
- After one reference cutter, is the damage removed without changing more metal than necessary?
A “no” on the first four questions is a setup stop. A poor result on the fifth is a reason to recheck the tool match and settings—or hand the chain to a qualified service provider—not permission to keep removing material.