If you’re struggling with poor cutting performance after sharpening your chainsaw, you’re not alone. Many users encounter issues that stem from common sharpening mistakes. This guide is designed for those looking to improve their chainsaw’s effectiveness and safety by pinpointing and correcting these errors.
1. Wrong Angle
Symptom:
Your chainsaw cuts ineffectively, producing burn marks or excessive sawdust.
Why It Hurts Cutting Performance:
Using the incorrect sharpening angle on your chain can significantly hinder its cutting ability. Each cutter is designed to operate best at a specific angle. If the angle is too steep or too shallow, the chain won’t engage the wood properly.
Correction:
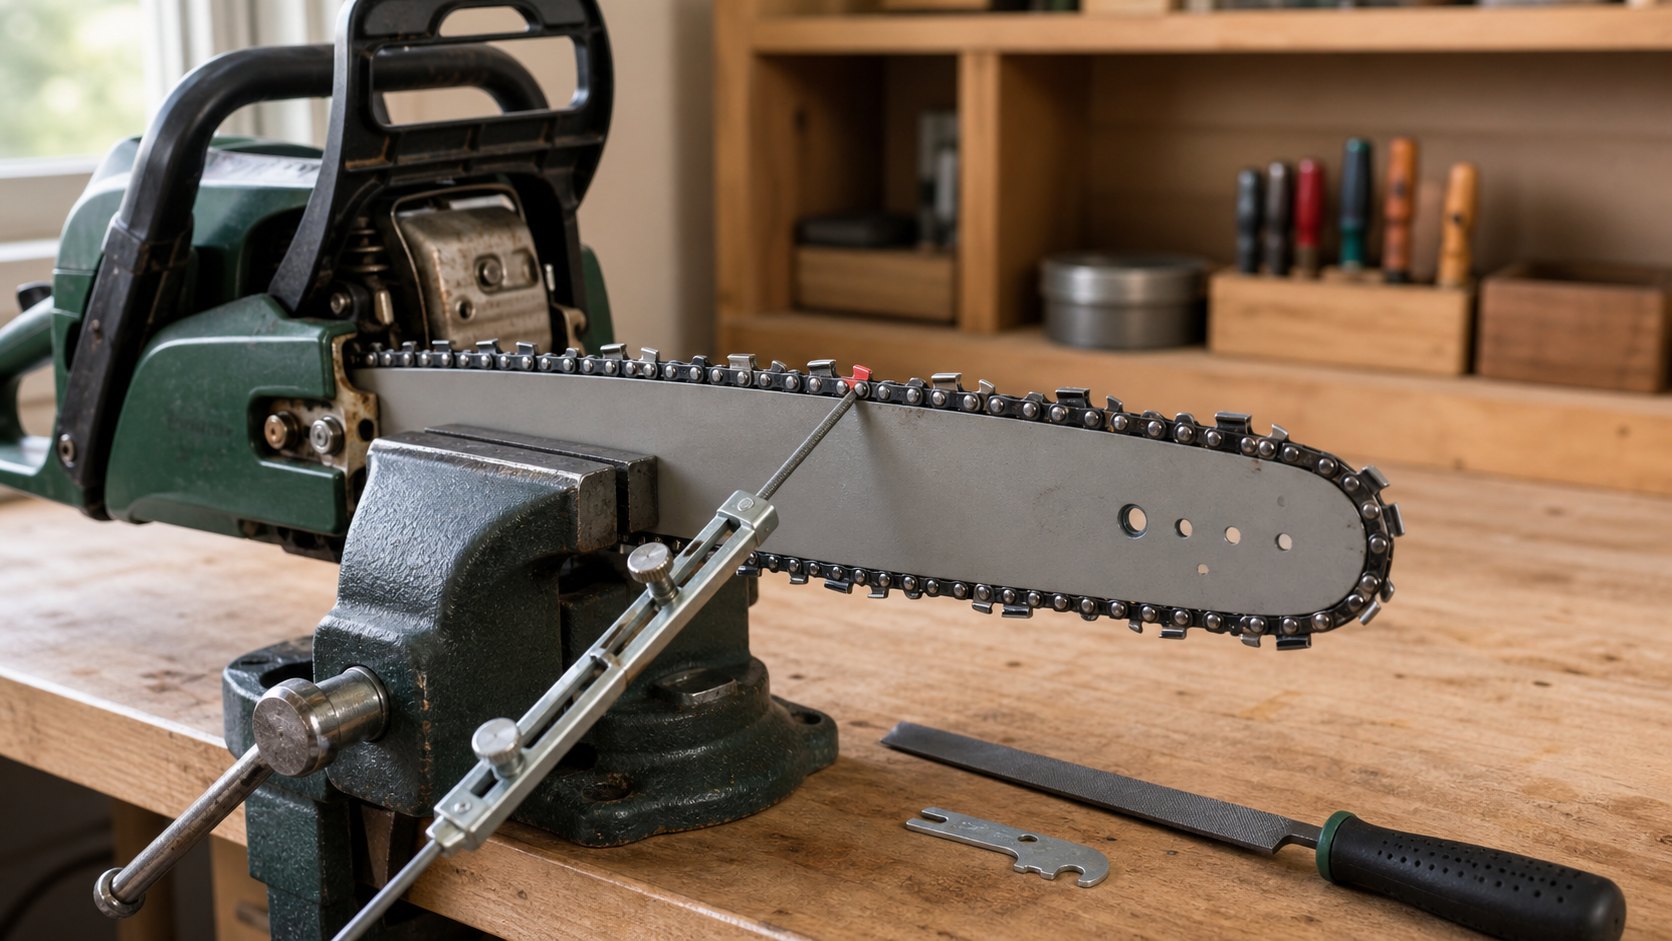
Refer to your chainsaw’s manual for the recommended angle for sharpening. Typically, a 25-degree angle is common, but verifying against the manufacturer’s specifications is crucial. Use a file guide to maintain consistent angles throughout the sharpening process.
2. Inconsistent Cutter Length
Symptom:
The chainsaw is performing poorly and may pull to one side while cutting.
Why It Hurts Cutting Performance:
When the lengths of your cutters vary, the chain’s cutting action becomes erratic, resulting in uneven cutting and increased effort. Longer teeth cut faster while shorter ones drag, leading to frustration and fatigue.
Correction:
Measure each cutter with calipers and ensure they are of equal length. If any of them have been sharpened down too far, they may need to be replaced.
3. Ignored Depth Gauges
Symptom:
Your chainsaw seems to bog down in the cut.
Why It Hurts Cutting Performance:
Depth gauges control how deeply the cutter teeth penetrate into the wood. If these are neglected, it can cause the chain to cut too aggressively or not enough, adversely affecting performance.
Correction:
Regularly check the height of the depth gauges in relation to the cutter teeth. If they are too high, use a flat file to lower them to the appropriate level as specified in your chainsaw manual.
4. Dirty Chain
Symptom:
The chainsaw becomes overheated or runs sluggishly.
Why It Hurts Cutting Performance:
A dirty chain filled with sawdust, sap, or debris can impede movement and proper cutting efficiency. Dirt can also dull the chain prematurely.
Correction:
After sharpening, thoroughly clean the chain using a brush and a mixture of soapy water. Rinse well and allow it to dry completely before applying oil or lubricants.
5. Over-Grinding
Symptom:
The cutters appear worn down or frail.
Why It Hurts Cutting Performance:
Over-grinding can thin out the cutting teeth too much, leading to reduced effectiveness and a risk of breakage. The structural integrity of the chain is compromised once the metal is excessively ground away.
Correction:
Limit the number of passes you make while sharpening. If you notice that the teeth are becoming thinner than recommended, take a step back, and reduce your sharpening frequency.
6. No Test Cut
Symptom:
You finish sharpening, but the saw does not perform as expected.
Why It Hurts Cutting Performance:
Failing to perform a test cut after sharpening leaves you unaware of lingering issues. It’s easy to assume that the job was done right without verifying how the chain actually cuts.
Correction:
Always conduct a test cut in a safe, controlled environment. Pay attention to how the chainsaw behaves. If it doesn’t cut smoothly, re-evaluate your sharpening process and correct any issues identified.
Diagnostic Section: Identifying Cutting Issues
To help you assess your chainsaw’s effectiveness after sharpening, refer to the following table:
| Symptom | Possible Cause | Recommended Action |
|---|---|---|
| Sawdust clouds | Wrong angle | Verify and adjust sharpening angle |
| Chain pulls to one side | Inconsistent cutter lengths | Measure and even out cutter lengths |
| Sluggish cutting | Ignored depth gauges | Check and adjust depth gauge height |
| Overheating | Dirty chain | Clean the chain thoroughly |
| Weak cutting action | Over-grinding | Reassess sharpening technique |
| Poor test cut result | General sharpening mistakes | Re-evaluate entire sharpening process |
Regularly performing these evaluations can save time and increase performance, making your chainsaw more efficient.
FAQ
Q: How often should I sharpen my chainsaw?
A: This depends on usage, but a good rule of thumb is to sharpen after every 3-5 hours of cutting.
Q: What is the best angle for sharpening chainsaw teeth?
A: Typically, a 25-degree angle is recommended, but consult your specific chainsaw manual for the best results.
Q: Can a dull chain cause kickback?
A: Yes, a dull chain can lead to kickback, especially if the chain is not cutting effectively.
Q: What should I do if I notice excessive wear on my chain?
A: Consider replacing it if the wear is significant, and evaluate your sharpening techniques to prevent recurrence.
Source Note
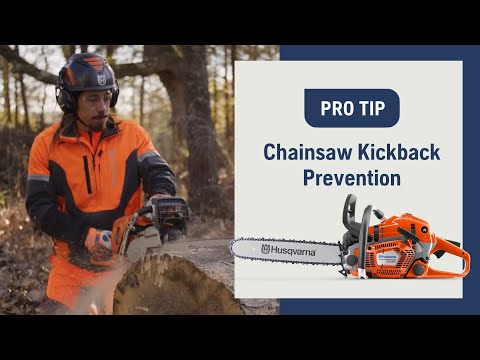
This guide is inspired by the video titled Chainsaw Kickback Prevention from Husqvarna USA, which addresses some critical aspects of chainsaw safety and maintenance.
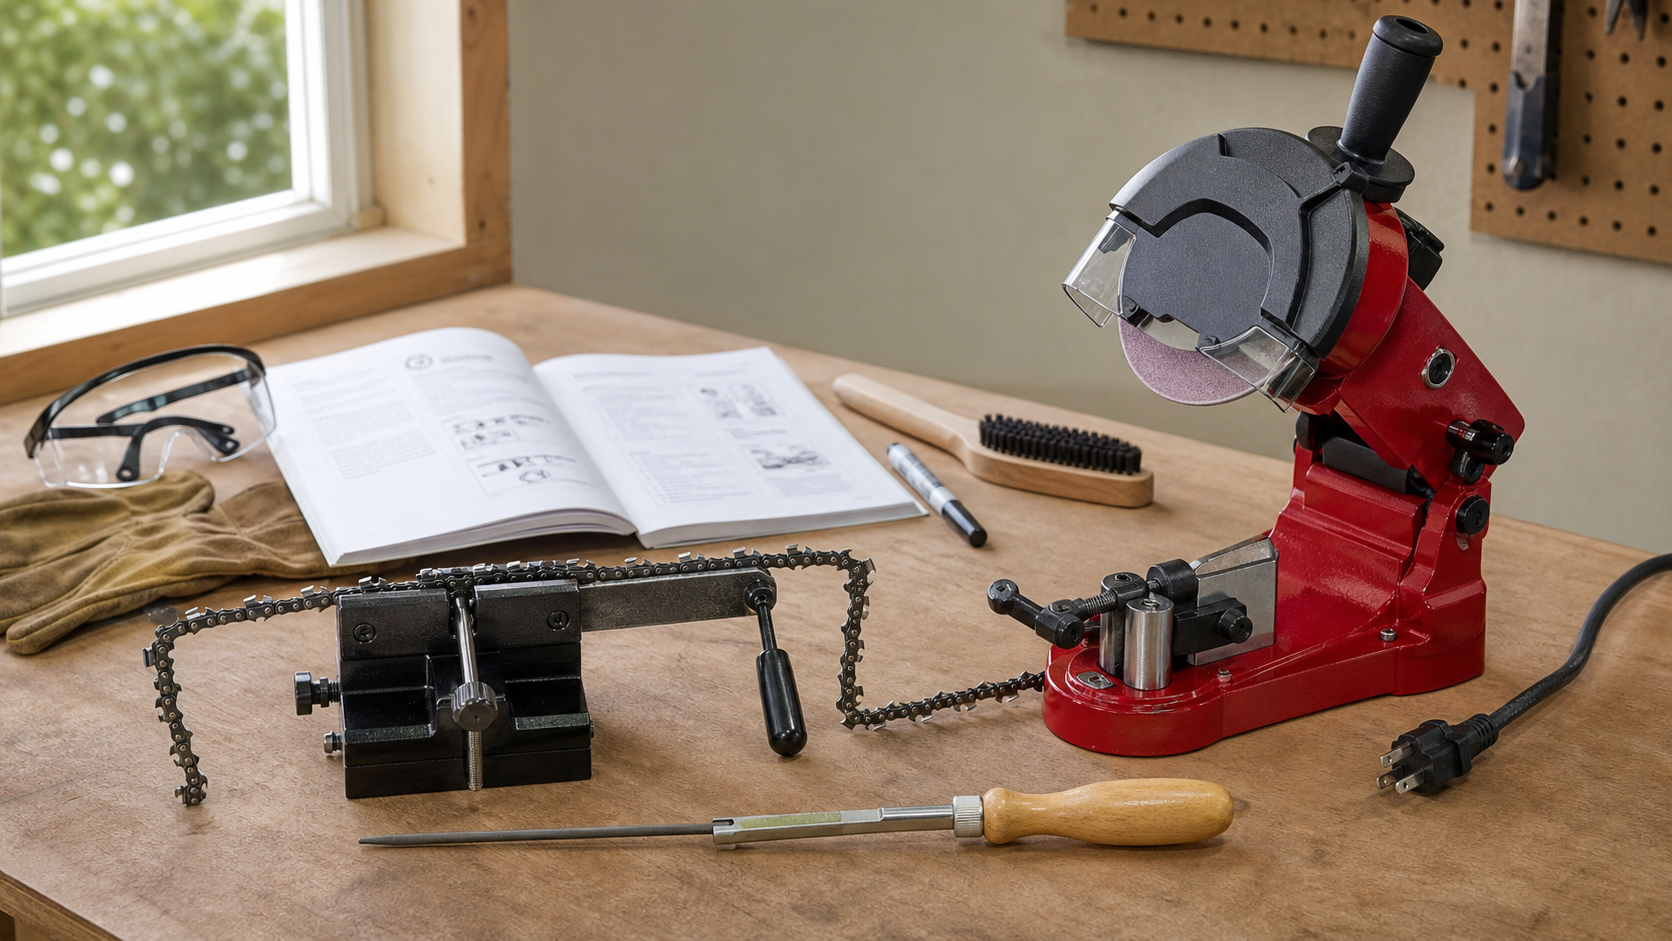
Don’t forget the importance of quality tools in maintaining your chainsaw. Products like KonKell Chainsaw Sharpeners can be invaluable for ensuring that your chain is sharpened accurately and effectively.