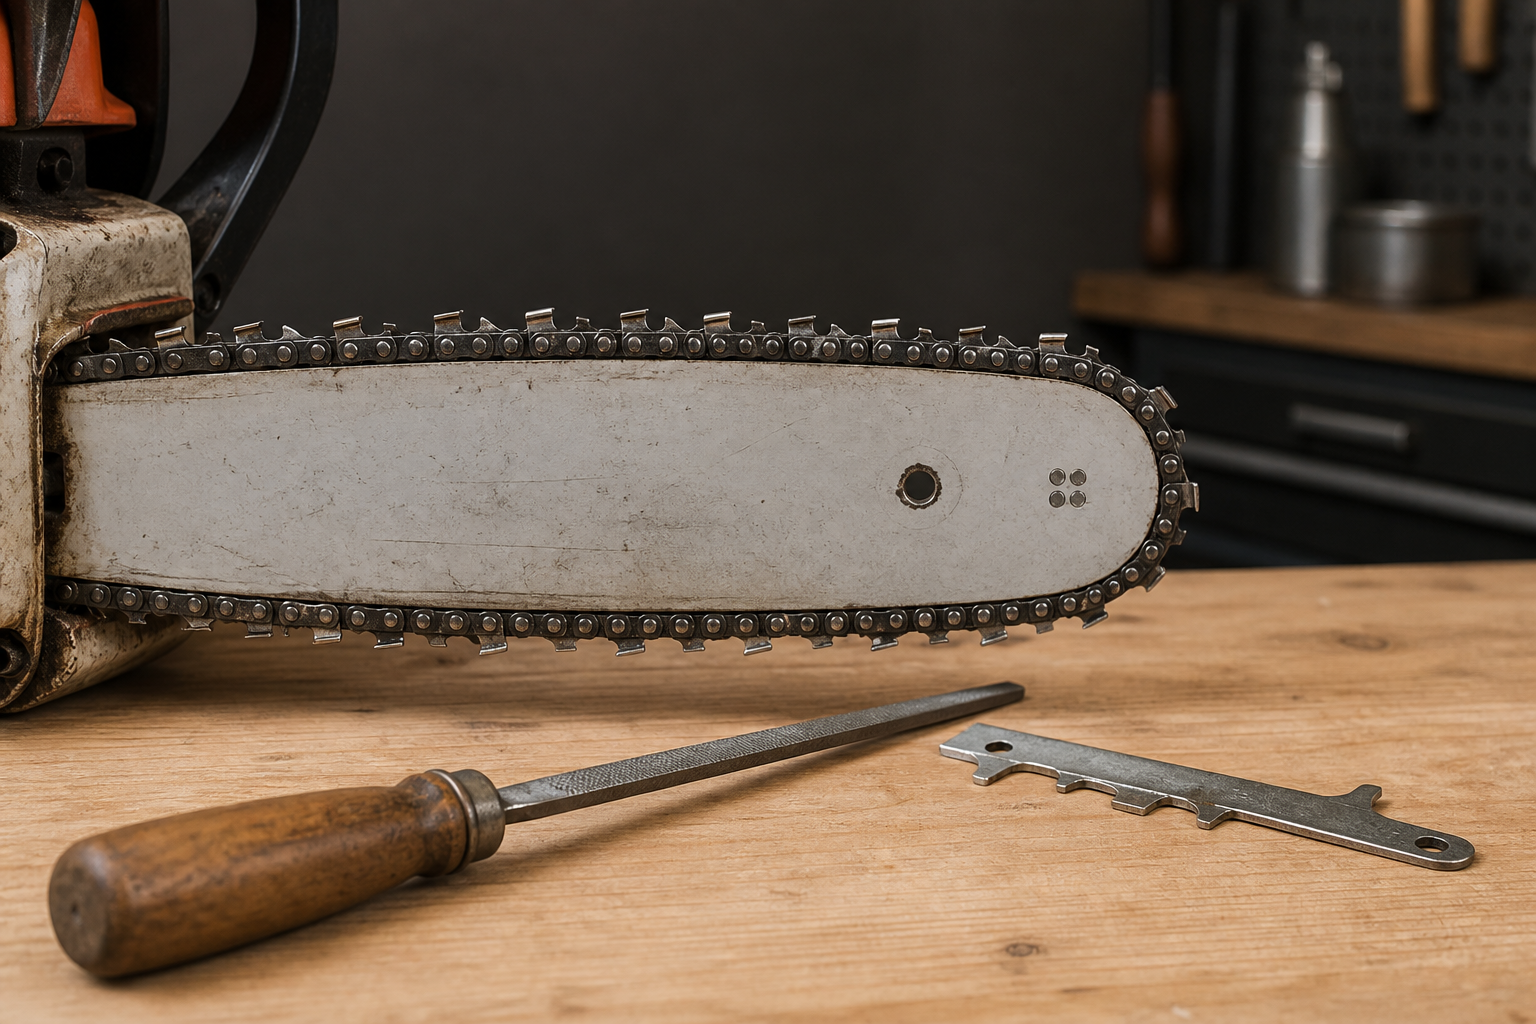
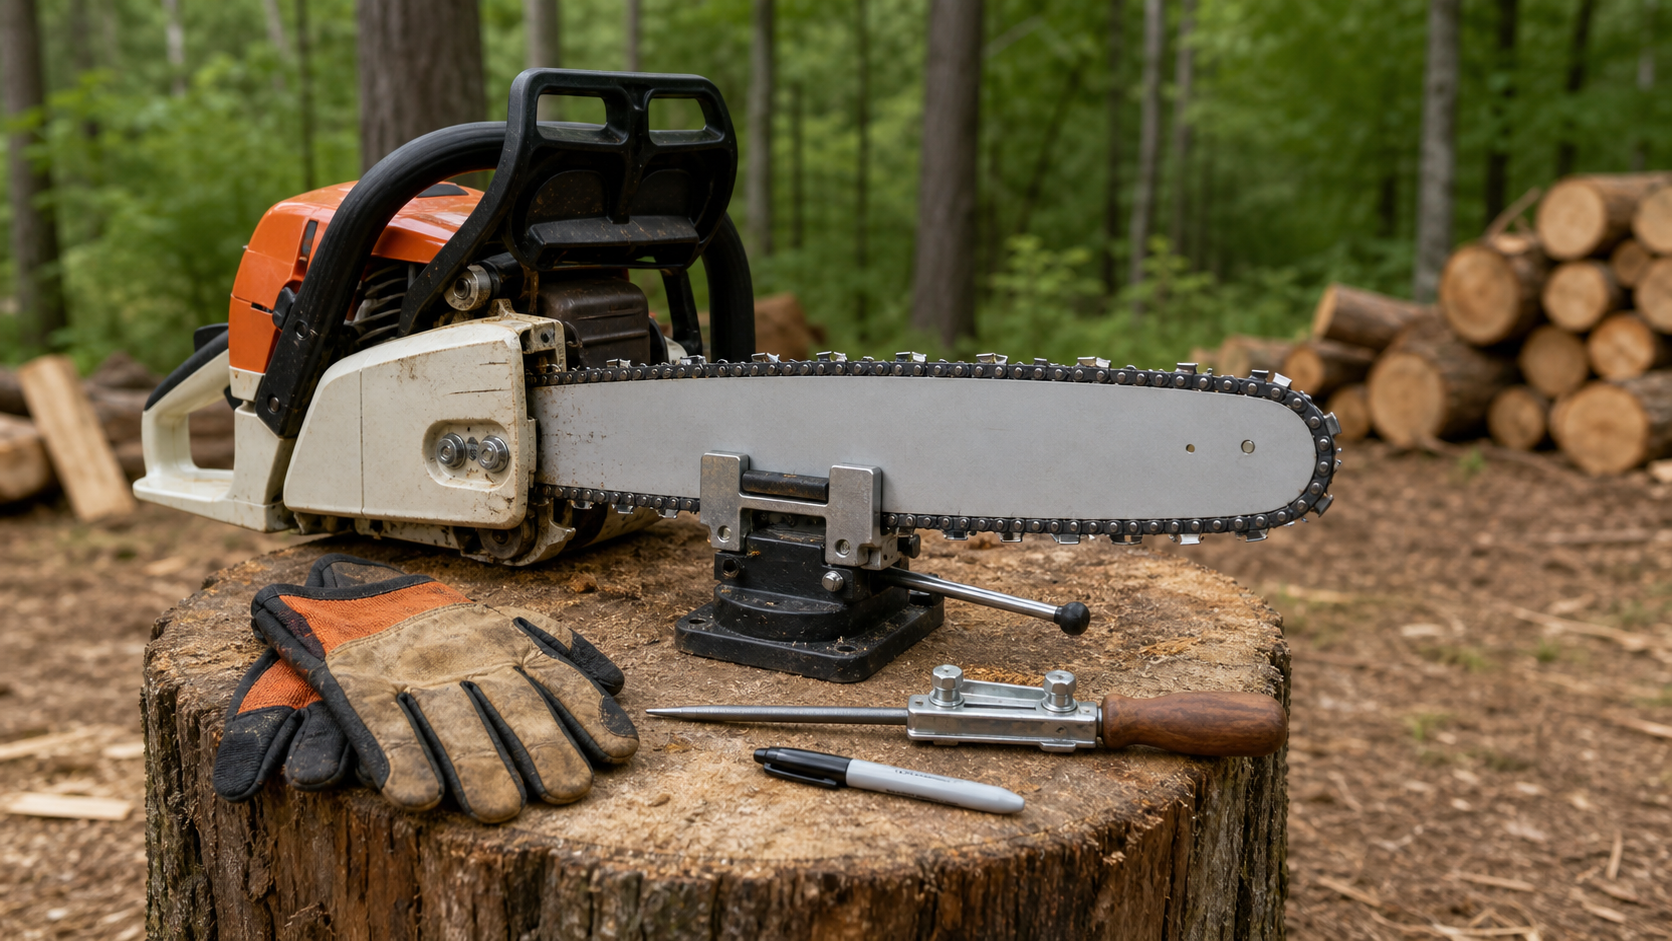
The best chainsaw sharpener for a beginner is a chain-matched guided file for occasional touch-ups, or a bench grinder when several removable chains need the same repeatable fixture. Choose only after identifying the chain and deciding whether the real job is portable maintenance, routine bench work, or recovery from uneven damage.
Motor power and accessory count cannot answer that question. The useful beginner choice is the tool whose file or wheel, holding method, and instructions all match the chain—and whose first-cutter result can be inspected before the setup is repeated.
Start with the chain, not the sharpener
A chainsaw sharpener does not fit a chain simply because it says “universal.” The cutter profile, chain pitch, and the tool maker’s compatibility instructions determine which file, guide, wheel, or accessory is appropriate. Look for markings on the bar or chain packaging, then compare them with the saw and chain manuals. If the chain identity is uncertain, take the saw or a spare chain to a servicing dealer rather than estimating from bar length.
Before buying, record:
- The saw make and model
- The chain brand and product code, if visible
- Chain pitch and gauge from the bar, packaging, or manual
- The file diameter or grinding-wheel profile specified for that chain
- Whether you normally sharpen on the saw, off the saw, or at a bench
File size is not a preference setting. The wrong diameter changes where the file bears against the cutter and can leave a weak or ineffective edge. Likewise, a wheel must be dressed and matched according to the grinder and chain instructions.
Which type is easiest for a beginner?
There are three sensible starting points. Each can produce a serviceable chain when it is correctly matched and used with a stable setup.
Guided hand file
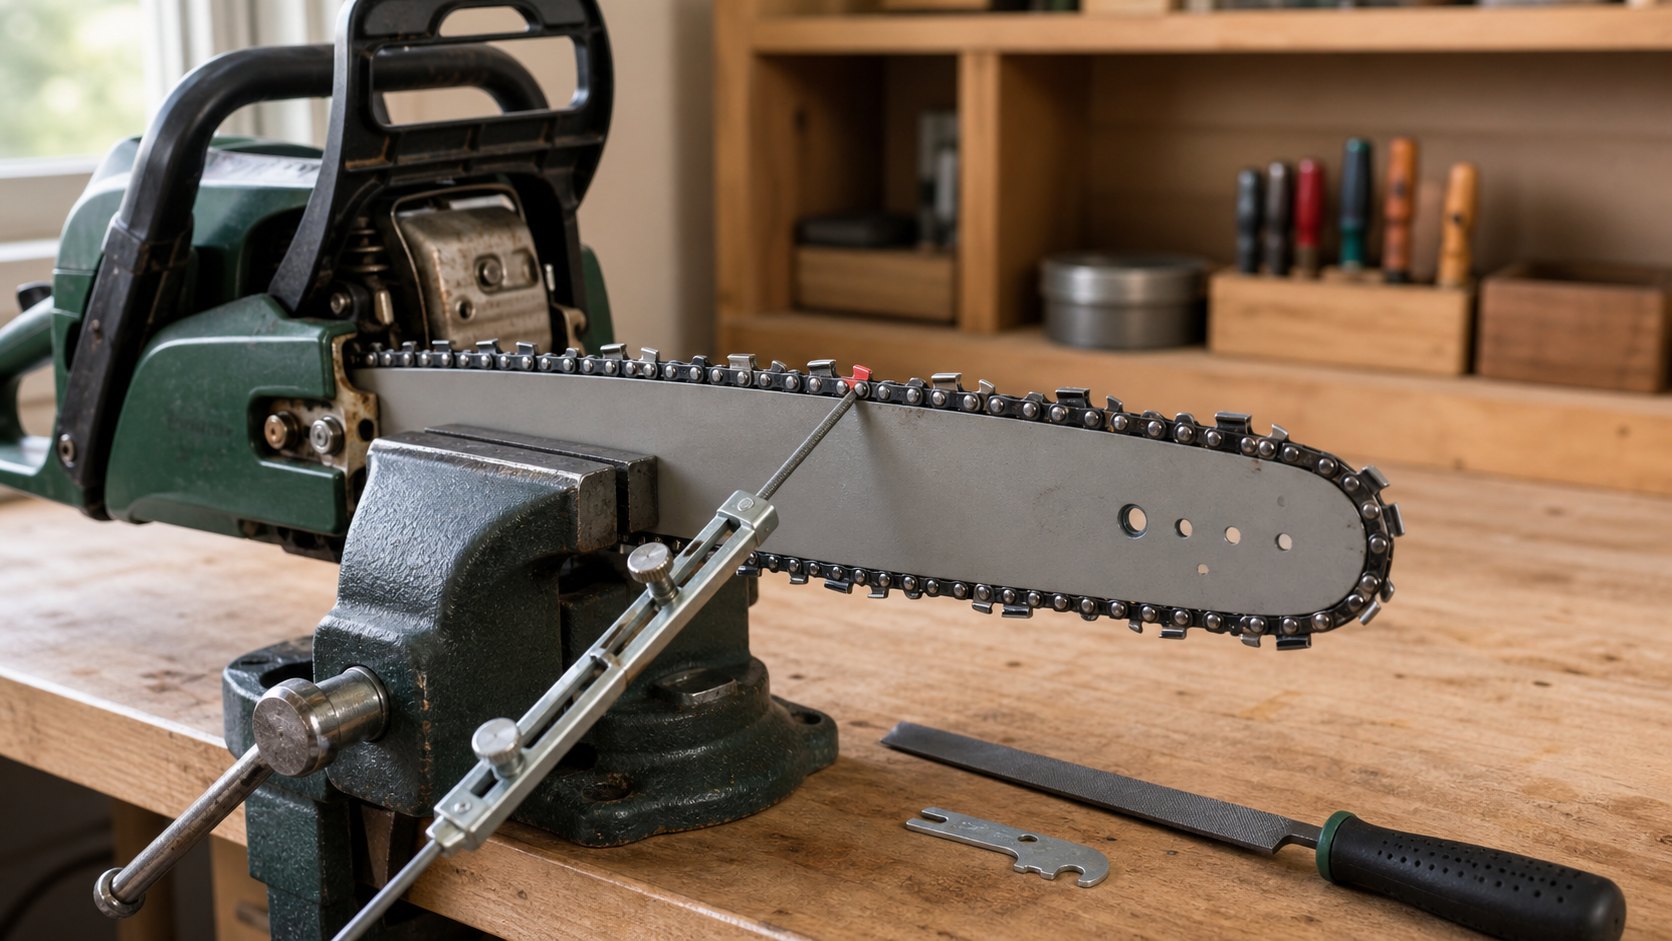
A file holder or roller guide is inexpensive, portable, and helps you see how a cutter is shaped. It is a strong choice for a homeowner with one saw, especially when light, frequent touch-ups are more common than major repairs.
The tradeoff is technique. You must keep the guide level, push consistently, and work both cutter directions without favoring your dominant hand. A basic loose round file has the lowest cost, but it removes the most guidance. Beginners generally learn faster with a holder that controls file height and provides a visible angle reference.
Combined cutter-and-depth-gauge guide
A matched two-function guide can reduce the number of separate setup decisions. Some designs use round files for the cutter and a flat file for the depth gauge in the same holder. This can suit occasional users who want a compact routine, but the guide still has to match the chain.
Do not assume that every combined guide works with every cutter sequence or chain family. Check the guide’s compatibility chart and follow its instructions. The depth gauge controls how much wood the cutter can take; lowering it by eye is not a beginner shortcut.
Compact powered or bench sharpener
A powered sharpener is useful when hand filing is difficult, several chains need attention, or cutters must be brought back to a common length after damage. A clamp, cutter stop, and repeatable head movement can make the workflow consistent once the machine is set correctly.
The learning curve moves from hand motion to machine setup. You need to identify the shortest damaged cutter, set the stop without forcing the chain, confirm the specified settings, and make light contacts that avoid excessive heat. A grinder does not automatically correct a poor setup; it repeats it across the chain.
Make the purchase decision in four stops
Use this flow before comparing individual products:
- Can you positively identify the chain? If no, stop. Find the chain code, packaging, or saw documentation, or ask a servicing dealer. A claimed “universal” tool does not replace chain identification.
- Is the chain merely dull and otherwise even? If yes, a matched guided file keeps the cutting edge visible and travels with the saw. If cutters differ markedly in length or have impact damage, a fixed grinder may make a controlled restoration easier—but replacement or dealer assessment may still be the right result.
- How many chains leave the saw? One household chain favors a portable guide. Several rotating chains make a rigid clamp, repeatable stop, and dedicated bench space more valuable.
- Can the tool handle depth gauges correctly? Confirm a matched depth-gauge tool and flat file, or a manufacturer-approved combined system. Do not choose a cutter tool while leaving depth-gauge work to guesswork.
After those four stops, compare guidance, stable holding, adjustment clarity, available consumables, and the effort needed to change between chain types. This separates the buying decision from the sharpening technique covered in the hand-sharpening workflow.
A first-chain workflow that exposes mistakes early
Work with the saw off, cool, and unable to start. Wear gloves and eye protection. Clean oily chips from the chain so cutter edges and damage are visible. Secure the bar or chain as directed by the tool and saw manuals; do not clamp a part that the instructions tell you to leave free.
1. Inspect before removing metal
Look at tie straps, drive links, rivets, cutters, and depth gauges under good light. A cracked component, damaged rivet, or cutter worn past its service mark is not a sharpening exercise. Replace or have the chain assessed.
Next, find the shortest cutter that can still be serviced. Mark it. This becomes the reference cutter, so you do not finish with one long tooth doing more work than its neighbors.
2. Make a test pass on the marked cutter
Set up the matched guide or grinder according to its manual. With a file, use smooth forward strokes and lift or relax pressure on the return. With a grinder, make light, controlled contacts and stop if the cutter begins discoloring. Do not copy a generic internet angle when the chain instructions specify something different.
Inspect that single cutter before continuing. The cutting corner should be clean, the top plate should not show a bright blunt line at its edge, and the tool should contact the intended surfaces. If the file sits too high or low, or the wheel touches an unexpected area, stop and recheck compatibility.
3. Establish a repeatable pattern
Work all cutters facing one direction, then reposition and do the opposite side. Keep the same body position, tool pressure, and reference marks. Equal stroke counts can be a useful starting discipline on evenly worn cutters, but the finished edge and cutter length matter more than the number alone.
On a grinder, check that the chain stop is bearing on the same part of each cutter and that the clamp removes movement without distorting the drive links. Brush filings from the stop and guide slot; a small chip under a reference surface can shift the next cutter.
4. Check depth gauges with the matched tool
As cutters are shortened, their relationship with the depth gauges changes. Use the gauge recommended for the chain, and remove only material that stands above it. Keep the flat file away from the newly sharpened cutting edge.
The STIHL filing guide instructions demonstrate stable holding, marking a starting cutter, forward file strokes, and consistent guide position. Husqvarna’s filing guidance also emphasizes using a matched filing gauge and consulting the saw instructions for exact depth-gauge information.
5. Clean, refit, and test without forcing the saw
Remove filings from the chain and bar groove, confirm correct chain direction, tension the chain according to the saw manual, and verify lubrication. Test in clean wood with a controlled stance. A sharp chain should feed without excessive pressure and produce defined chips rather than fine dust.
Stop if the saw pulls sideways, chatters, smokes despite correct lubrication and tension, or still requires hard feed pressure. Those symptoms call for inspection, not another blind pass with the sharpener.
What a beginner should buy with the sharpener
The useful kit is modest:
- A matched file, wheel, or sharpening accessory
- The correct depth-gauge tool and flat file if they are not integrated
- A stable bar vise, chain vise, or bench mounting hardware
- A marker for the reference cutter
- A stiff brush for filings and resin
- Eye protection and cut-resistant work gloves suitable for chain handling
- The chain and sharpener manuals at the bench
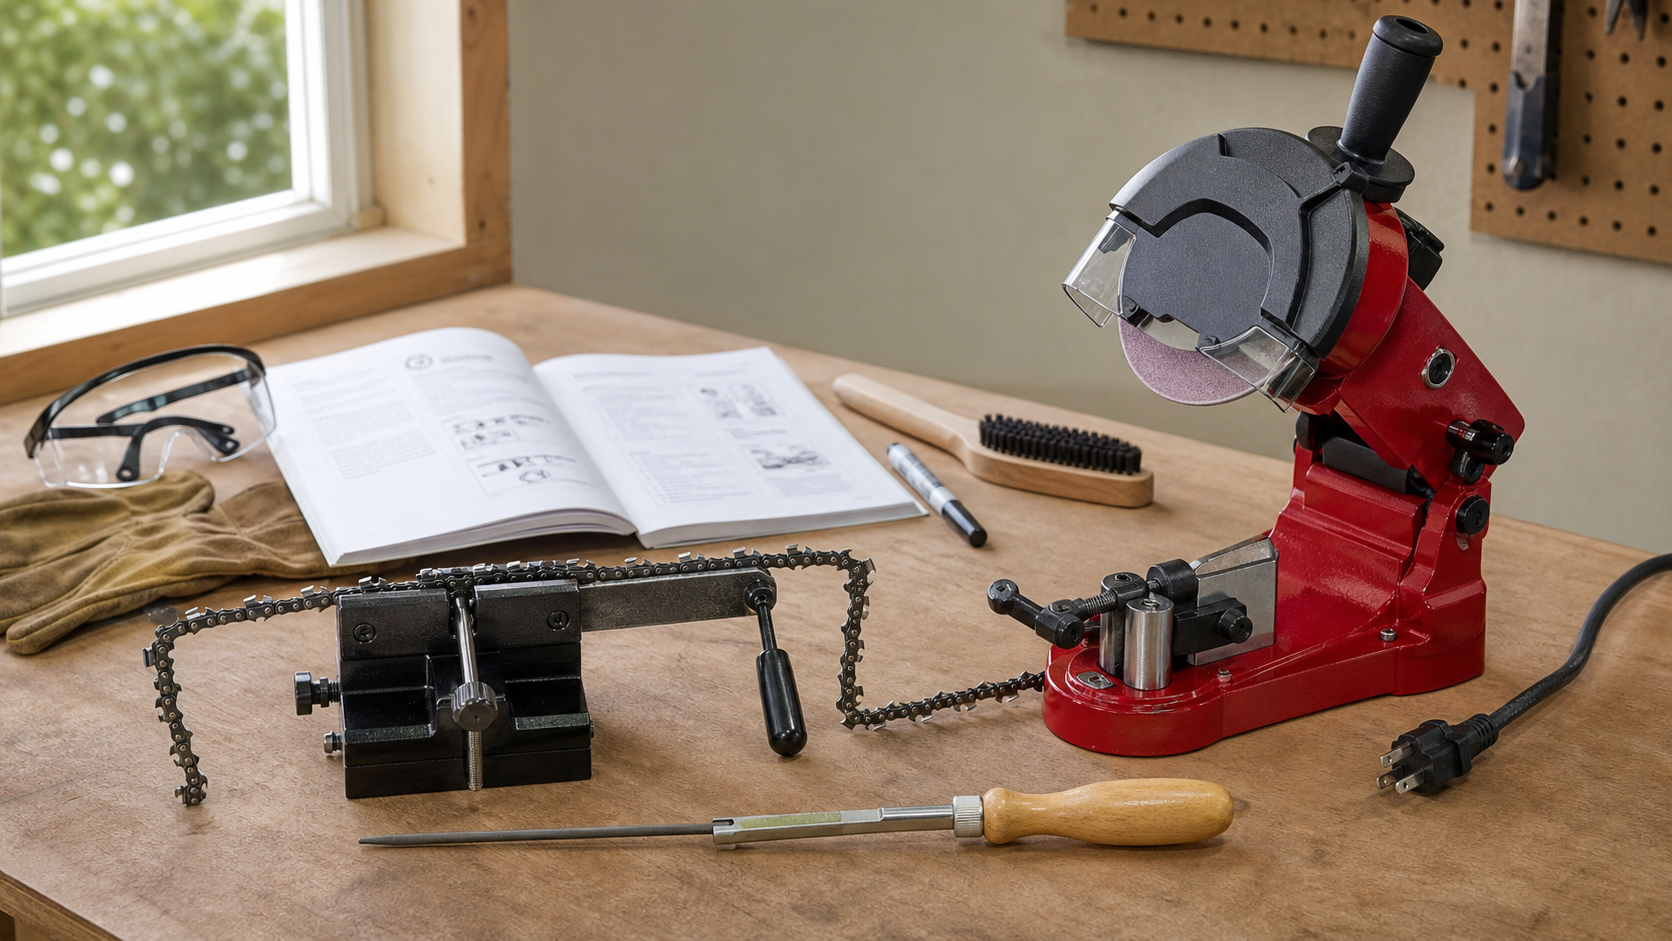
For a fixed home-workshop setup, the live KonKell 250W High-Speed Chainsaw Sharpener has a mountable base, an adjustable grinding-angle setup, and a listed chain-pitch range from 1/4 inch through 3/8 inch. That makes it a plausible fit for repeat bench work within the listed range, not a substitute for checking the exact chain, wheel profile, and instructions. It also needs a powered bench position and cannot replace a portable file in the field.
Avoid large kits filled with unmarked files or stones unless the seller provides a clear size chart and replacements. A smaller matched kit is more useful than many accessories whose cutting profile is uncertain.
Troubleshooting the first result
| Symptom after sharpening | First place to inspect | Next action |
|---|---|---|
| Saw still makes fine dust | Bright flat remains on the cutting edge; file or wheel contact is misplaced | Reconfirm tool size and guide position on one marked cutter |
| Saw pulls to one side | Left and right cutters differ in length, angle, or sharpness | Compare both sides and correct the longer or duller group carefully |
| Chain chatters or grabs | Depth gauges were lowered without the matched gauge, or cutters are uneven | Stop cutting and have settings checked before removing more material |
| Cutter turns blue or brown | Powered tool contact is too long or aggressive | Stop, allow cooling, dress/check the wheel, and use lighter contacts |
| Results change around the loop | Clamp, chain stop, guide slot, or file posture is shifting | Clean reference surfaces and lock the setup before continuing |
Do not try to “balance” a chain by repeatedly lowering depth gauges. They are not a cure for dull or mismatched cutters. If the chain has severe impact damage, multiple cutters near their wear limits, stiff links, or uncertain geometry, dealer sharpening or replacement is the more controlled choice.
When a beginner is ready for a bench grinder
Move to a bench grinder when your workload justifies a fixed setup, not because hand filing has gone poorly once. A grinder makes sense if you rotate several chains, regularly restore unequal cutters, or want to do maintenance at a dedicated bench.
Before the first full loop, practice the setup on a serviceable spare chain. Learn how the cutter stop seats, how the clamp behaves, how little wheel contact is needed, and how to check the first cutter. Record settings only for a positively identified chain; re-verify them whenever the chain type or wheel changes.
Oregon describes a round file and an electric grinder as the two main sharpening approaches. That is the practical distinction: one travels easily and keeps cutter contact visible; the other trades portability for a repeatable fixture. If a grinder begins producing inconsistent cutters after it once worked correctly, diagnose the clamp, stops, and wheel before changing chain settings; the sharpener maintenance checklist orders those checks.
FAQ
Is a manual or electric chainsaw sharpener better for a beginner?
A guided manual sharpener is usually the simplest start for one household saw because it is portable, affordable, and makes cutter contact easy to observe. A compact electric or bench sharpener can be better for several chains or uneven damage, provided the user is willing to learn the clamp, stop, wheel, and chain-specific settings.
How do I know which chainsaw sharpener fits my chain?
Identify the chain from its packaging, stamped code, saw manual, or bar information, then use the chain and sharpener makers’ compatibility charts. Confirm the specified file diameter or wheel profile rather than choosing by bar length. If markings conflict or the chain cannot be identified, ask a servicing dealer to match it.
Can a beginner sharpen a chain without removing it from the saw?
Yes, many guided hand-file systems are designed for sharpening on the bar. The saw must be off, cool, stable, and secured as its manual directs. Set the chain tension for stable filing, mark a starting cutter, and release and reset the chain brake only as needed to advance the chain safely.
How can I tell whether my first sharpening worked?
Inspect the edge under good light, then make a controlled test cut in clean wood. The chain should produce defined chips and feed without heavy pressure. Fine dust, sideways pull, chatter, smoke despite correct lubrication, or rapid dulling means you should stop and inspect cutter consistency, depth gauges, tension, and chain condition.