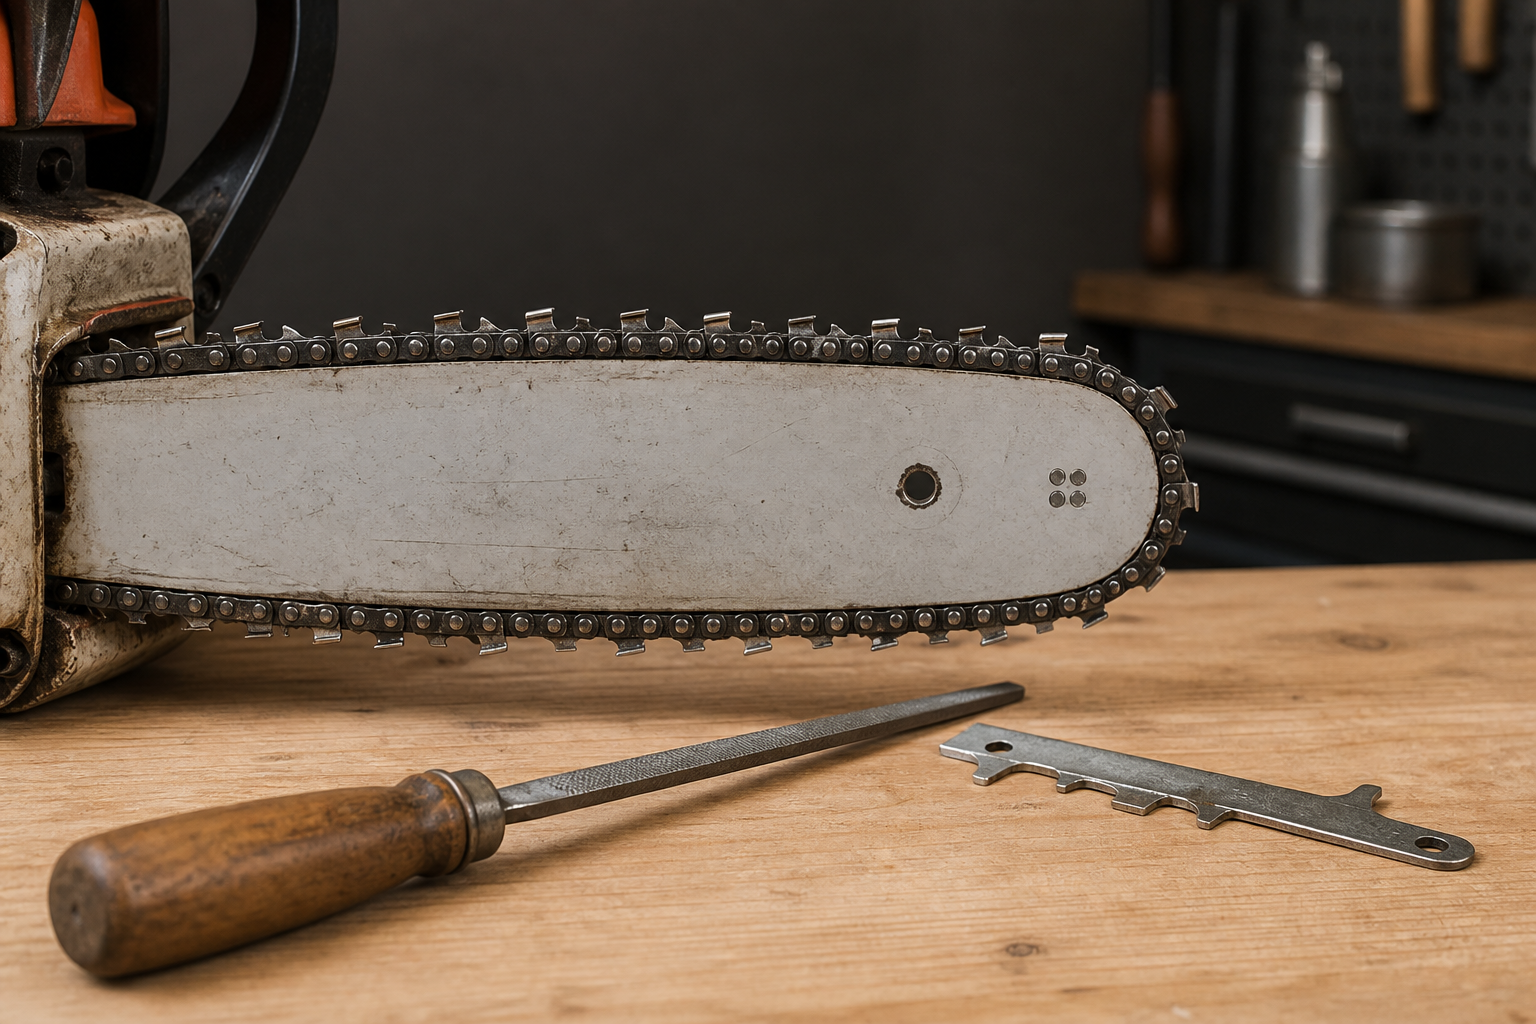
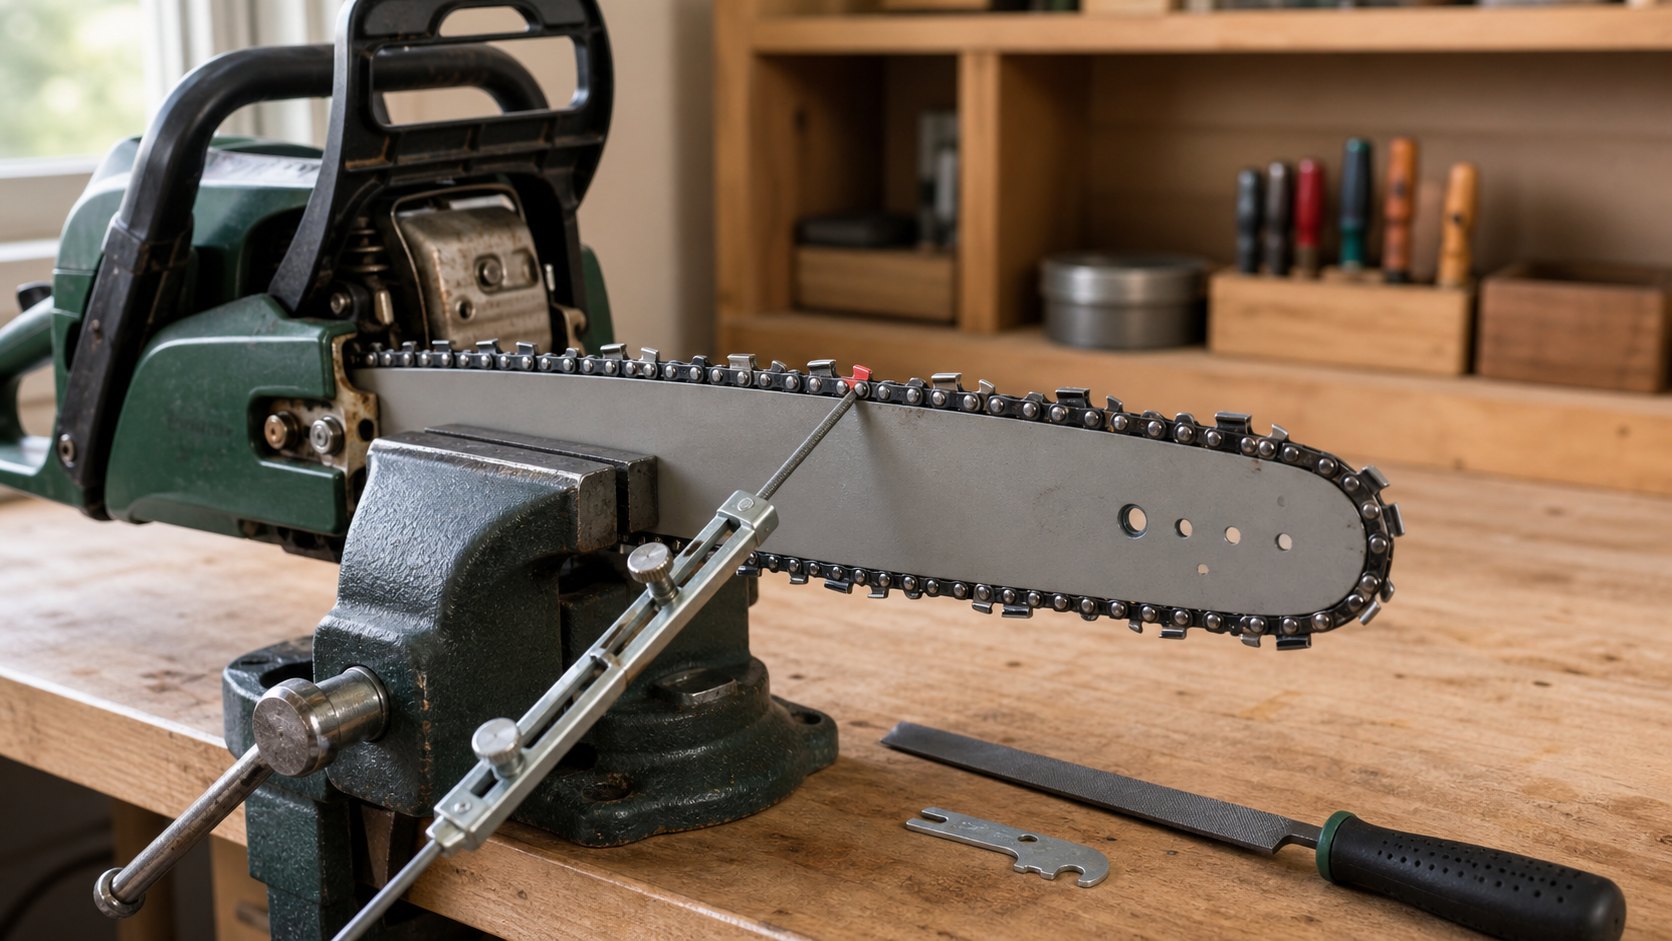
A chainsaw that makes fine dust after sharpening is usually not taking a clean bite, even if the cutter tips feel sharp to your finger. A good chain should pull itself into the wood and throw recognizable chips. Powdery dust means something in the cutter edge, depth gauge, bar setup, or cutting conditions is holding the chain back.
This guide is for homeowners, firewood cutters, and small-shop users who sharpen their own chains and need a practical bench check before removing more metal.
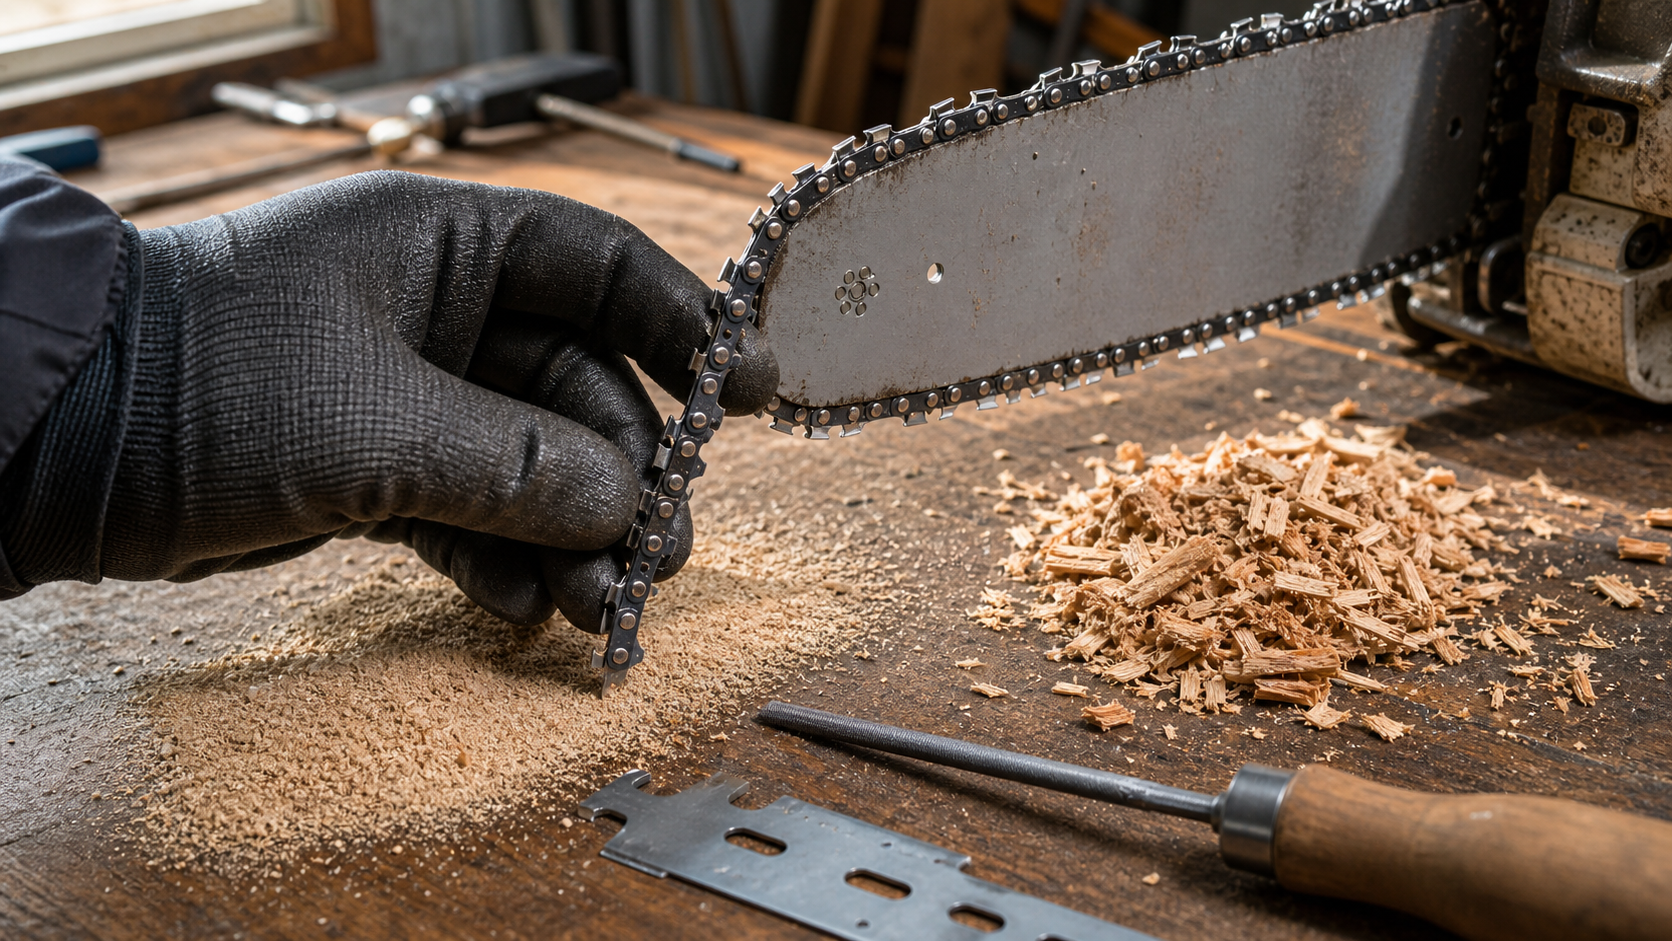
Read the Chips Before You Touch the File Again
Start with the waste coming out of the cut. Coarse chips usually mean the cutters are entering the wood and clearing material. Fine dust means the cutting edge is scraping, the depth gauges are limiting the bite, or the chain is being held at a poor angle by the bar or chain condition.
Do not sharpen the whole loop again yet. Pick three or four cutters on each side and inspect them under good light. Look at the top plate edge, side plate edge, chrome line, gullet, and depth gauge. A chain can feel sharp on one corner while still having a rolled working edge or a depth gauge that sits too high for the shortened cutter.
Also note whether the saw still feeds straight. If it cuts slowly but straight, focus first on cutter sharpness, depth gauges, and wood condition. If it cuts slowly and pulls left or right, compare left and right cutter length and angle before blaming the engine, motor, or bar oil.
Dust After Sharpening Diagnostic Table
| Checkpoint | What to look for | Why it matters |
|---|---|---|
| Cutter working edge | Shiny rolled edge, blunt corner, burr folded over, damaged chrome line | A cutter can look filed but still scrape instead of slicing |
| File or wheel position | File held too high or low, wrong file size, wheel touching the wrong part of the tooth | Poor contact changes the cutter shape and weakens the bite |
| Depth gauges | Rakers still proud after several sharpenings, uneven heights, damaged leading shape | Depth gauges control chip thickness and feed pressure |
| Left-right consistency | One side shorter, steeper, or cleaner than the other | Uneven cutters can make the chain rub, pull, and make dust |
| Bar and chain fit | Pinched bar groove, worn rails, tight joints, poor tension | A chain that cannot sit square will not cut cleanly |
| Wood and technique | Dirty bark, frozen or very dry wood, forcing the saw | Abrasive material and feed pressure can hide a sharpening problem |
Use the table as a sorting tool. The goal is not to find one dramatic fault. Most dust problems come from two or three small errors adding up: a tired file, high depth gauges, and one side of the chain filed shorter than the other.
Check the Cutter Edge, Not Just the Point
The cutting corner gets attention because it is easy to see, but the working edge includes the top plate and side plate. A bright line along the edge often means the cutter is still dull. A rocked chain may have tiny chips or flat spots on several cutters. If the file only polished the damaged edge instead of cutting past it, the chain will still produce dust.
Use a marker if you are unsure where the file or wheel is touching. Darken one cutter, take one careful stroke or light grind, and inspect the contact mark. The tool should be restoring the cutting edge without digging randomly into the tie strap, leaving the gullet untouched, or rounding over the top plate.
If several cutters are badly rocked, do not try to fix the whole loop with extra pressure. Set the shortest damaged cutter as the reference and bring the rest down evenly only if the chain still has enough service life. If that would remove excessive metal or leave uneven geometry, replacement is cleaner than chasing a worn loop.
Depth Gauges Can Make a Sharp Chain Act Dull
Depth gauges, often called rakers, control how far each cutter enters the wood. STIHL’s sharpening material explains that the depth gauge setting determines chip thickness, and Oregon’s maintenance guidance recommends checking depth gauges after repeated sharpenings. That is the key point for this problem: as cutters get shorter, an unchanged depth gauge can become too high relative to the cutting edge.
When the depth gauges are too high, the cutter may skate across the wood. The chain may still feel sharp by hand, but it cannot take a proper chip. The operator then leans harder on the saw, which adds heat, dust, and wear without fixing the bite.
Use the correct depth gauge tool for the chain. Do not eyeball it with a flat file. Lay the gauge on the chain, file only what protrudes, and keep the front shape smooth. Removing too much can make the chain grabby and harder to control, so treat depth gauge work as measurement, not a habit.
Run a Clean Test-Cut Workflow
Before changing multiple settings, make one controlled test. Clean enough oil and filings from the chain to see the cutters. Confirm chain tension against the saw manual. Check that the bar groove is not packed with debris and that the chain moves freely with the saw powered off.
Then sharpen one reference cutter slowly and inspect the result. Match the same number of strokes, or the same light grinding touch, on cutters of the same side. Turn the chain and repeat on the opposite side with the same setup. Do not mix a heavy correction on one side with a light touch on the other.
After that, check the depth gauges with the right gauge. If they need adjustment, file only until the gauge says they are correct. Brush filings away and oil the chain. Make a short cut in clean wood without forcing the saw. Let the chain feed. If chips improve, the problem was sharpening geometry or depth gauge height. If dust remains, move to bar, chain condition, and wood variables.
When the Sharpener Setup Is the Problem
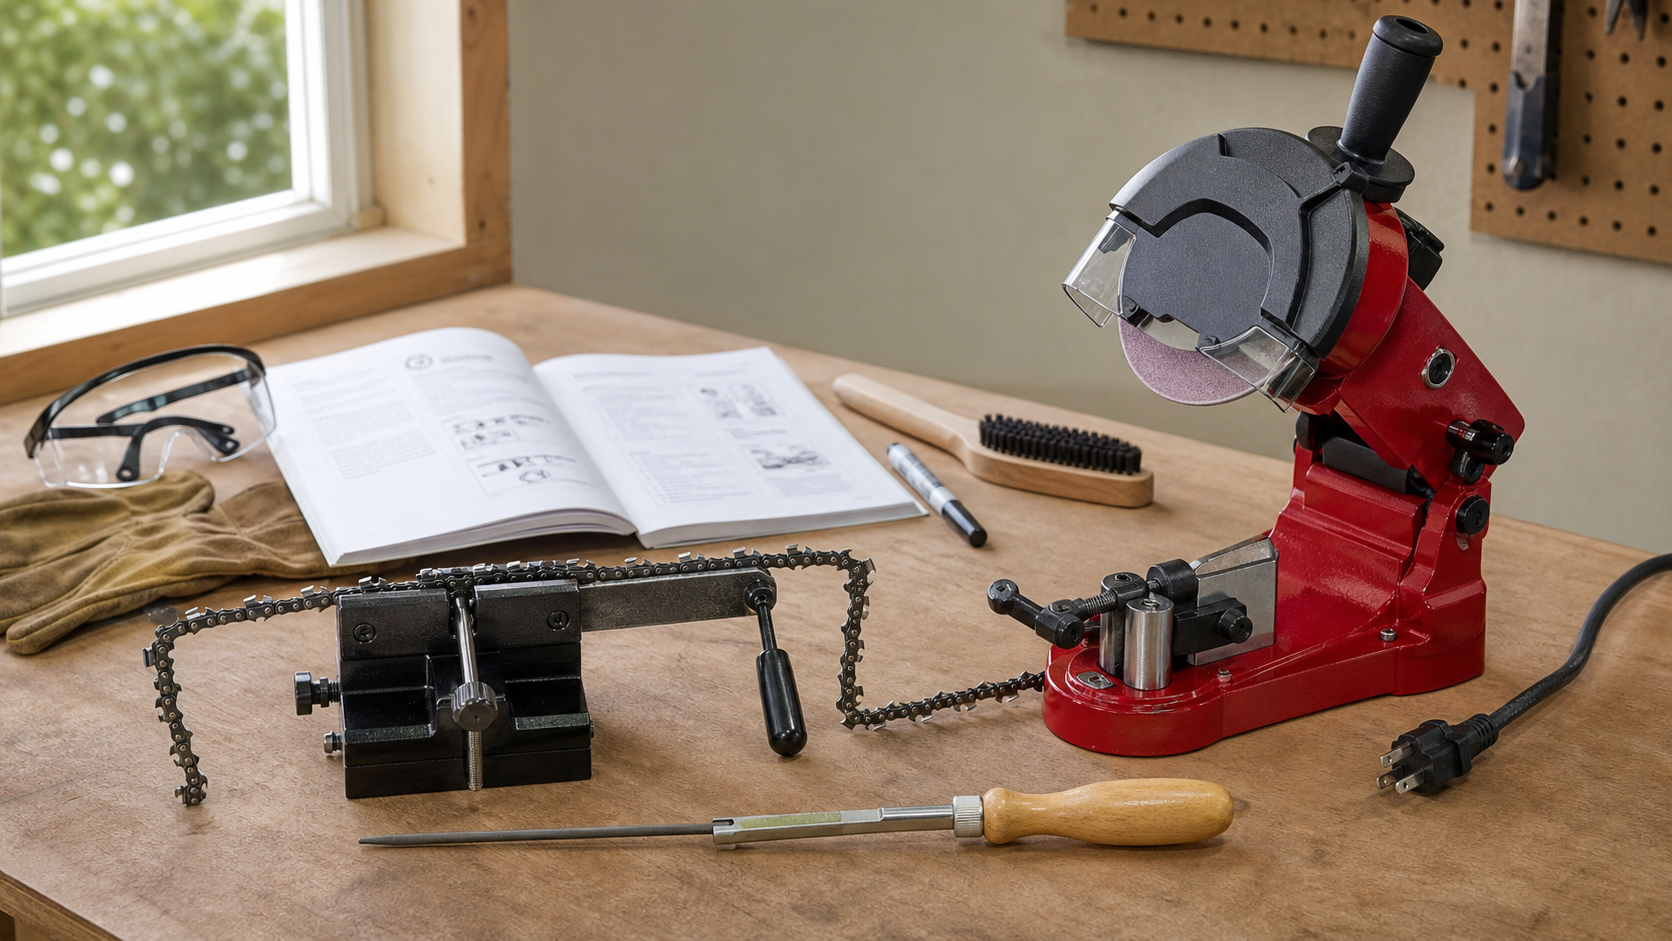
A repeatable sharpening setup matters most when you are trying to diagnose dust. If the clamp holds the chain slightly crooked, the file guide is worn, or the grinder stop changes depth between cutters, the chain may come off the bench with mixed cutter shapes.
Clean the clamp, guide slot, stop surfaces, and abrasive before making angle changes. Packed oil and filings can lift the drive links or tilt the cutter. For electric sharpeners, watch for discoloration on cutters; overheated metal can lose edge quality. For file-based sharpeners, replace a file that skates or needs heavy pressure.
This is where a consistent guide earns its place. If you are moving from freehand touch-ups to a bench routine because your chains keep making dust after sharpening, KonKell Chainsaw Sharpeners are a practical option to compare for repeatable chain positioning, cleaner angle control, and easier cutter-by-cutter inspection.
Other Causes That Look Like Bad Sharpening
Not every dusty cut starts at the cutter. Dirty bark can dull a fresh edge quickly. Very dry, punky, or frozen wood may produce smaller chips than clean green wood. A bar with uneven rails can make the chain lean. Tight chain joints, damaged drive links, or a worn sprocket can keep the loop from feeding smoothly.
If a newly sharpened chain makes dust only in one log, test it in clean scrap wood before changing the chain. If it makes dust in every cut, inspect the chain. If a different chain cuts well on the same saw and bar, the first chain is the problem. If several sharp chains cut poorly on the same saw, inspect bar condition, lubrication, tension, and drive components.
Also pay attention to pressure. A sharp chain should not require you to lean hard on the saw. Forcing a dull or poorly set chain can accelerate bar wear and hide the real symptom. Let the waste tell you what is happening.
When to Stop Correcting and Replace the Chain
Stop sharpening if cutters are cracked, tie straps are damaged, drive links are bent, or the cutters are too short to restore evenly. Also stop if previous depth gauge work went too low across much of the chain. In many cases, it is not practical to file the cutters back far enough to compensate for depth gauges that were lowered too much.
Replacement is not a failure of technique. A chain is a wear part. If the loop has been rocked, overheated, filed unevenly many times, or damaged structurally, a new chain is often cheaper than a long correction session that still cuts poorly.
FAQ
Why does my chainsaw make dust after I sharpened it?
The most common reasons are a rolled or incompletely restored cutter edge, depth gauges that are too high after several sharpenings, inconsistent left-right cutter geometry, or a chain that is not sitting square on the bar. Check the cutter edge under good light before sharpening the whole loop again.
Can high depth gauges cause sawdust instead of chips?
Yes. If the depth gauges sit too high relative to the shortened cutters, the cutters cannot take a full bite. The chain may feel sharp, but it skims the wood and produces fine dust. Use the correct depth gauge tool for the chain and remove only what the gauge calls for.
Should I press harder when a sharp chain makes dust?
No. Extra pressure usually adds heat and wear without correcting the edge or depth gauge problem. A properly sharpened and set chain should feed with moderate pressure. If it will not, stop and inspect the chain, bar, tension, and wood conditions.
How do I know if the chain is too far gone to fix?
Replace the chain if cutters are cracked, severely uneven, overheated, or too short to bring back consistently. Also replace it if drive links, tie straps, or many joints are damaged. If correction would require removing a lot of metal across the whole loop, a fresh chain is usually the better repair.
Source Notes
This guide was grounded against STIHL sharpening guidance on chip formation and depth gauge function, Oregon saw chain maintenance guidance on checking depth gauges after sharpening, and Oregon grinder/manual cautions about incorrect setup and overheated cutters. Always verify chain-specific file size, angle, and depth gauge settings against the chain or saw manual before removing metal.