To reduce chainsaw kickback risk, keep the upper part of the guide-bar nose away from wood and hidden obstacles, plan how the cut could close, and keep both hands and your body positioned to control an unexpected reaction. Stop before cutting if you cannot see the bar nose, predict how the wood will move, confirm the saw’s safety features and cutting attachment, or maintain firm footing.
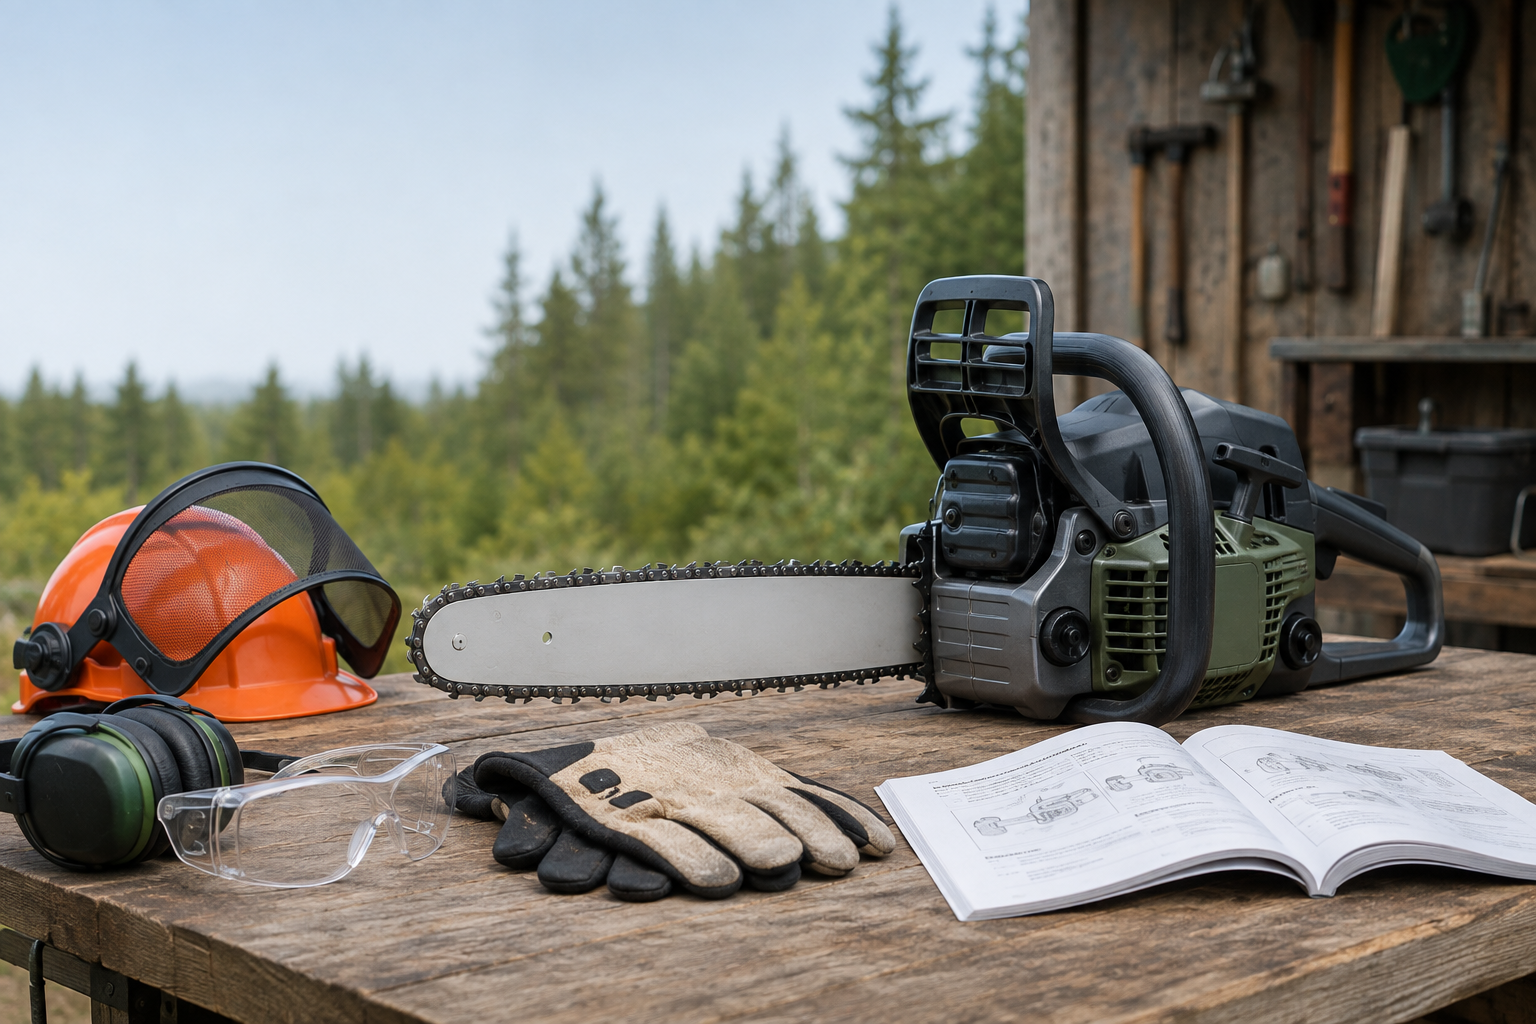
This guide is for an occasional operator making ordinary ground-level cuts in stable, fully downed wood. It is not instruction for felling, bore cutting, overhead work, storm-damaged trees, spring poles, or tangled and tensioned material. Those jobs require additional training and may require a qualified professional.
Understand the two paths to a kickback
Kickback is not simply a saw that “jumps.” The Canadian Centre for Occupational Health and Safety describes two related events:
- Rotational kickback: the moving chain near the upper part of the bar nose contacts a log, branch, the ground, or another object and drives the guide bar rapidly upward and back.
- Pinch kickback: the cut closes and pinches the moving chain, producing a backward reaction.
The first is why the bar nose must remain visible and clear. The second is why looking only at the nose is incomplete: the operator also has to understand where the wood is supported, which side is under compression, and what may move as the cut develops.
Other reactive forces can pull the saw forward or drive it straight back. The exact reaction depends on where the chain is stopped. Do not try to identify the force after the saw starts behaving unpredictably. Release the throttle, stop the saw by the model’s documented procedure, and reassess with the power source disabled.
Use the nose, load, position check before every cut
Pause with the saw off and answer all three questions. A blank or uncertain answer is a stop sign, not a reason to make a test cut.
| Check | Ready to continue | Stop before starting |
|---|---|---|
| Nose: Where can the upper bar nose go? | The full nose and the space beyond it remain visible; no log, branch, ground, fence, stone, or second piece can enter that space. | The nose will be buried from view, pass close to another object, or enter an old cut. |
| Load: What will the wood do as fibers separate? | The piece is stable and its supports and likely movement are understood within a trained, manual-approved cutting plan. | The kerf may close, the piece can roll or drop, or the wood is bent, hung, split, storm-loaded, or supporting another piece. |
| Position: Where would the saw and wood move? | Both feet are secure, both hands can stay on the handles, the work is at a controllable height, and the operator’s head and torso are outside the guide bar’s likely path. | The cut requires reaching, one-handed use, working above the permitted height, standing on the wood, or placing the body in line with the bar. |
This short check is more useful than memorizing “do not use the tip” alone. A hidden branch can contact the nose during limbing, and a predictable-looking log can still close on the bar when its support changes. If the loading is not obvious, do not improvise a relief cut from an online diagram; use trained help.
Make the saw pass a manual-first pre-use check
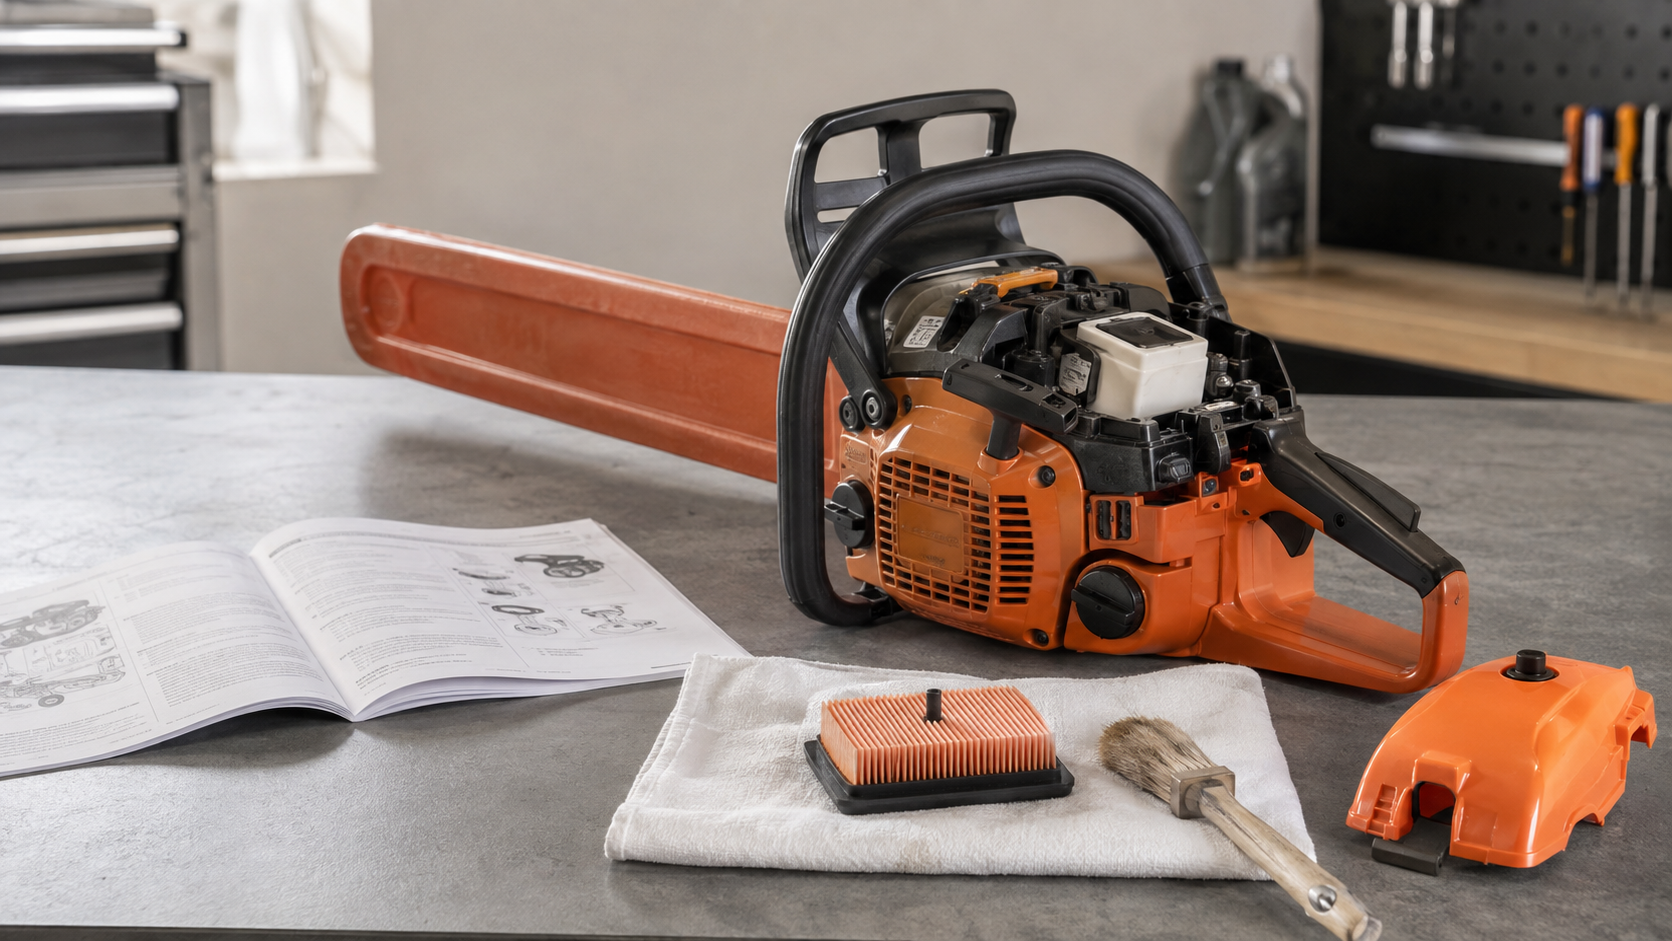
Find the operator manual for the exact model and follow its startup, safety-feature, chain, bar, and maintenance instructions. Controls and test procedures differ between gasoline, battery, and corded saws. A procedure for a similar-looking model is not enough.
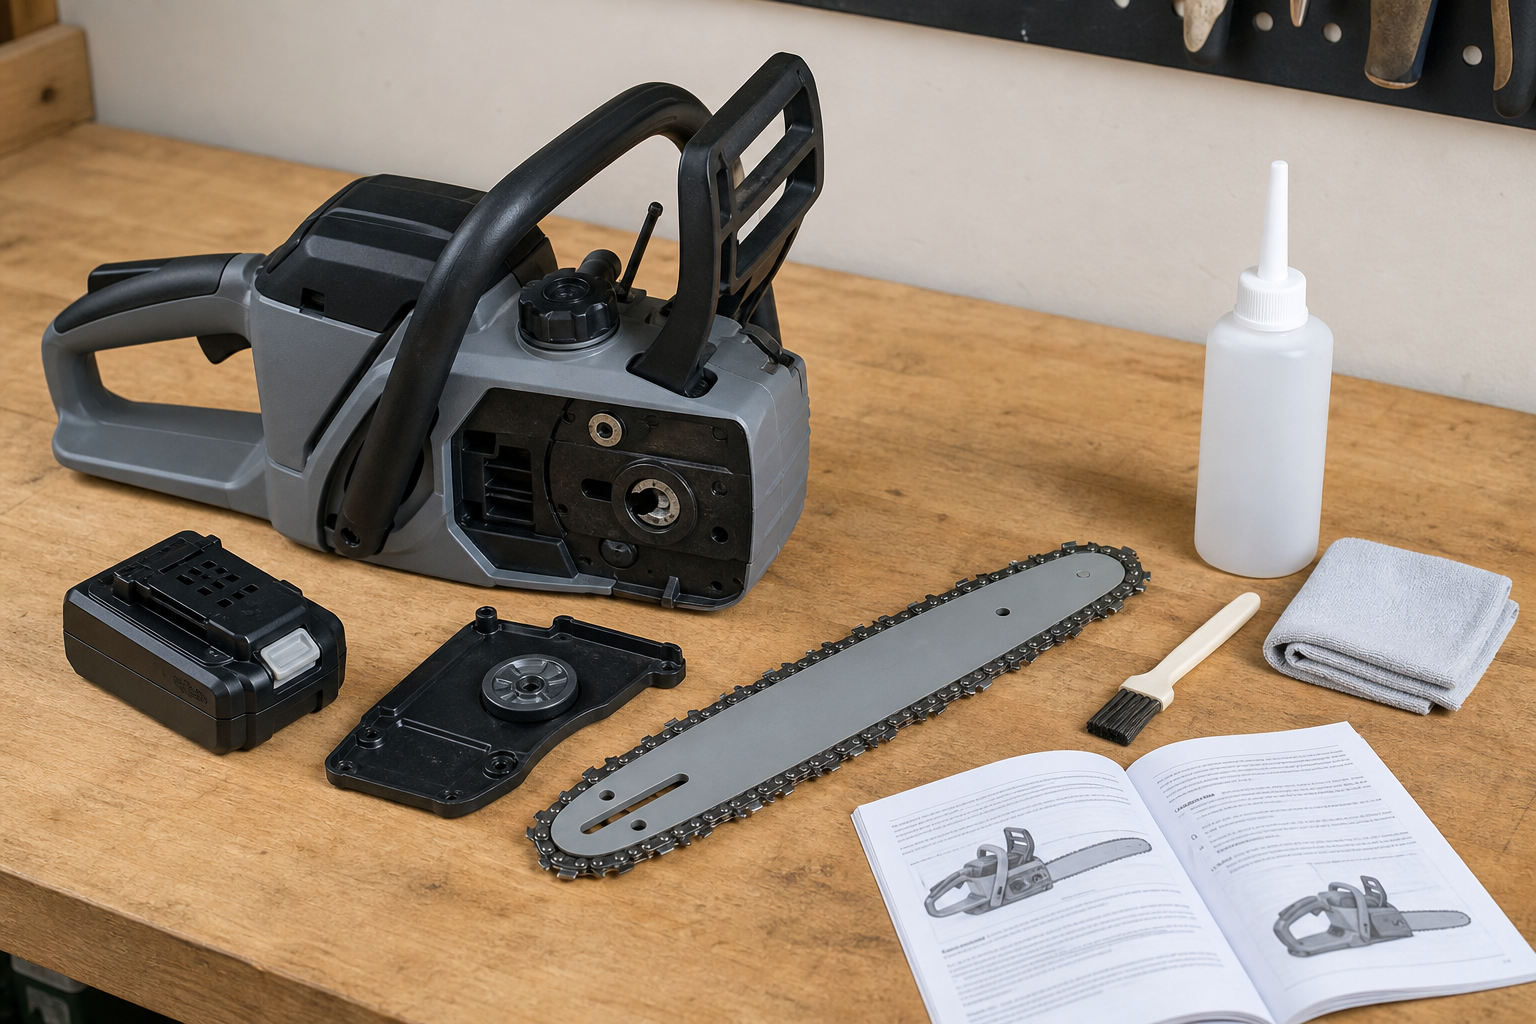
With the saw cool and disabled as the manual directs, check:
- the front hand guard, chain brake, throttle interlock, stop control, chain catcher, handles, and fasteners required by the manual;
- the approved guide-bar and chain combination, including matching pitch and gauge;
- chain condition, sharpening, depth-gauge setting, and cold-chain tension against the manufacturer’s specifications;
- bar condition and lubrication; and
- dry, clean handles that allow a full grip.
Do not cut if a safety feature is missing, damaged, contaminated beyond owner cleaning, or fails its prescribed check. The chain-brake test guide explains how to separate a stationary observation from the model-specific functional test without inventing a universal procedure.
If the chain is damaged, will not hold the specified tension, or cannot be matched to the saw and bar, keep the saw out of service. The bar and chain maintenance guide covers the cutting-attachment checks that belong before work.
Control the saw without relying on a safety device
Use the grip and operating position described in the manual. Manufacturer guidance consistently calls for both hands around the intended handles, with thumbs and fingers wrapped around them, and secure footing. Keep the bar nose in view and the cutting path clear of foreign objects such as nails, wire, stone, and the ground.
Do not operate one-handed, above the height allowed by the manual, from a ladder, while overreaching, or while standing directly in the likely path of the guide bar. Do not cut more than one piece at a time. Small brush and hidden branches can catch the chain or contact the nose, so they are not automatically easier or safer than a clean log.
Follow the model manual for chain speed, bumper-spike use, and the permitted way to enter a cut. Do not attempt a bore or plunge cut without the specific training the technique requires. If the guide bar is already pinched, stop the power source and use a trained release plan; do not race the engine or pull and twist a running saw free.
Know what the chain brake can and cannot do
A working chain brake is required safety equipment, but it does not prevent kickback. Depending on the saw and event, the brake may be activated by contact with the front hand guard or by inertia. It still needs enough time, distance, and proper maintenance to stop the chain before contact, and it may not activate in every kickback situation.
Treat a successful brake check as one gate, not permission to expose the bar nose. Never continue using a saw because you expect the brake to rescue a poor cut plan. If its operation changes or it fails the manufacturer’s check, stop and arrange qualified service.
Low-kickback chain and reduced-kickback guide bars can reduce risk; they do not eliminate it. Install only combinations approved for the exact saw. An aggressive, mismatched, damaged, dull, or incorrectly sharpened chain can change the behavior that the original cutting-attachment design was intended to provide.
Stop when the wood or work area falls outside the plan
The correct safety decision is often to leave the saw off. Do not proceed when:
- the bar nose or the space around it will disappear from view;
- a second branch, log, the ground, or a hidden object can touch the kickback zone;
- the cut may close on the top of the chain or the support can change unpredictably;
- wood is hung, bent, twisted, storm-damaged, attached to a root plate, or under an overhead load;
- the piece can roll toward the operator or move into the stance area;
- footing, light, weather, fatigue, bystanders, animals, traffic, or utilities make control uncertain; or
- the task requires felling, climbing, overhead cutting, or a bore cut beyond the operator’s training.
CDC guidance warns that bent or trapped storm debris can release stored energy violently. Use the storm-cleanup triage guide to identify work that should be isolated and handed to a trained operator instead of applying ordinary firewood methods.
After a kickback or hard chain stop
Do not immediately reset your stance and continue the cut. Stop the saw using the documented control, engage the chain brake if the manual directs it for shutdown or movement, and disable the power source before inspecting anything.
Check yourself and anyone nearby first. Seek emergency help for an injury. Then examine the work area from a safe position: determine what contacted or pinched the chain and whether the wood is now less stable than before.
Inspect the saw only to the level assigned to the owner. A hard stop can damage or displace the chain, bar, sprocket-cover area, hand guard, or brake components. Do not restart until the cause is understood, the wood has a safe plan, and every affected part passes the exact manual’s inspection. Changed brake action, visible damage, a derailed chain, or any uncertainty means qualified service.
Questions beginners ask
What part of a chainsaw causes kickback?
The highest-risk contact area is the upper part of the guide-bar nose, often called the kickback zone. Kickback can also occur when wood closes and pinches the moving chain. That is why a pre-cut check must cover both the bar nose and the load in the wood.
Does a chain brake stop every kickback?
No. A chain brake is designed to reduce injury risk in certain events if it activates and works correctly; it does not prevent the reactive force itself or guarantee that the chain stops before reaching the operator. Keep it maintained and tested as the manual specifies, but never substitute it for a clear nose, stable wood, two-handed control, and safe body position.
Can an electric or battery chainsaw kick back?
Yes. Kickback comes from the moving chain contacting an object near the upper bar nose or being pinched, not from the fuel type. Use the exact manual for the electric, battery, or gasoline saw because disabling, starting, controls, and safety checks differ.
Does a sharp chain eliminate kickback?
No. Correct sharpening, depth-gauge settings, tension, and lubrication help the cutting attachment behave as designed, but they cannot make nose contact or a closing kerf safe. An incorrectly sharpened chain can increase risk, and even an approved low-kickback chain does not remove the hazard.