Depth gauges that sit too high can limit how much wood the cutters take; gauges filed too low can make the chain grab, chatter, and cut too aggressively. Those symptoms are clues, not proof—inspect the stopped chain with the correct manufacturer-specified gauge before removing any more metal.
Read the cut, then verify the chain
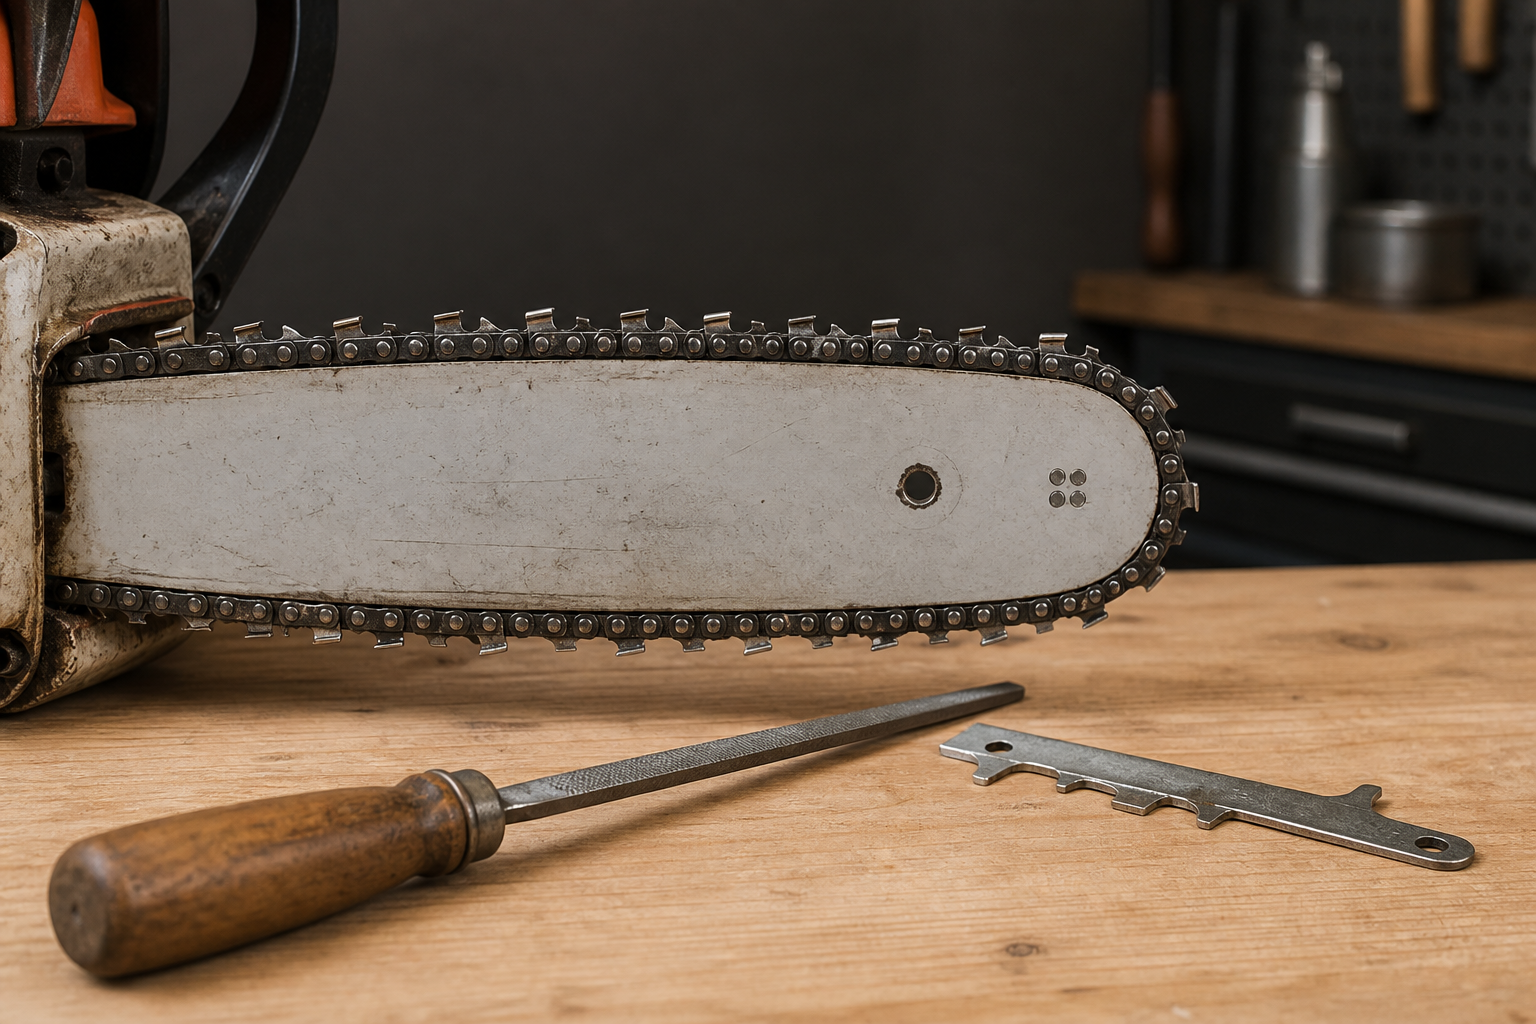
A depth gauge is the raised part immediately ahead of each cutter. Its height relative to that cutter controls the bite. Because sharpening shortens the cutter, the relationship changes even when the depth gauge itself has not been touched.
Do not diagnose that relationship by eye alone. A dull cutter, incorrect tension, poor lubrication, mismatched chain, or worn guide bar can produce overlapping symptoms. If the cutters are visibly damaged or still dull, deal with that first; our dull-after-sharpening diagnostic helps separate edge problems from setup faults.
| What happens in the cut | What the depth gauges might be doing | Stationary check | Decision |
|---|---|---|---|
| Sharp-looking cutters make fine material and need steady pushing | Too high relative to the cutters, so each tooth takes too little wood | Identify the chain and place its specified depth-gauge tool over each cutter-and-gauge pair | File only protruding material as the chain maker directs; if the gauge shows no excess, inspect cutter sharpness, chain direction, tension, and lubrication |
| The chain grabs, chatters, or feeds harshly | Too low, uneven, or incorrectly shaped | Compare every gauge with the correct tool and inspect the leading profiles for inconsistent filing | Stop using the chain. Filing cannot add metal back; ask the chain maker or a servicing dealer whether replacement is required |
| The saw veers in one direction | Uneven depth-gauge relationships are possible, but unequal cutters or guide-bar wear are also common suspects | Compare right- and left-hand cutter condition, then gauge each matching depth gauge | Use the chain-or-bar isolation checks before filing all gauges |
| The chain cuts poorly with damaged links, cracks, or cutters at a discard mark | Depth-gauge adjustment is not the repair | Inspect the full loop against the chain maker’s service limits | Retire the chain rather than trying to tune around structural damage |
The table is an isolation tool, not a license to make a test cut with a suspect chain. If the saw is difficult to control, the chain is damaged, or you cannot identify the correct gauge, stop there.
Use a gauge matched to the chain
Pitch alone does not always identify the correct filing tool or setting. Start with the chain’s exact manufacturer and model, then use that maker’s current filing chart, package, or manual. Husqvarna, for example, publishes chain-specific file and depth-gauge recommendations and tells users to consult the saw manual for exact information.
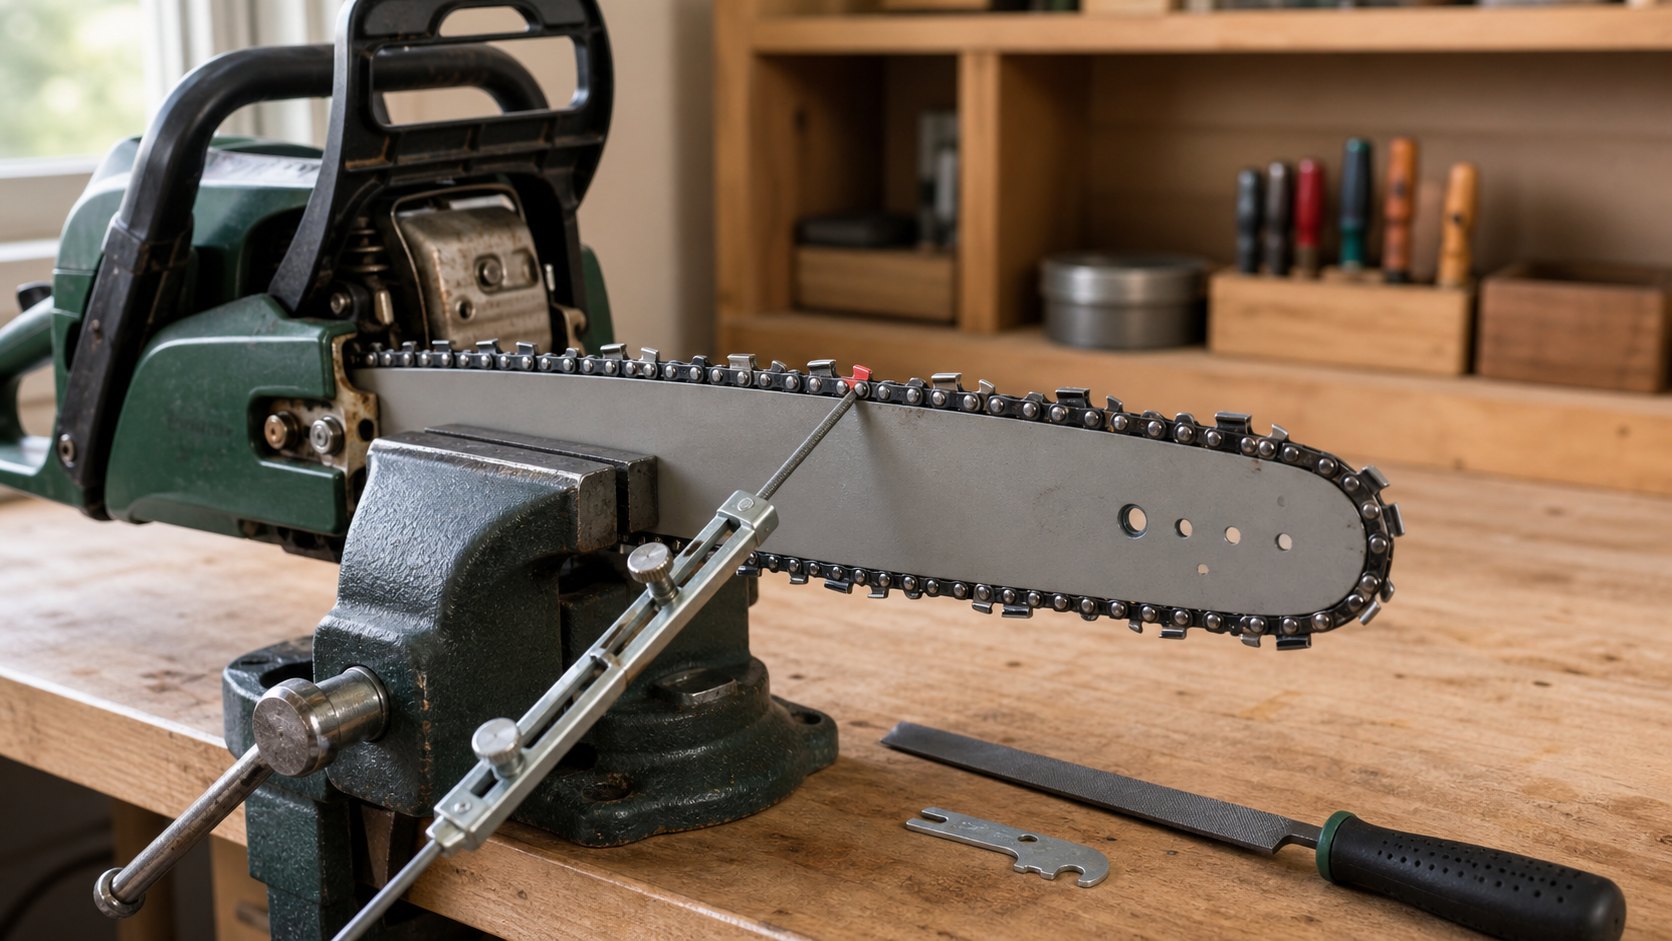
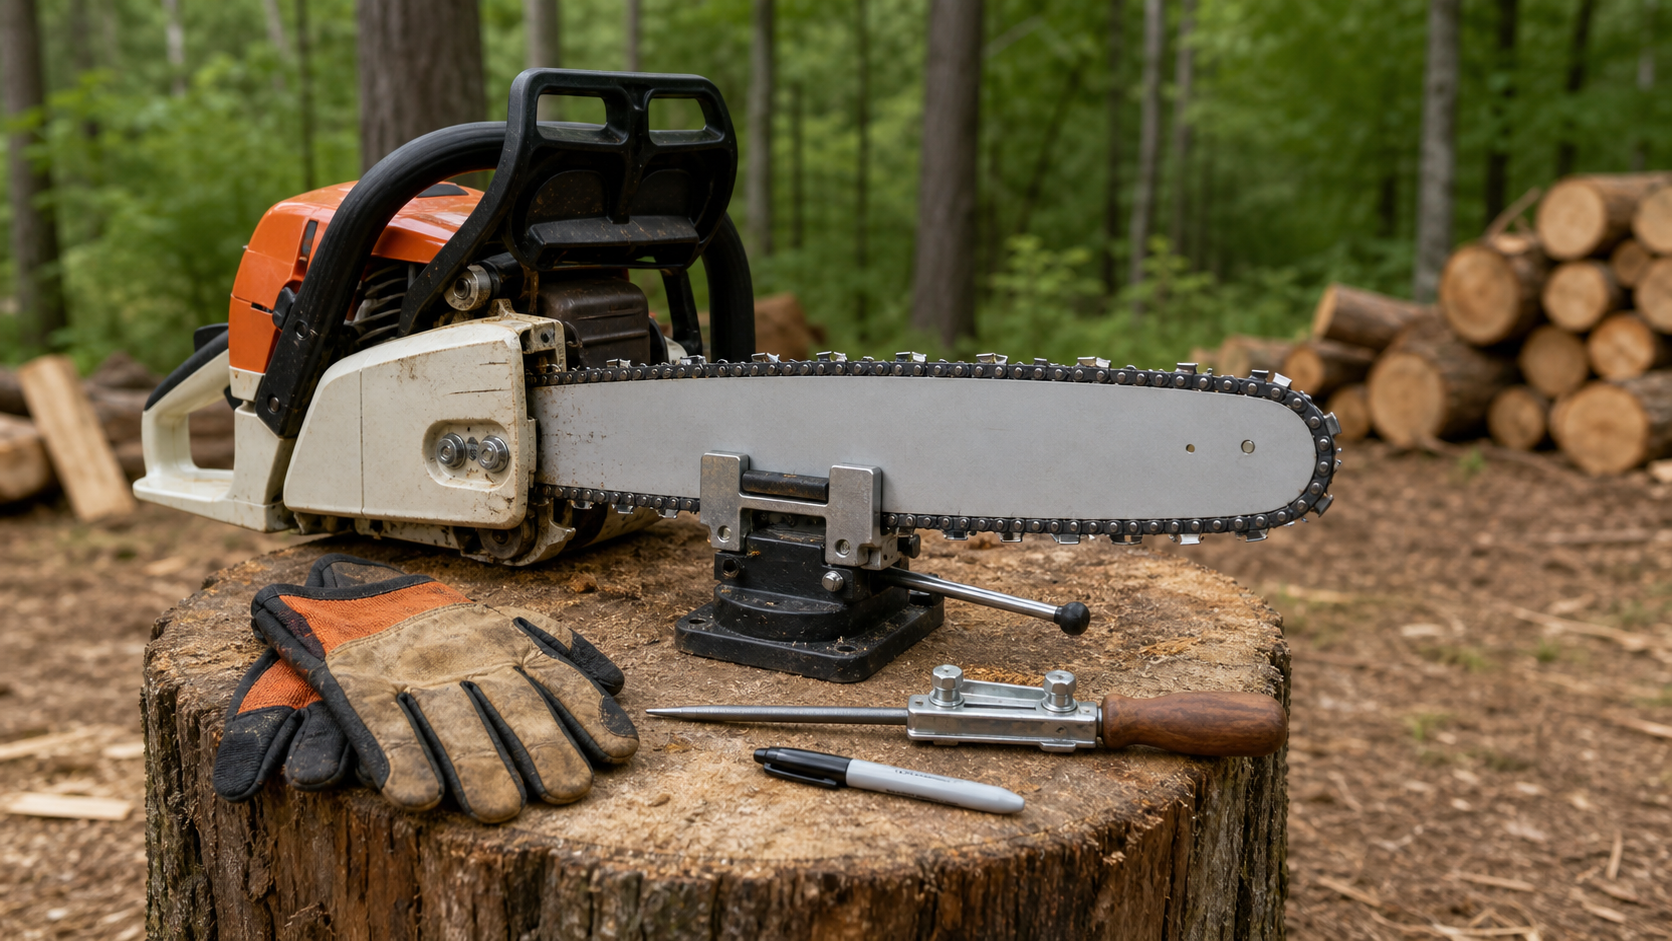
With the power source disconnected as the saw manual requires, clean enough residue away to seat the tool fully. Stabilize the bar, wear cut-resistant gloves when handling the chain, and mark a starting cutter. File the cutters first. Then place the correct depth-gauge tool in the specified orientation over the cutter-and-gauge pair.
If the depth gauge projects through the tool:
- Use the flat file and stroke direction required by the tool or chain maker.
- Stop when the file reaches the guide; do not add extra strokes “for performance.”
- Restore the leading profile only as the maker directs.
- Advance around the entire loop once, checking each cutter with its own depth gauge.
Do not copy a generic clearance measurement from another chain. Chain designs differ, and a fixed straightedge measurement can ignore the cutter’s changing geometry. If you cannot positively identify the chain, use the evidence ladder in How to Identify a Chainsaw Chain or take the loop to a servicing dealer.
What an electric sharpener does not settle
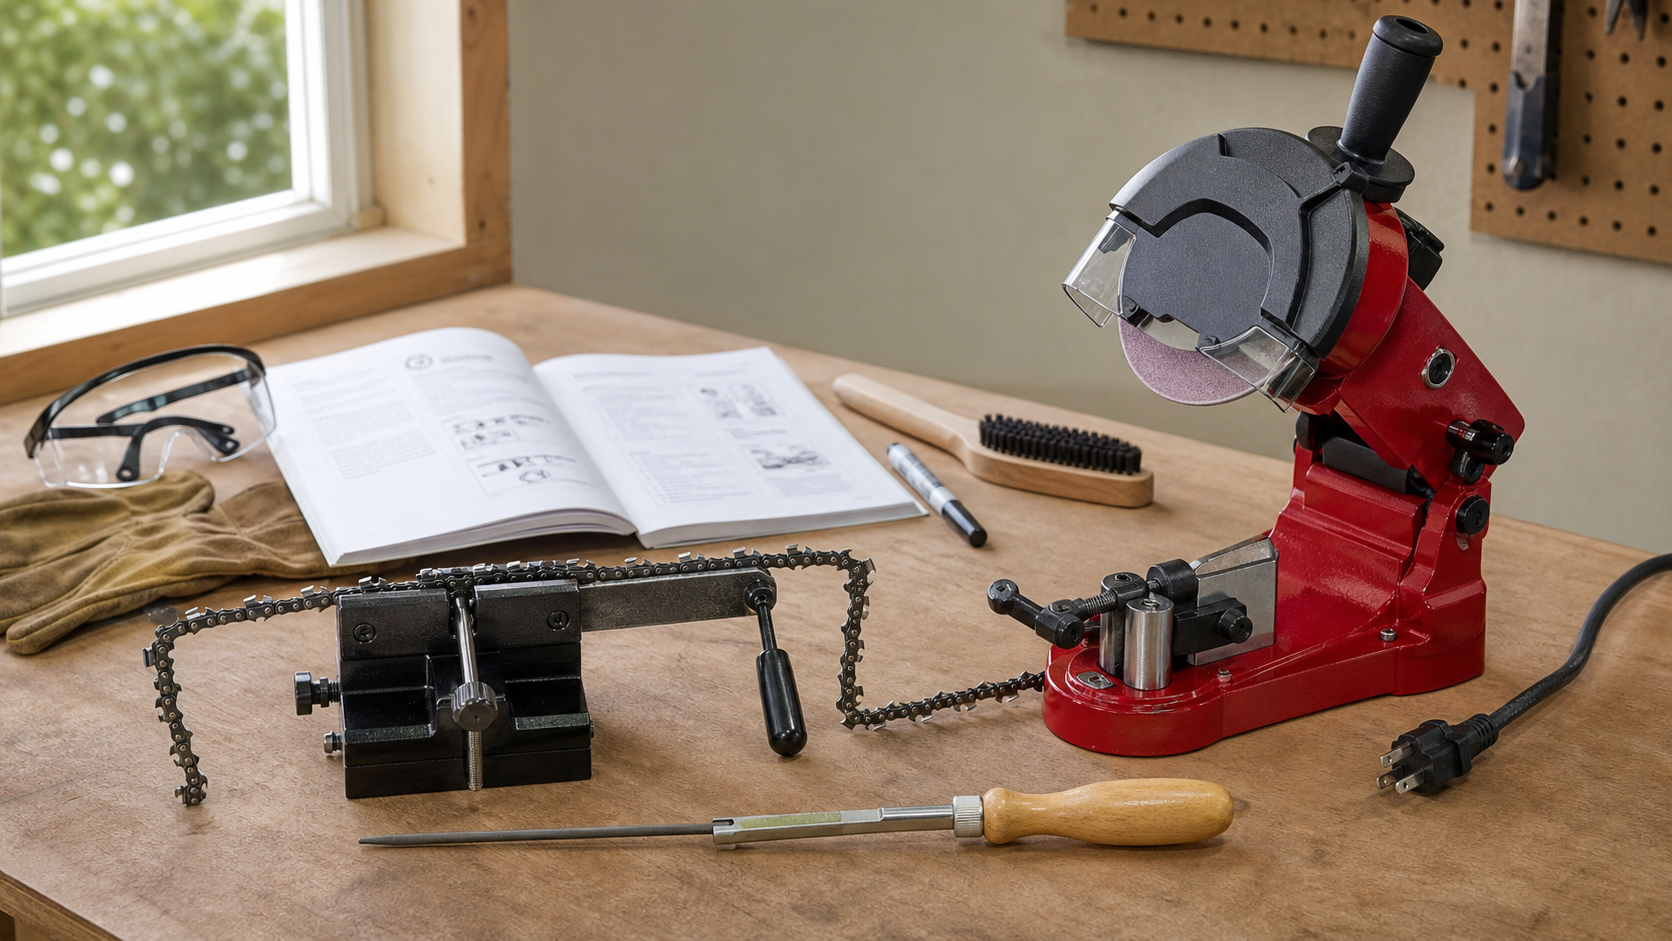
A bench grinder can restore cutter edges, but that does not automatically establish the correct depth-gauge relationship. The live page for the KonKell 250W mountable chain grinder lists adjustable grinding angle and chain compatibility from 1/4-inch through 3/8-inch pitch; it does not state that the machine measures or files depth gauges. Use it only for a chain and wheel combination confirmed by its instructions, then check depth gauges separately with the chain maker’s specified tool.
That limitation matters after heavy cutter correction. Removing more material from a damaged cutter changes its relationship to the gauge ahead of it, so a depth-gauge check belongs after the cutters are restored—not before and not by assumption.
When to stop instead of filing
Stop and seek manufacturer or dealer guidance when the gauge tool does not match the chain, the depth gauges have already been filed below specification, the profiles vary sharply around the loop, or any cutter, tie strap, rivet, or drive link is cracked, bent, loose, or missing. A low depth gauge cannot be raised with a file, and changing every other gauge to match the lowest one only removes more service material.
If a correctly identified, intact chain still cuts poorly after the cutters and depth gauges have been set to the maker’s instructions, move outward: verify chain direction and tension, oil delivery, guide-bar condition, sprocket condition, and the approved cutting-attachment combination. The depth gauge is one part of that system, not a universal explanation.