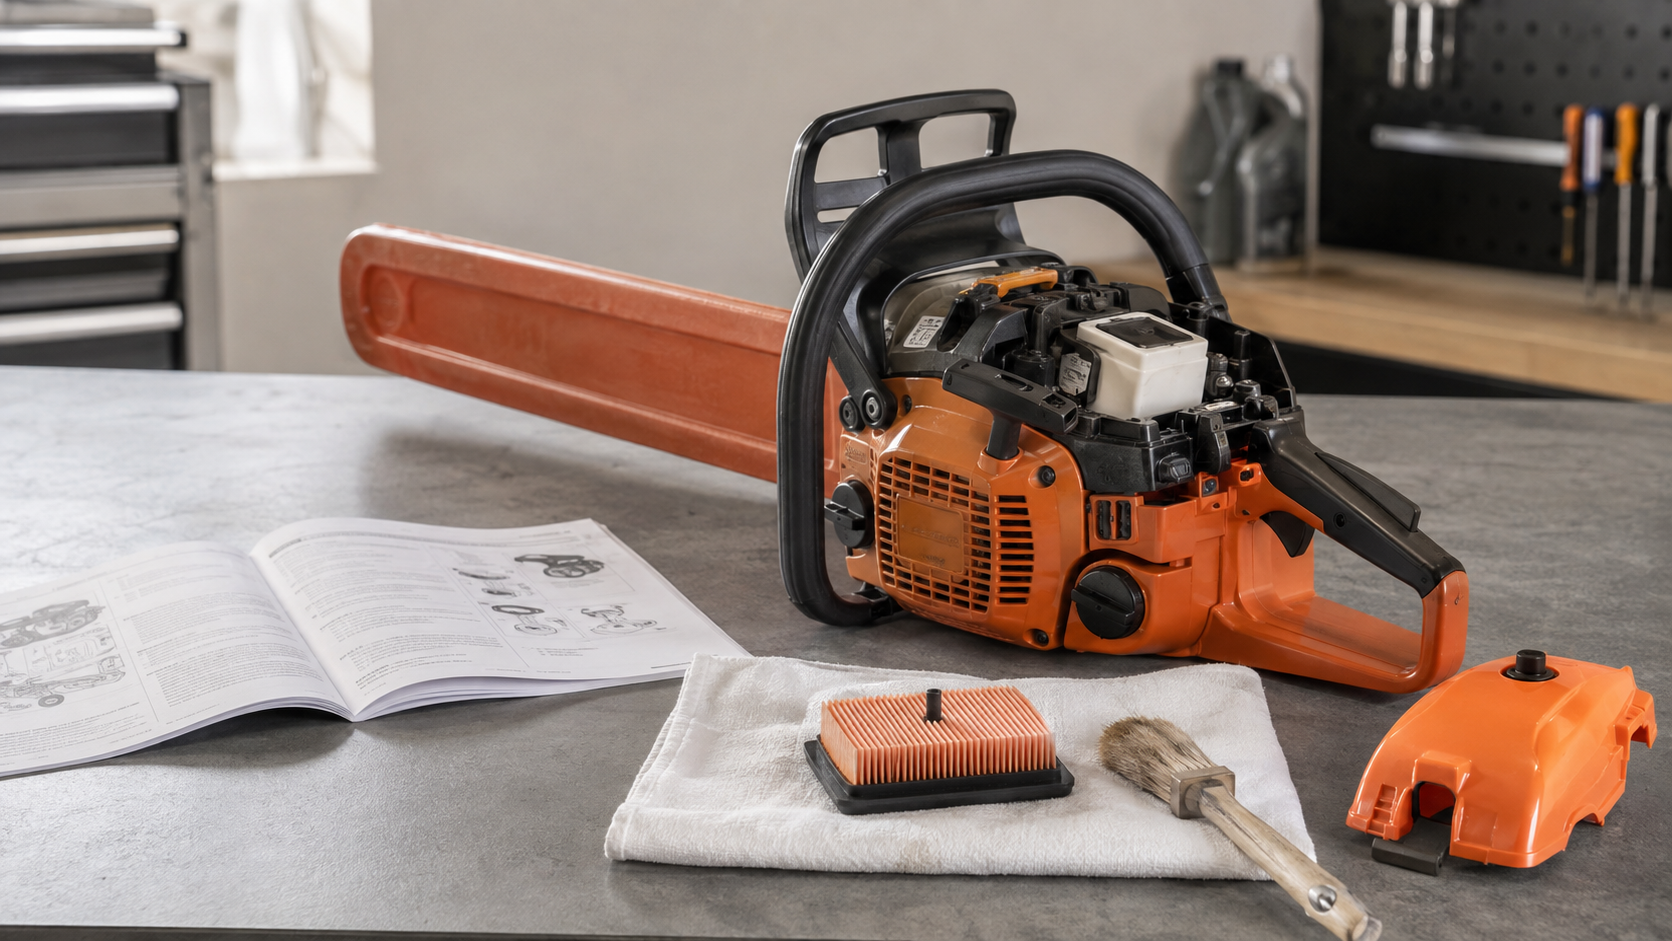
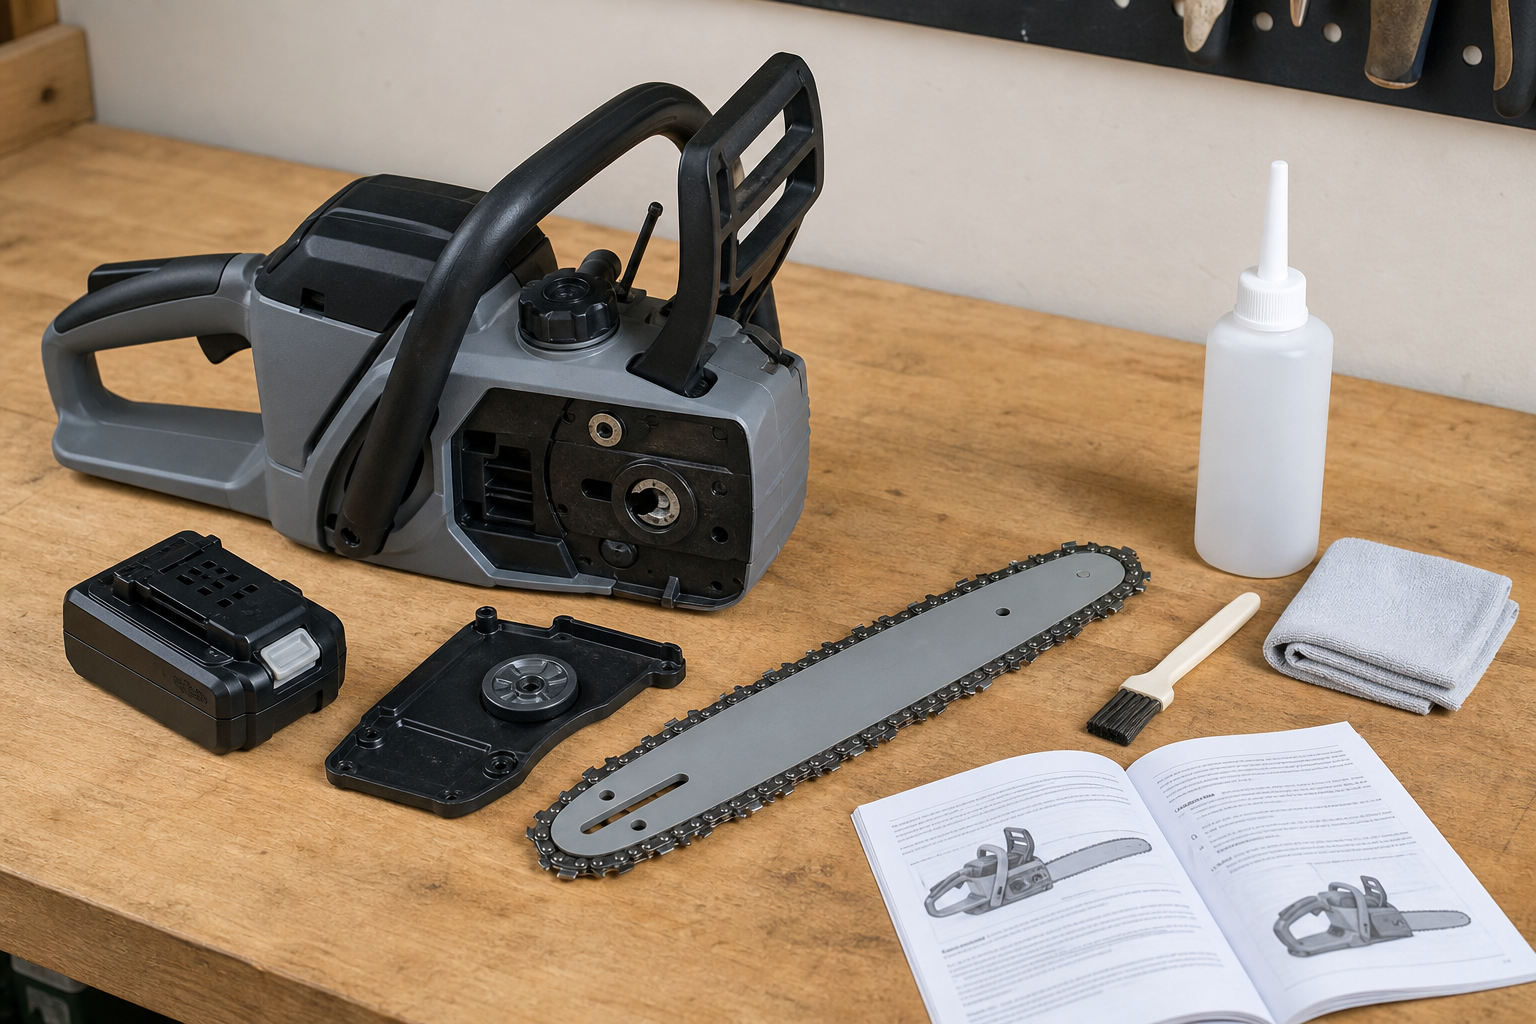
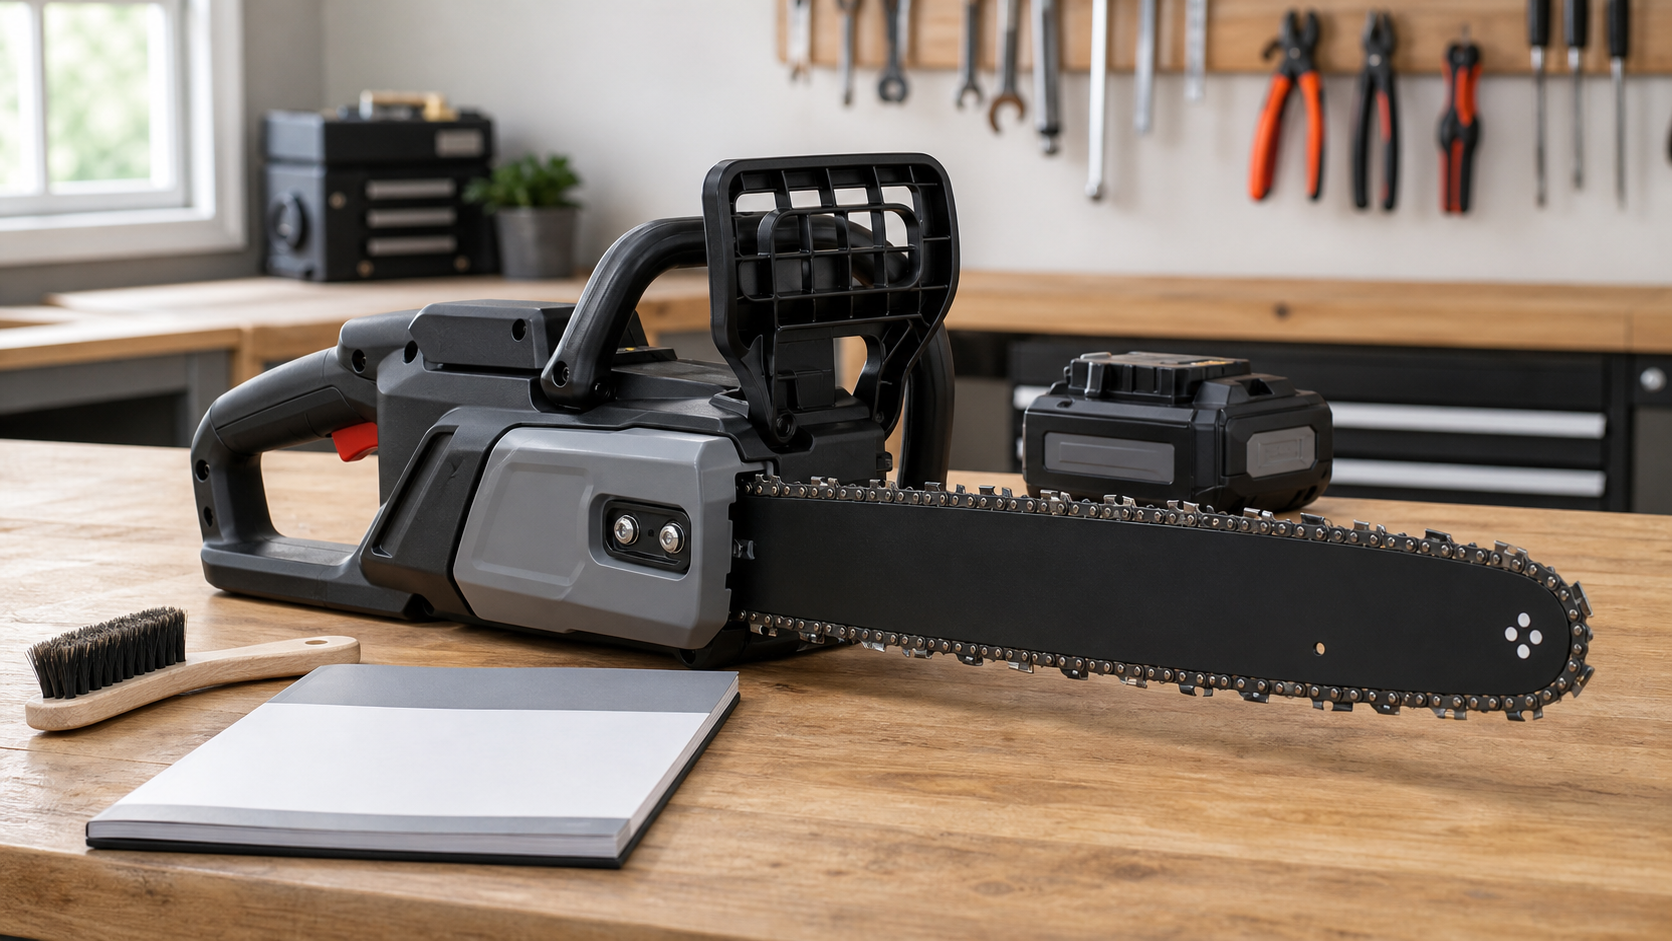
A chainsaw chain that dulls quickly is usually touching abrasive material, leaving the sharpener with a weak or incomplete edge, or running with poor lubrication or an incorrect setup. Do not sharpen it again until you identify which one. Repeatedly removing metal may hide the evidence and shorten a chain that was not the original problem.
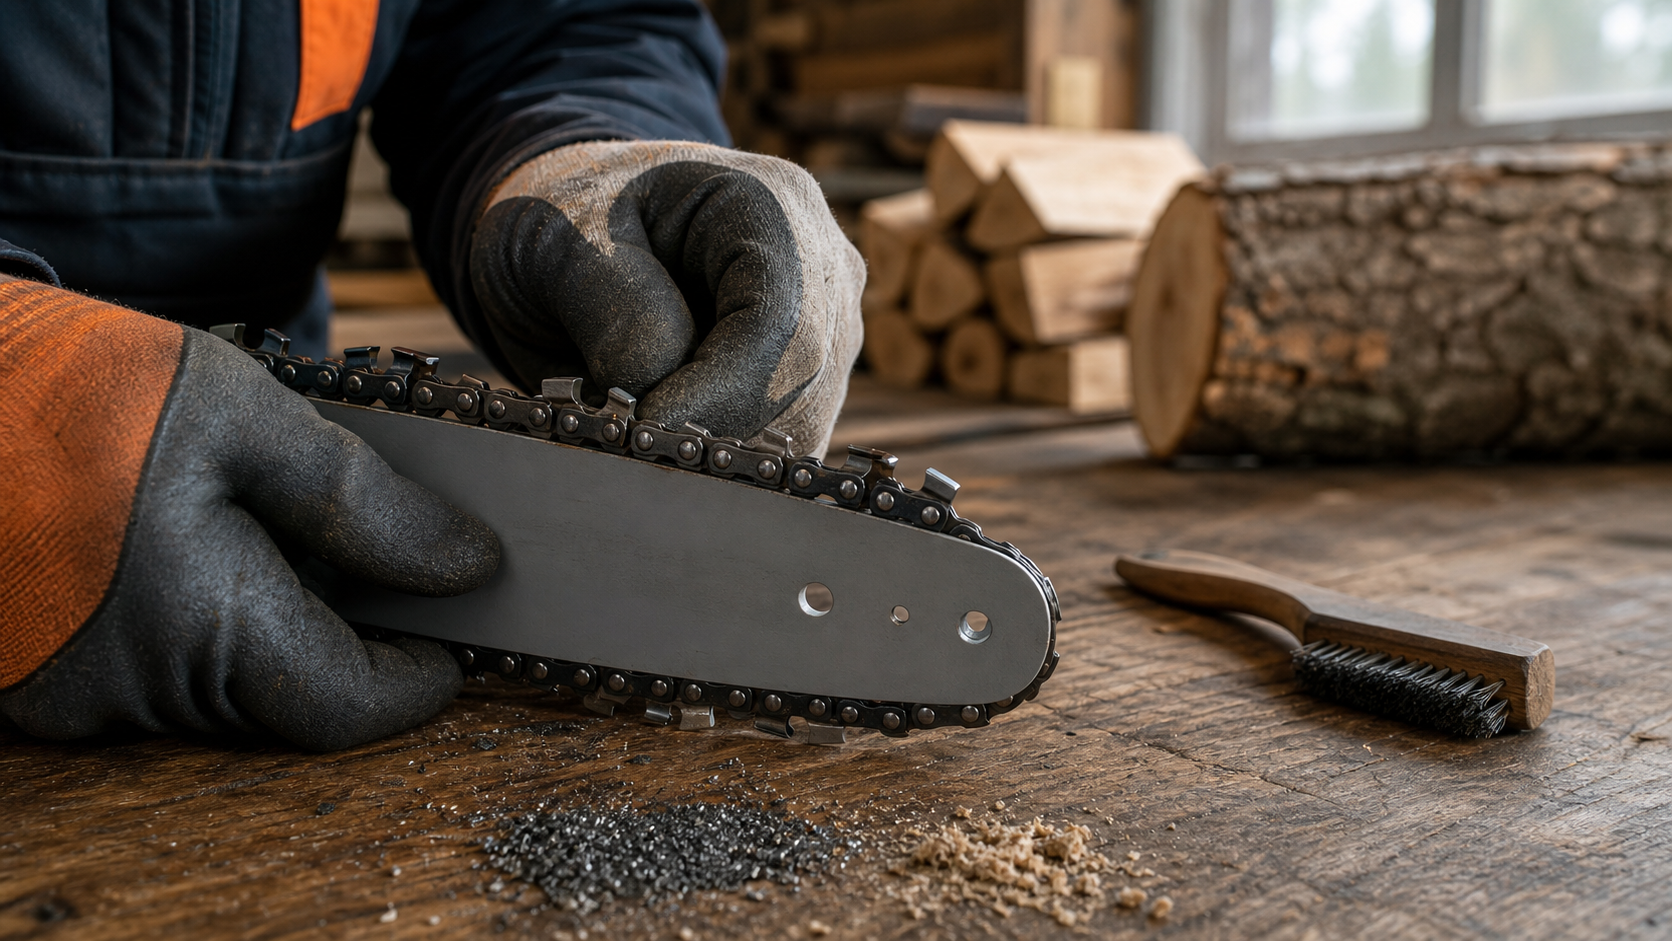
Start with the last few cuts. Soil on the underside of a log, gritty bark, a stone, or hidden metal can round a fresh edge in seconds. If the cutting path was clean, move to the cutter shape, oil delivery, tension, guide bar, and the chain’s remaining condition.
Quick diagnosis: why the edge will not last
| Checkpoint | What to look for | Why it matters | Next move |
|---|---|---|---|
| Work area | Soil, sand, gravel, wire, nails, or a log resting directly on the ground | Abrasives and metal can damage a sharp edge almost immediately | Lift and support the log; clean the next cutting path |
| Cutter edge | Bright rounded line, chips, or damage concentrated on one side | The wear pattern can show whether the chain hit debris or one side was sharpened differently | Inspect every cutter before removing more metal |
| Sharpening result | Burr without a clean edge, mismatched cutter lengths, or inconsistent top-plate shapes | A chain can feel sharp to a finger yet cut poorly or lose a thin edge fast | Verify file, wheel, guide, and settings against the chain instructions |
| Oil system | Dry drive links, heat discoloration, sticky groove debris, or little oil reaching the bar | Excess friction accelerates wear across the chain and bar | Clean the oil path and confirm delivery as the saw manual directs |
| Tension and bar | Chain sagging, binding, uneven rail wear, or a burred bar edge | Poor support lets the chain run badly and adds heat | Correct tension cold and service a worn bar before testing |
| Chain condition | Cracked parts, heavily damaged cutters, worn drive links, or cutters at their wear marks | Sharpening cannot restore missing material or a structurally damaged chain | Replace the chain with the specified match |
Stop using the saw if the chain is cracked, damaged, will not move freely, or cannot be adjusted as the manufacturer specifies. Shut the engine off or disconnect the battery, let the cutting attachment cool, and wear gloves for inspection.
First suspect: the chain touched something abrasive
Fresh cutters often lose their edge because the last part of the cut passes through dirty bark and into the ground. The top of a log may look clean while the underside holds sand. Skidded logs can carry grit deep in bark creases. Storm-fallen timber may contain gravel, fence wire, or old fasteners.
Look at the cutters under strong side light before filing. A continuous shiny line along several edges suggests general abrasion. A few chipped or battered cutters suggest a single strike. Damage mostly on one side may reflect how the bar entered the debris, although uneven sharpening can produce a similar cutting complaint.
Prepare one controlled test:
- Support a clean log so the chain cannot reach soil at the end of the cut.
- Brush loose grit from the bark along the whole kerf.
- Check for wire, nails, stones, and other foreign material.
- Mark the starting cutter so you can compare the full chain after the cut.
- Make one normal cut without forcing the saw, then inspect the chips and cutters.
If a correctly sharpened chain stays sharp in this clean test, the earlier cutting environment was the likely cause. Change how the timber is supported and cleaned rather than sharpening more often.
Check whether sharpening produced a durable edge
A cutter needs a clean working edge and a consistent shape. Filing below or above the intended position, using a mismatched file or wheel, overheating a cutter, or leaving alternate cutters different can produce a chain that performs badly from the first cut.
Compare the chain identification and sharpening marks with the chain or saw manual. Confirm the specified file or wheel and the guide settings; do not copy a setting simply because it worked on another chain. Cutter family and condition matter.
Inspect these details around the full loop:
- Edge continuity: the top and side working edges should meet cleanly, without a remaining rounded strip.
- Cutter consistency: left- and right-hand cutters should have comparable length and shape.
- Surface color: unusual blue or brown discoloration after grinding points to excess heat. Use lighter contact and allow cooling rather than leaning harder on the wheel.
- Depth gauges: verify them with the gauge intended for the chain. Lowering them by eye can make the chain grab; leaving them too high can make a sharp chain act dull.
- Damage depth: when one cutter has a deep chip, all cutters may need to be brought to a consistent usable condition. Stay above the manufacturer’s wear limits.
A guide or fixture can reduce hand-position drift when many cutters need the same repeatable treatment. KonKell Chainsaw Sharpeners fit best here as a consistency tool: the operator still has to identify the chain, set the guide correctly, and inspect the finished edge. A fixture cannot correct the wrong abrasive, a heat-damaged technique, or a chain that should be discarded.
Rule out oil, tension, and guide-bar faults
A chain does not remain sharp in isolation. The drive links travel through the guide-bar groove under load, and oil has to reach those surfaces. A restricted oil hole, groove packed with oily sawdust, unsuitable lubricant, or an empty reservoir can increase heat and wear.
Remove the cutting attachment only as described in the saw manual. Clean the bar groove and oil openings with suitable non-damaging tools. Inspect the rails for uneven wear and burrs, and make sure the nose sprocket—if fitted—moves and receives the maintenance specified by its manufacturer. Refit the correct bar and chain combination.
Set tension with the saw off and the attachment cool. The chain should be supported by the bar and still move as the manual describes. A chain that is too loose can run erratically; one that is too tight can bind and add heat. Because tension changes as the assembly warms, follow the manufacturer’s checking procedure during work rather than choosing a universal amount of sag.
Confirm oil delivery using the test in the saw manual. Do not run a dry chain merely to see whether it improves. If oil still does not reach the bar after accessible passages are cleaned and the correct lubricant is installed, stop and have the system serviced.
Use the cutting result as evidence
Do not judge sharpness by dragging a finger across a cutter. The cut provides better information.
A healthy, correctly set chain should feed without heavy pressure and produce recognizable chips for the wood being cut. Fine powder, a need to push, smoke from the cutting attachment, or a pull to one side means the test should stop. These symptoms can overlap, so read them together:
- Powder immediately after sharpening: recheck the working edges and depth gauges.
- Good first cut, then rapid decline in clean wood: inspect lubrication, heat, cutter discoloration, and chain condition.
- Only one side is damaged: inspect cutter consistency and the guide bar, then reconsider whether that side contacted debris.
- Smoke with adequate visible oil: check chain sharpness, tension, bar groove, and whether the chain is binding. Smoke is not proof that the oiler is the only fault.
Change one variable at a time. A clean test log, verified setup, confirmed oil flow, and a single inspection after the cut will tell you more than sharpening, tensioning, and adjusting depth gauges all at once.
Sharpen again or replace the chain?
Sharpen when the cutters are dull but intact, there is usable material before the wear marks, and the chain’s other components pass inspection. Replace the chain when it has cracks, broken or badly damaged parts, unacceptable drive-link wear, cutters at their service limits, or damage that sharpening cannot remove while keeping a usable and consistent cutter set.
Also inspect the drive sprocket and guide bar when a chain has worn abnormally. Installing a fresh chain onto worn supporting parts can carry the same poor tracking and wear pattern into the replacement. Use only the pitch, gauge, length, and chain type specified for the saw and bar.
A repeatable prevention routine
Before each cutting session, check that the chain is sharp, correctly tensioned, and receiving oil. Walk the intended cut and clear dirt, stones, and debris. Support bucking logs so the final portion cannot collapse into the ground. Brush gritty bark where practical, and treat reclaimed or fence-line timber as likely to contain metal.
At the bench, clean the chain clamp, guide surfaces, bar groove, and oil holes before making adjustments. Record the chain type and the file, wheel, or guide it requires. That small workshop habit prevents settings from one chain being carried over to another.
OSHA’s chain-saw guidance likewise calls for a sharp chain, a full lubrication reservoir, a clear chain path, and checking wood for nails, spikes, and other metal. Those are not separate housekeeping jobs; together they protect the edge and help the saw cut without unnecessary force.
FAQ
Can one touch of the ground dull a chainsaw chain?
Yes. Soil commonly contains sand and small mineral particles that are far harder and more abrasive than wood. A brief touch can round several cutters, especially when the chain is moving at cutting speed. Inspect the whole loop before resharpening, because the damaged section may extend farther than the cutters nearest your starting mark.
Why is my new chainsaw chain already dull?
A new chain can dull quickly after contact with soil, stone, metal, or gritty bark. Poor oil delivery, incorrect tension, or a mismatched bar-and-chain setup can also create rapid wear. Confirm the chain matches the saw and bar, inspect the cutting path, and follow the manual’s oil-flow and tension checks before assuming the chain is defective.
Does cutting hardwood dull a chain faster?
Wood species and condition affect edge life, but clean hardwood should not destroy a sound chain immediately. Embedded grit, dirty bark, burned or mineral-contaminated wood, poor lubrication, and a weak sharpening edge often explain unusually fast dulling better than hardness alone. Compare performance on a clean, supported test piece before changing the chain.
Can too much pressure make a chainsaw chain dull faster?
Forcing a saw increases load and heat and often signals that the chain is already dull or incorrectly set. Stop rather than pushing harder. Inspect the cutters, depth gauges, tension, guide bar, and oil delivery. A correctly maintained chain should feed with modest operator guidance; use the technique and operating limits in the saw manual.