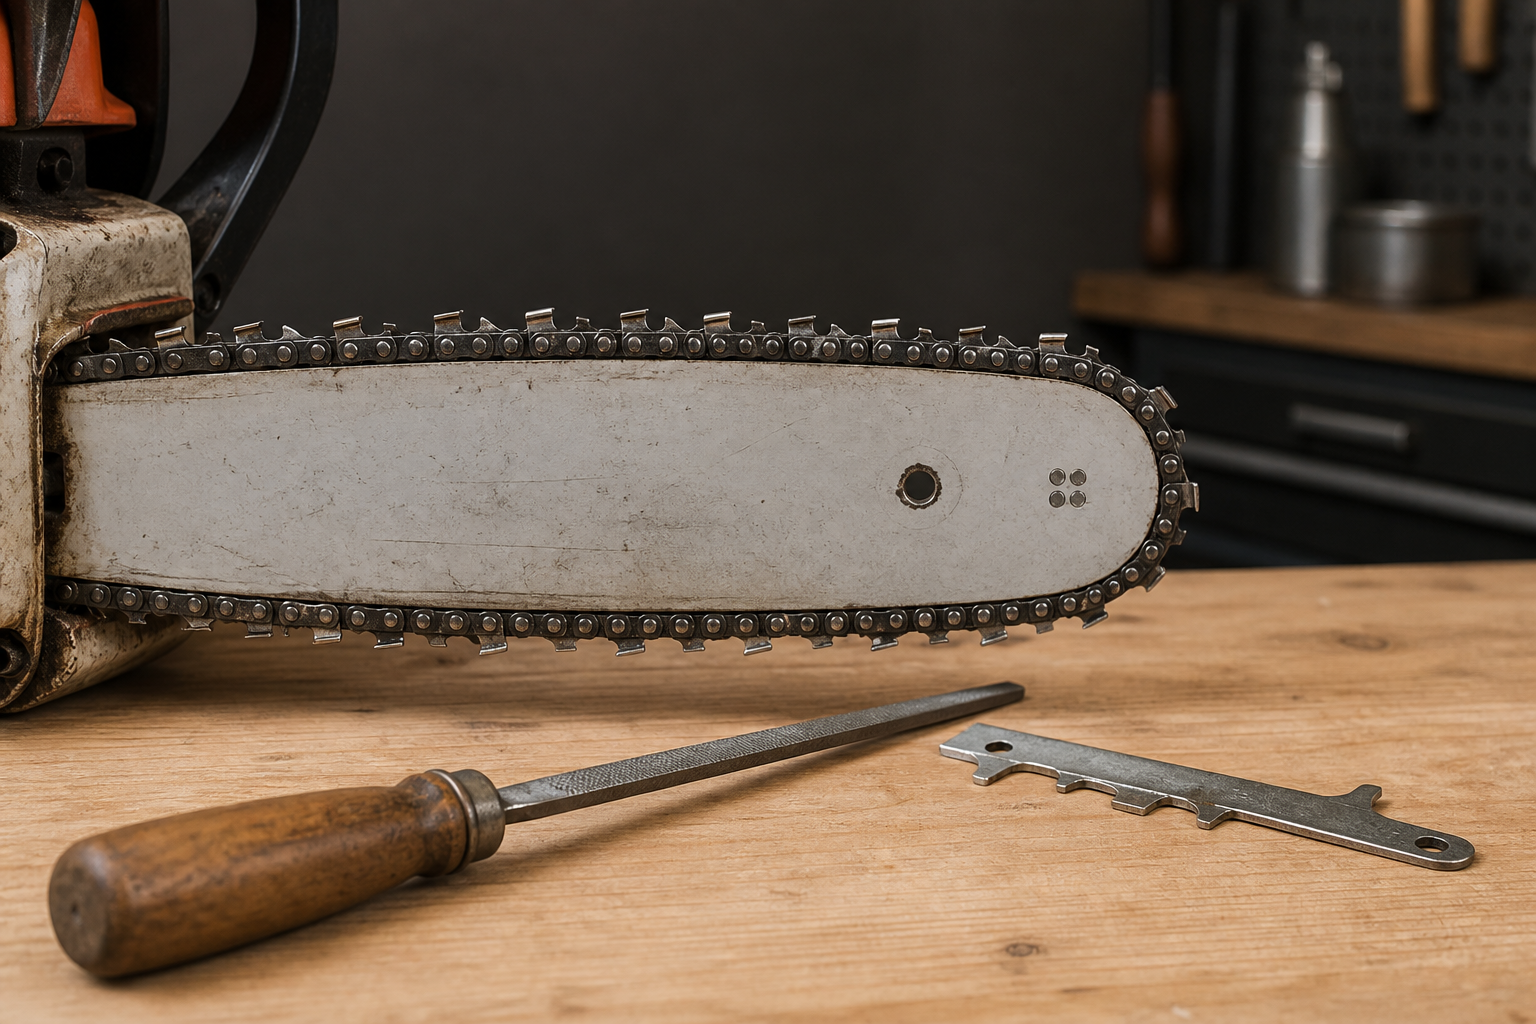
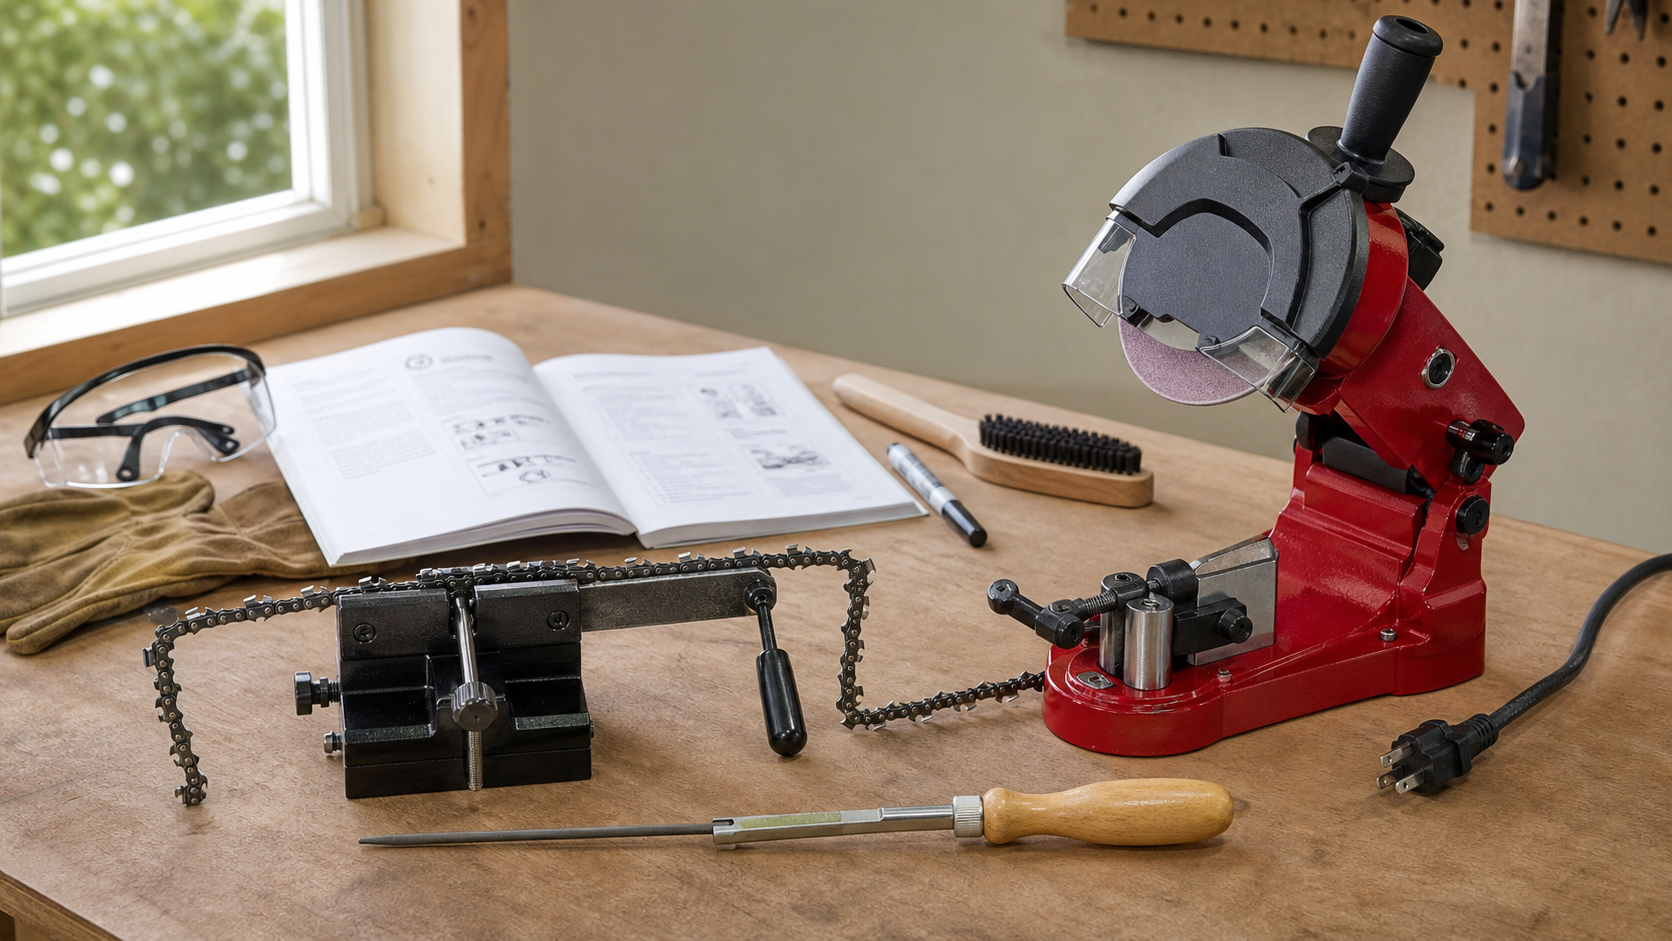
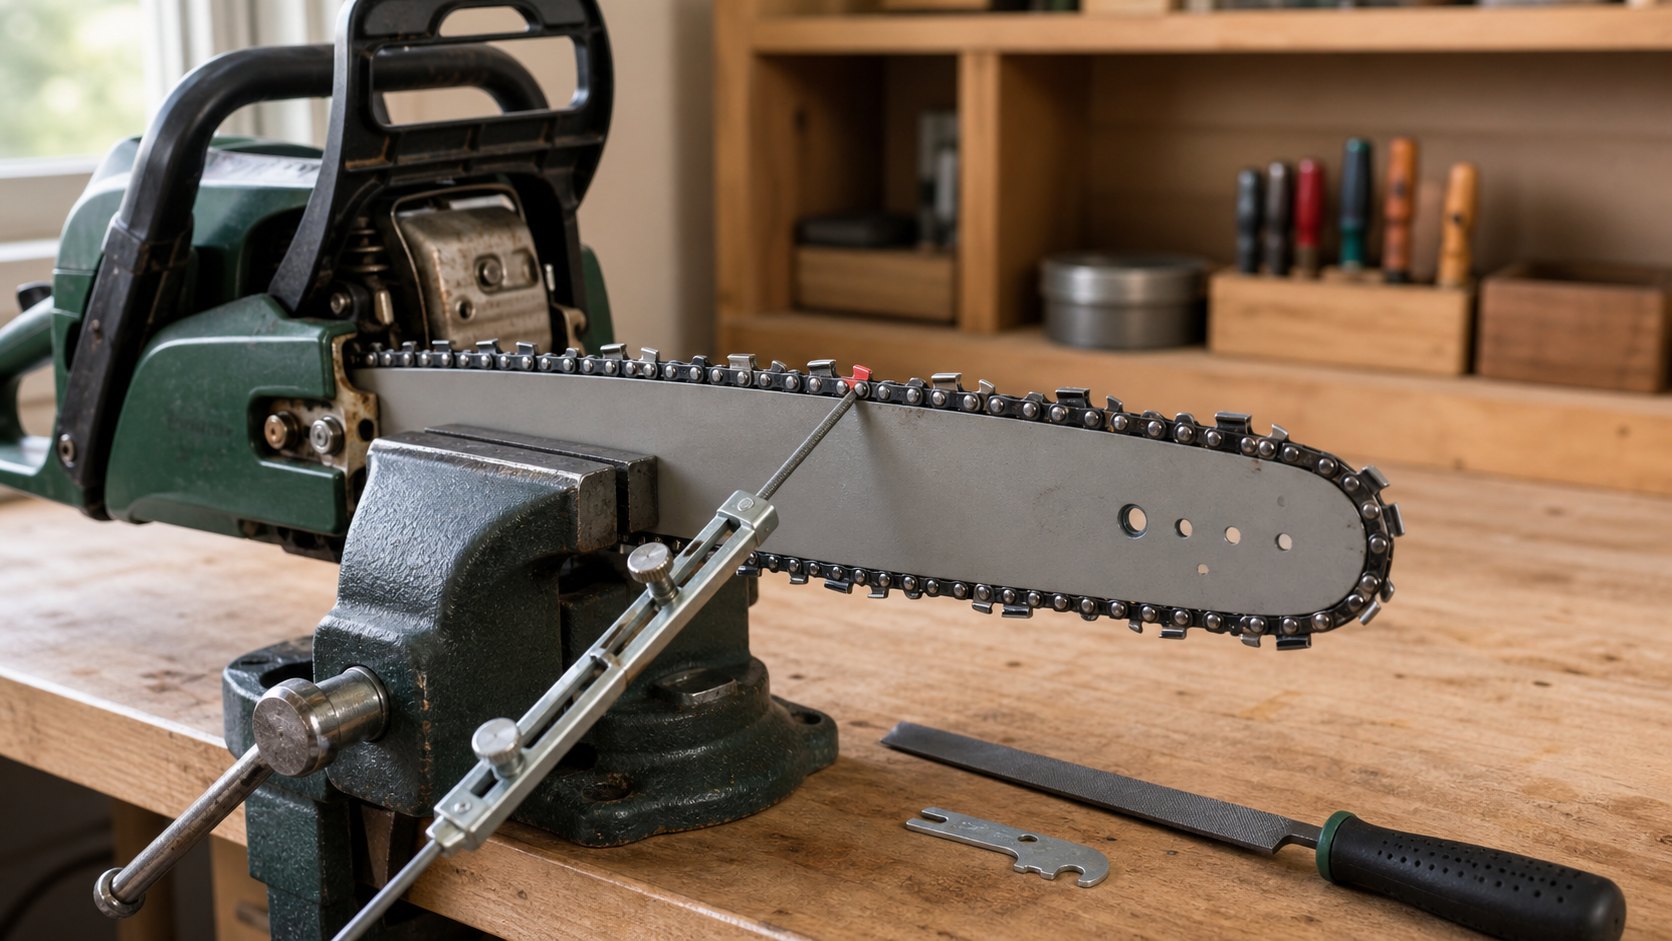
A bench mounted chainsaw sharpener is only accurate after the bench, clamp, chain stop, angle reference, and grinding contact are all working together. If the tool rocks, the chain sits crooked, or the first cutter is rushed, the whole chain can come off uneven even though the sharpener looks powerful enough.
This guide is for homeowners, firewood cutters, and small workshops setting up an electric chainsaw chain sharpener. The goal is not to grind fast. The goal is to make the first cutter correct, then repeat that setup across the chain.
Start With the Bench, Not the Chain
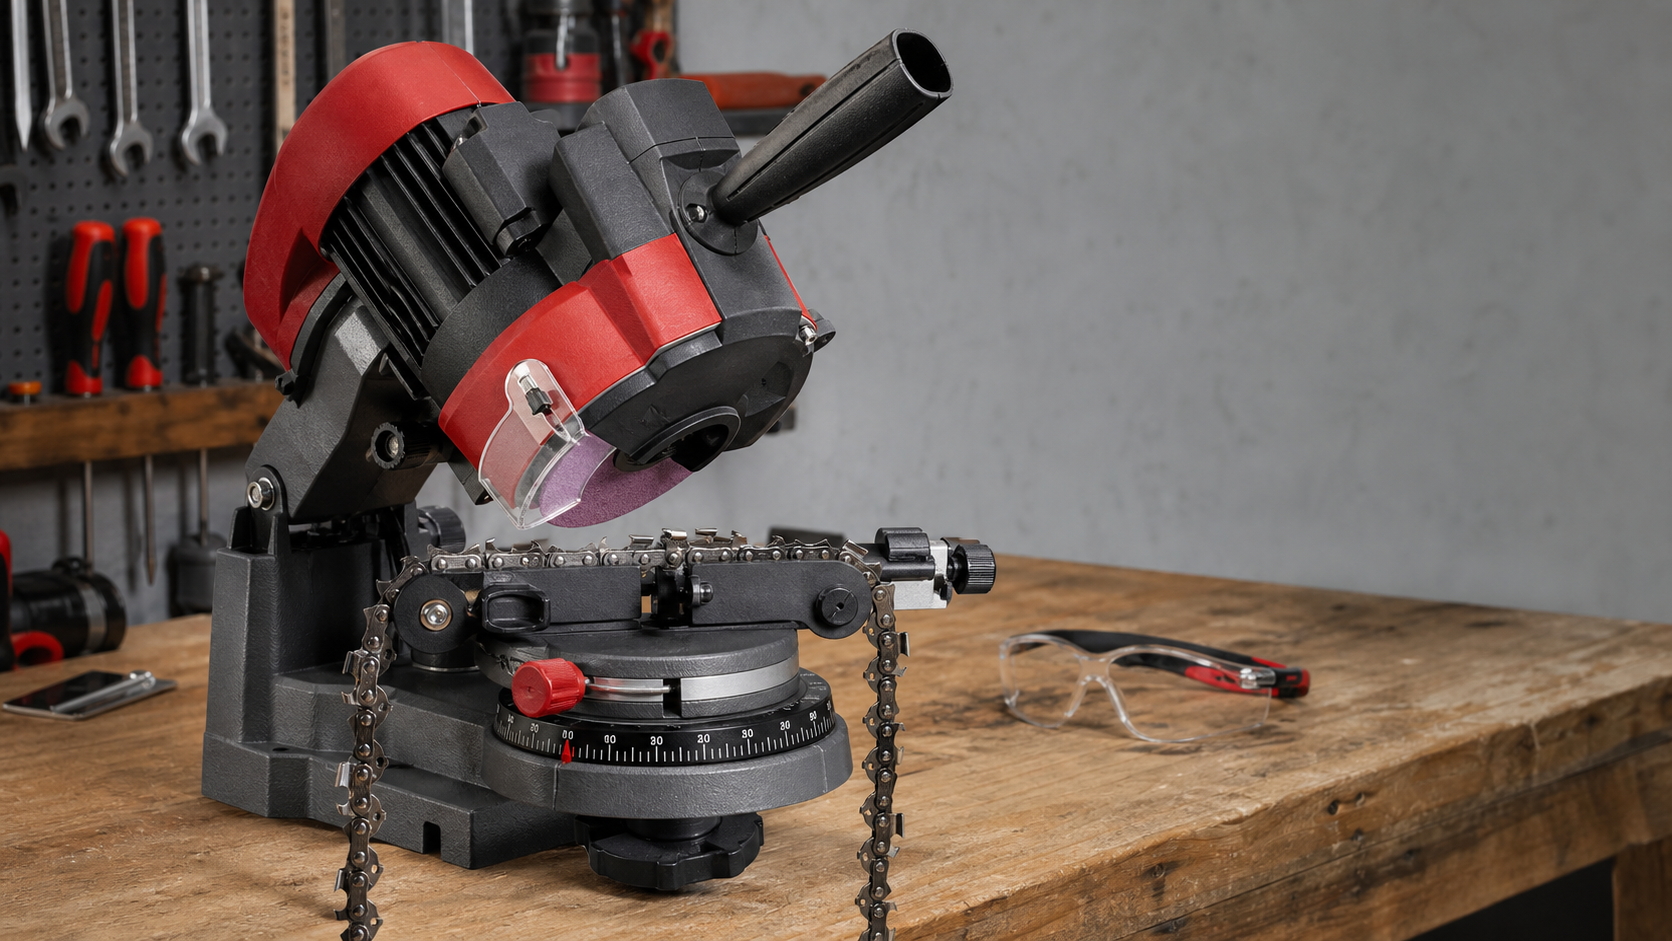
The mount is part of the sharpening system. A grinder that shifts when the head comes down will not repeat the same contact point. Place the sharpener on a flat, stable surface with enough room for the chain loop to hang without dragging across clutter.
Before tightening the tool down, stand where you will actually sharpen. The handle should move naturally, the angle scale should be easy to read, and the chain should be visible under good light. Press lightly on the base and handle after mounting; any rocking, flexing, or sliding should be fixed before a chain goes into the clamp.
Clean and Inspect the Chain Before Clamping
Do not put a muddy or oily chain straight into the guide. Packed oil and sawdust can keep drive links from sitting evenly, and grit can hide damaged cutters. Brush the chain, wipe heavy oil from the drive links, and inspect for cracked cutters, bent tie straps, damaged drive links, or unusual stretch.
If a chain has structural damage, sharpening is the wrong repair. Replace or service it according to the chain maker’s guidance before putting it back on a saw.
Set One Cutter Carefully
Choose the shortest serviceable cutter as your reference if the chain has been sharpened before. Seat the chain in the clamp, bring the stop against the cutter, and confirm that the cutter is held square without being crushed.
Match the sharpening angle and wheel or file profile to the chain specification. Oregon’s sharpening guidance emphasizes matching the correct tools to the saw chain, including a file guide, flat file, and depth gauge tools. STIHL also stresses checking the depth gauge and sharpening relationship rather than treating cutter filing as the only step.
For buyers comparing a hand file to a guided electric setup, the main advantage is repeatability. A well-mounted grinder lets you set the reference once, then work through similar cutters with less guesswork. That is the practical reason to compare KonKell Chainsaw Sharpeners when you want a cleaner bench routine.
First-Cutter Setup Checklist
| Checkpoint | What to confirm | Why it matters |
|---|---|---|
| Base stability | No rocking or sliding when the head moves | Movement changes the grinding contact |
| Chain seating | Drive links sit fully in the guide | A tilted chain creates uneven cutters |
| Cutter stop | Stop touches the same point each time | Controls cutter length consistency |
| Angle setting | Matches the chain specification or manual | Prevents wrong top-plate geometry |
| Grinding contact | Wheel touches the cutter lightly and predictably | Avoids overheating and over-grinding |
| Depth stop | Removes only the needed metal | Protects chain life and cutter shape |
Run this table before committing to the whole chain.
Make a Light Test Pass
Lower the grinding head slowly and touch the cutter lightly. You are looking for contact position, not sparks. The wheel should meet the cutting edge where expected, not hit the tie strap, drive link, depth gauge, or lower body of the cutter.
After the first light pass, inspect the cutter. The edge should look refreshed without discoloration. If you see heat color, heavy burrs, or an odd face shape, stop and correct the setup.
Once the first cutter is correct, sharpen cutters facing the same direction. Then rotate the angle or setup for the cutters on the opposite side, following the sharpener manual. Keep the pressure consistent; extra force usually removes more metal and creates heat.
Do Not Skip Depth Gauges
Depth gauges control how much each cutter bites. A chain can look sharp but still cut poorly if the depth gauges are too high. If they are too low, the chain can feel grabby and harder to control.
Oregon’s maintenance manual notes that depth gauges should be set often, commonly after several sharpenings or sooner when needed. STIHL’s sharpening guide also treats the depth gauge as a controlled filing step. Use the correct depth gauge tool for the chain and follow the chain manufacturer’s values.
For a bench setup, sharpen cutters first, then check depth gauges. Do not grind them by eye unless you have the correct tool and experience.
Common Setup Mistakes
The most common mistake is tightening the chain before it is fully seated. The second is trusting the angle scale without checking the first cutter. The third is grinding every tooth with the same heavy pressure even when some cutters need only a small touch. Oil, filings, and grit can also shift the chain in the clamp, so brush the guide and stop surfaces during the session if buildup appears.
Safety also belongs in the setup. OSHA’s chainsaw safety guidance reminds operators to check chain tension, bolts, handles, controls, and protective equipment before use. Sharpening is not a substitute for a full saw inspection.
Quick Diagnostic: What Went Wrong?
If the saw cuts crooked after sharpening, compare left and right cutter length first. Then inspect the bar rails, chain tension, and chain seating in the sharpener. If the chain makes dust instead of chips, check cutter sharpness, depth gauge height, and whether the chain was damaged by heat.
If only a few cutters look wrong, the stop may not have contacted consistently. If every cutter is too short, the depth stop was probably set too aggressively.
FAQ
Should a bench mounted chainsaw sharpener be bolted down?
Yes, if the model is designed for bench mounting. A stable base helps the clamp, stop, and grinding head repeat the same relationship from cutter to cutter.
How do I know which angle to use?
Use the chain manufacturer’s specification or the chain markings and manual. Common angles vary by chain type, so do not copy a setting from another chain.
Should I sharpen every cutter the same amount?
No. Use the shortest serviceable cutter as the reference and remove only enough metal to restore the cutting edge.
When should I check depth gauges?
Check them after the cutters have been sharpened, especially after several sharpening sessions or whenever the chain feels sharp but feeds poorly.
Source Note
This guide is grounded in manufacturer and safety references from Oregon Products on saw chain sharpening and depth gauges, STIHL’s chainsaw sharpening guidance, Husqvarna’s filing guidance, and OSHA’s chainsaw safety quick card. Always verify the exact angle, file, wheel, and depth gauge values against the chain and sharpener manuals you are using.